Why Acoustic Panels Matter
Acoustic panels are essential for creating balanced and enjoyable sound environments, whether in your home, office, or studio. They work by absorbing excess sound waves, reducing echo, and improving clarity. But to get the best results, proper placement is key. Choosing the best wall placement can make all the difference.
In this guide, we’ll explore the ideal wall placements for acoustic panels and explain why these choices work. By the end, you’ll know exactly where to place your panels for optimal performance.
How to Determine the Best Wall Placement
1. Identify the Problem Areas
To figure out the best wall placement for acoustic panels, start by identifying where sound issues occur. These can include:
- Areas with echoes or reverberations.
- Walls facing speakers or sound sources.
- Hard surfaces that reflect sound, such as bare walls or ceilings.
Pro Tip: Walk around the room and clap your hands. Listen for areas where echoes are strongest—this will guide your placement decisions.
2. Focus on First Reflection Points
The first reflection points are where sound waves hit the walls directly after leaving a speaker. These are usually the most critical areas to treat.
- How to Find Them: Sit in your usual listening position and have someone move a mirror along the wall. When you can see the speaker’s reflection in the mirror, you’ve found the first reflection point.
- Best Placement Tip: Place panels at these points to absorb sound waves before they bounce back into the room.
3. Address Opposite Walls
If sound bounces off one wall, it often hits the opposite wall next. Treating opposite walls ensures balanced sound absorption.
- Use the same method (mirror test) to locate problem areas on opposite walls.
- Installing panels symmetrically improves the room’s acoustic balance.
Ideal Locations for Acoustic Panels
1. Behind the Sound Source
Positioning panels behind speakers, TVs, or other sound sources can prevent direct reflections and enhance sound clarity.
- Common Uses:
- Home theaters.
- Gaming setups.
- Music studios.
2. Behind the Listening Position
Adding panels behind where you sit or stand minimizes sound bouncing back toward your ears.
- Best For:
- Office conference rooms.
- Home listening spaces.
- Recording booths.
3. On Side Walls
Sidewalls are often the main culprits for unwanted echoes. Treating them ensures clear and balanced sound.
- Panels here can reduce “flutter echoes,” improving both music and spoken-word audio.
4. Ceiling Placement
In rooms with high ceilings, sound waves can bounce excessively, creating unwanted reverb. Ceiling panels can:
- Absorb upward-traveling sound.
- Improve overall sound clarity.
Step-by-Step Guide to Acoustic Panel Placement
- Analyze the Room: Identify problem areas using the mirror test and sound-clap method.
- Mark Reflection Points: Use tape or chalk to mark first reflection points on walls and ceilings.
- Install Panels: Secure panels at marked locations using adhesive, screws, or mounting brackets.
- Test the Sound: Play music or audio and listen for improvements. Adjust panel positions if needed.
Types of Acoustic Panels and Placement Tips
1. Foam Panels
- Best for: Home theaters, gaming setups.
- Placement Tip: Foam panels are lightweight and can be placed on both walls and ceilings for versatile absorption.
2. Fabric-Wrapped Panels
- Best for: Offices, studios.
- Placement Tip: Use these for areas requiring a sleek, professional look.
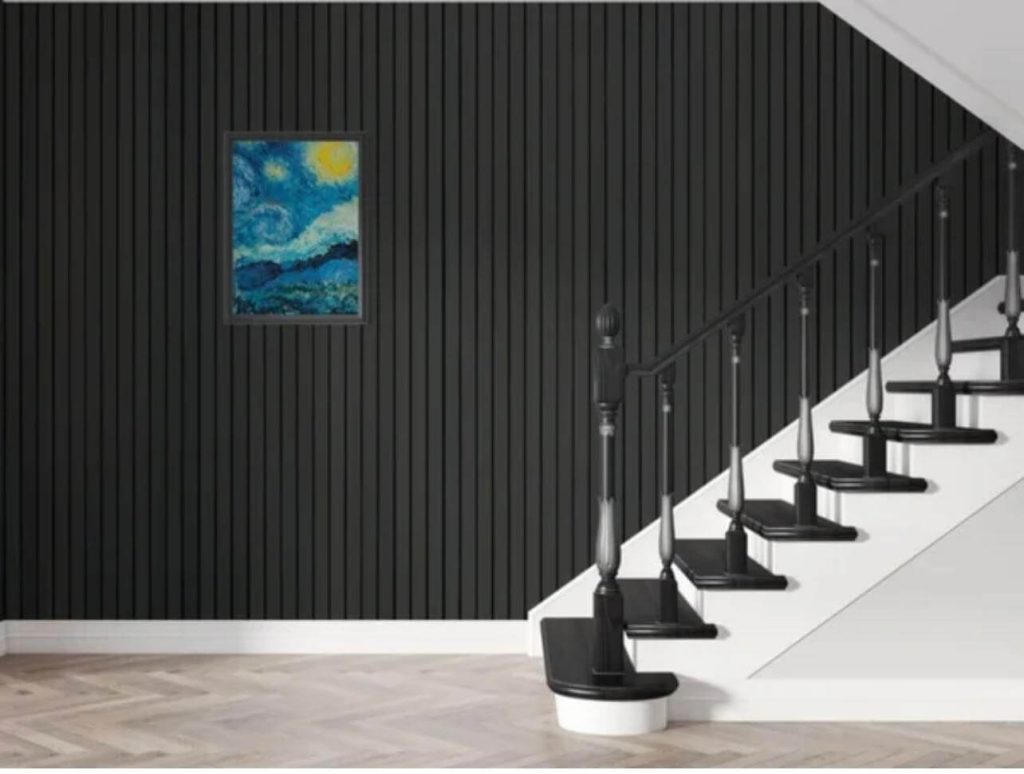
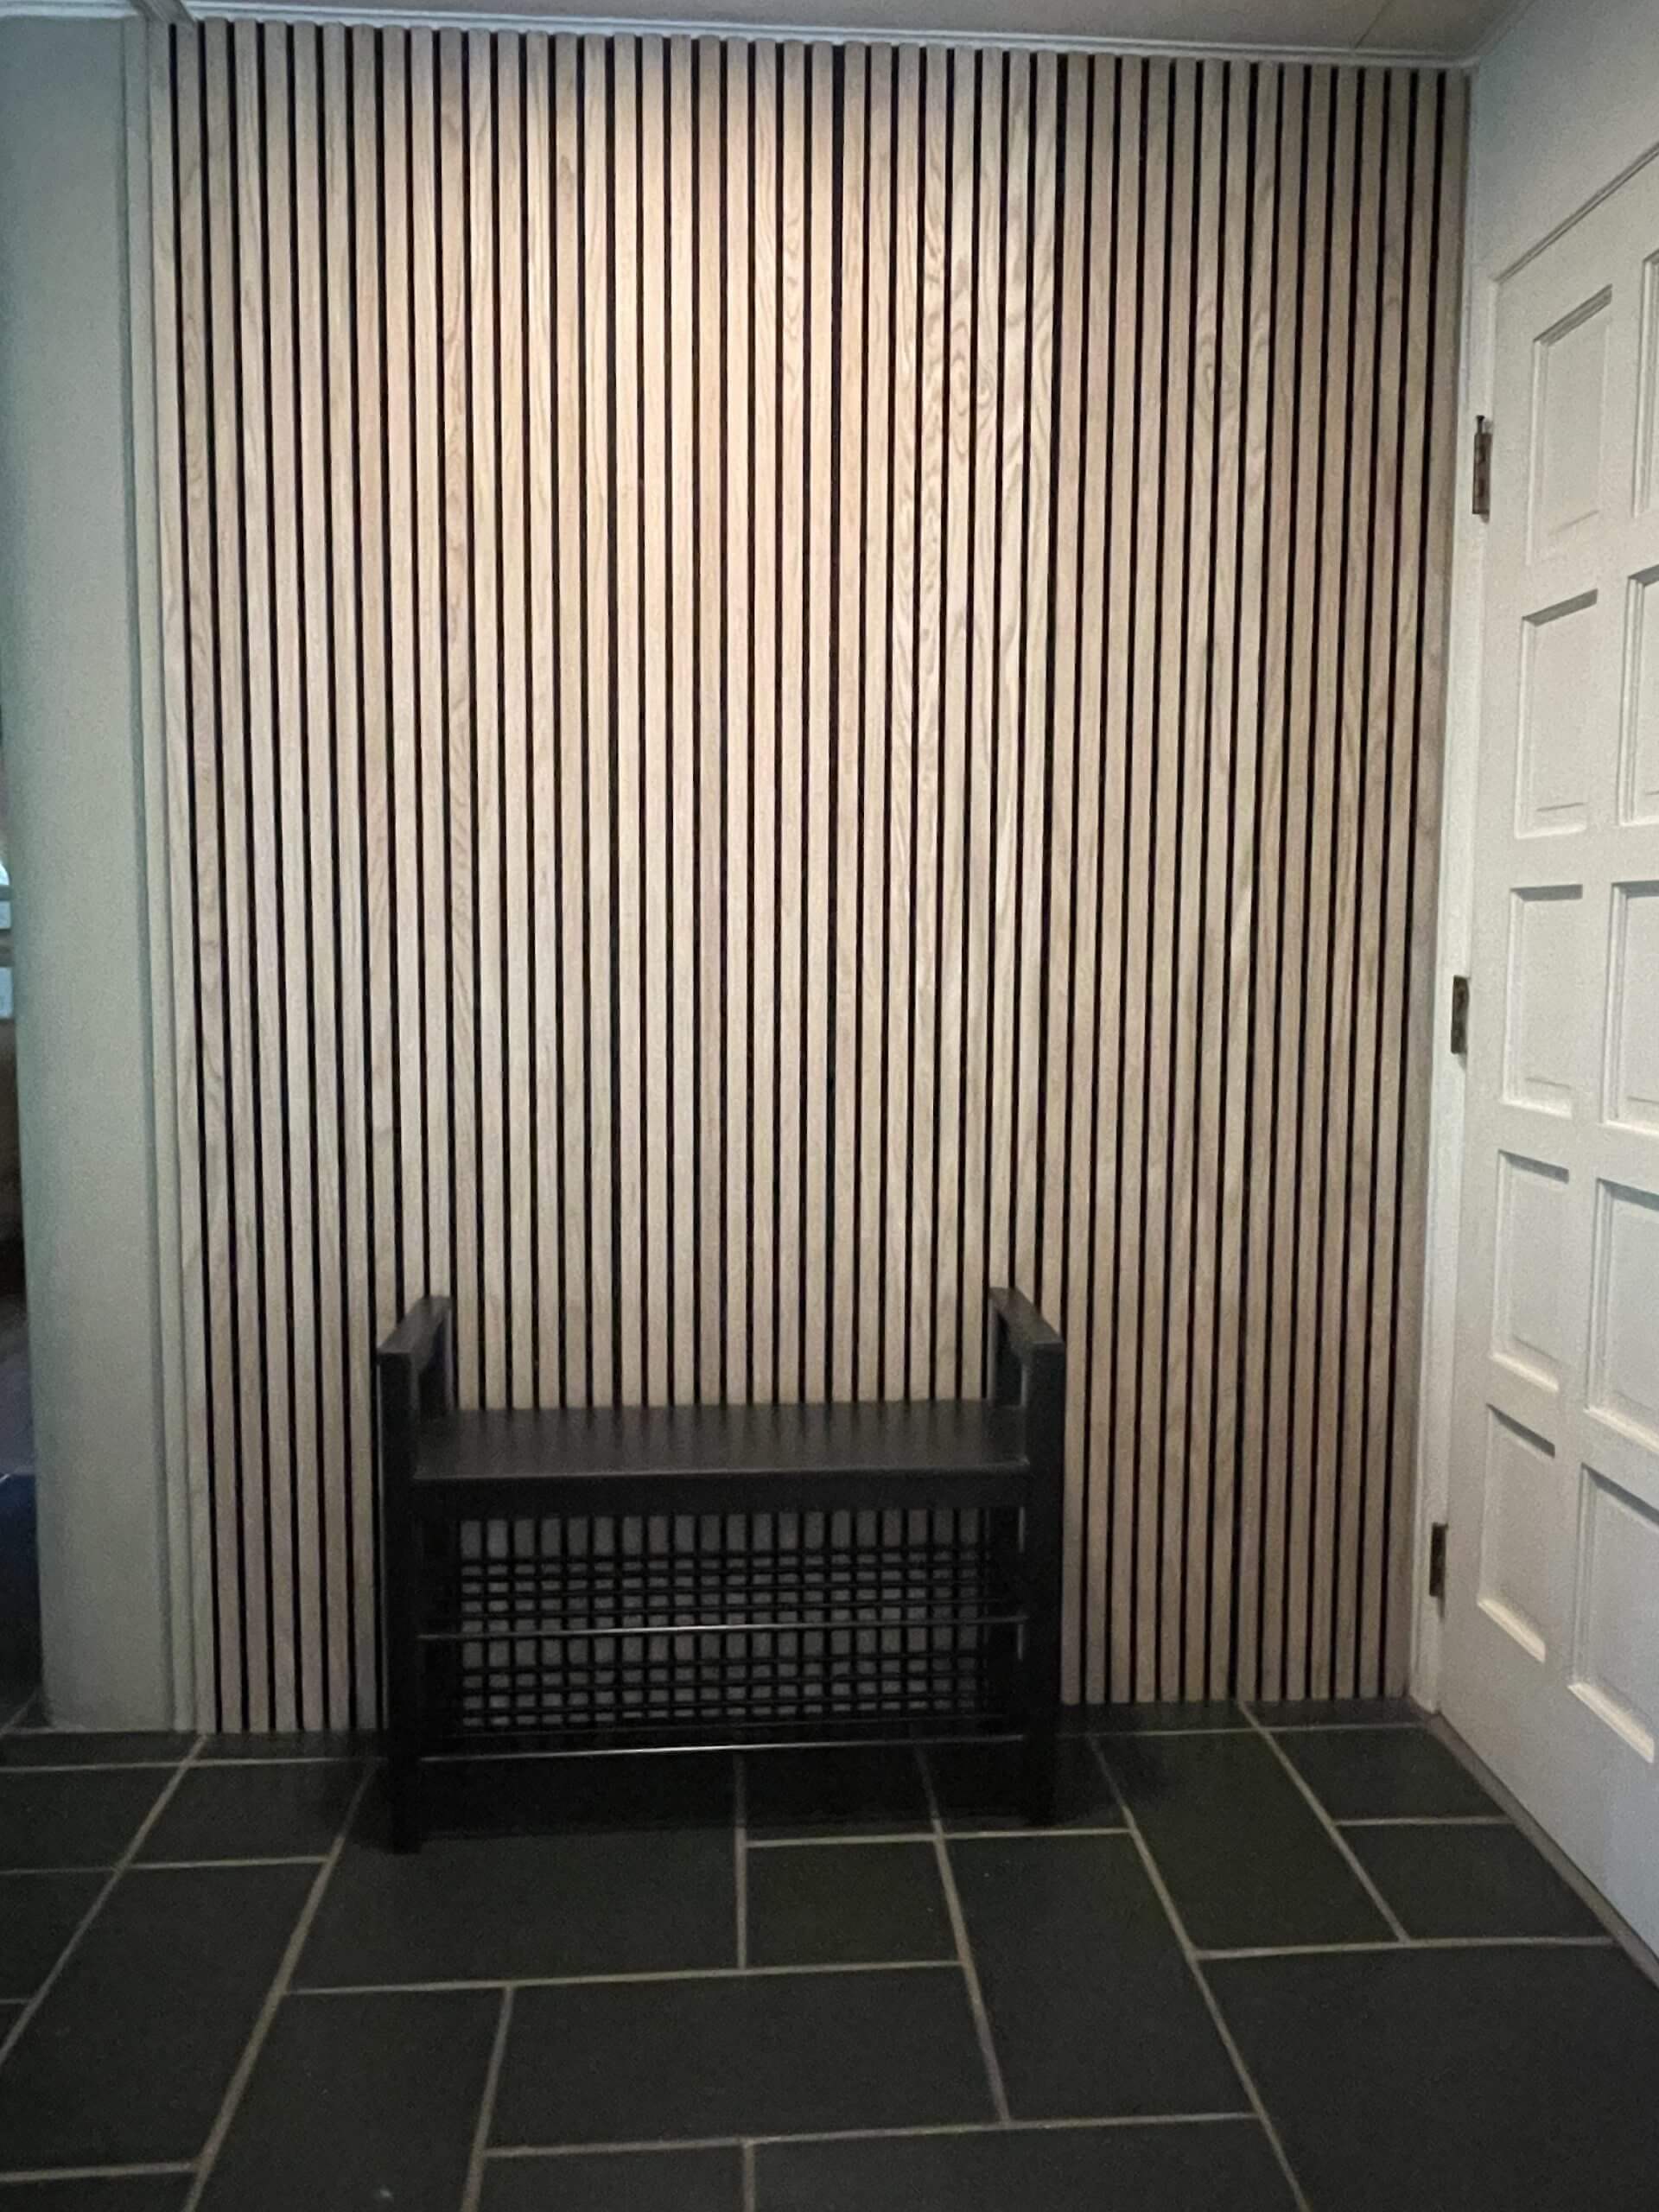
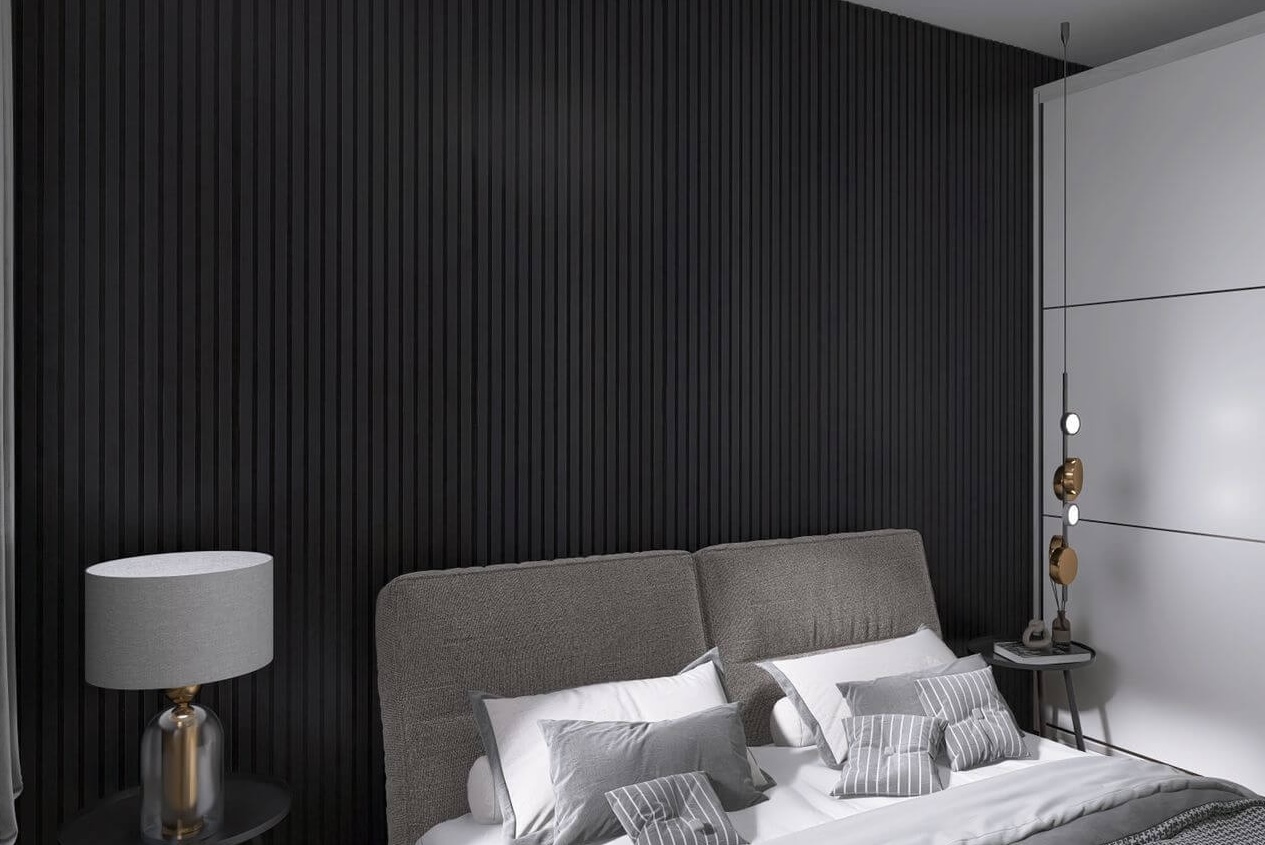
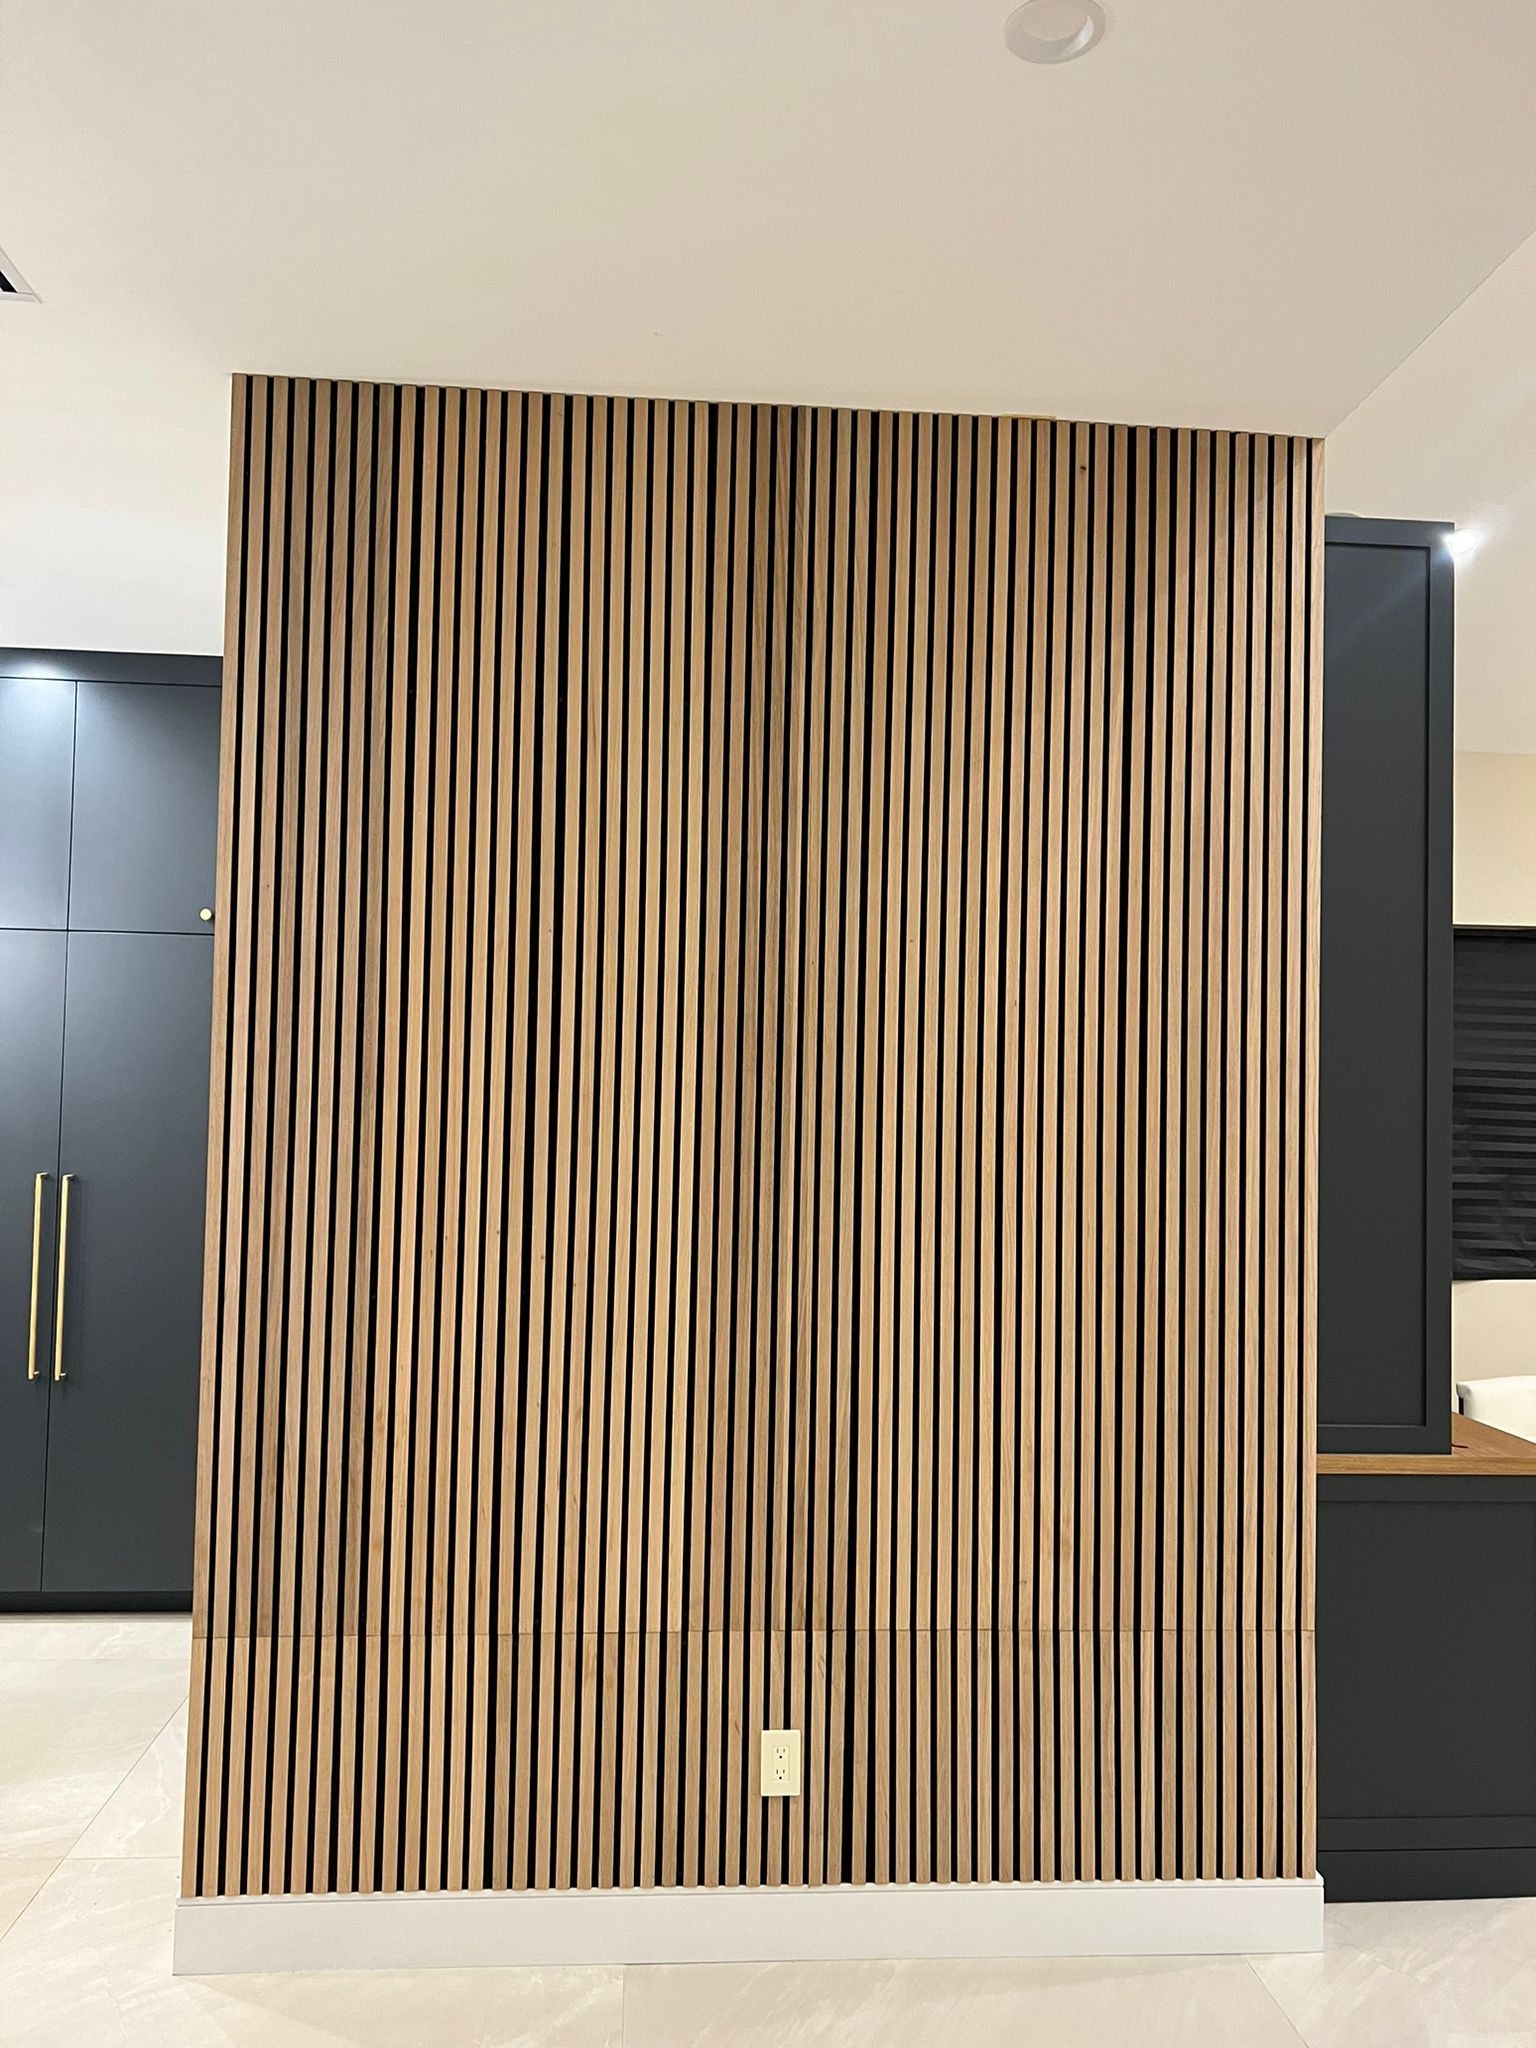
3. Wood Acoustic Panels
- Best for: Stylish home or office spaces.
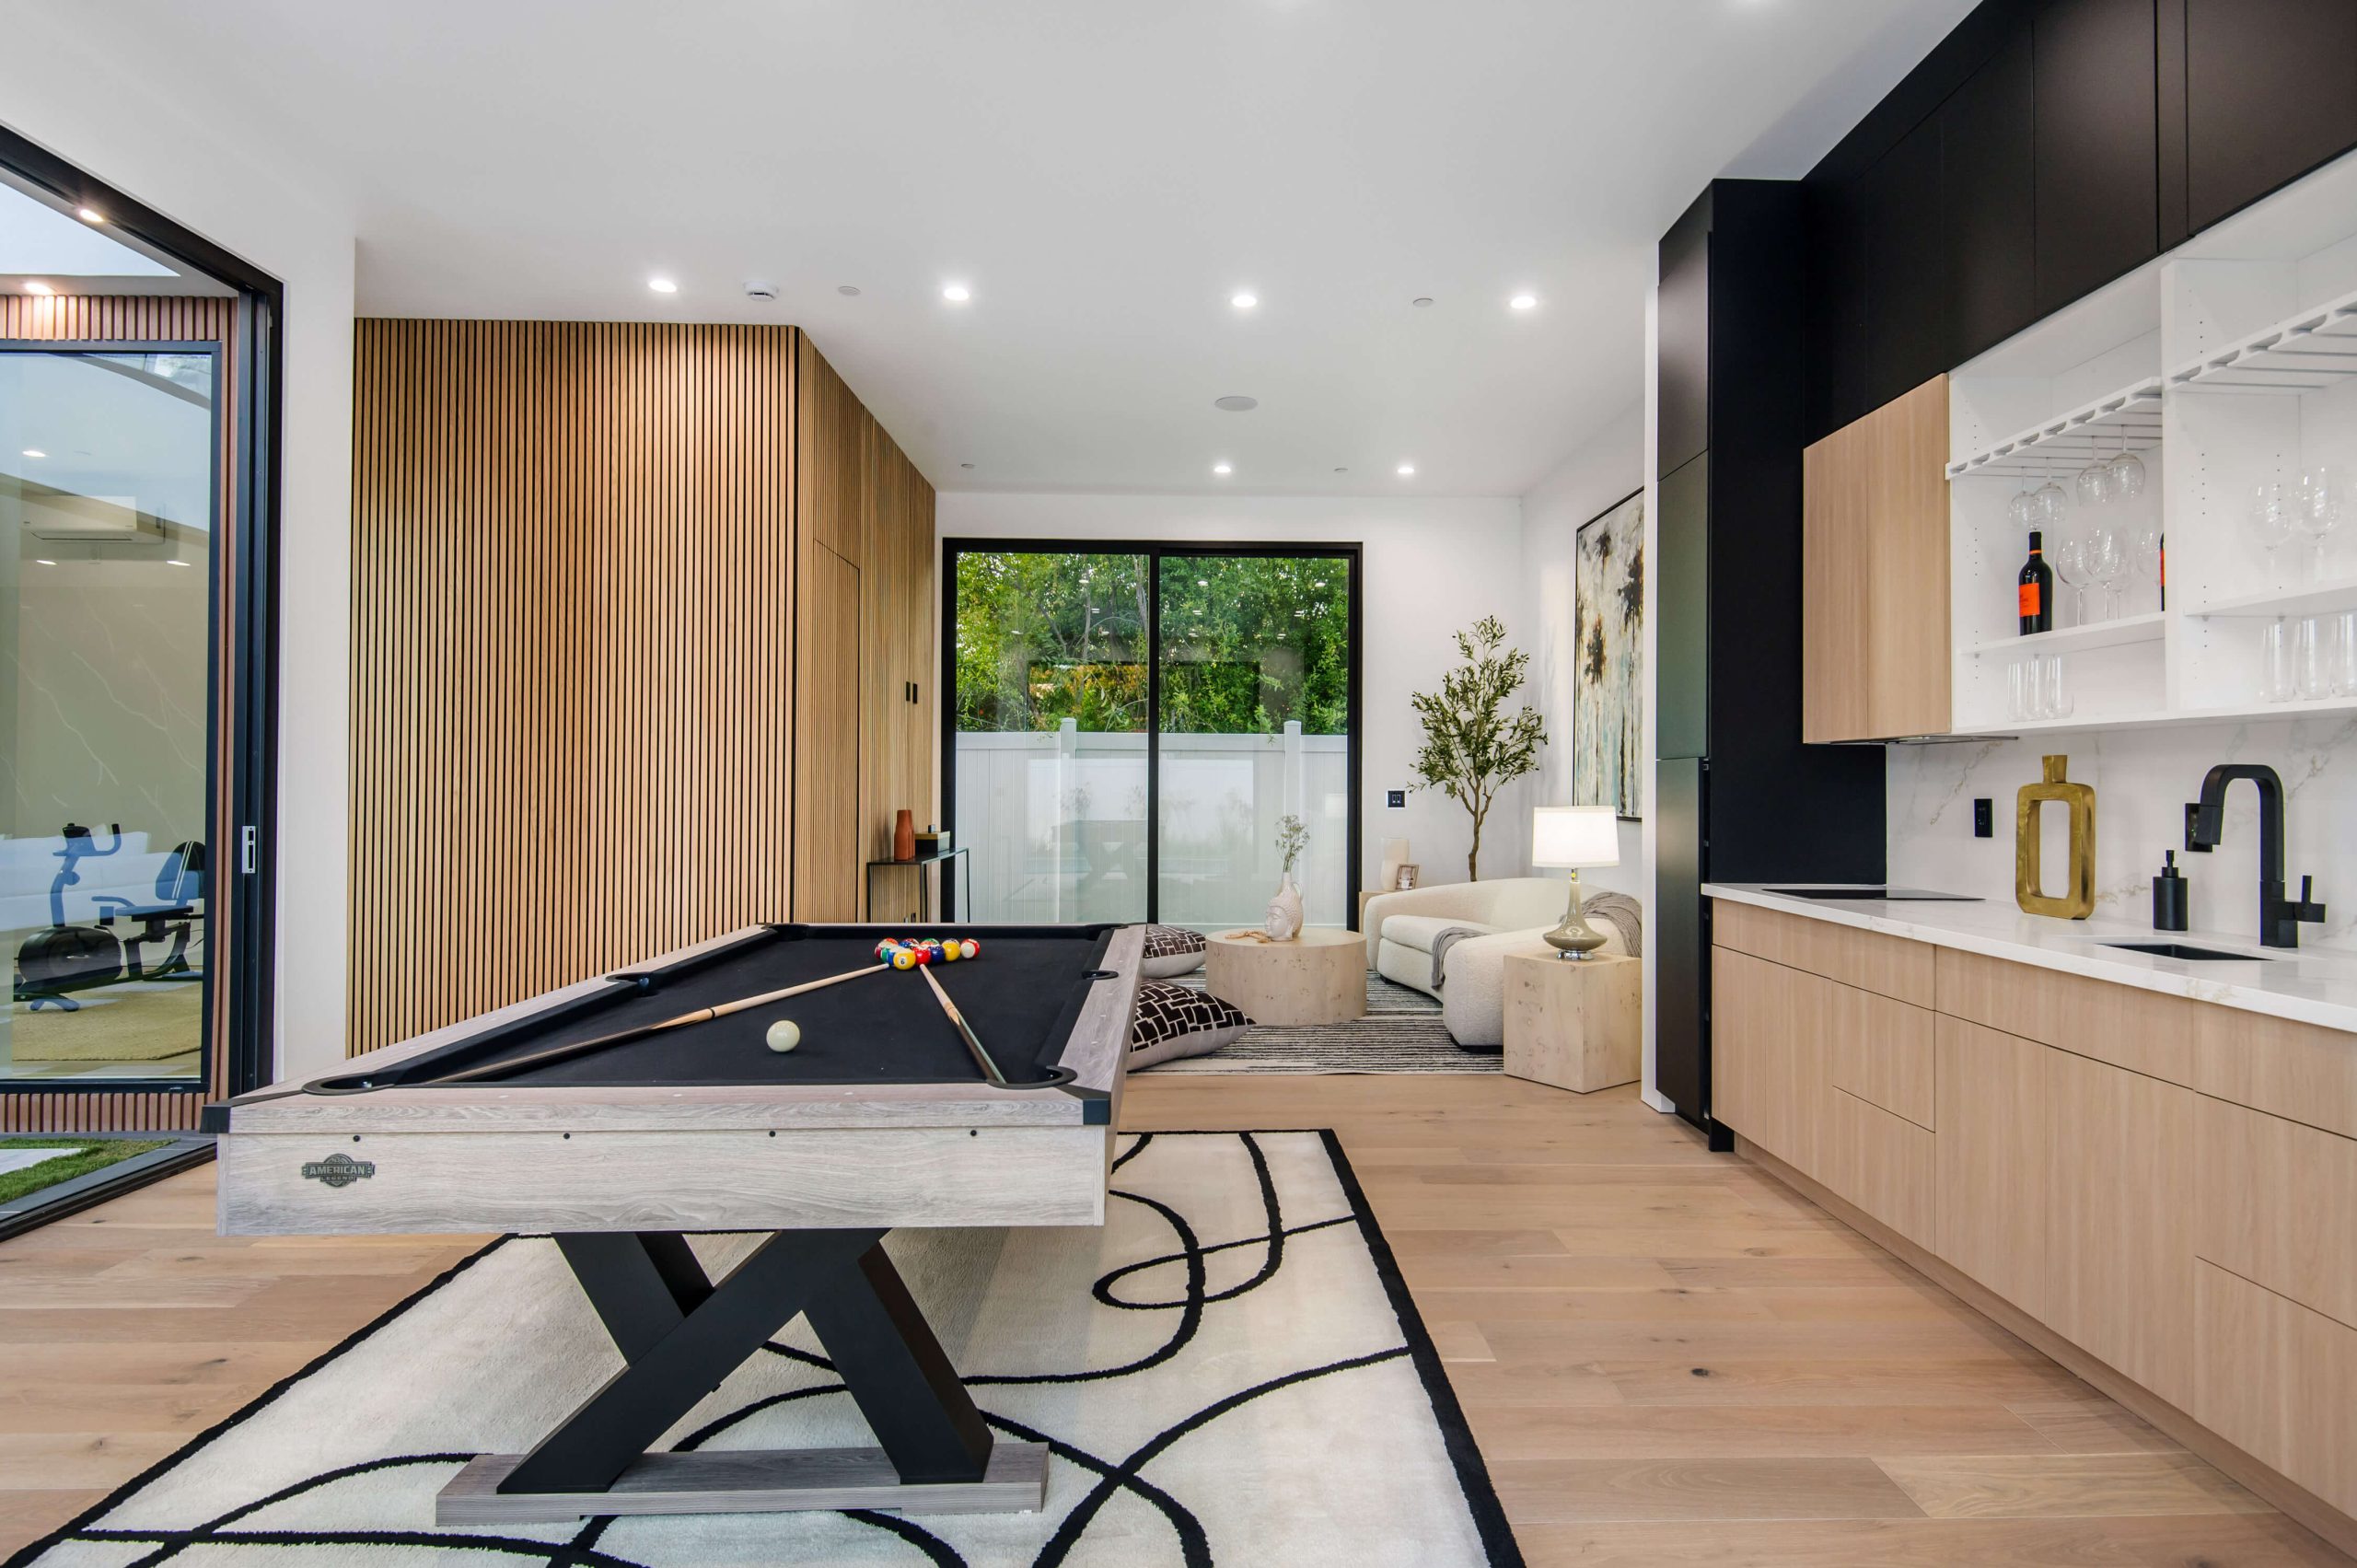
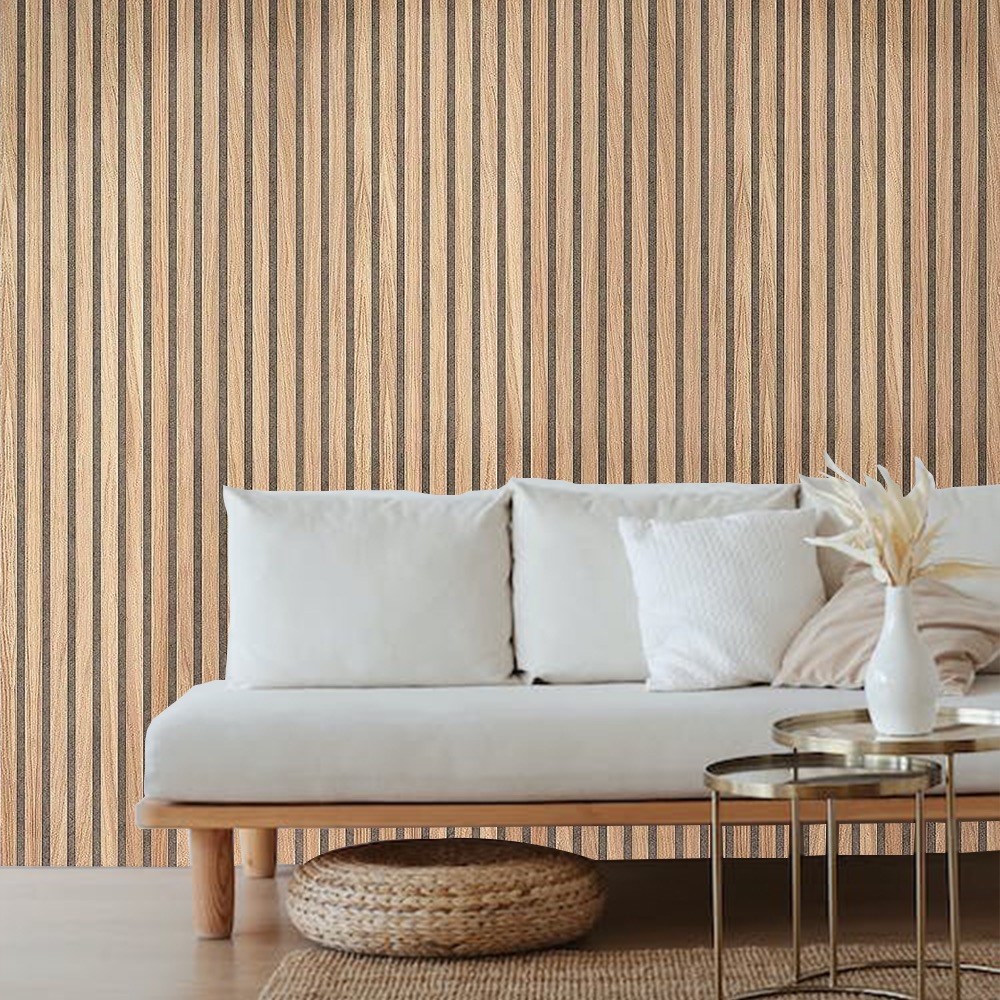
- Placement Tip: These panels double as decor and can be placed on feature walls.
Acoustic Panel Types
| Type | Best For | Placement Areas |
|---|---|---|
| Foam Panels | Home use, gaming | Walls, ceilings |
| Fabric-Wrapped | Professional spaces | First reflection points |
| Wood Acoustic Panels | Stylish interiors | Feature walls, behind sound sources |
Benefits of Proper Wall Placement
Proper acoustic panel placement ensures:
- Clearer Sound: Reduces echo and improves audio quality.
- Balanced Acoustics: Prevents uneven sound distribution.
- Improved Aesthetics: Adds a polished, professional look to rooms.
Common Mistakes to Avoid
- Placing Panels Too High or Low: Panels should be at ear level for maximum efficiency.
- Ignoring Ceilings: In large or high-ceilinged rooms, ceiling panels are crucial.
- Using Too Few Panels: A single panel won’t solve complex acoustic problems. Use multiple panels for better results.
Wall Placement
Step 1: Identify reflection points → Step 2: Mark locations → Step 3: Install panels → Step 4: Test sound
FAQs
1. How many acoustic panels do I need?
The number depends on room size and sound issues. Start with panels at reflection points, then add more as needed.
2. Can I install acoustic panels myself?
Yes! Most panels come with simple mounting systems like adhesives or brackets.
3. Do acoustic panels work on ceilings?
Absolutely. Ceiling panels are essential in rooms with high ceilings to control upward-traveling sound.
4. Are acoustic panels decorative?
Yes, especially wood and fabric-wrapped panels. They come in various styles and colors to complement your decor.
5. Can I move my panels if needed?
Yes. Many panels are designed for easy removal and repositioning.
By following these tips, you’ll achieve optimal sound quality in your space while enhancing its visual appeal. With the right acoustic panels and best wall placement, your room will sound and look better than ever.

