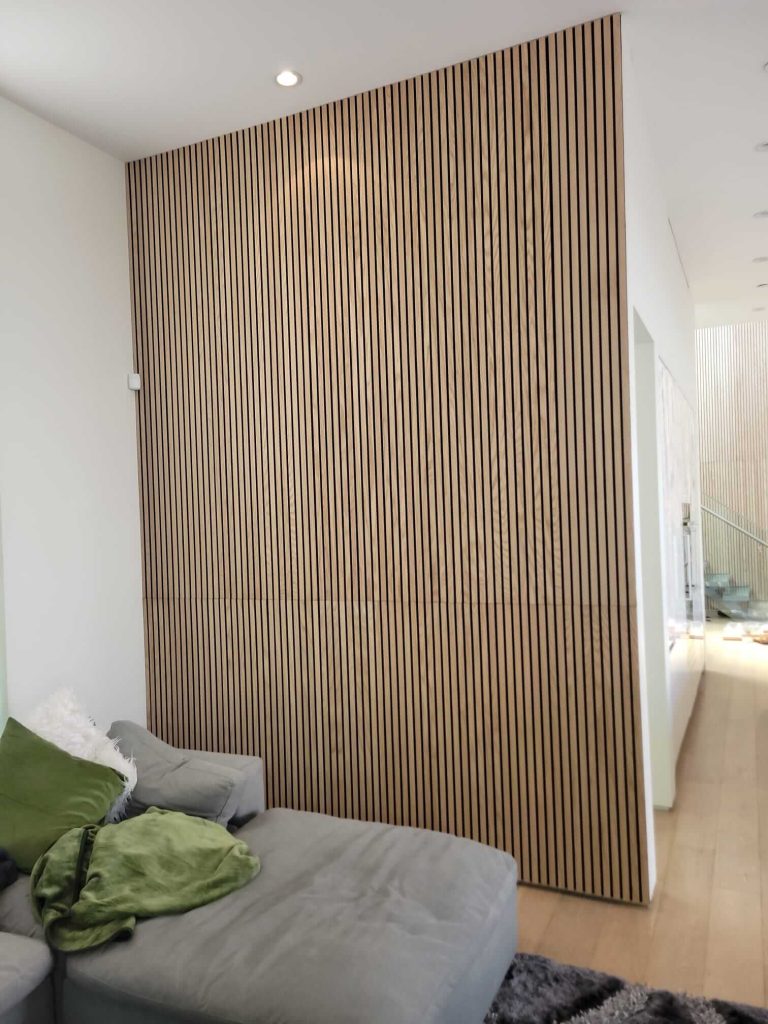
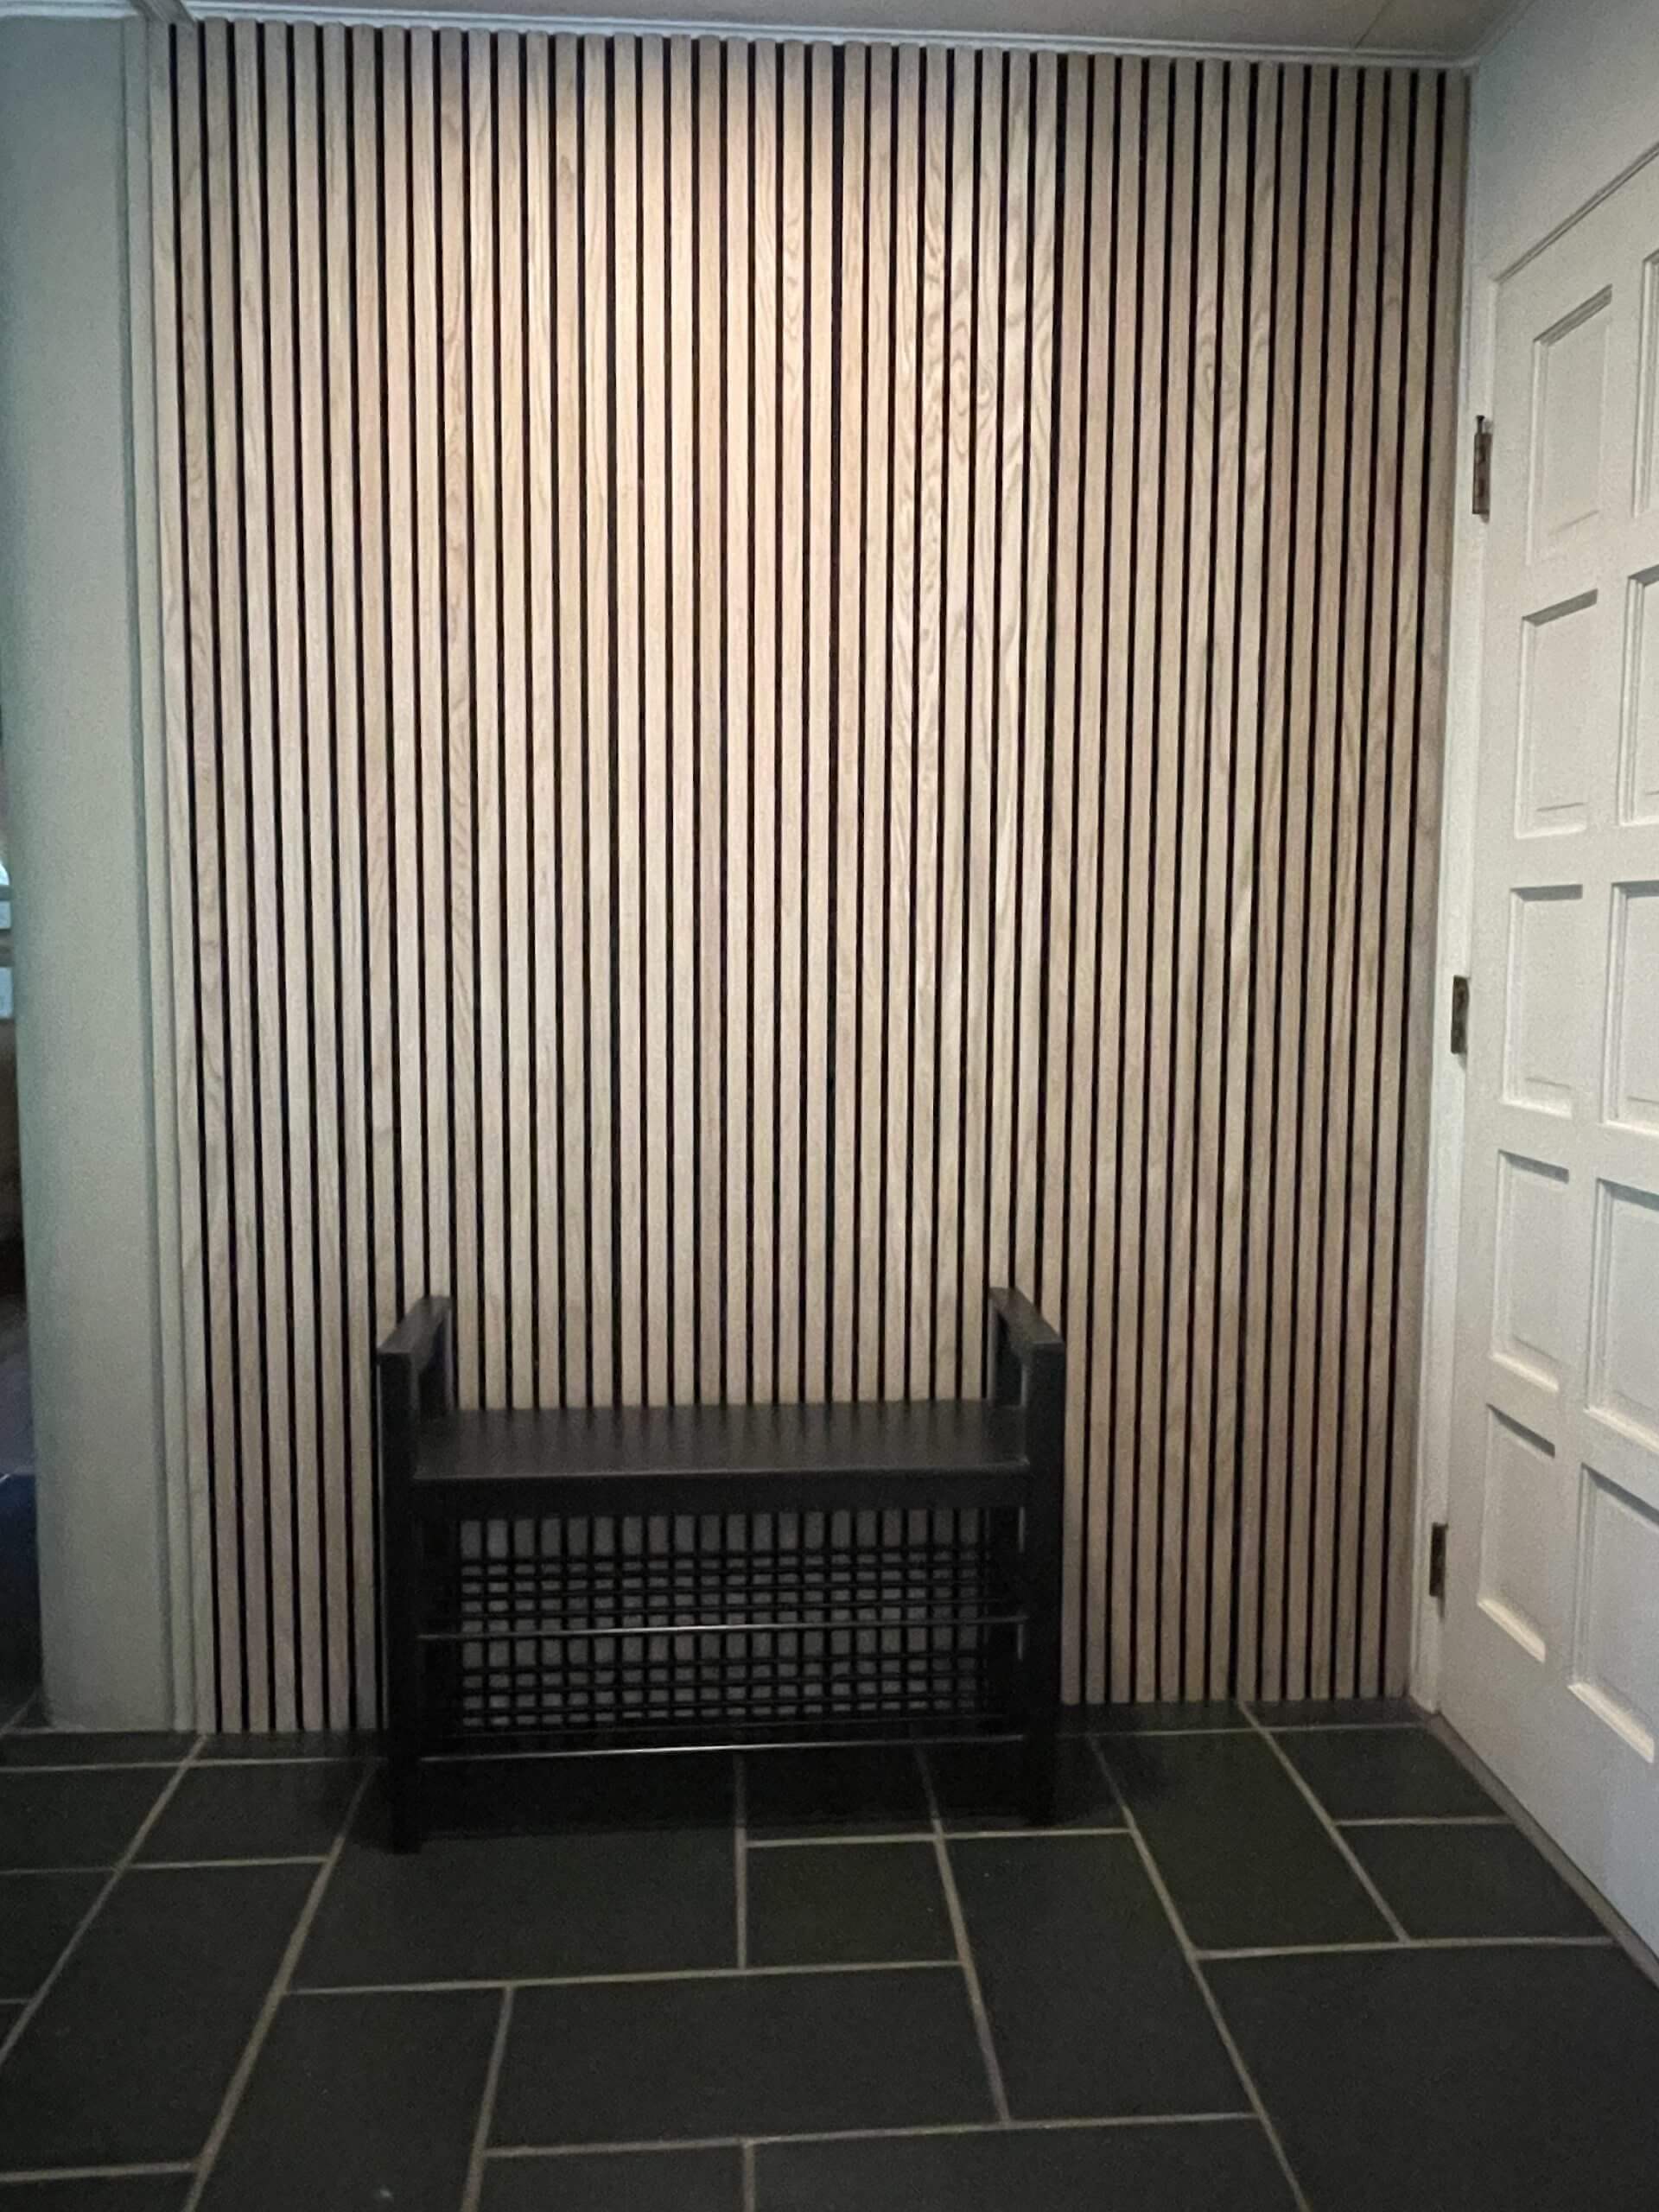
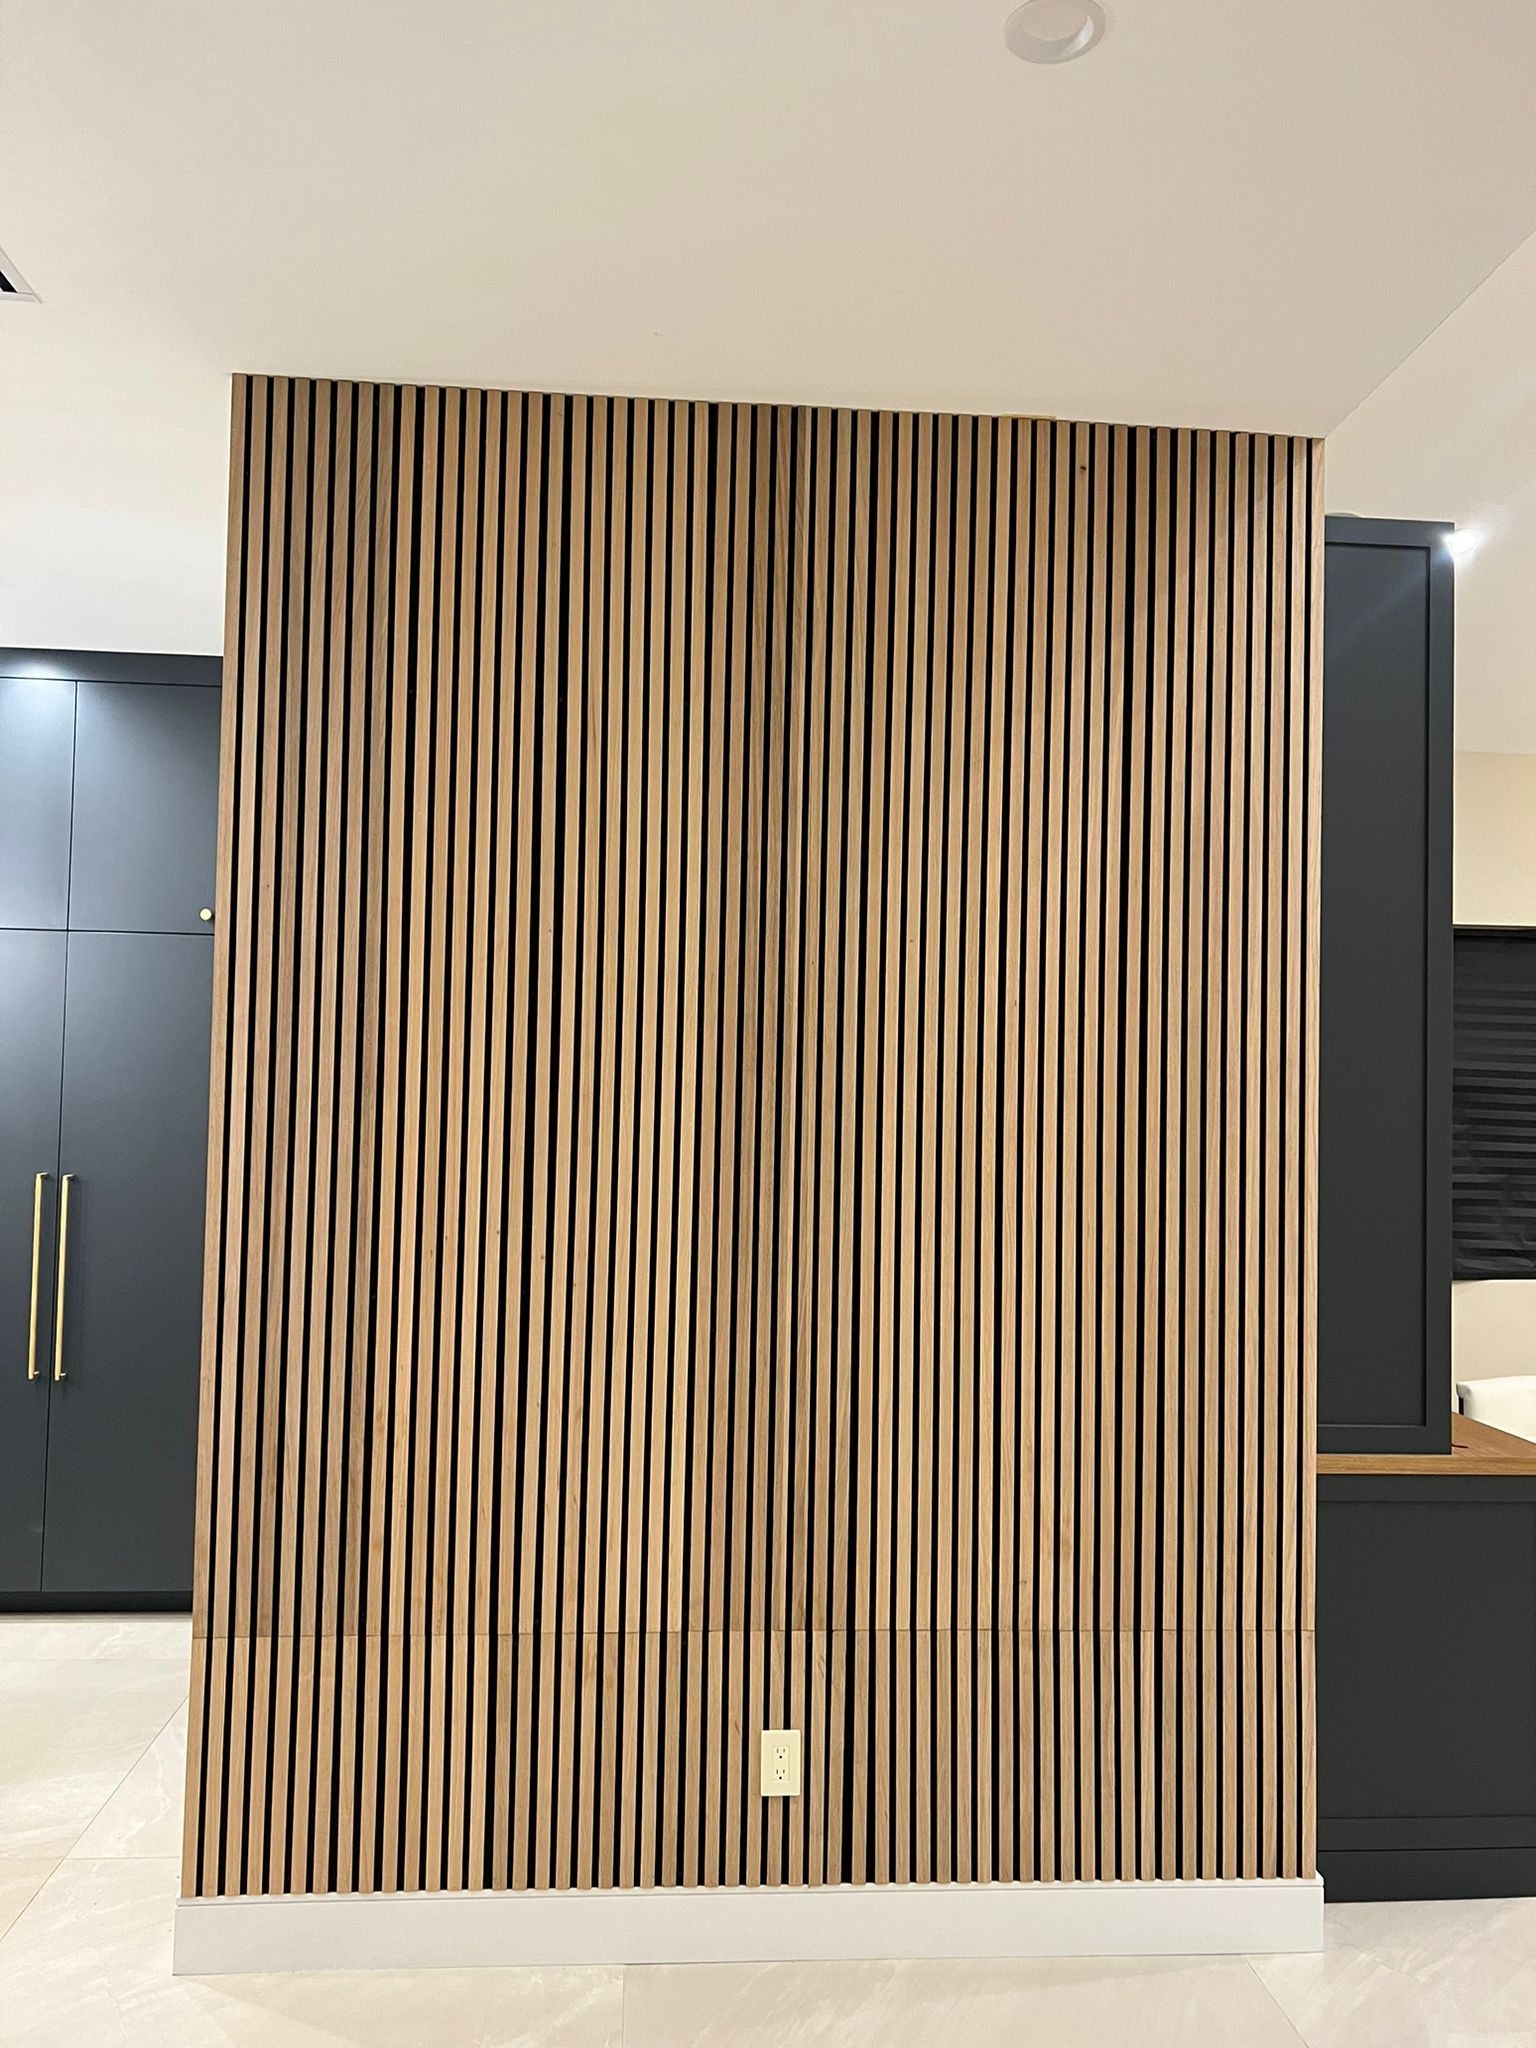
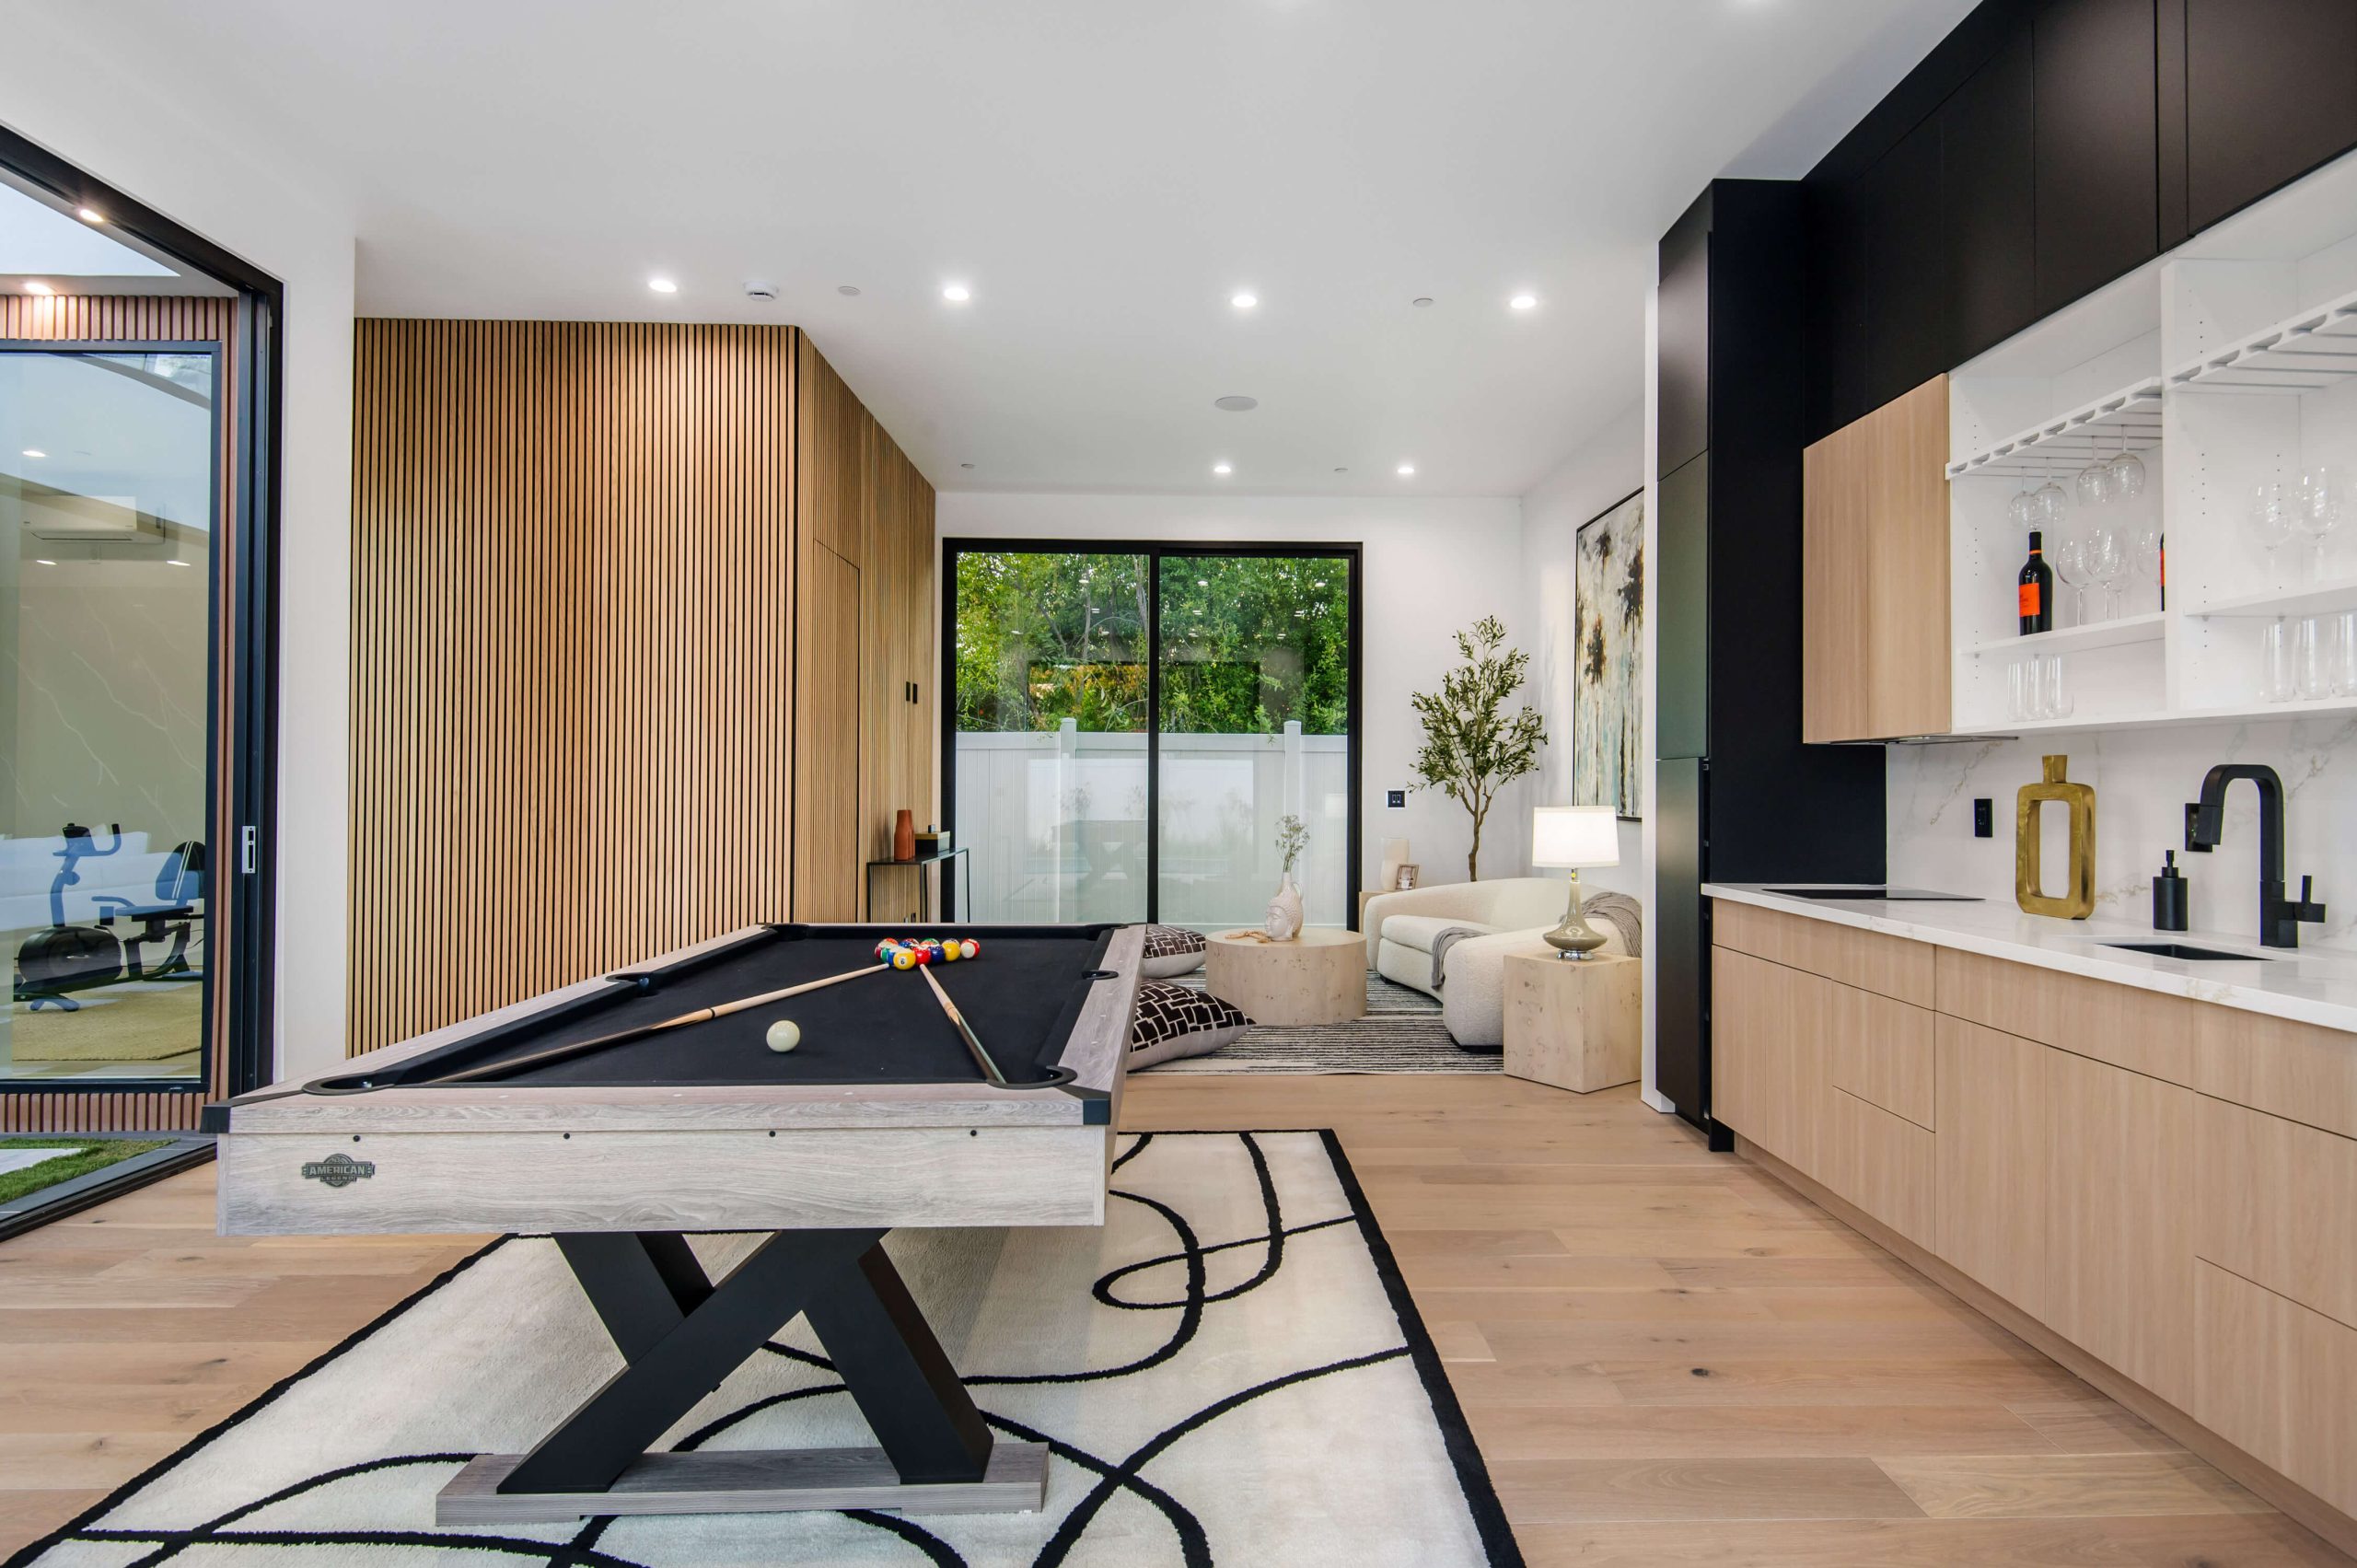
Creating wooden slats for walls, furniture, or decorative purposes can be a rewarding DIY project. Wooden slats have become increasingly popular for their ability to transform interiors, adding warmth, texture, and a modern aesthetic to any space. If you’re looking for an affordable, customizable, and fulfilling way to bring this trend into your home, this guide will walk you through the process of making your own wooden slats.
What Are Wooden Slats, and Why Use Them?
Wooden slats are thin, evenly spaced strips of wood that can be mounted on walls, ceilings, or furniture. They’re versatile, eco-friendly, and a budget-friendly way to create visual interest. When made correctly, they offer a sleek and professional look. Whether you’re revamping a room or building from scratch, making your own wooden slats allows for customization in size, color, and finish.
Key benefits of wooden slats:
- Aesthetic Appeal: Adds warmth and texture.
- Acoustic Advantages: Reduces echo and improves sound insulation.
- Customizable: Adjustable to fit any space or style.
- Cost-Effective: DIY options are often more affordable than pre-made slat panels.
Tools and Materials You’ll Need
Before you begin, gathering the right tools and materials is essential. Here’s a comprehensive list to get you started:
- Materials:
- Wooden planks (e.g., pine, oak, or walnut)
- Sandpaper (various grits)
- Wood stain or paint
- Sealant or varnish
- Wood glue or construction adhesive
- Tools:
- Saw (table saw or circular saw)
- Measuring tape
- Pencil
- Level
- Paintbrushes or rollers
- Drill and screws (optional for mounting)
Investing in high-quality wood and tools ensures better results and durability for your wooden slats.
Step-by-Step Guide to Making Your Own Wooden Slats
Here’s how to create your own slats from start to finish:
- Measure and Plan:
- Measure the area where you plan to install the slats. This includes wall height, width, and the desired spacing between each slat.
- Sketch a layout to determine the number of slats needed.
- Decide on the dimensions of each slat (e.g., 1 inch wide and 2 inches deep).
- Choose the Right Wood:
- Opt for a type of wood that suits your budget and style. Hardwood like oak is durable but more expensive, while pine is budget-friendly and easy to work with.
- Ensure the wood is smooth and free of large knots for a uniform appearance.
- Cut the Wooden Slats:
- Use a table saw or circular saw to cut the planks into strips. Be precise with measurements to ensure consistency.
- Sand the edges of each slat to remove splinters and rough spots.
- Sand and Smooth:
- Sand all sides of the slats using medium-grit sandpaper, followed by fine-grit sandpaper for a polished finish.
- Wipe off dust with a damp cloth before moving to the next step.
- Apply Finish:
- Stain or paint the slats in your desired color. A natural wood stain brings out the grain, while paint can match any color palette.
- Seal the slats with varnish or sealant for durability and protection against moisture.
- Mounting the Slats:
- Attach the slats to the wall or surface using wood glue or construction adhesive. Use a level to keep them straight.
- For extra stability, drill screws into the top and bottom of each slat.
Tips for a Professional Look
To achieve a polished result, keep these tips in mind:
- Maintain consistent spacing between slats. Use a spacer tool or measure carefully.
- Work in sections to ensure the adhesive or glue doesn’t dry out before mounting.
- Test your finish on a scrap piece of wood to confirm the color and look.
Visual Guide to the Process
Making Wooden Slats
- Plan & Measure → 2. Select Wood → 3. Cut & Sand → 4. Apply Finish → 5. Mount & Align.
Recommended Wood Types
| Wood Type | Pros | Cons | Best For |
|---|---|---|---|
| Pine | Affordable, lightweight | Less durable | Budget-friendly projects |
| Oak | Durable, rich grain | Expensive | High-end, lasting designs |
| Walnut | Elegant, dark tone | Pricey, harder to cut | Luxury aesthetics |
Common Challenges and How to Overcome Them
- Uneven Spacing:
- Use spacers or clamps to ensure uniform gaps between slats.
- Rough Edges or Splinters:
- Sand thoroughly and check edges after cutting.
- Adhesive Issues:
- Choose a strong adhesive suitable for the wood type and surface. Allow proper curing time.
- Warping or Shrinking:
- Use kiln-dried wood to reduce warping and store it in a controlled environment before use.
Conclusion: The Joy of Making Your Own Wooden Slats
Crafting your own wooden slats not only saves money but also lets you create a custom feature tailored to your home. This project is perfect for DIY enthusiasts, and with the right preparation and tools, you’ll achieve a professional-grade result. From selecting the wood to mounting the finished slats, each step offers an opportunity to personalize your space and showcase your craftsmanship.
FAQs
-
What’s the best wood for making wooden slats?
Hardwood like oak or walnut is ideal for durability, while pine is great for budget-friendly projects.
-
How do I ensure consistent spacing between slats?
Use a spacer tool or cut a uniform block to maintain equal gaps during installation.
-
Can I use pre-finished wood for slats?
Yes, pre-finished wood saves time and offers a consistent finish but limits customization.
-
How do I clean and maintain wooden slats?
Dust regularly with a soft cloth. For deeper cleaning, use a wood-safe cleaner or polish.
-
Is it better to glue or screw the slats?
Glue is sufficient for most applications, but screws add extra stability, especially in high-traffic areas.
By following this guide, you can confidently embark on your DIY journey to create stunning wooden slats that elevate your home’s design. With patience and attention to detail, the results will be well worth the effort!


