Wooden panelling, often synonymous with elegance and functionality, is a timeless interior design element that has transformed walls and spaces for centuries. Known for its versatility, wooden panelling is not just a practical solution for covering walls but also a design statement that adds warmth and sophistication to any room. Whether you’re a DIY enthusiast or a professional interior designer, understanding the different types of wooden panelling and how to use them effectively can make a significant impact on your space.
What Is Wooden Panelling?
Wooden panelling refers to the use of wood-based materials to cover walls or ceilings. This decorative and functional technique has been used for centuries, with its origins tracing back to medieval Europe. Wooden panelling not only enhances the aesthetic appeal of interiors but also offers insulation, soundproofing, and protection for walls.
There are various terms for wooden panelling, depending on the style and purpose:
- Shiplap: Wooden boards with overlapping edges that create a weather-tight seal.
- Wainscoting: Paneling applied to the lower portion of walls for a classic, elegant look.
- Tongue and Groove: A method where panels fit together seamlessly.
- Beadboard: Narrow vertical planks separated by grooves, often used for cottage-style aesthetics.
Why Choose Wooden Panelling?
Wooden panelling is prized for its ability to combine form and function seamlessly. Here are some compelling reasons to consider it for your next project:
- Versatility: Wooden panelling comes in a variety of finishes, textures, and styles to suit modern, rustic, or traditional interiors.
- Durability: High-quality panels can last for decades with proper maintenance.
- Aesthetic Appeal: Wood introduces natural warmth, creating a cozy and inviting atmosphere.
- Ease of Installation: Many types of wooden panelling are DIY-friendly, making them accessible for homeowners.
How to Use Wooden Panelling in Your Space
Whether you’re refreshing a single wall or transforming an entire room, wooden panelling offers endless possibilities. Here are some creative ways to incorporate it into your design:
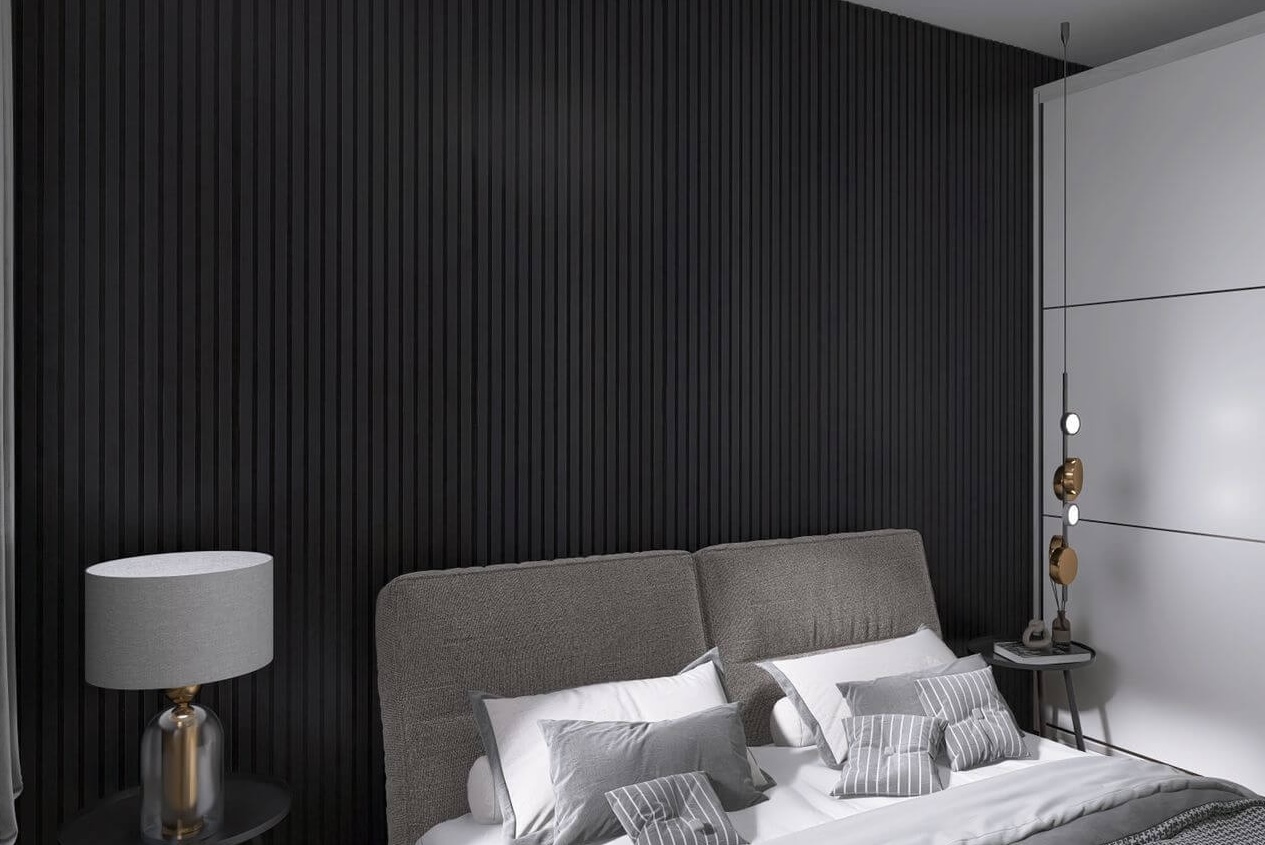
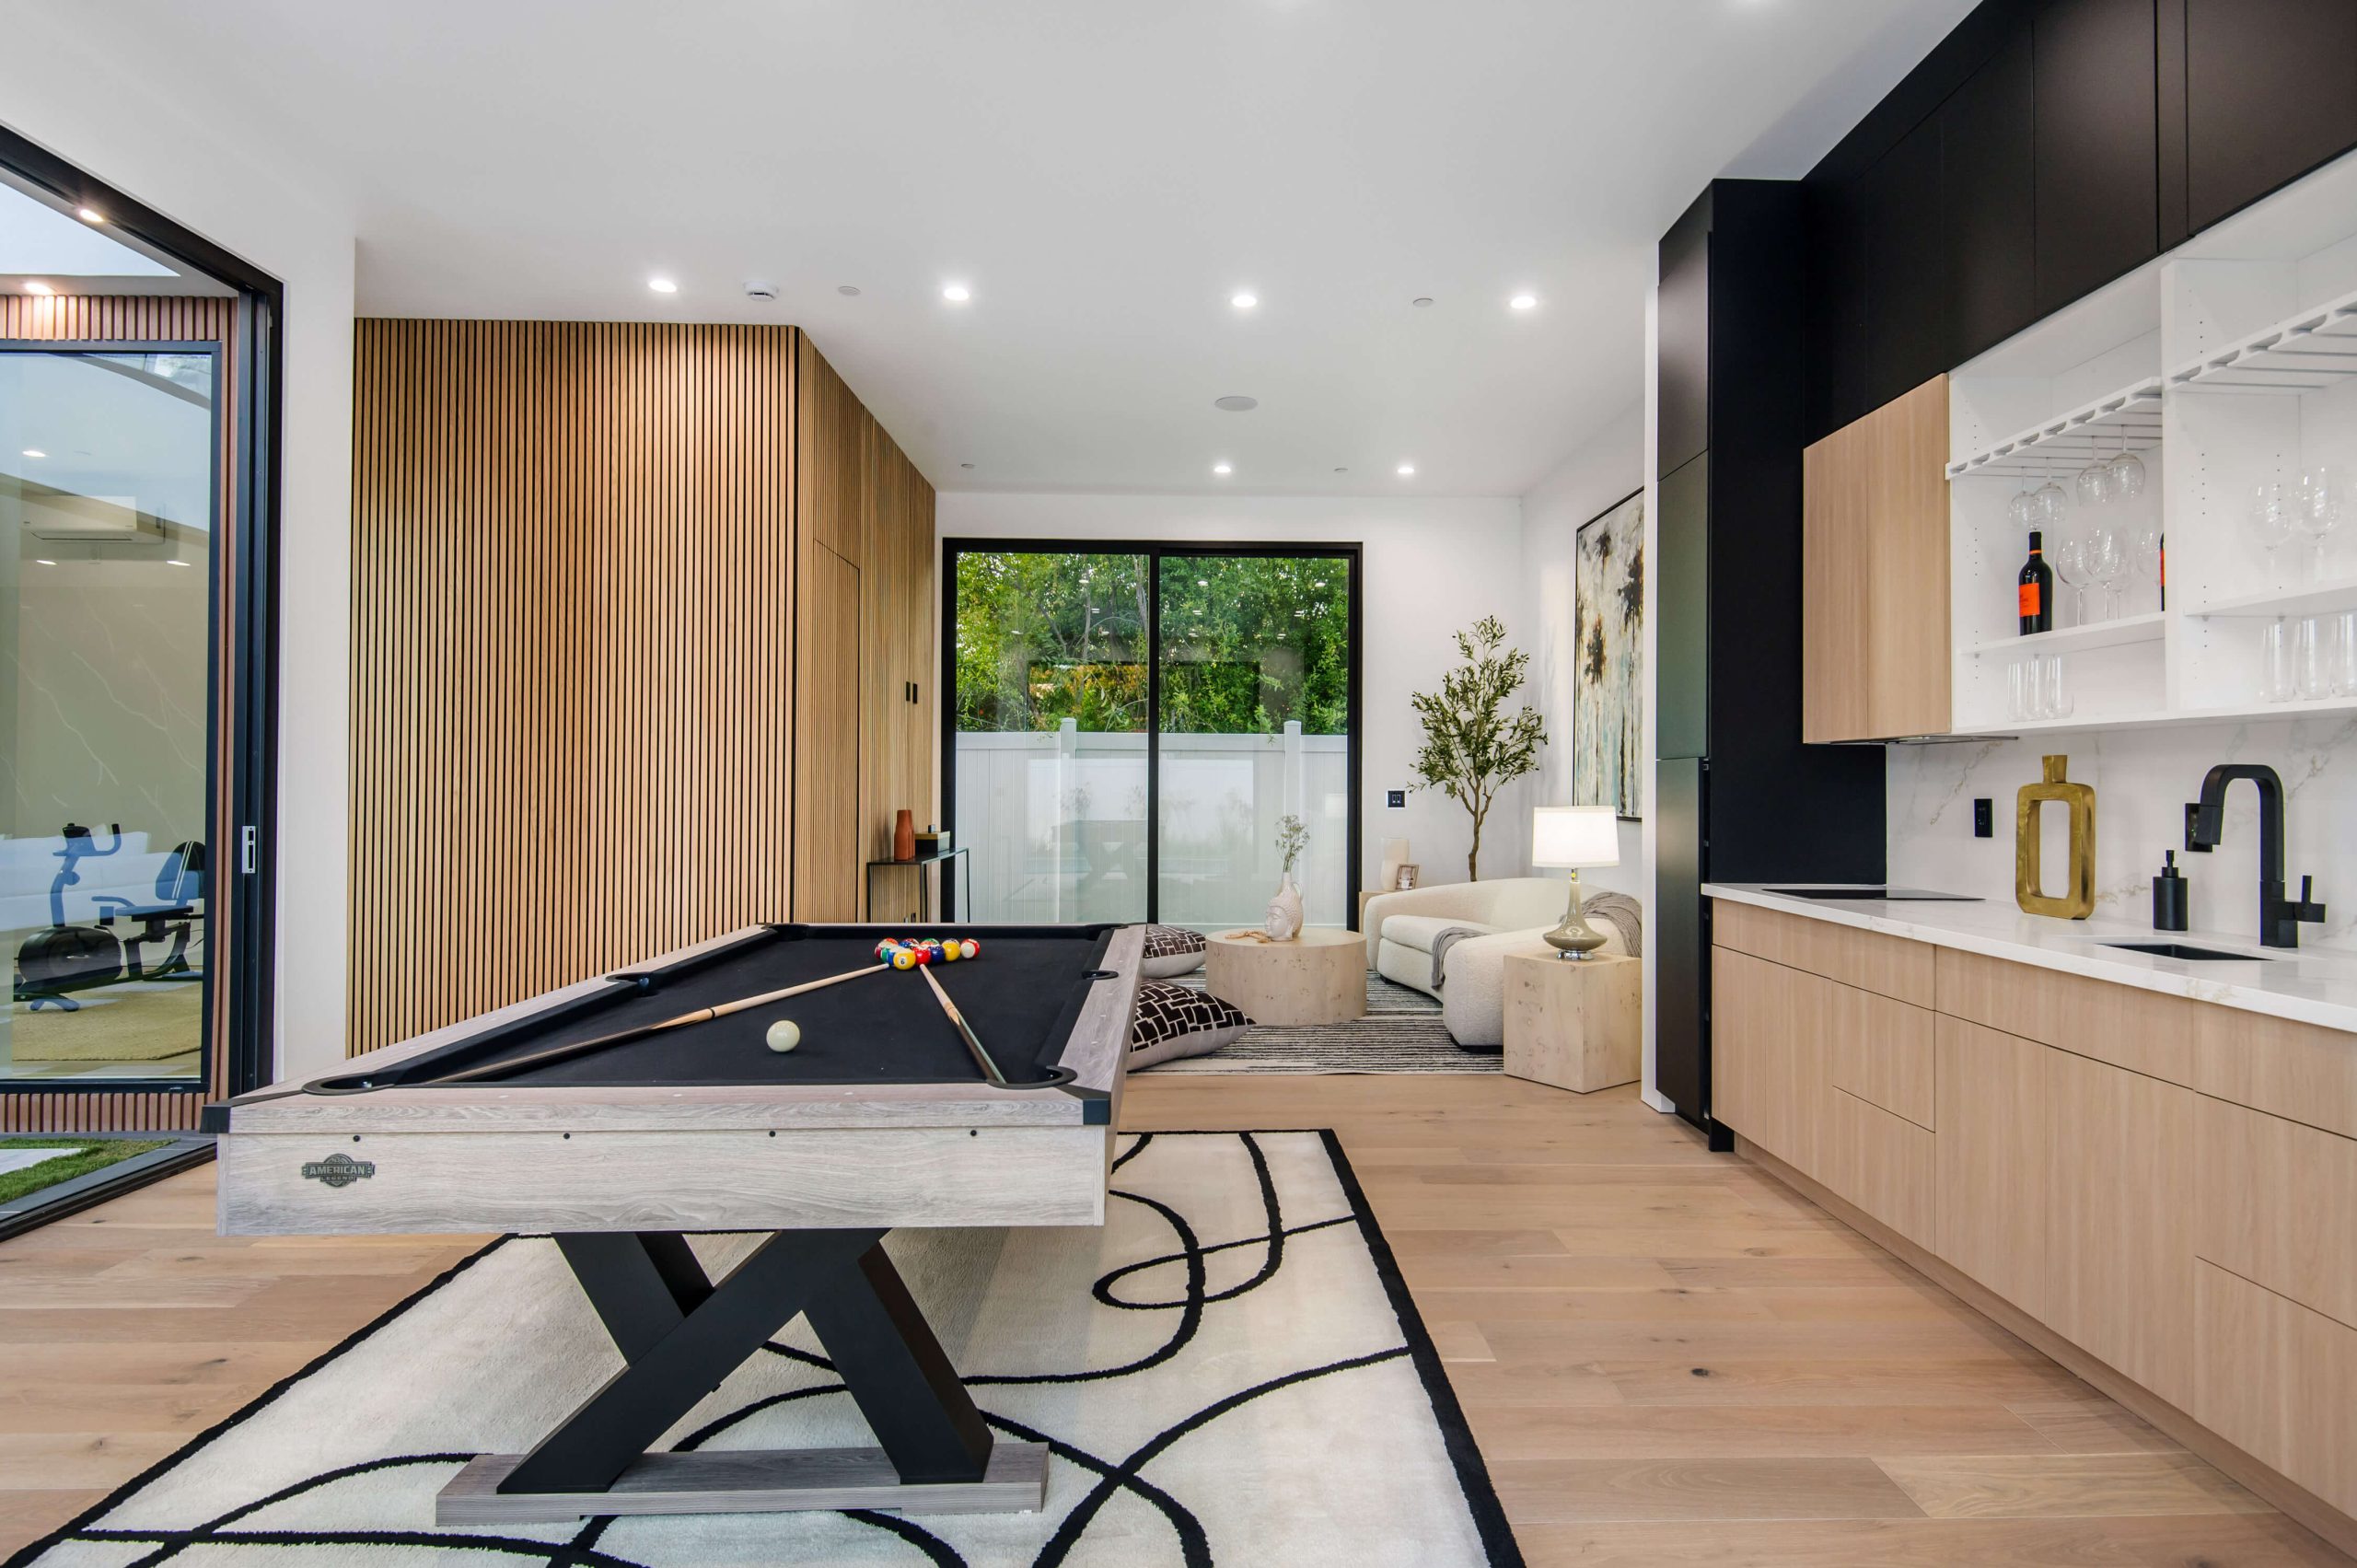
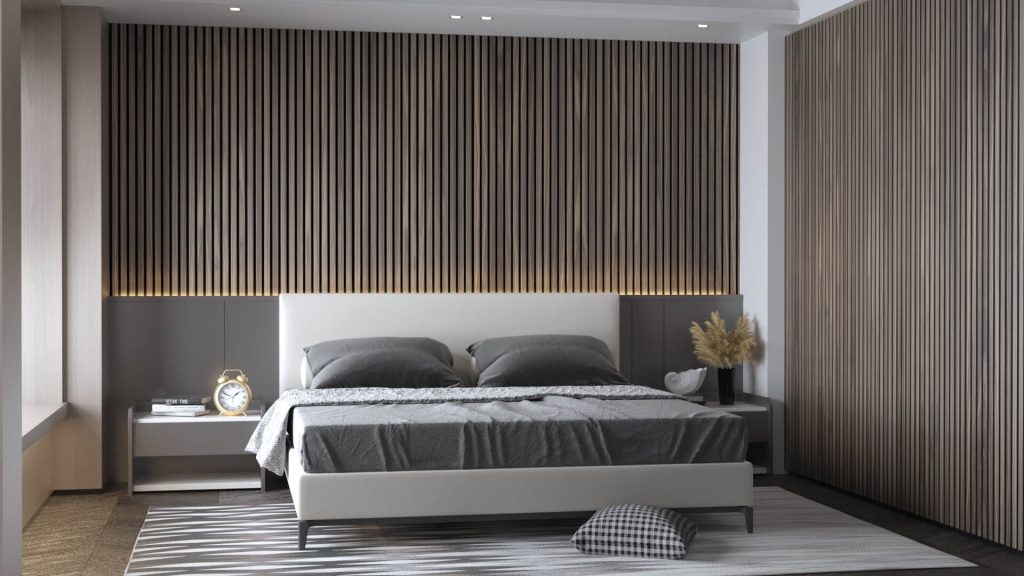
- Accent Walls
Use wooden panelling to create a focal point in your room. For instance, a shiplap wall behind your bed or fireplace can add character without overwhelming the space. - Ceilings
Add wooden panels to ceilings for an unexpected twist. This works especially well in spaces where you want to create a rustic or industrial vibe. - Wainscoting
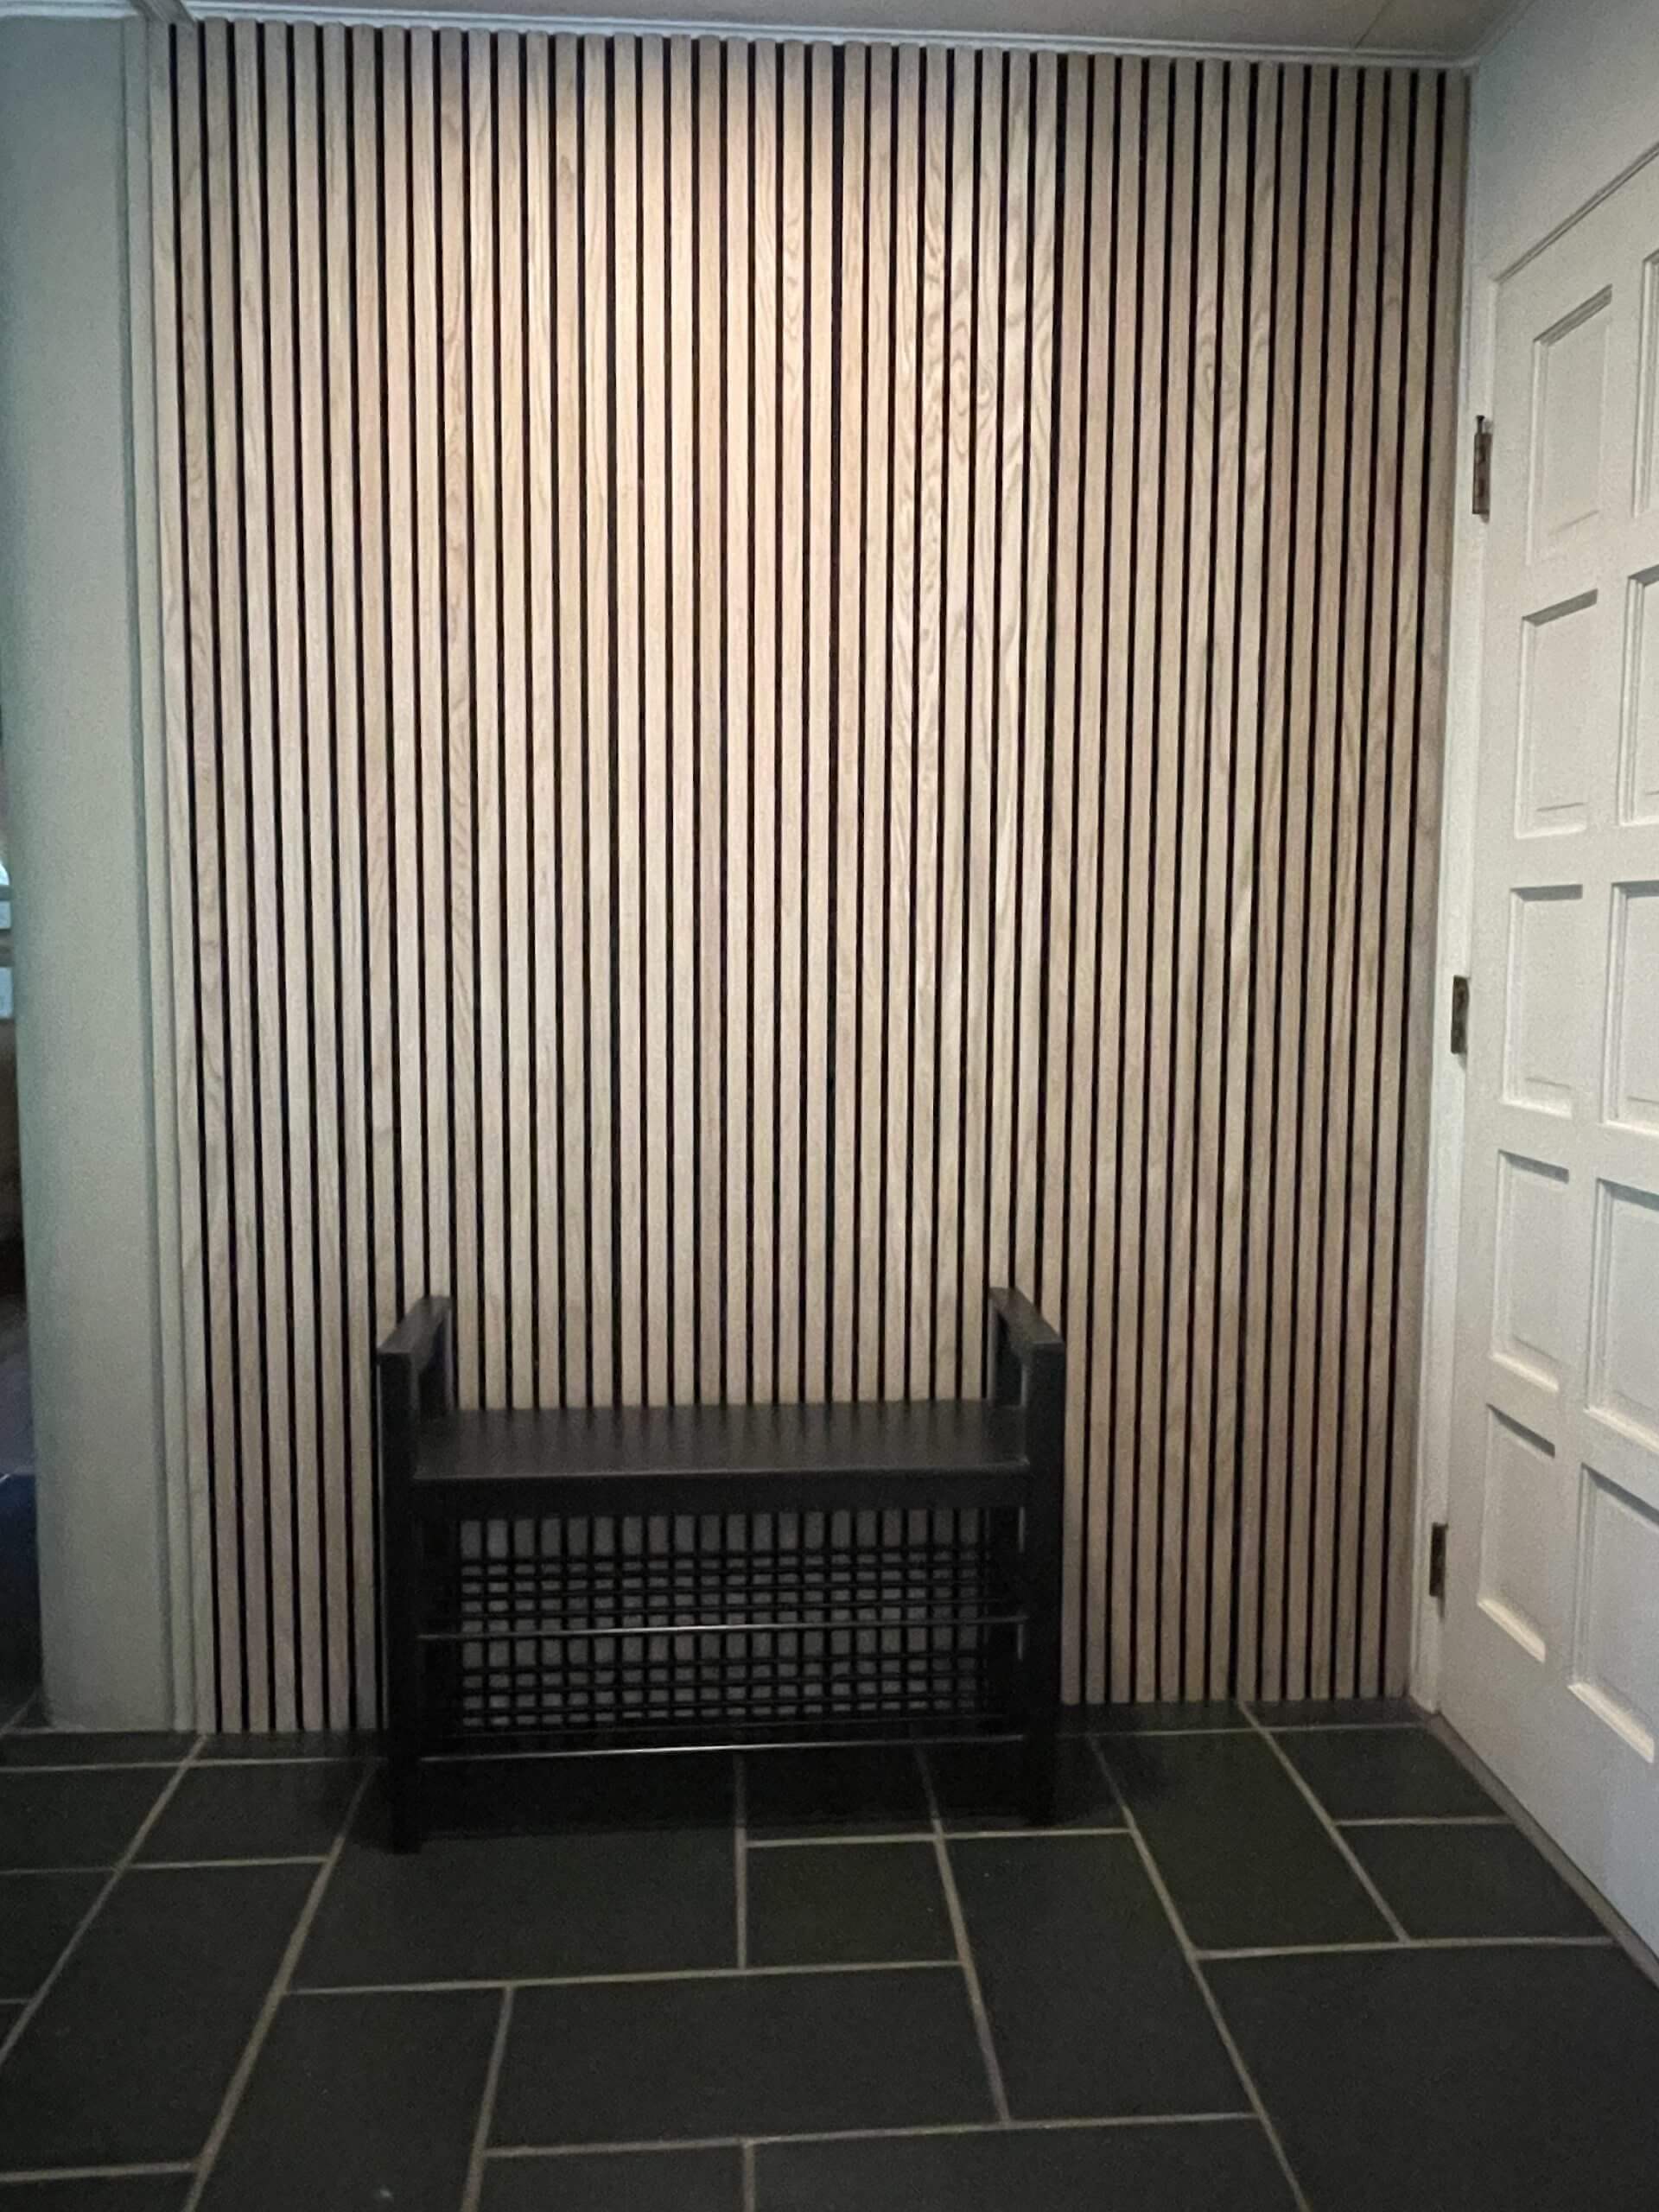
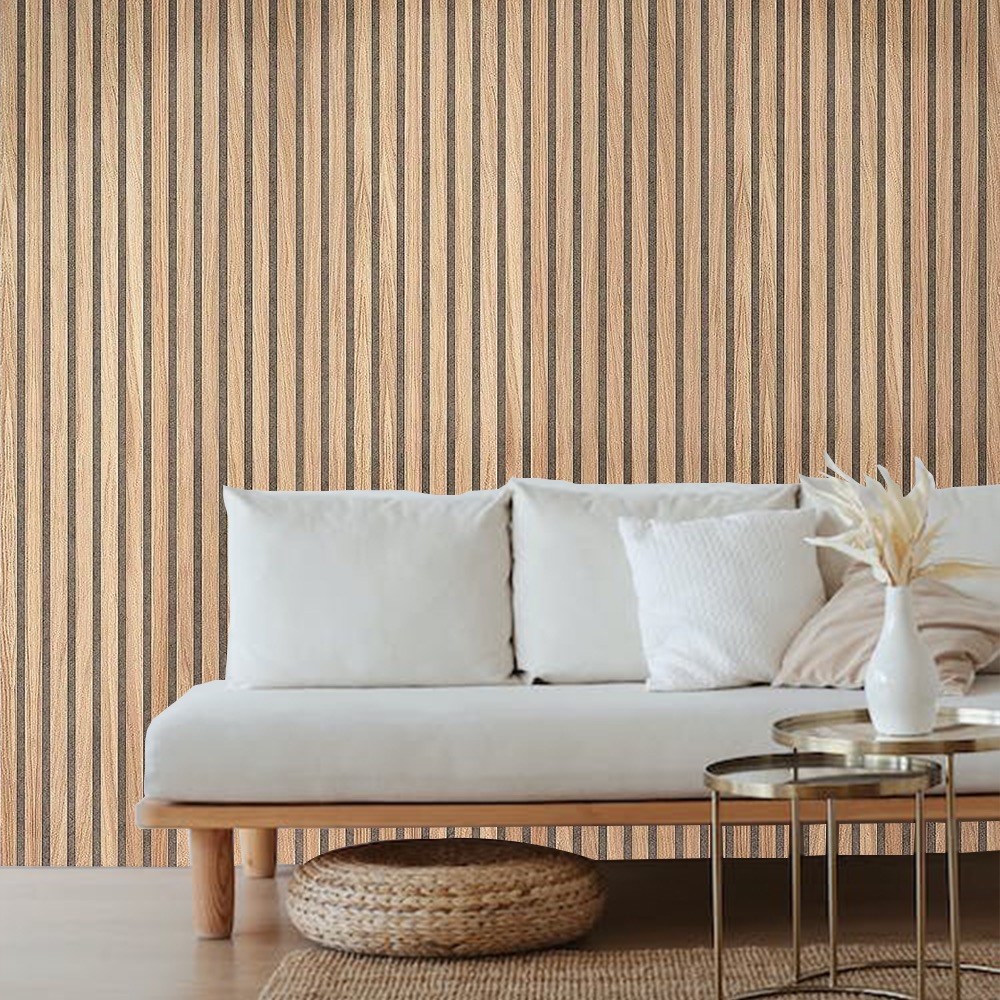
Apply wainscoting to the lower third of your walls for a traditional, timeless look. Pair it with bold paint colors for a modern twist. - Full Wall Coverage
Cover entire walls with wooden panelling for a cabin-like feel. Choose darker stains for a dramatic effect or lighter tones for a Scandinavian-inspired design. - Kitchen Backsplashes
Wooden panelling can even be used in kitchens. Opt for treated or sealed wood to withstand moisture and stains.
Types of Wooden Panelling: A Quick Guide
Understanding the types of wooden panelling is essential for selecting the right one for your project. Here’s a breakdown of popular options:
| Type | Description | Best For |
|---|---|---|
| Shiplap | Overlapping boards creating horizontal lines. | Accent walls, rustic themes. |
| Wainscoting | Decorative panels applied to the lower half of walls. | Formal dining rooms, halls. |
| Beadboard | Vertical planks separated by thin grooves. | Coastal or cottage styles. |
| Tongue and Groove | Panels that fit together seamlessly for a polished look. | Ceilings, modern interiors. |
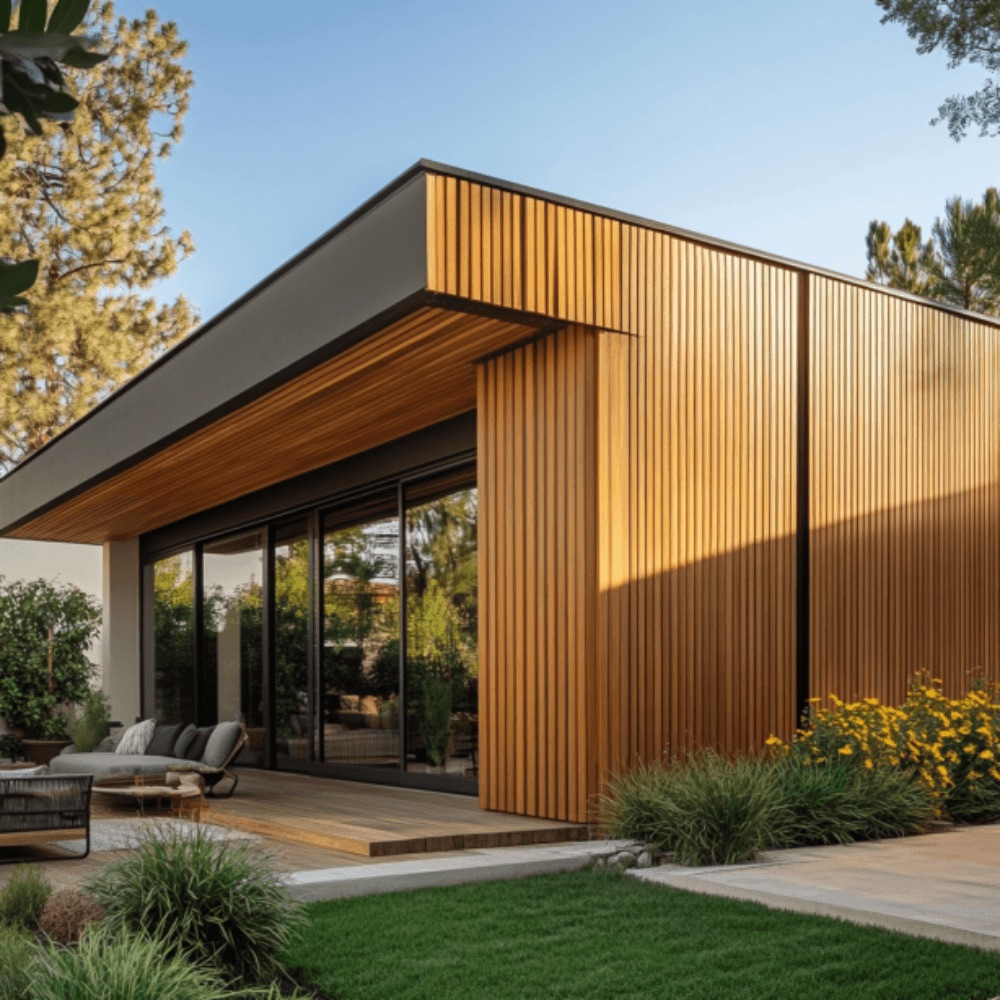
| Board and Batten | Vertical boards with narrow strips (battens) covering the seams. | Exterior walls, tall rooms. |
DIY Wooden Panelling: Step-by-Step
For those ready to take on a DIY project, installing wooden panelling can be an enjoyable and rewarding experience. Here’s how to do it:
- Measure Your Space
Measure the height and width of your wall to determine the number of panels you’ll need. - Choose Your Panels
Select a style that complements your existing decor. Consider wood type, finish, and thickness. - Prepare the Wall
Clean the wall surface and apply primer if necessary. Remove any obstructions like outlet covers. - Install the Panels
Start from one corner and work your way across, using adhesive and nails to secure each panel. - Finishing Touches
Fill nail holes with wood filler, sand any rough edges, and apply paint or stain for a polished look.
Maintenance Tips for Wooden Panelling
To keep your wooden panelling looking pristine, follow these simple maintenance tips:
- Regular Cleaning: Dust with a microfiber cloth or vacuum with a brush attachment.
- Avoid Moisture: Use a dehumidifier in damp areas to prevent warping or mold.
- Refinishing: Reapply stain or paint every few years to maintain the color and finish.
Common Questions About Wooden Panelling
1. What are the benefits of wooden panelling over paint or wallpaper?
Wooden panelling offers durability, insulation, and a timeless aesthetic that paint or wallpaper cannot replicate.
2. Can I install wooden panelling in bathrooms or kitchens?
Yes, but ensure the wood is treated or sealed to resist moisture and humidity.
3. How much does wooden panelling cost?
Costs vary depending on the wood type, style, and installation method. On average, expect to spend $5–$30 per square foot.
4. Is wooden panelling eco-friendly?
Many manufacturers offer sustainable options made from reclaimed or FSC-certified wood.
5. Can I paint over wooden panelling?
Absolutely! Painting wooden panelling can give it a fresh, modern look. Be sure to sand and prime the surface first.
Wooden panelling is more than just a wall covering—it’s a design element that can elevate your space with charm and functionality. Whether you’re drawn to its rustic appeal or modern versatility, incorporating wooden panelling into your home is a decision that combines beauty and practicality.