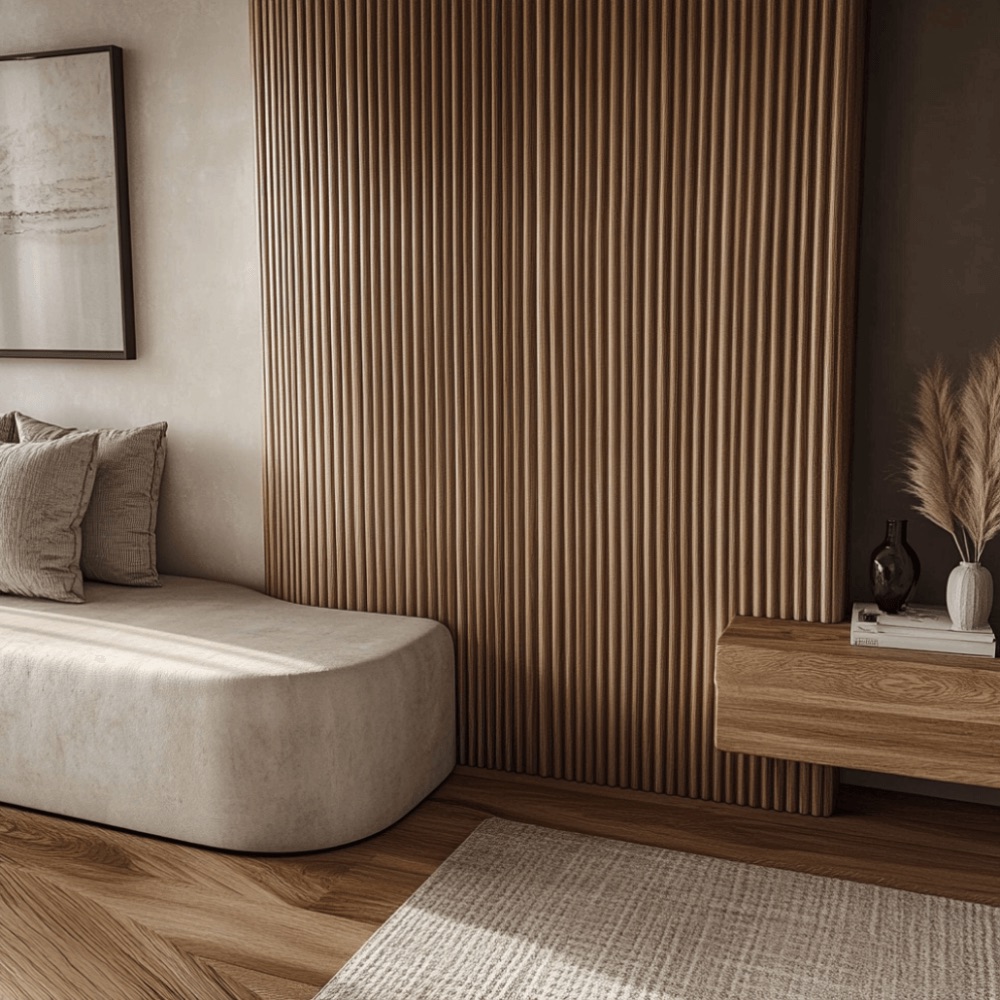
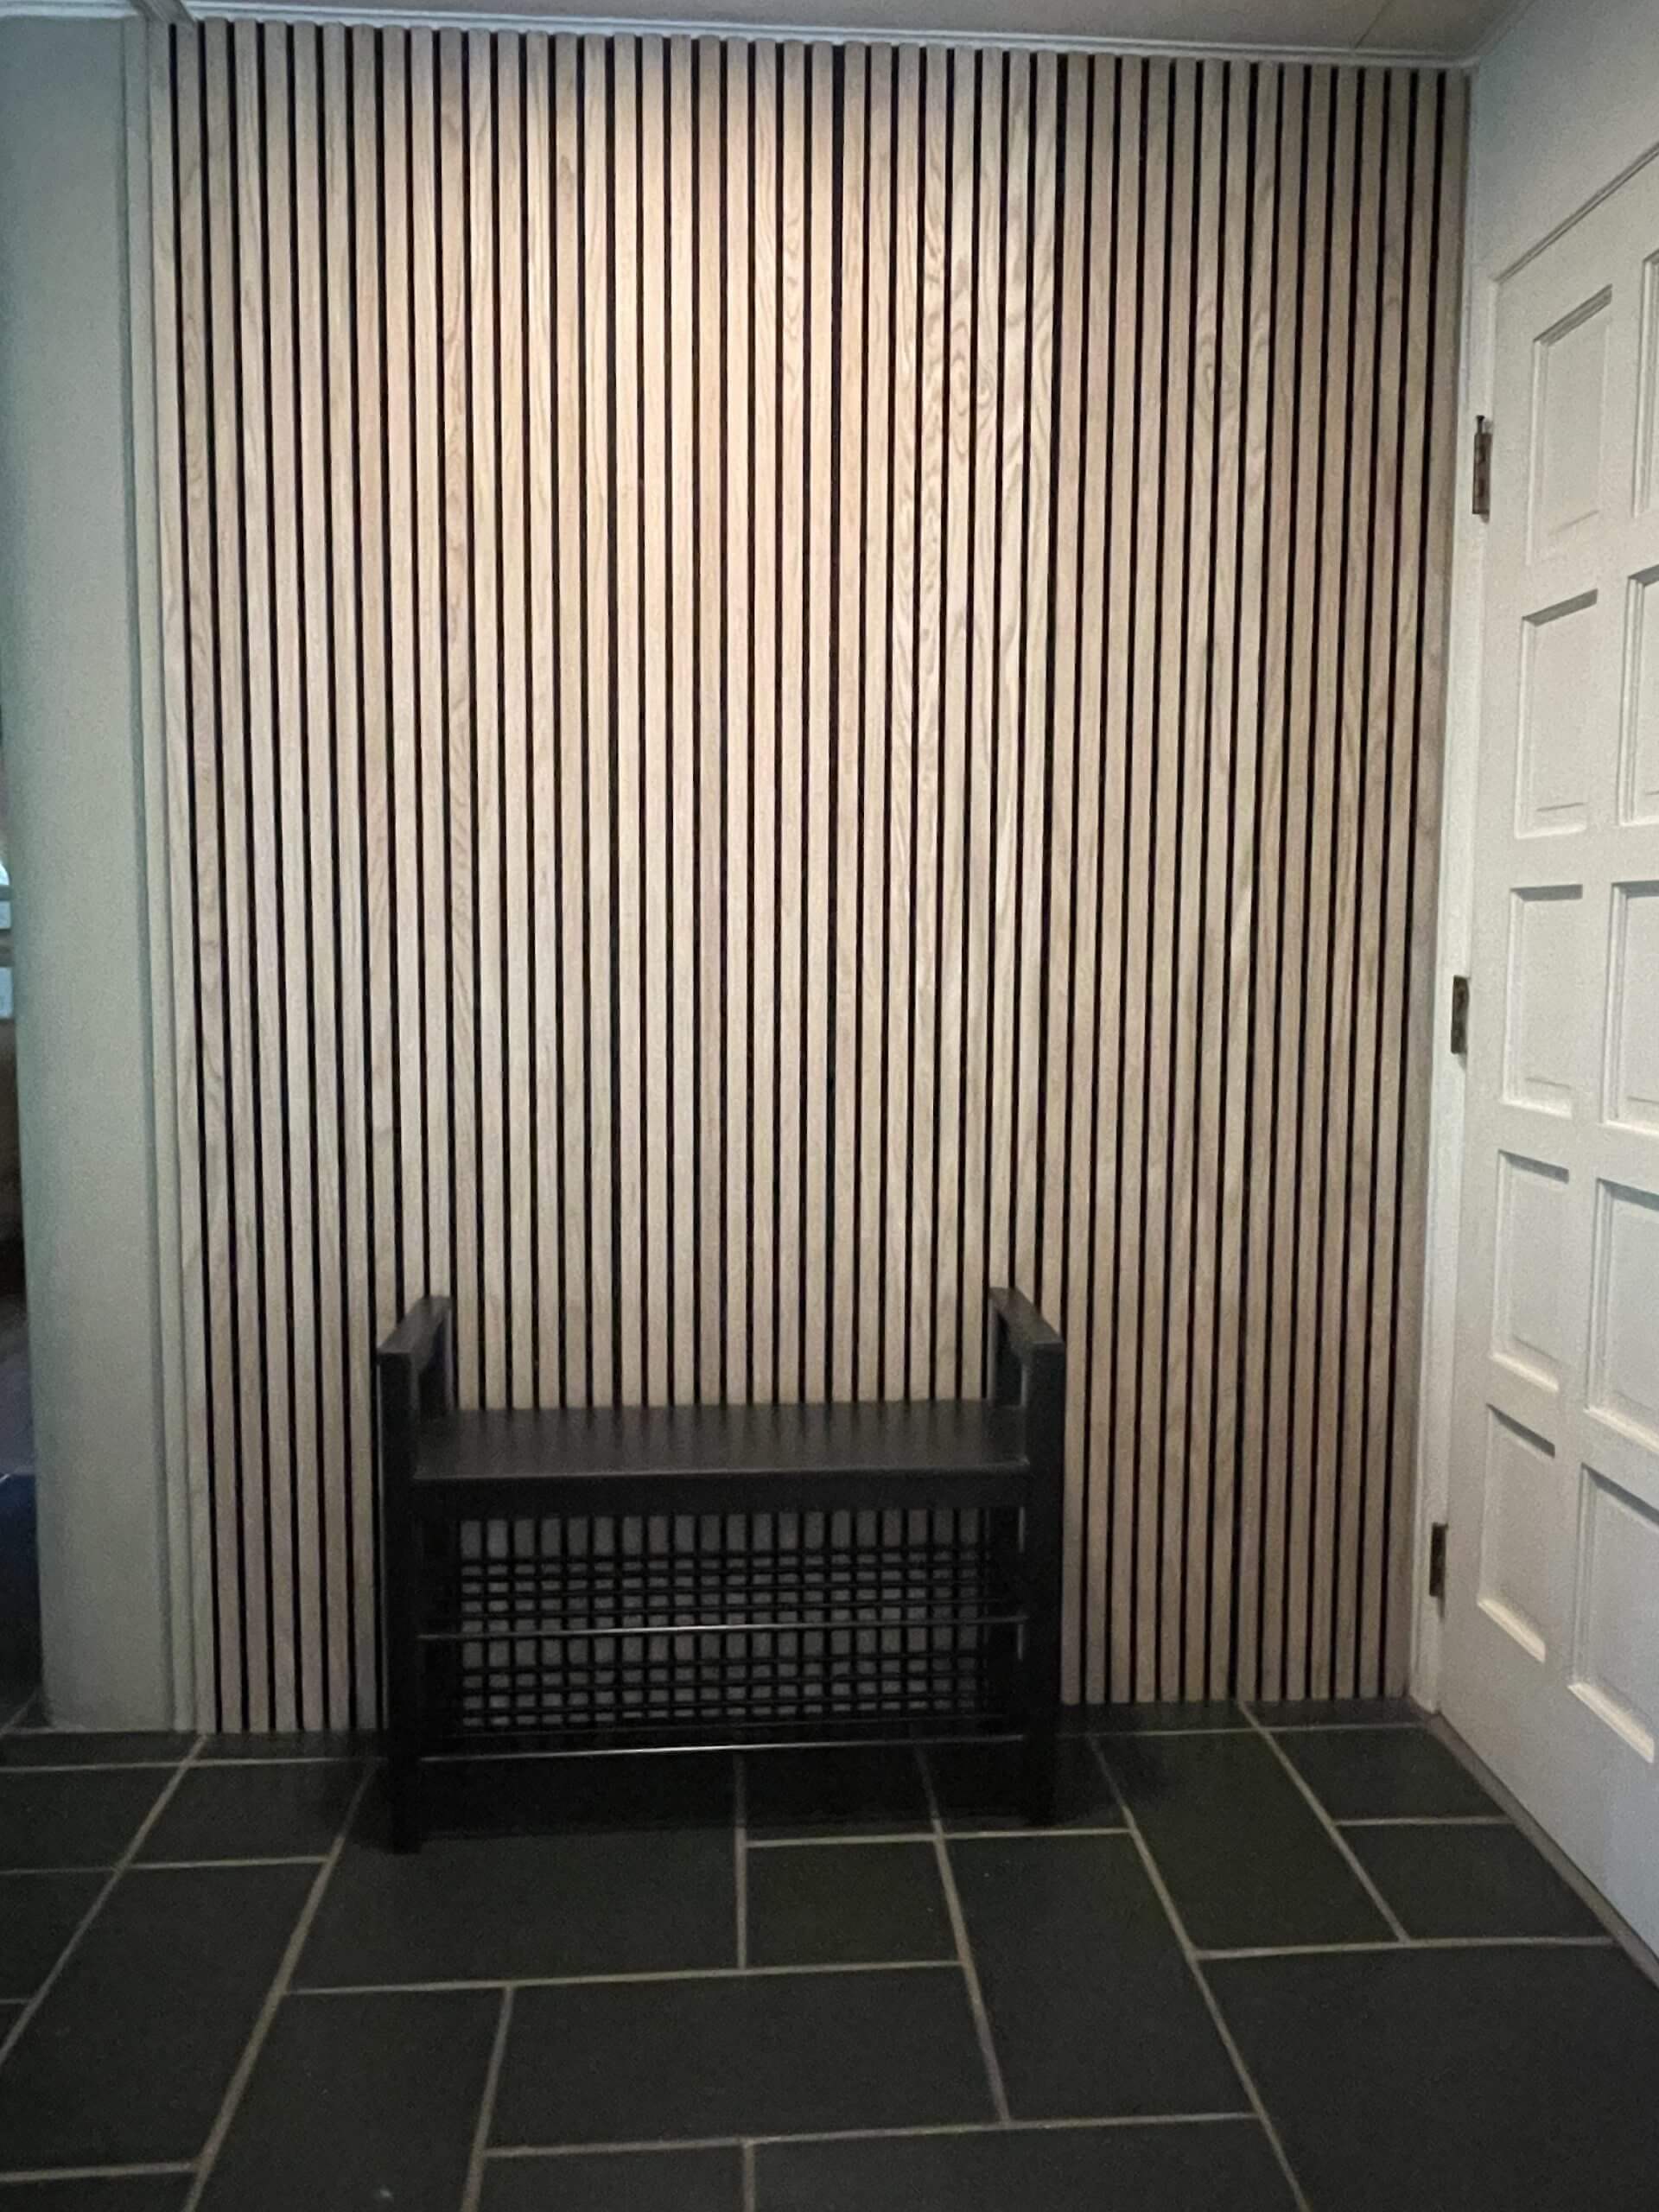
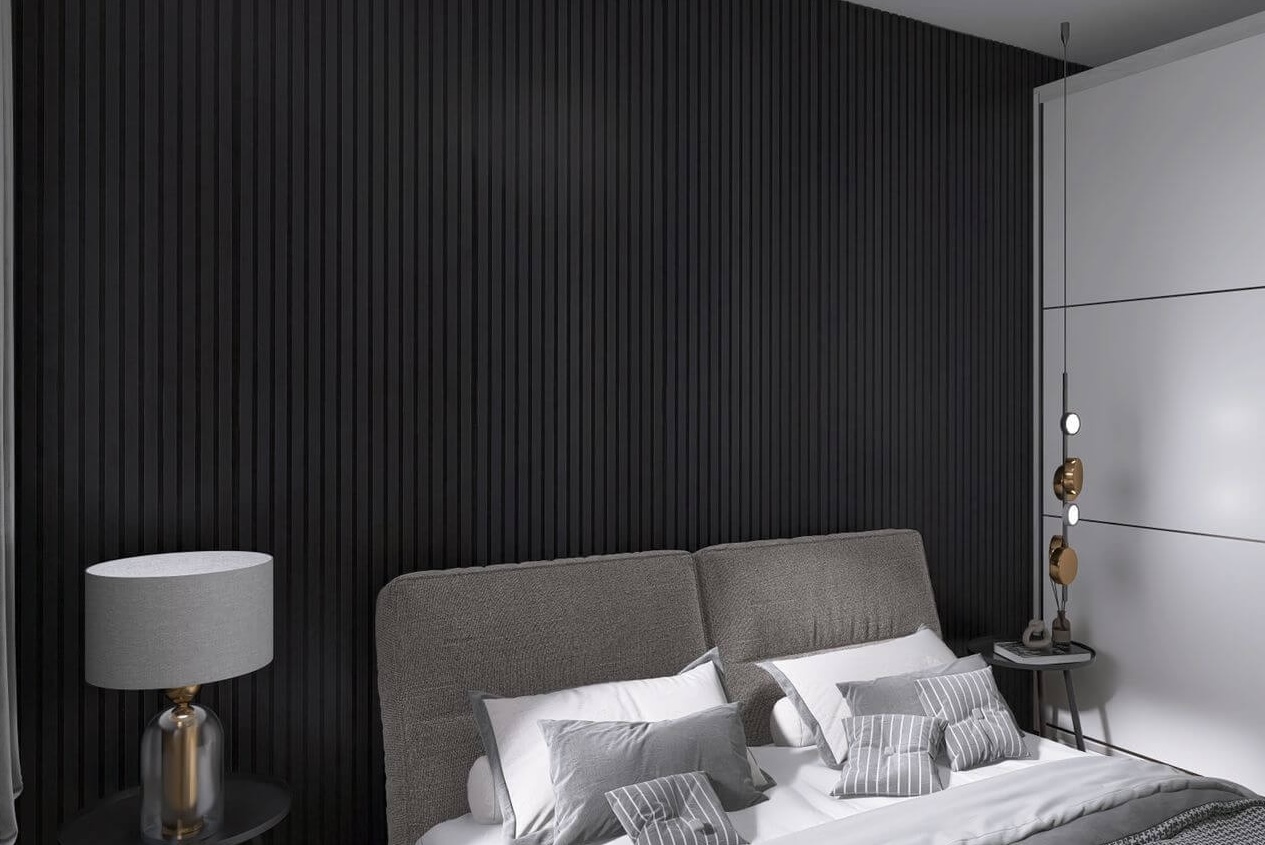
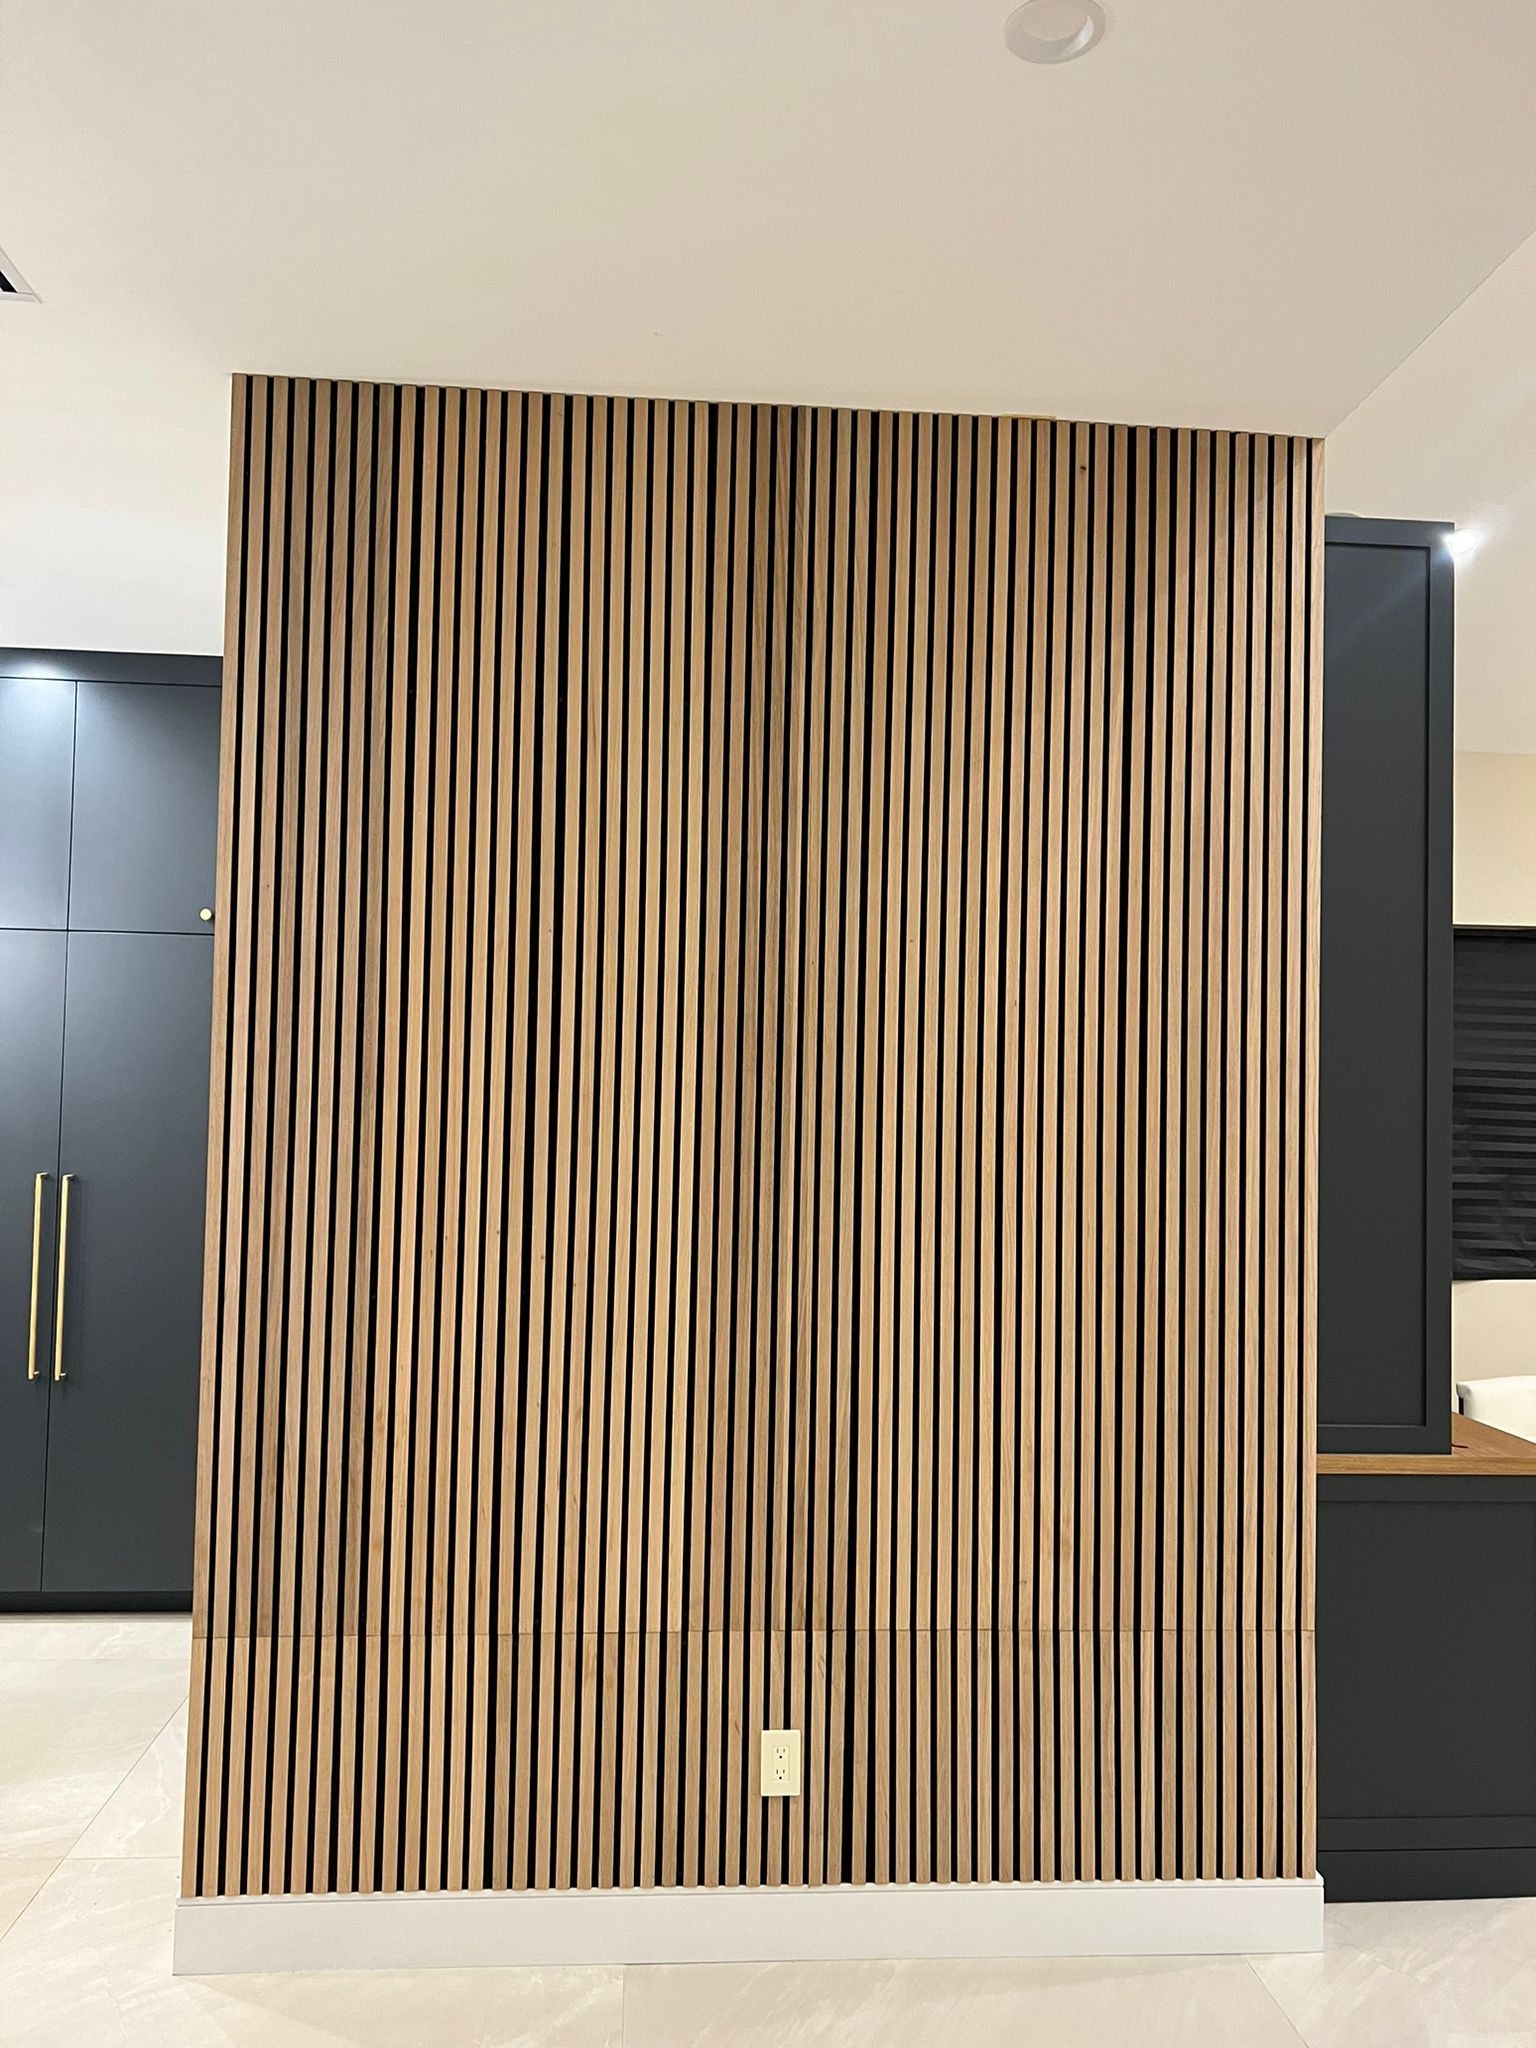
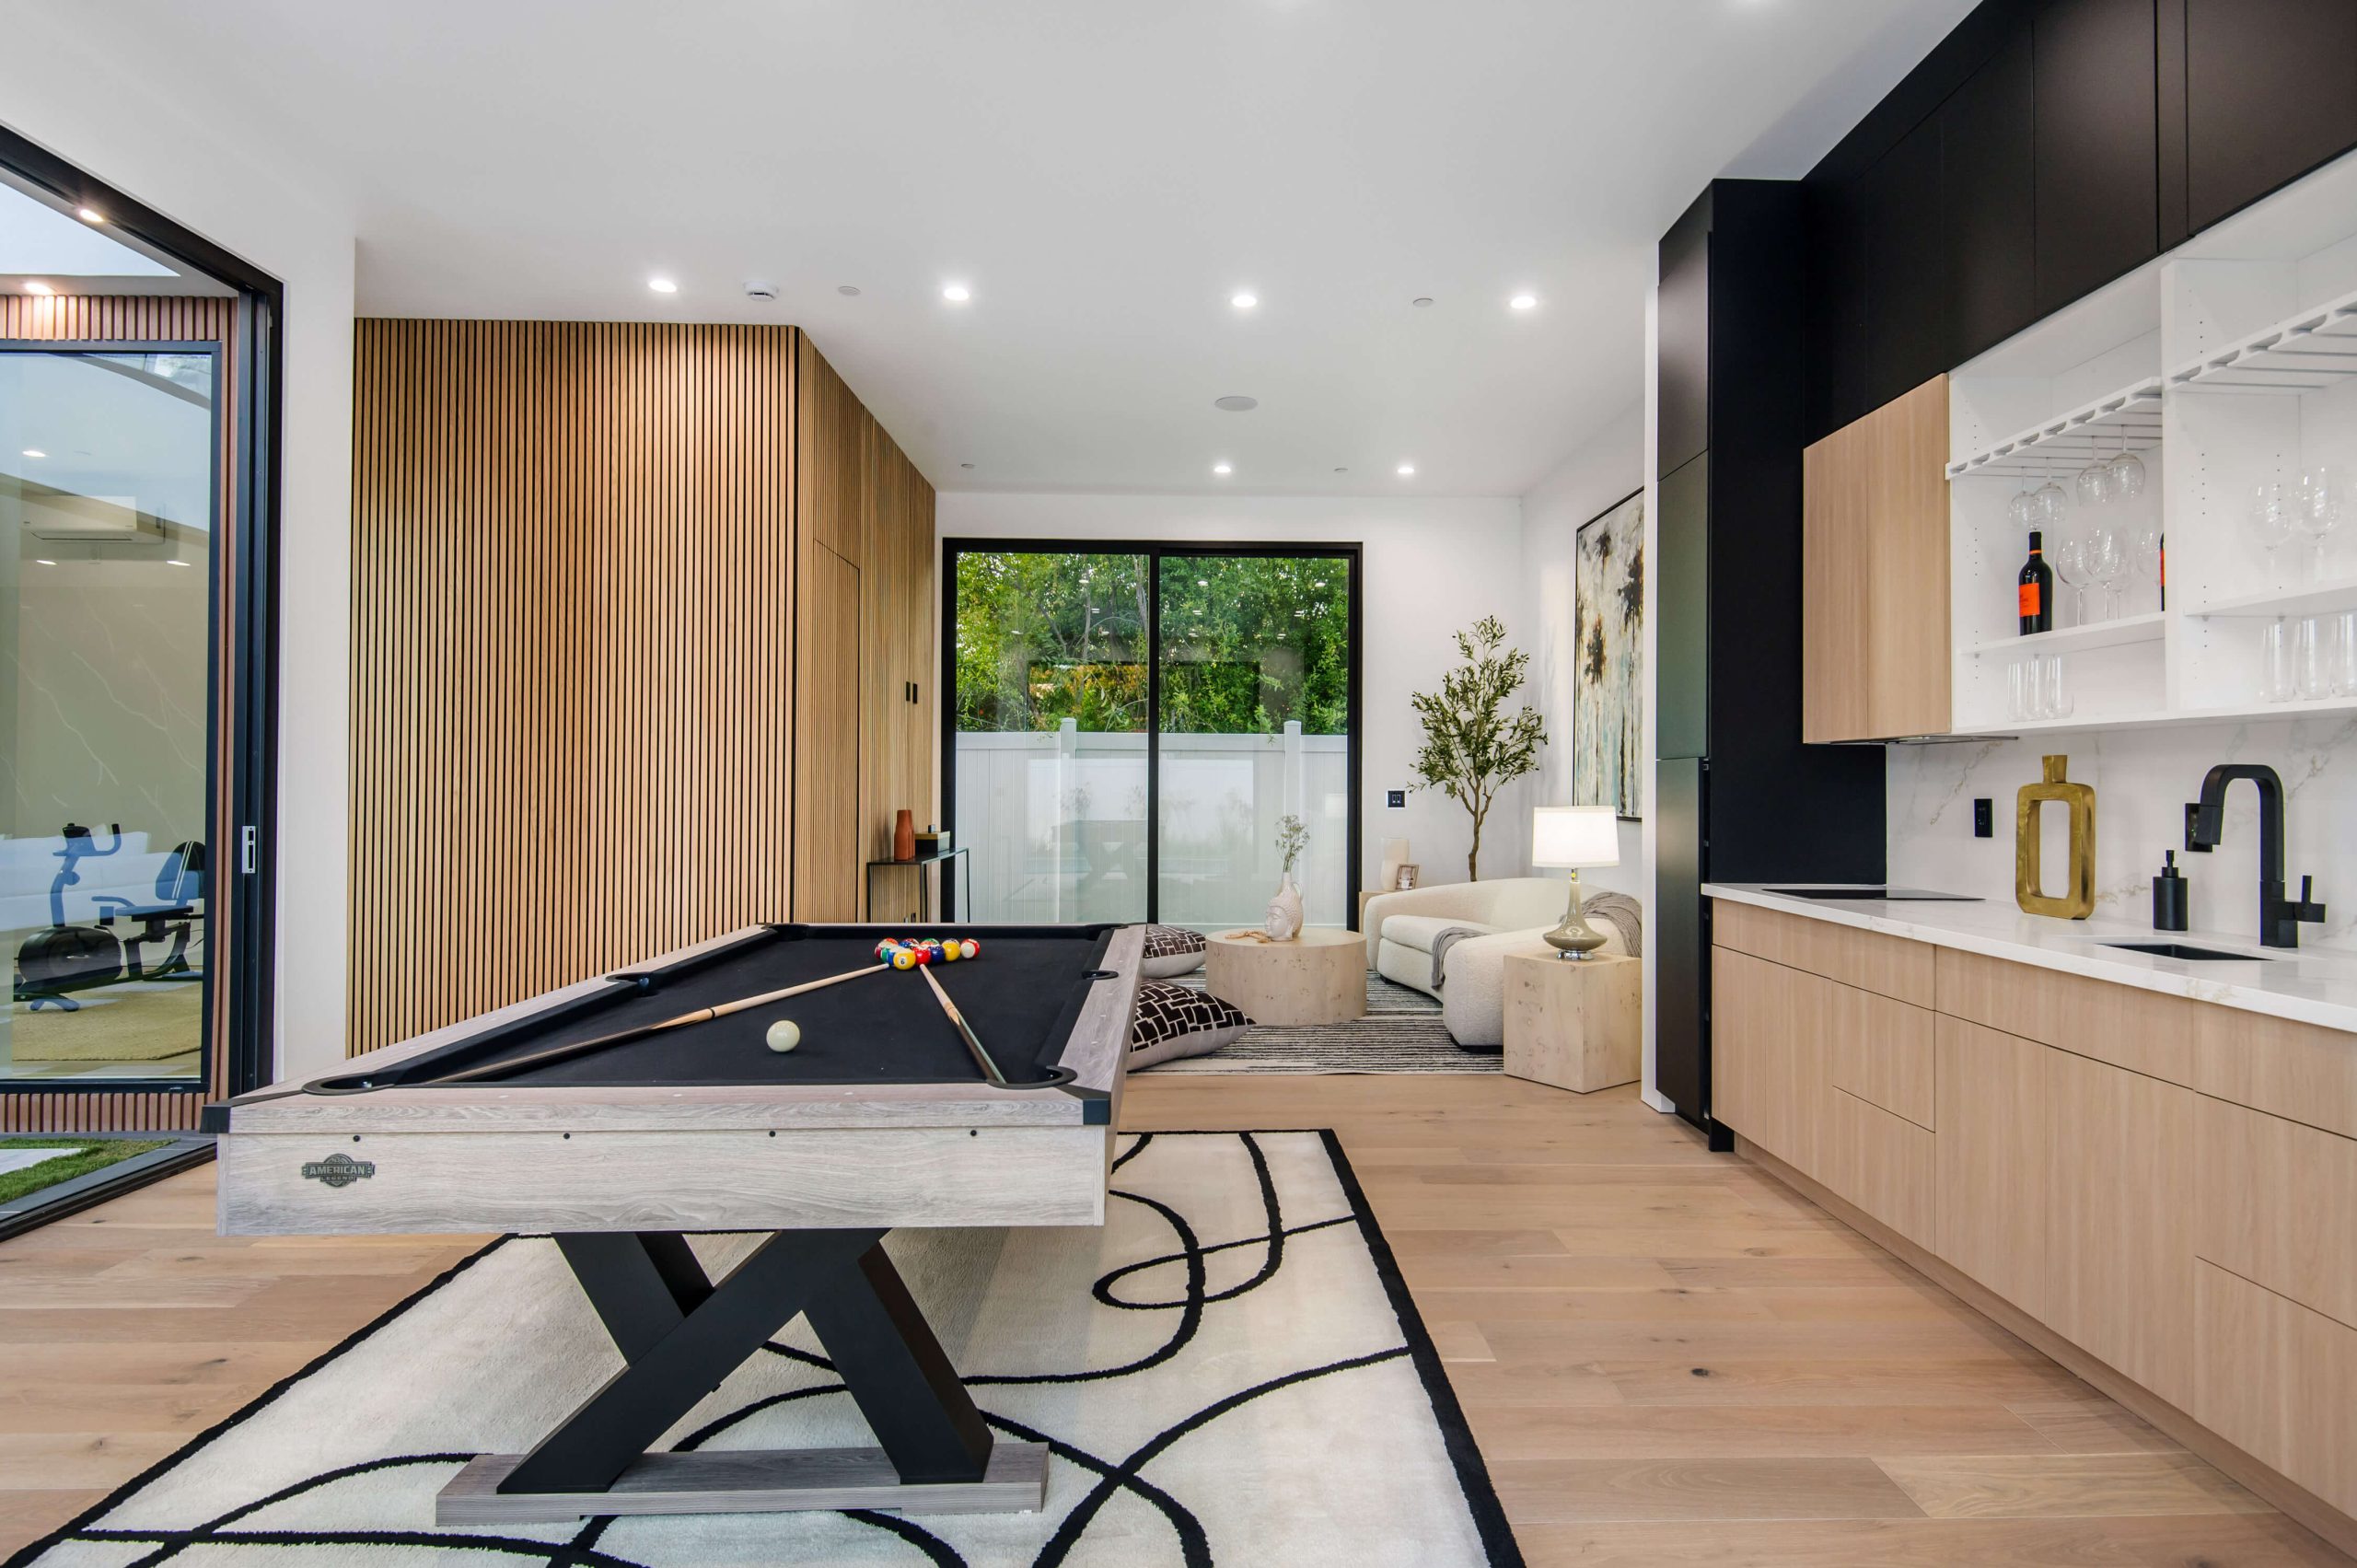
If you’re looking to elevate your interiors, slat wall panels are a fantastic choice. Not only do they enhance the aesthetic of your space, but they’re also functional, versatile, and surprisingly easy to install. Whether you’re a DIY enthusiast or a professional, knowing how to properly attach slat wall panels to walls ensures a flawless finish and long-lasting results. This step-by-step guide will walk you through everything you need to know, from preparation to execution.
Preparation is Key
Before you jump into attaching slat wall panels to walls, preparation is crucial. A well-prepared surface not only makes installation easier but also ensures the panels adhere securely and align correctly.
- Assess Your Wall Surface
- Inspect the wall for any cracks, uneven areas, or moisture damage.
- Clean the surface thoroughly to remove dust, dirt, and grease.
- If your wall is uneven, consider sanding it or applying a thin layer of drywall compound to smooth it out.
- Gather Your Tools and Materials
- Slat wall panels of your choice
- Measuring tape
- Spirit level
- Pencil for marking
- Drill and screws (or adhesive, depending on your installation method)
- Stud finder (if attaching to drywall)
- Saw (for panel adjustments)
- Measure and Plan the Layout
- Measure your wall dimensions and calculate how many panels you’ll need.
- Plan the placement carefully, especially if you want a seamless or symmetrical look. Start from the center and work outward for a balanced design.
Choosing the Right Installation Method
There are two common ways to attach slat wall panels to walls: using screws or adhesive. Each method has its benefits, so choose based on your wall type and preferences.
- Screws for Sturdy Support
- Ideal for drywall or when you need a more secure hold.
- This method is also recommended for heavier panels or if the wall needs to support weight, such as for shelving or hooks.
- Adhesive for a Seamless Look
- Best for smooth, flat surfaces like painted walls or plywood.
- Adhesive eliminates visible screw heads, giving your panels a clean, polished appearance.
Step-by-Step Guide to Attaching Slat Wall Panels to Walls
- Locate the Wall Studs
- If you’re installing on drywall, use a stud finder to mark the studs. This ensures your screws anchor securely.
- Mark the Panel Placement
- Use a pencil and a spirit level to mark where the panels will go.
- Draw straight horizontal and vertical guidelines to keep your panels aligned.
- Cut Panels to Size (if necessary)
- If your panels don’t perfectly fit the wall dimensions, measure and cut them to size using a saw.
- Always double-check measurements before cutting to avoid costly mistakes.
- Attach the Panels
- For Screws: Drill pilot holes into the panels and align them with the wall studs. Secure the panels using screws, ensuring they are flush with the wall.
- For Adhesive: Apply a strong construction adhesive to the back of the panels in a zigzag pattern. Press the panels firmly against the wall, holding them in place for a few seconds to ensure a good bond.
- Check Alignment
- After attaching each panel, use a spirit level to ensure it’s straight. Adjust as needed before the adhesive sets or before tightening screws completely.
- Finish with Edges and Trim
- For a professional look, add edge trims or moldings to cover any gaps or uneven cuts.
Common Mistakes to Avoid
- Skipping Surface Prep: Failing to clean and smooth the wall can lead to poor adhesion or alignment issues.
- Ignoring Wall Studs: Screwing into drywall alone won’t provide the stability needed for heavy panels.
- Using the Wrong Adhesive: Always choose a high-quality adhesive suitable for your wall type and panel material.
Enhancing the Look and Functionality of Your Slat Wall Panels
Once you’ve successfully attached slat wall panels to walls, it’s time to think about functionality and design.
- Accessorize for Practicality
- Add hooks, shelves, or rails to maximize storage space. Slat wall panels are perfect for organizing tools in garages or displaying decor in living spaces.
- Experiment with Patterns
- Create unique visual effects by mixing different panel colors or textures.
- Maintain Regularly
- Dust the panels regularly and wipe them with a damp cloth to maintain their appearance.
Why Slat Wall Panels Are Worth the Effort
Slat wall panels aren’t just a trend—they’re a timeless solution for anyone looking to combine style and utility. They’re easy to install, customizable, and suitable for almost any space, from bedrooms to retail stores. When you know how to properly attach slat wall panels to walls, the possibilities for transforming your interiors are endless.
FAQ: Common Questions About Installing Slat Wall Panels
1. Can I install slat wall panels on uneven walls?
Yes, but you’ll need to level the wall first using drywall compound or a similar product to ensure the panels sit flush.
2. Is it better to use screws or adhesive for installation?
It depends on your wall type. Screws provide more security, especially for drywall or heavy panels, while adhesive offers a clean, seamless finish for smooth surfaces.
3. How do I cut slat wall panels without damaging them?
Use a fine-toothed saw or a jigsaw to make clean cuts. Always measure twice and cut once to avoid errors.
4. Can I paint slat wall panels after installation?
Yes, most slat wall panels can be painted. Use a primer first to ensure the paint adheres properly.
5. How much weight can slat wall panels support?
It depends on the panel material and installation method. Panels secured to studs with screws can support more weight than those attached with adhesive alone.
By following this guide, you’ll not only master the process of attaching slat wall panels to walls but also achieve a stunning result that elevates your space. Whether you’re working on a DIY project or a professional installation, these tips ensure you’re on the path to success.

