Renters often face a major challenge when it comes to decorating their space—how to personalize their walls without making permanent changes. That’s where DIY removable wood paneling comes in. With the right approach, you can achieve a stylish, warm, and sophisticated look without damaging walls or risking your security deposit.
Table of Contents
Why Choose DIY Removable Wood Paneling?
Unlike traditional wood paneling, which requires nails or adhesives that could leave marks, removable wood paneling provides a renter-friendly solution. It’s easy to install, simple to remove, and allows for complete customization. Whether you want a rustic cabin feel, a modern accent wall, or a cozy farmhouse aesthetic, there’s a removable wood paneling option for you.
Benefits of DIY Removable Wood Paneling
- Easy Installation – No special tools or expertise needed.
- Damage-Free Removal – Won’t ruin walls when taken down.
- Customizable – Choose from various wood finishes and colors.
- Affordable – Less expensive than permanent wood paneling.
- Eco-Friendly – Many options use reclaimed or sustainable wood.
Choosing the Best DIY Removable Wood Paneling
Finding the perfect DIY removable wood paneling depends on your space, budget, and style preferences. Here are some renter-friendly options:
1. Peel-and-Stick Wood Panels
Peel-and-stick panels are one of the easiest solutions for renters. These panels come with an adhesive backing that sticks directly to the wall. They can be removed without leaving residue or causing damage.
✅ Best for: Quick makeovers, accent walls, temporary designs
🔨 Tools needed: Measuring tape, utility knife
🕒 Installation time: Less than an hour
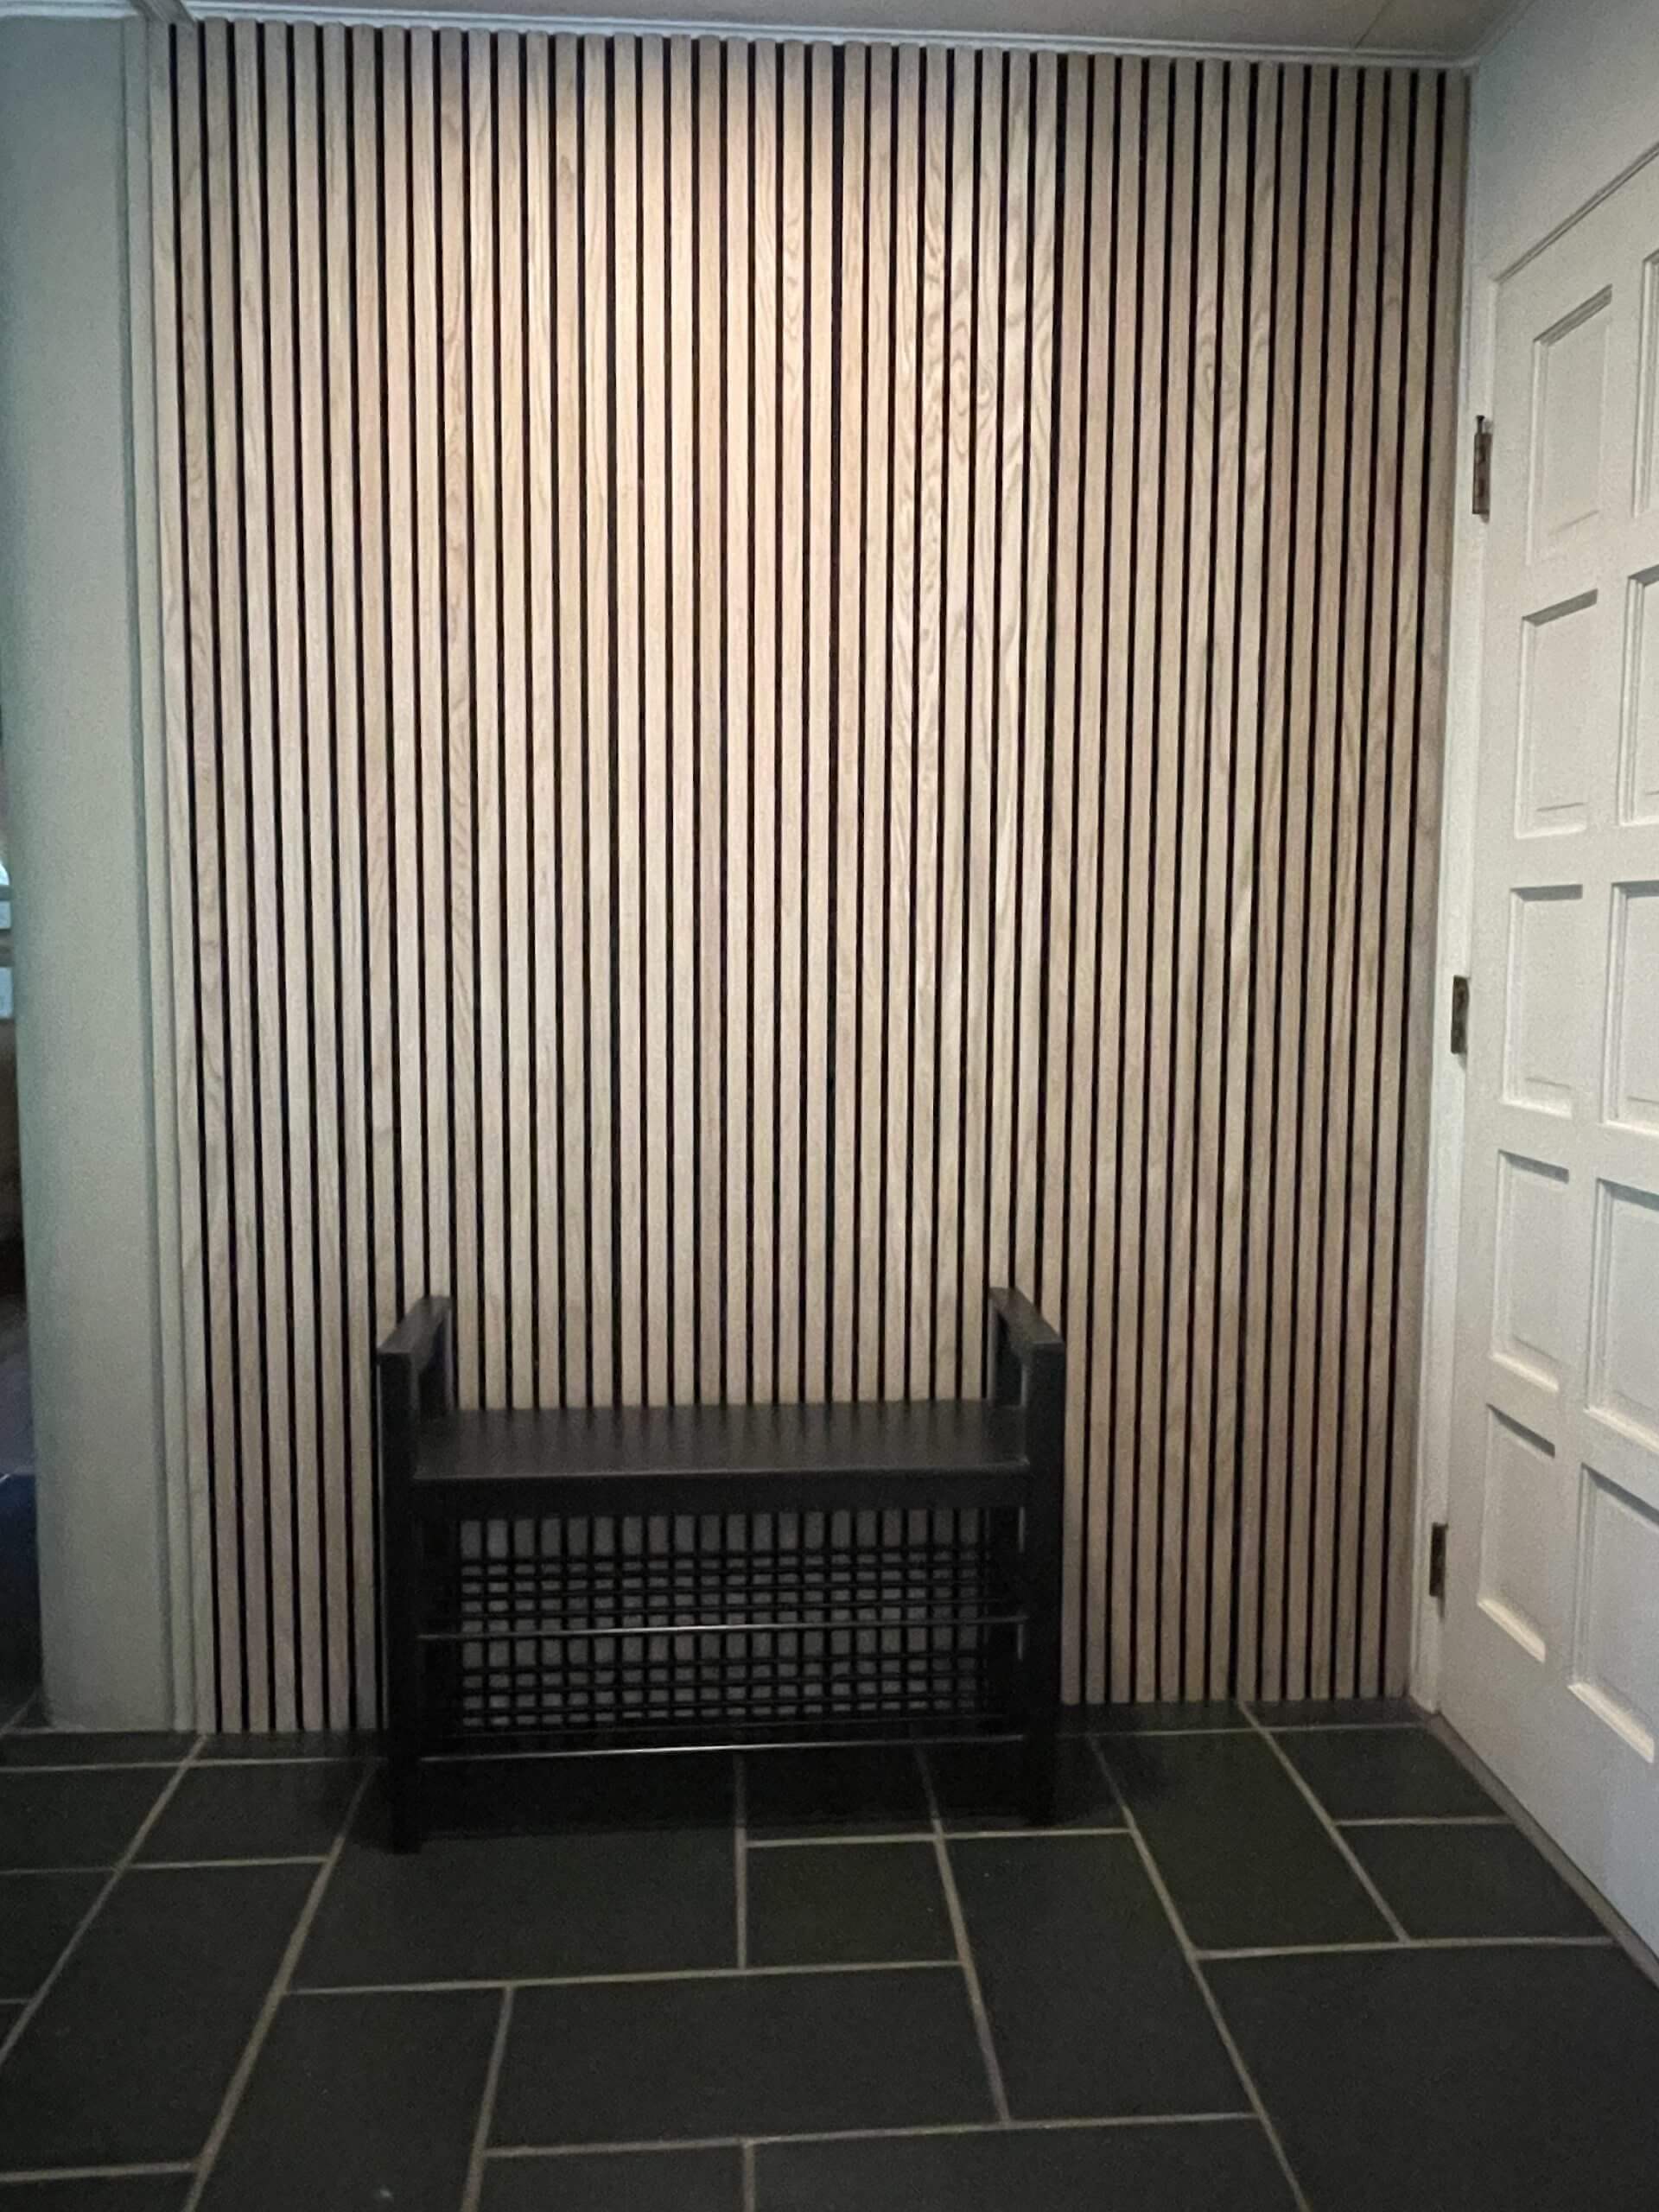
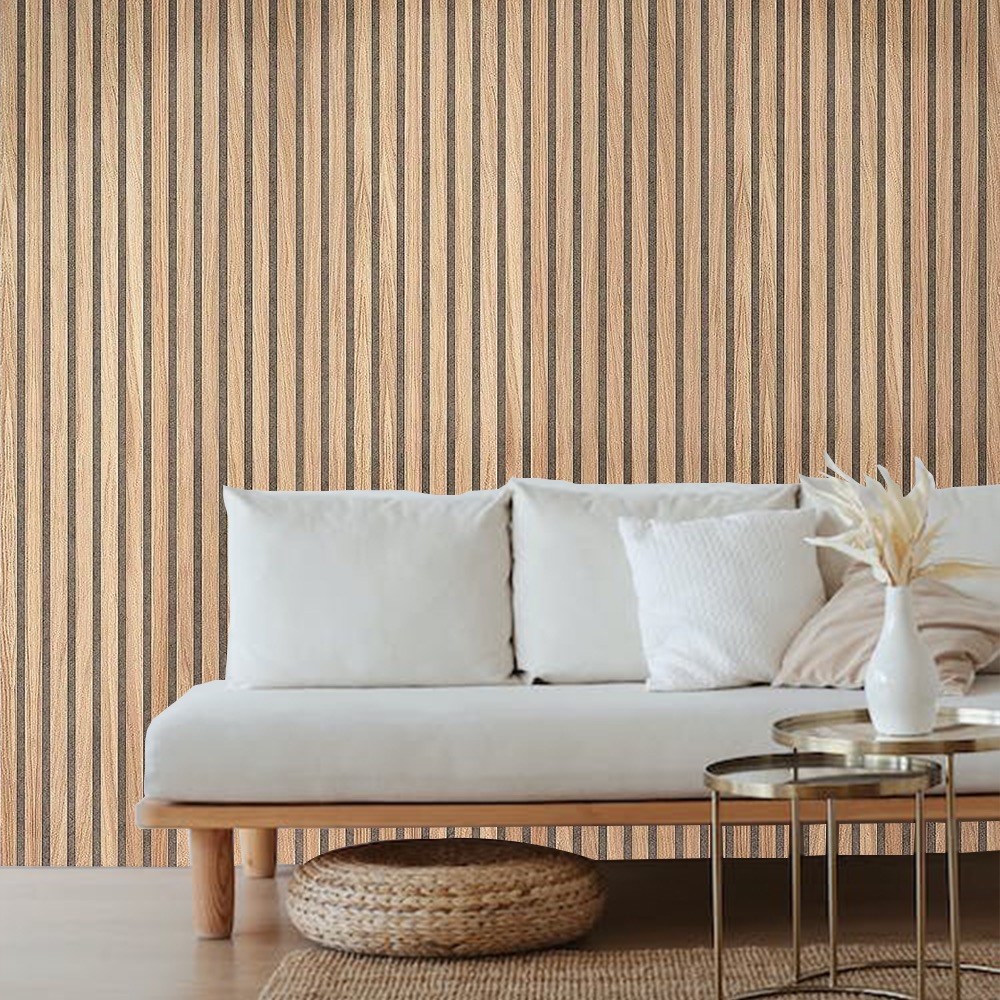
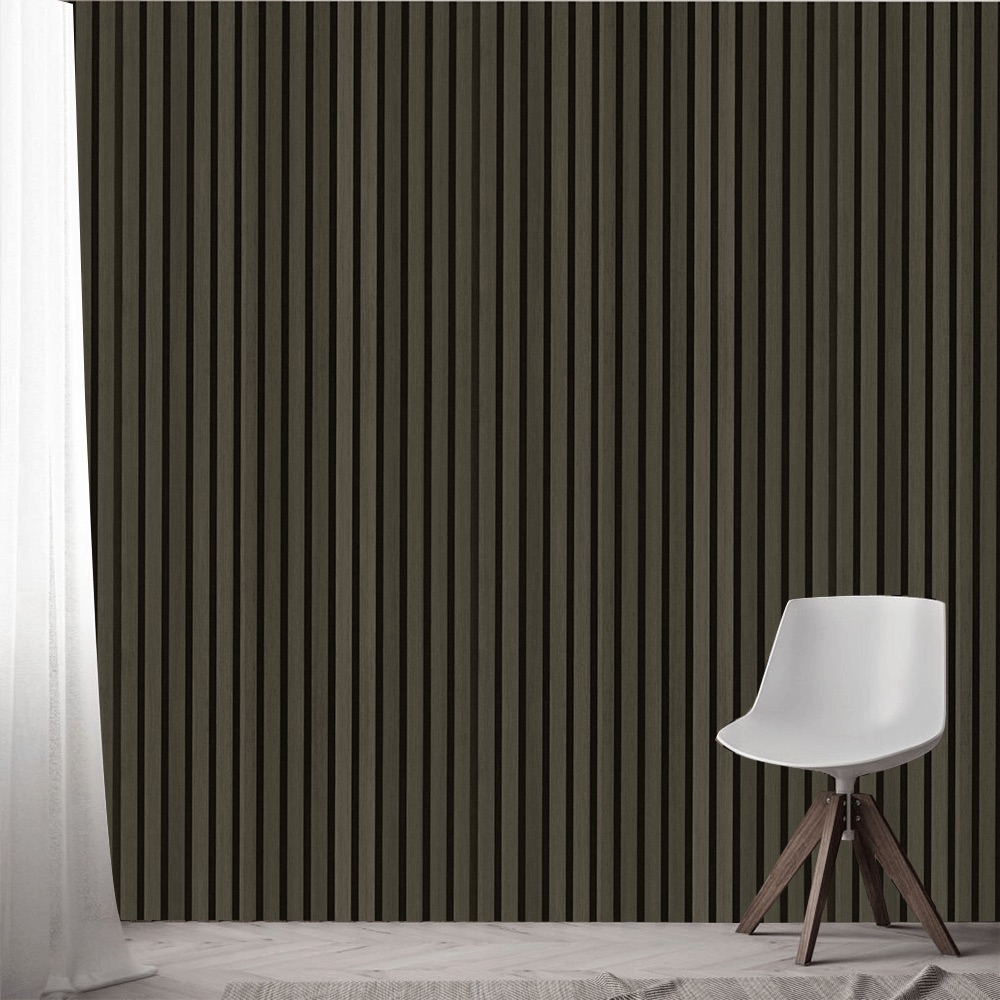
2. Temporary Wood Slats with Command Strips
If you love the look of real wood slats but don’t want to use nails, command strips are your best friend. Simply attach wood planks to the wall using strong adhesive strips, allowing for easy removal later.
✅ Best for: A modern, linear design
🔨 Tools needed: Level, saw, command strips
🕒 Installation time: 2–3 hours
3. Freestanding Wood Panels
Another excellent option is a freestanding wood panel system. These panels lean against the wall or are supported by furniture, making them completely removable.
✅ Best for: Large rental spaces, non-damaging installation
🔨 Tools needed: None
🕒 Installation time: Instant setup
4. Plywood Panels with Velcro Strips
For renters who want a more customized look, lightweight plywood panels attached with Velcro strips provide a sturdy and removable solution. You can stain, paint, or distress the wood to match your style.
✅ Best for: Rustic, farmhouse, or DIY enthusiasts
🔨 Tools needed: Measuring tape, wood stain, Velcro strips
🕒 Installation time: 2–4 hours
Step-by-Step Guide to Installing DIY Removable Wood Paneling
Adding DIY removable wood paneling to your rental space is easier than you think. Follow these steps to achieve a professional-looking finish:
Step 1: Measure Your Wall Space
Before purchasing materials, measure the area you want to cover. Be sure to account for outlets, windows, and other obstacles.
Step 2: Choose Your Wood Paneling Type
Decide between peel-and-stick panels, command strip-mounted slats, freestanding panels, or plywood with Velcro. Consider your budget and style.
Step 3: Prepare the Surface
Clean the wall with a dry cloth to remove dust. If using adhesive panels, make sure the surface is smooth for a strong hold.
Step 4: Install the Panels
- For peel-and-stick panels: Remove the backing and press firmly onto the wall.
- For command strip wood slats: Attach strips to the back of each plank, then press onto the wall.
- For freestanding panels: Position them against the wall and secure with furniture.
- For plywood panels with Velcro: Apply Velcro strips to the back and press onto the wall.
Step 5: Style and Enjoy!
Once installed, decorate around your new wood-paneled wall. Hang artwork, add shelves, or use LED lights to highlight the texture.
How to Remove DIY Removable Wood Paneling Without Damage
Removing your DIY removable wood paneling is just as simple as installing it. Here’s how to do it safely:
- Peel-and-stick panels – Gently pull from one corner and slowly peel off. Use a hairdryer to soften adhesive if needed.
- Command strip wood slats – Pull the tab of each command strip downward to release.
- Freestanding panels – Simply move them away from the wall.
- Plywood with Velcro – Pull the panel off gently, ensuring the Velcro doesn’t rip the paint.
Bonus Tip: Protecting Your Walls
To prevent any accidental wall damage:
- Always test adhesives on a small section before applying them widely.
- Avoid using heavy-duty glue or nails.
- If any residue remains, wipe it off with a damp cloth or mild cleaner.
Creative Ideas for DIY Removable Wood Paneling
If you’re looking for inspiration, here are a few ways to use DIY removable wood paneling to transform your rental:
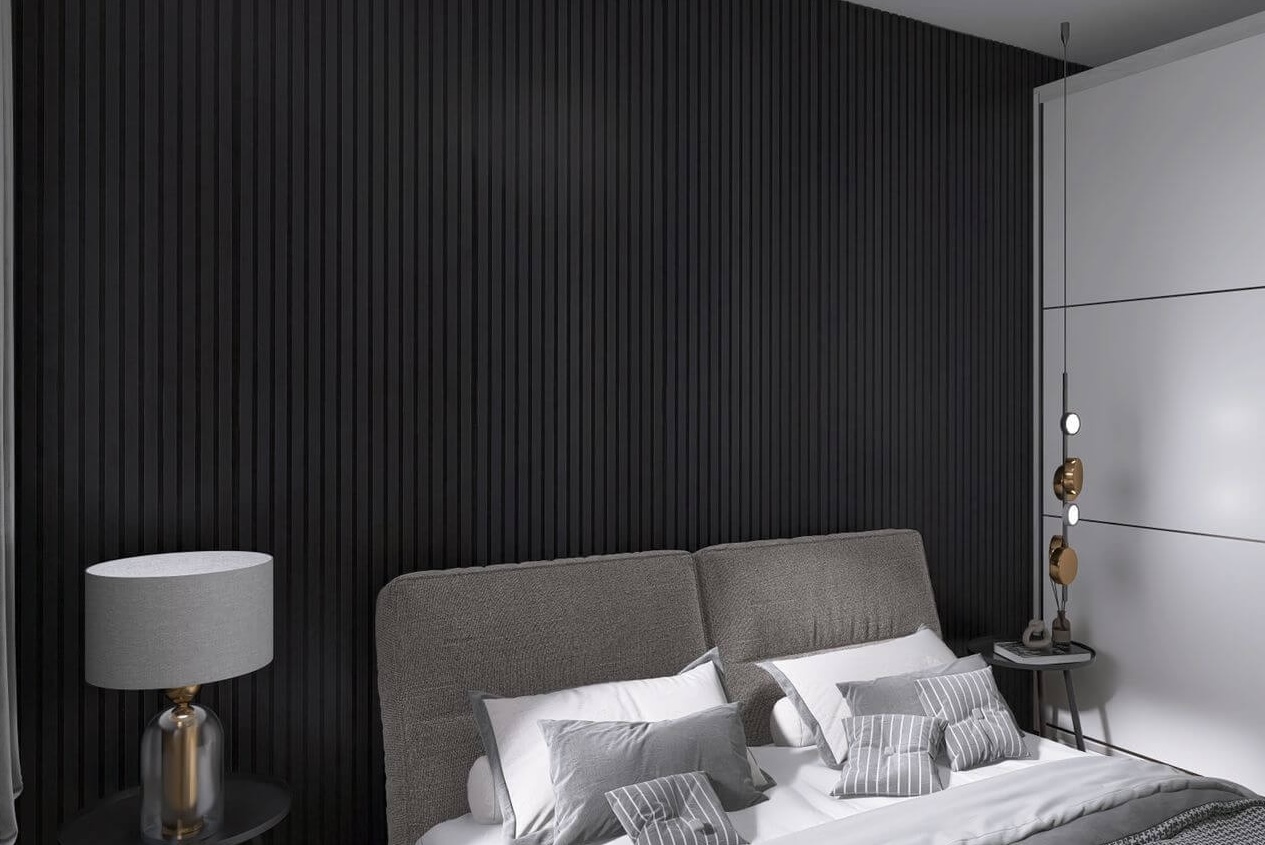
Headboard Alternative – Create a cozy bedroom aesthetic by adding wood paneling behind your bed.
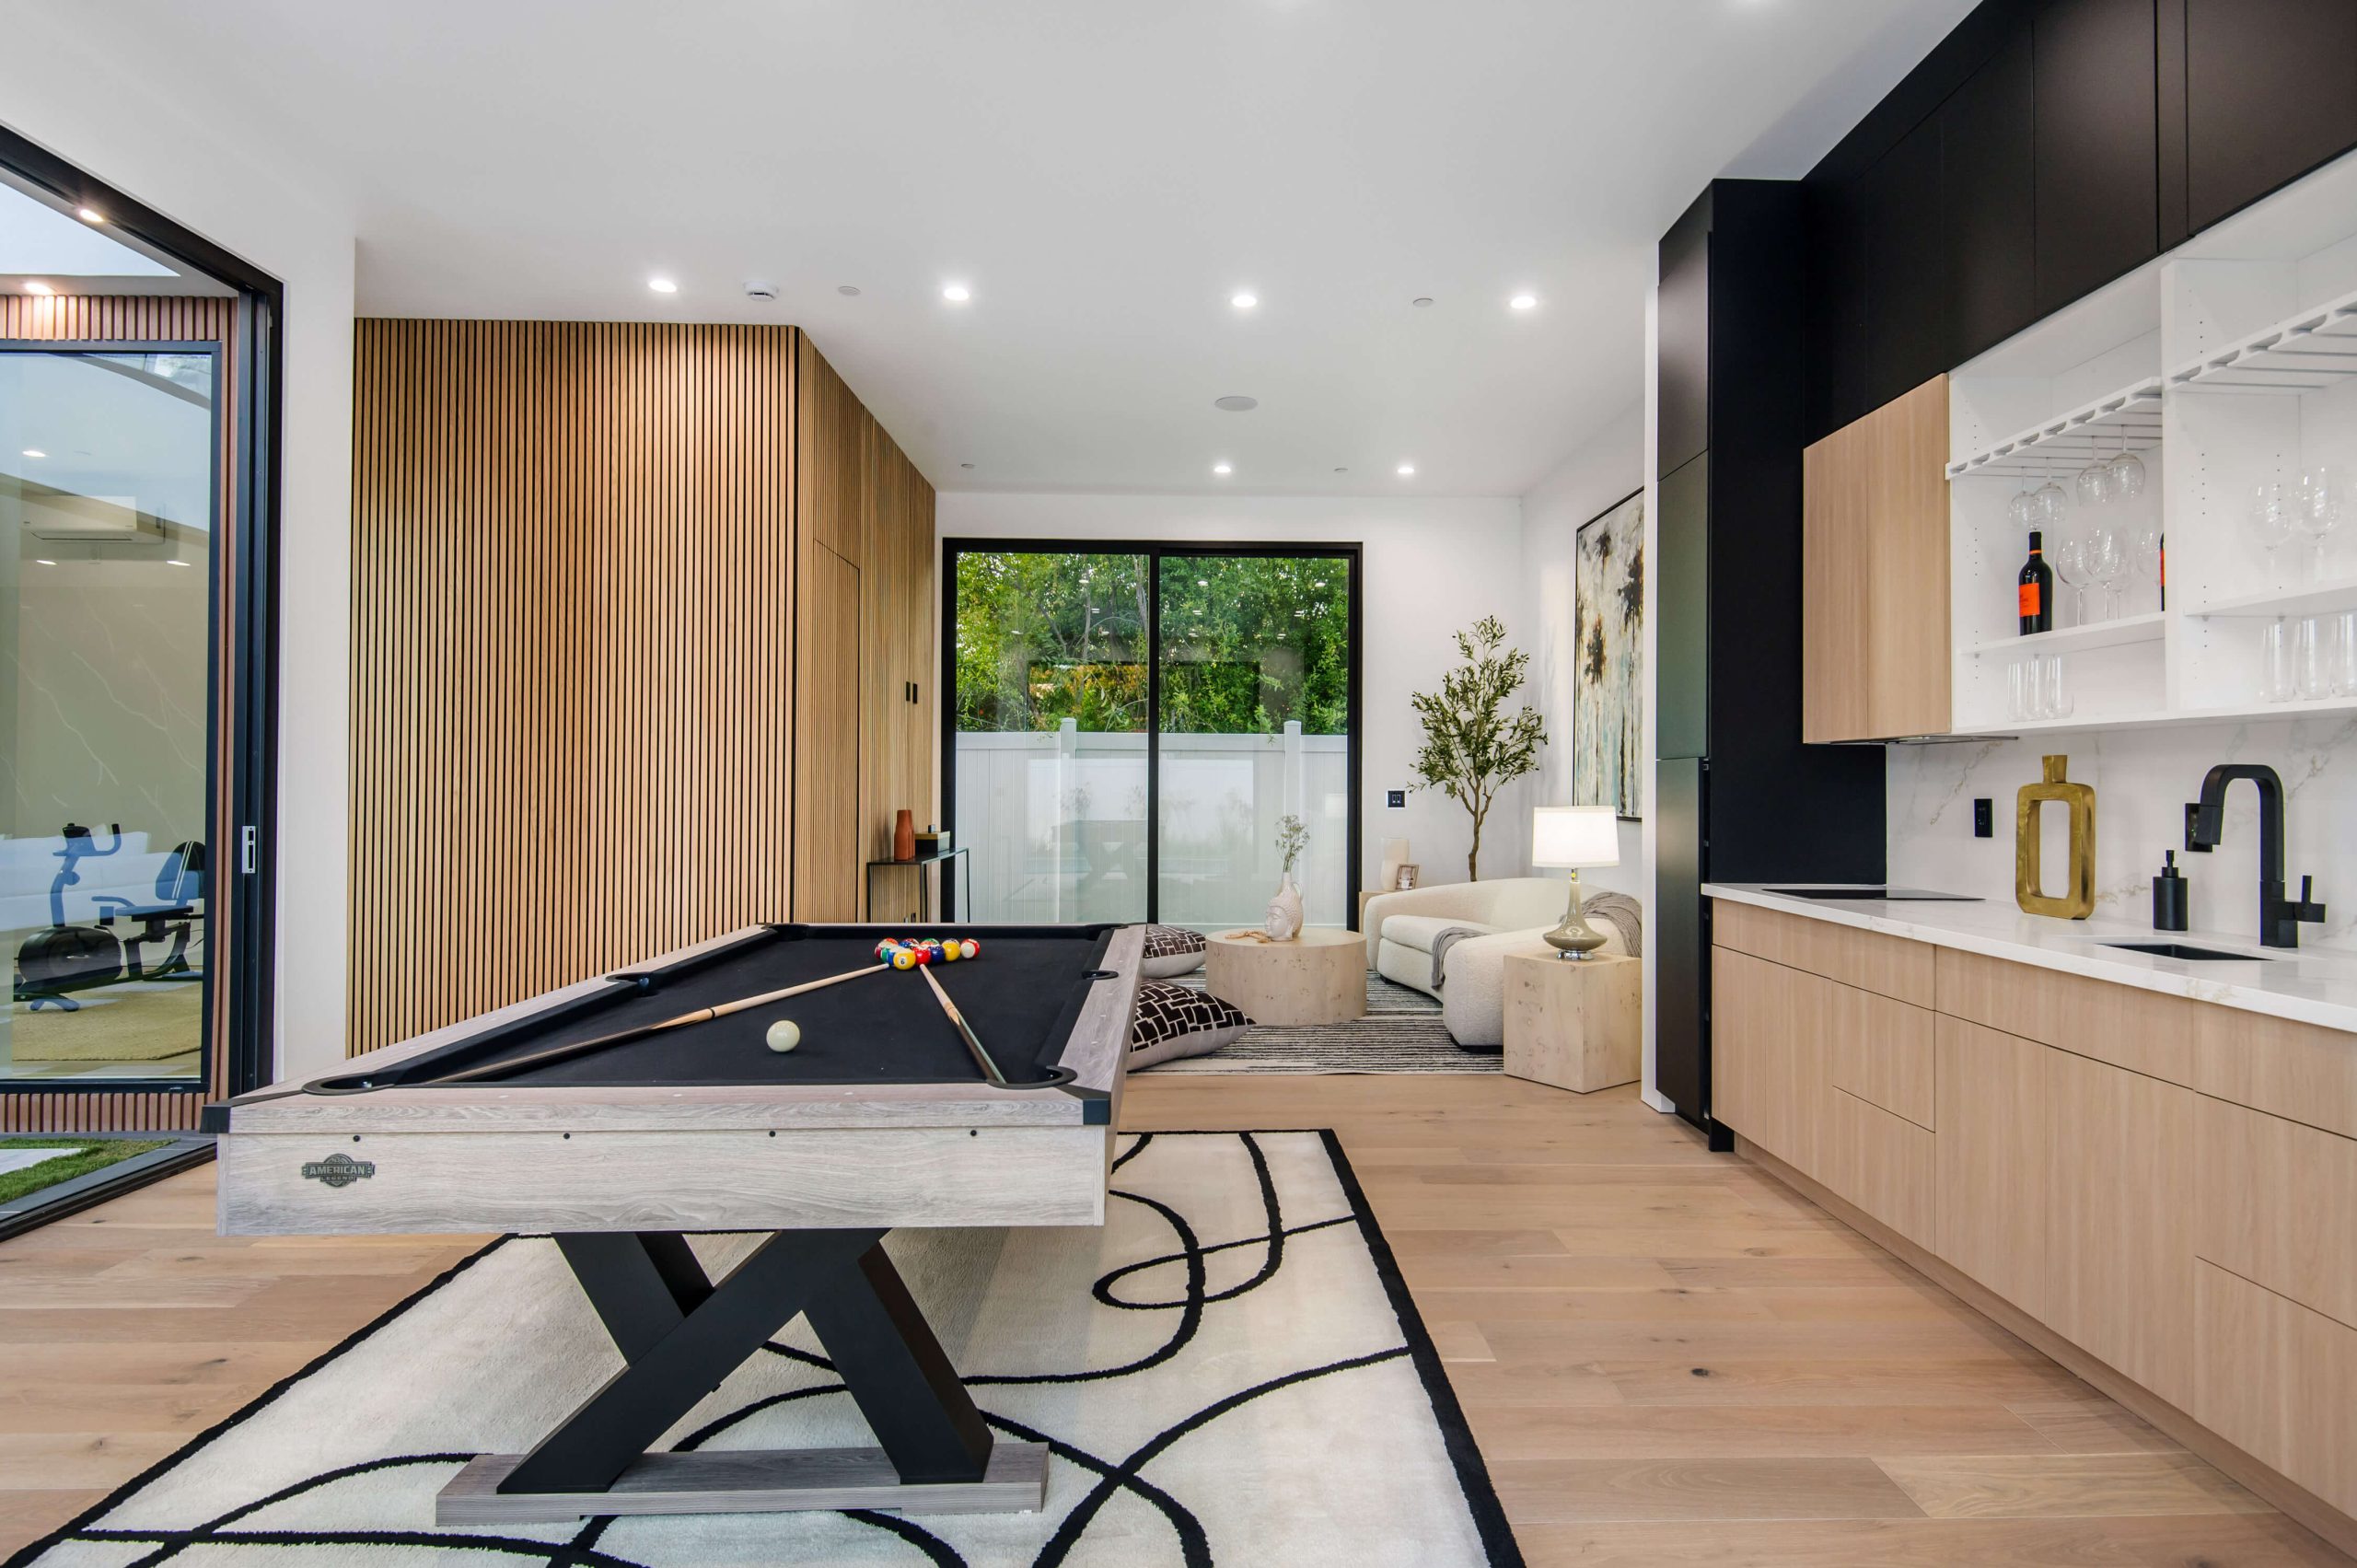
Media Wall Accent – Frame your TV with wood paneling for a sleek, modern touch.
Indoor Vertical Garden – Attach small planters to wood panels for a natural, eco-friendly look.
Entryway Upgrade – Make a great first impression with a stylish wood-paneled foyer.
Comparing DIY Removable Wood Paneling Options
| Panel Type | Ease of Installation | Damage-Free Removal | Cost | Best For |
|---|---|---|---|---|
| Peel-and-Stick Panels | ⭐⭐⭐⭐⭐ | Yes | $$ | Quick makeovers |
| Command Strip Wood Slats | ⭐⭐⭐⭐ | Yes | $$$ | Modern designs |
| Freestanding Wood Panels | ⭐⭐⭐⭐⭐ | Yes | $$$ | Large spaces |
| Plywood with Velcro | ⭐⭐⭐ | Yes | $$ | DIY customization |
Final Thoughts
Living in a rental doesn’t mean you have to settle for plain walls. With DIY removable wood paneling, you can create a stylish, warm, and inviting space without damaging your home. Whether you choose peel-and-stick panels, command strip slats, or plywood with Velcro, you’ll love how easy it is to transform your walls while keeping your security deposit safe.
Try out one of these renter-friendly wood paneling ideas today and enjoy a beautiful home that feels like yours—without any permanent commitment!
FAQs
1. How can I install DIY removable wood paneling without damaging my walls?
You can use peel-and-stick panels, command strips, or Velcro to attach wood panels securely. These methods ensure easy removal without holes, residue, or wall damage.
2. Will removable wood paneling stay in place, or will it fall off over time?
Yes! When properly installed, peel-and-stick panels and command strips provide a strong hold. For added security, ensure your walls are clean and dry before application.
3. Can I reuse DIY removable wood paneling if I move to a new place?
Absolutely! Peel-and-stick panels and Velcro-backed wood slats can be carefully removed and reapplied. Just store them flat and keep the adhesive clean for reuse.
4. What are the best types of removable wood paneling for renters?
Peel-and-stick panels, lightweight plywood with Velcro, and freestanding wood panels are renter-friendly, easy to install, and offer stylish, damage-free solutions.
5. Where can I buy high-quality DIY removable wood paneling?
You can find top-rated removable wood panels online or in home improvement stores. Look for eco-friendly, lightweight, and easy-to-remove options for the best results.