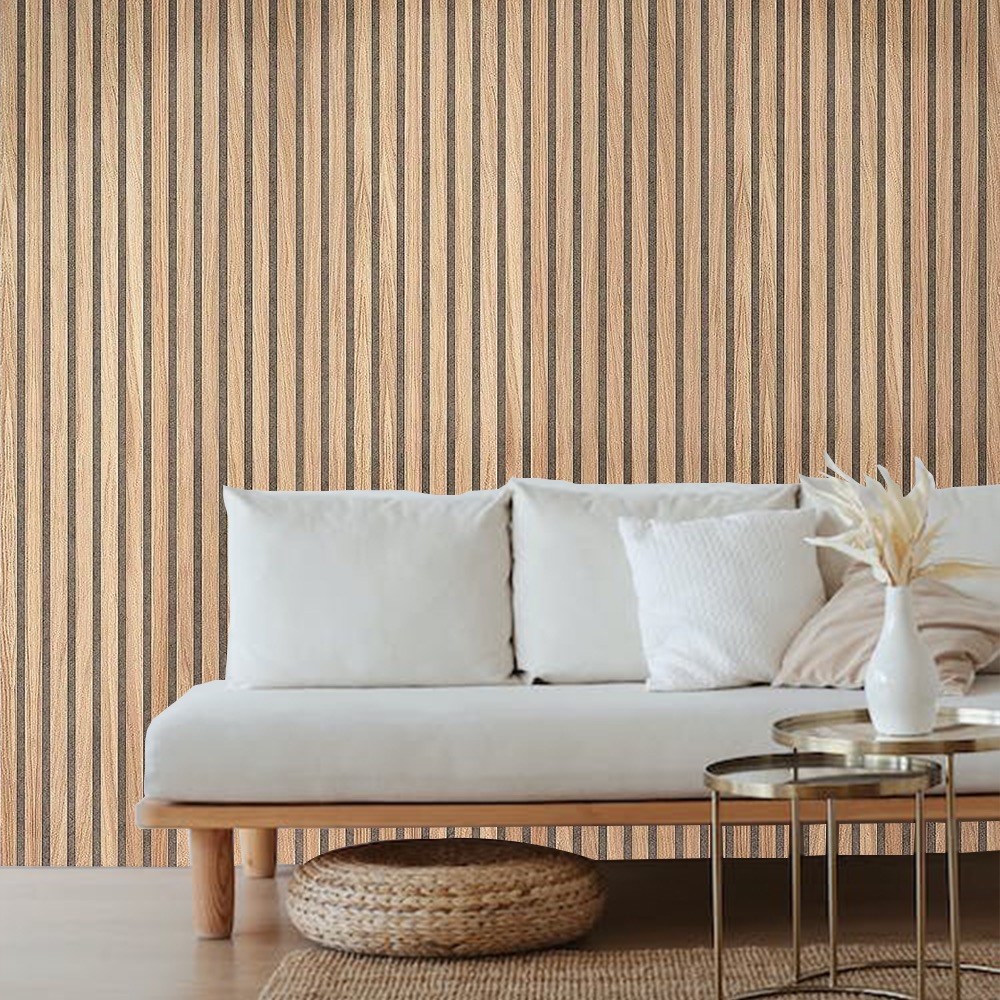
We’ve seen it again and again—plain white walls that make a room feel cold and dull. But there’s a warm, timeless solution that turns empty walls into stunning features: slat wood panels on interior walls. These sleek wooden strips bring texture, style, and even a bit of sound insulation. The best part? Installing them is easier than you might think.
At Smile Roofing, we know a thing or two about transforming spaces from the inside out. While we’re known for roofing, we believe every part of your home deserves quality and care—especially your interior walls. Whether you’re renovating a lounge room or giving your hallway some charm, here’s how you can install slat wood panels like a pro.
Planning the Installation of Slat Wood Panels on Interior Walls
Before diving into the fun part—nailing panels to the wall—there’s some prep work to do. Planning sets the stage for a smooth install and saves a heap of stress down the track. Start by picking the right type of slat panel. These come in different finishes, widths, and materials like:
- Oak: classic and durable
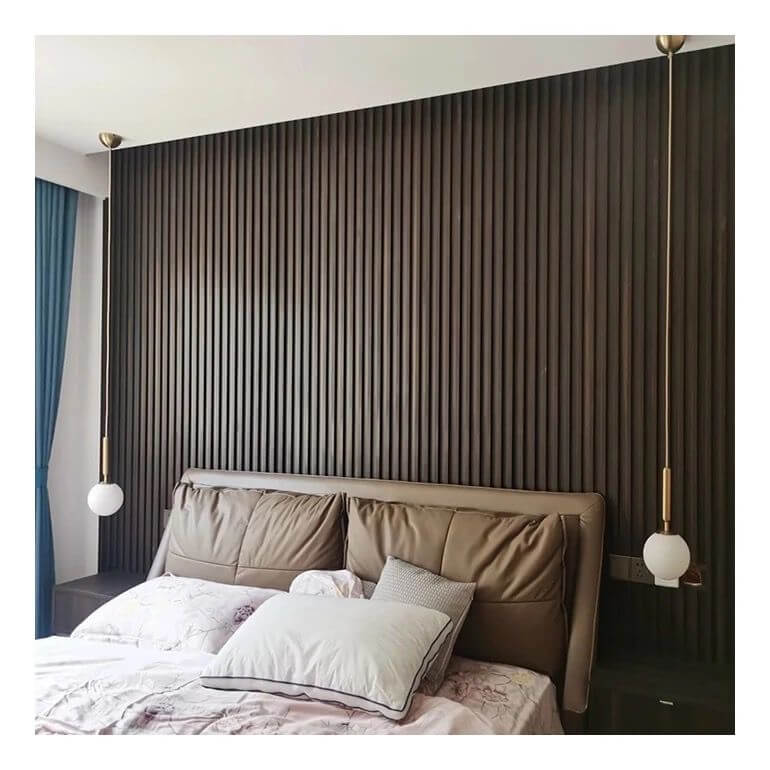
- Walnut: rich and deep in tone
- Pine: light and affordable
- Engineered veneer: budget-friendly with real-wood looks
Measure your wall space twice before buying. Always get a little extra—offcuts happen. When you’re planning to install slat wood panels on interior walls, make sure your surface is dry, clean, and smooth. You don’t want bumps showing through or gaps behind panels later.
Tools and materials you’ll need:
- Slat wood panels
- Spirit level
- Stud finder
- Nail gun or screws
- Construction adhesive
- Tape measure
- Pencil
- Saw (hand or electric)
By lining up your materials before you start, the process becomes a lot more enjoyable.
How to Prepare Walls for Slat Wood Panels on Interior Walls
Wall prep is often overlooked, but it’s a biggie. A smooth wall gives your slat panels the best chance to sit flush and straight.
First, clear the space—move furniture, take down wall art, and remove any hooks or nails. Then follow these steps:
- Clean the wall with a damp cloth. Get rid of any dust or dirt.
- Patch up any holes or uneven spots with filler. Let it dry and sand it down.
- Use a stud finder to mark the wooden beams behind the wall. These give extra grip when attaching the panels.
This prep step is essential whenever you’re installing slat wood panels on interior walls—especially if you’re going for a floor-to-ceiling feature wall.
Attaching the First Slat Panel is Key with Slat Wood Panels on Interior Walls
Here’s the golden rule: If the first panel is straight, the rest will follow. Start from one side of the wall—left or right—and work across.
Use your spirit level to line it up perfectly vertical. Apply a zigzag of construction adhesive on the back of the panel. Press it firmly against the wall. Then, using a nail gun or drill, secure it to the wall—ideally into studs if you’ve marked them.
Why’s this so important? Because once the first one is off, every panel after it leans further. When installing slat wood panels on interior walls, it’s a domino effect—so start strong.
Quick Tips:
- If you’re doing a full wall, install from floor to ceiling, trimming the last piece to size.
- If you’re doing half walls or accents, measure height consistently across the room.
Spacing is Everything When Fitting Slat Wood Panels on Interior Walls
Each panel needs breathing space. The gap between each slat gives that clean, modern look everyone loves. You can buy spacers from the hardware store, or cut your own from timber.
Common gap widths include:
| Gap Size | Visual Look | Best For |
|---|---|---|
| 6mm | Sleek and uniform | Modern small rooms |
| 10mm | Balanced and open | Living rooms and kitchens |
| 15mm | Rustic and bold | High ceilings or halls |
These gaps create shadow lines that add depth. And when installing slat wood panels on interior walls, those shadow lines can make or break the final look.
Finishing Touches After Installing Slat Wood Panels on Interior Walls
Once all the panels are up, the job’s not quite done. It’s the finishing touches that take your wall from good to amazing.
Here’s a quick list of ways to polish off your new feature wall:
- Fill any visible nail holes with matching wood filler
- Sand the edges of trimmed panels so they blend in
- Apply a clear coat or oil to protect the timber (optional)
- Clean the surface to remove dust or glue smudges
- Add lighting to highlight the textures (like wall sconces or uplights)
The glow of soft lighting against real wood adds a warm and inviting vibe. When you use slat wood panels on interior walls, don’t forget to let them shine—literally.
Common Mistakes to Avoid When Using Slat Wood Panels on Interior Walls
Even the handiest DIYers run into hiccups. Here are the biggest traps people fall into—and how to dodge them.
- Skipping the wall prep: Leads to lumpy surfaces and gaps behind slats.
- Not checking for level regularly: Makes the whole wall look crooked.
- Using too much or too little glue: Can cause warping or weak adhesion.
- Choosing the wrong panel size: Measure your space before buying.
- Rushing the job: Take your time. A good install lasts for years.
If you’re installing slat wood panels on interior walls and want that professional finish, take it slow and steady. Quality always wins.
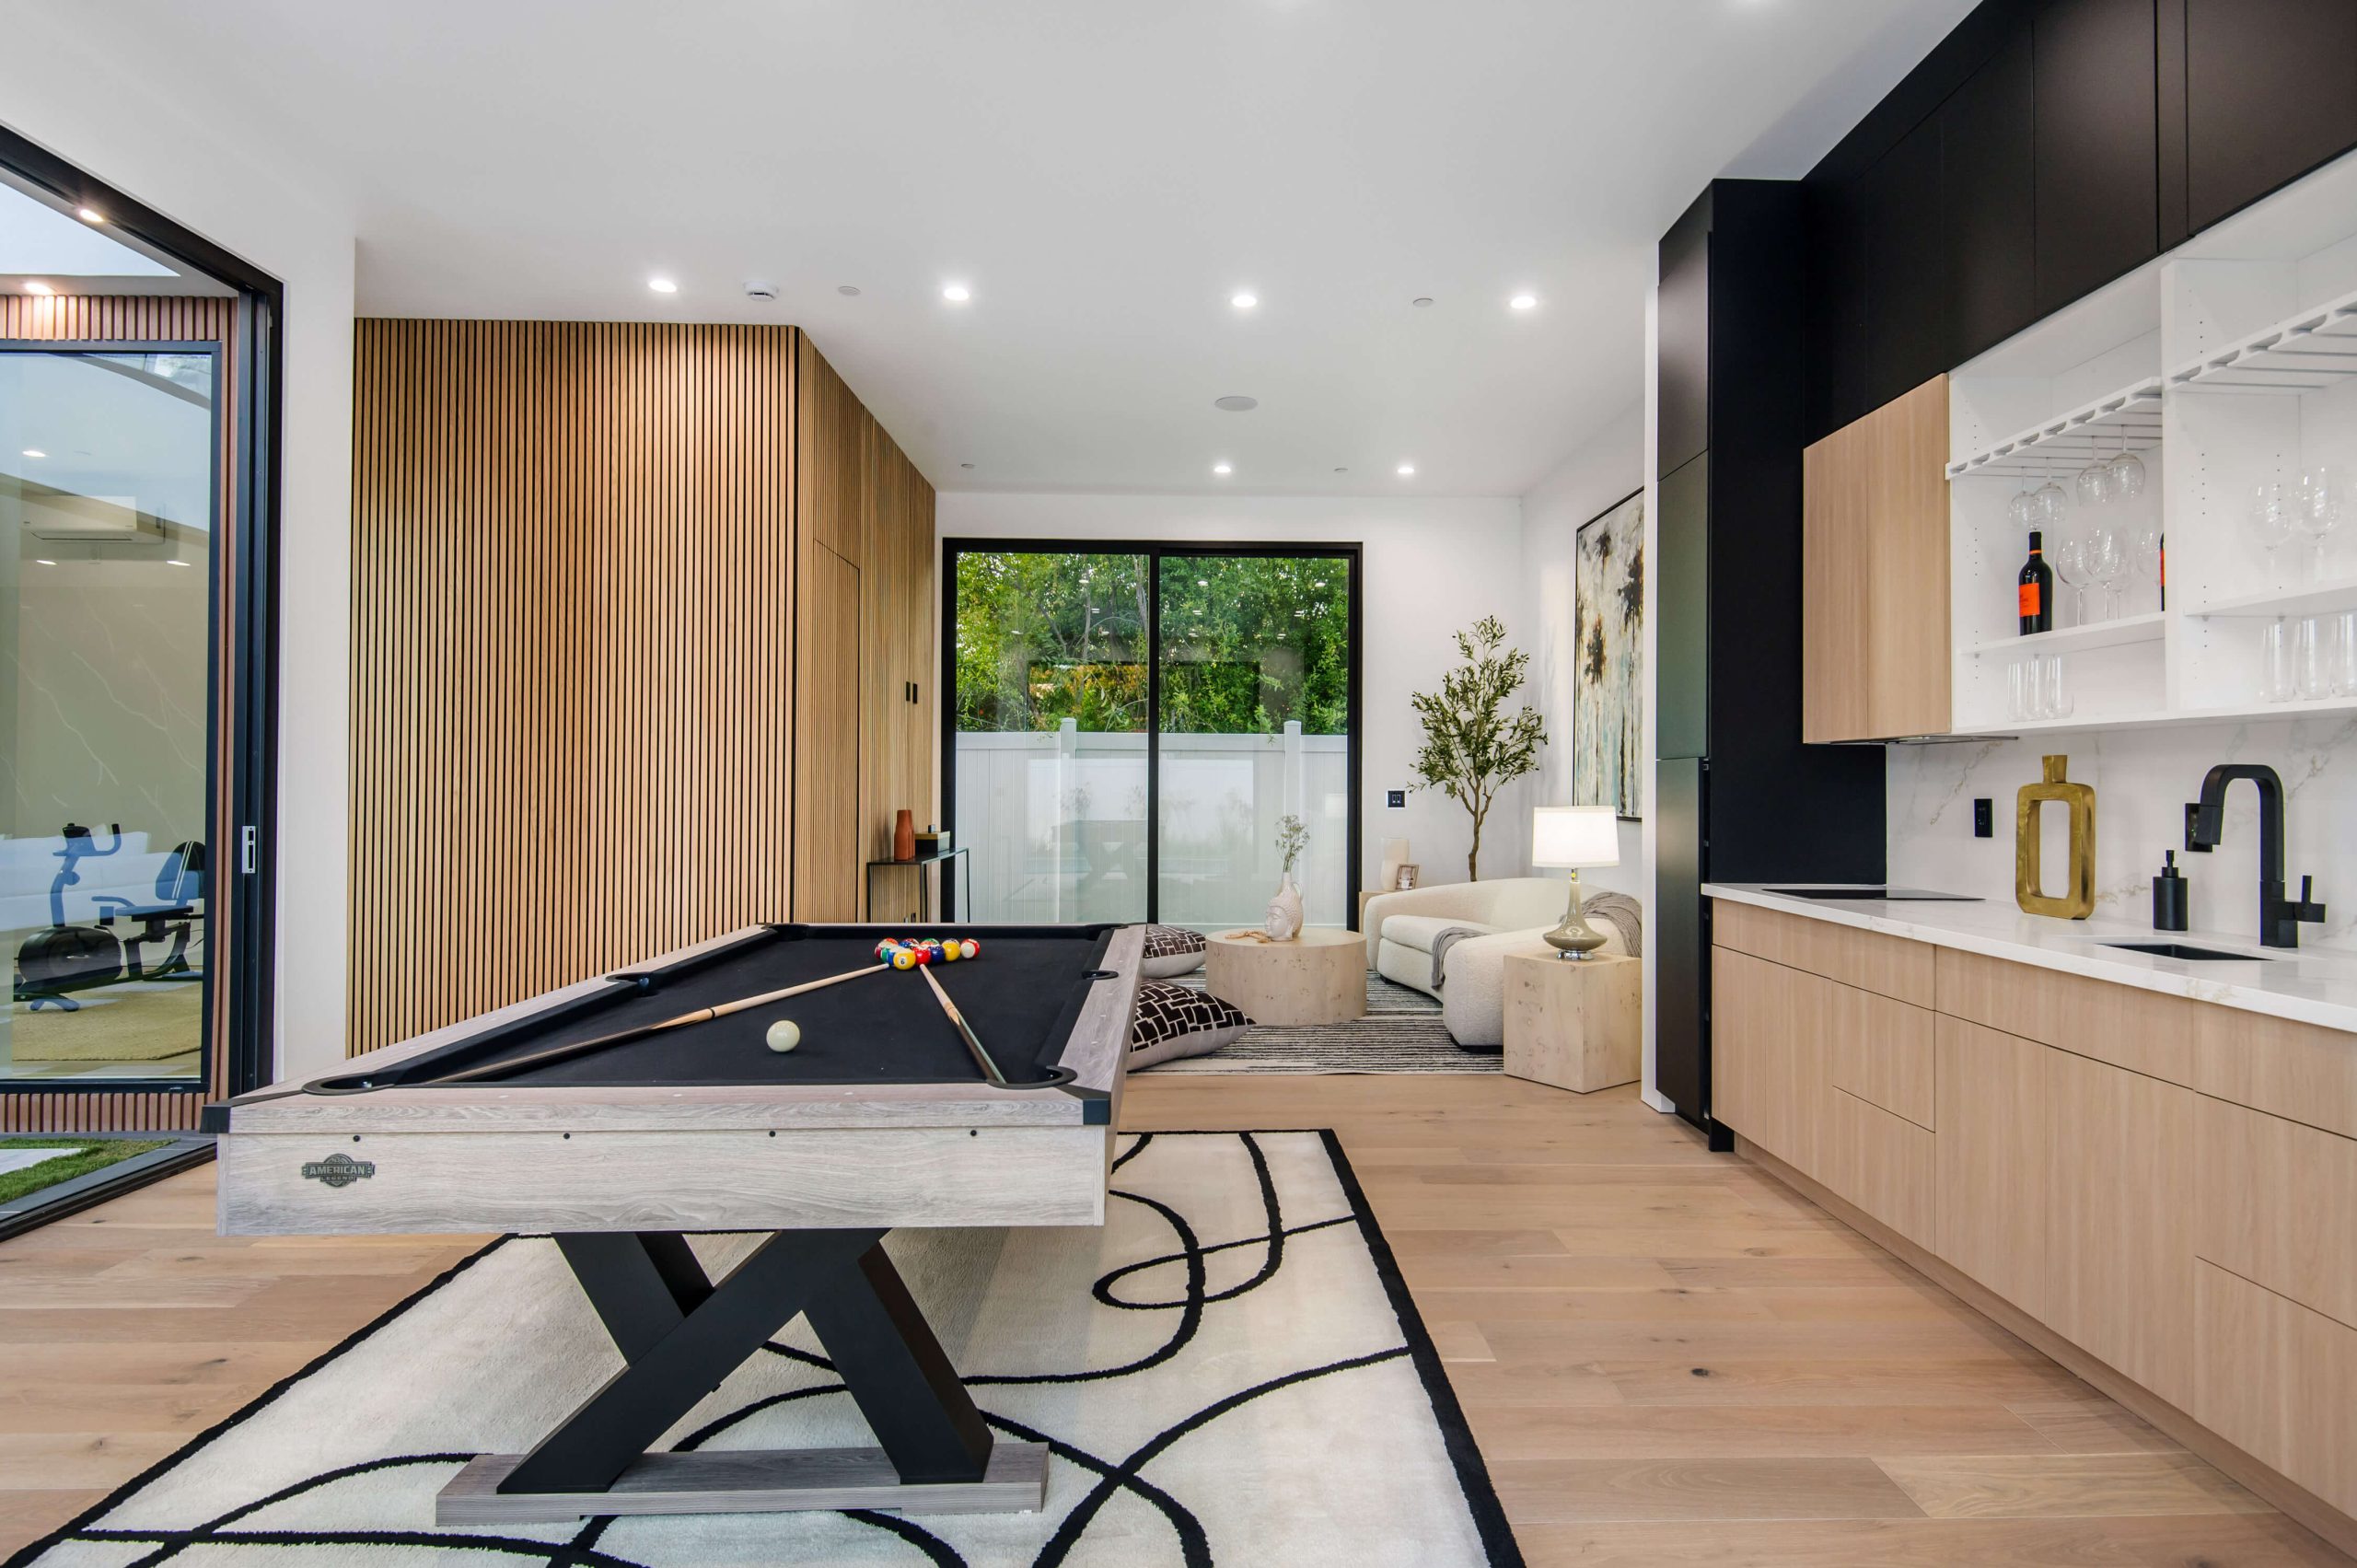
Where to Use Slat Wood Panels on Interior Walls
You might be thinking: “Can I use these in any room?” The answer is yes—but some spots are extra special.
Top spots for slat wood panels:
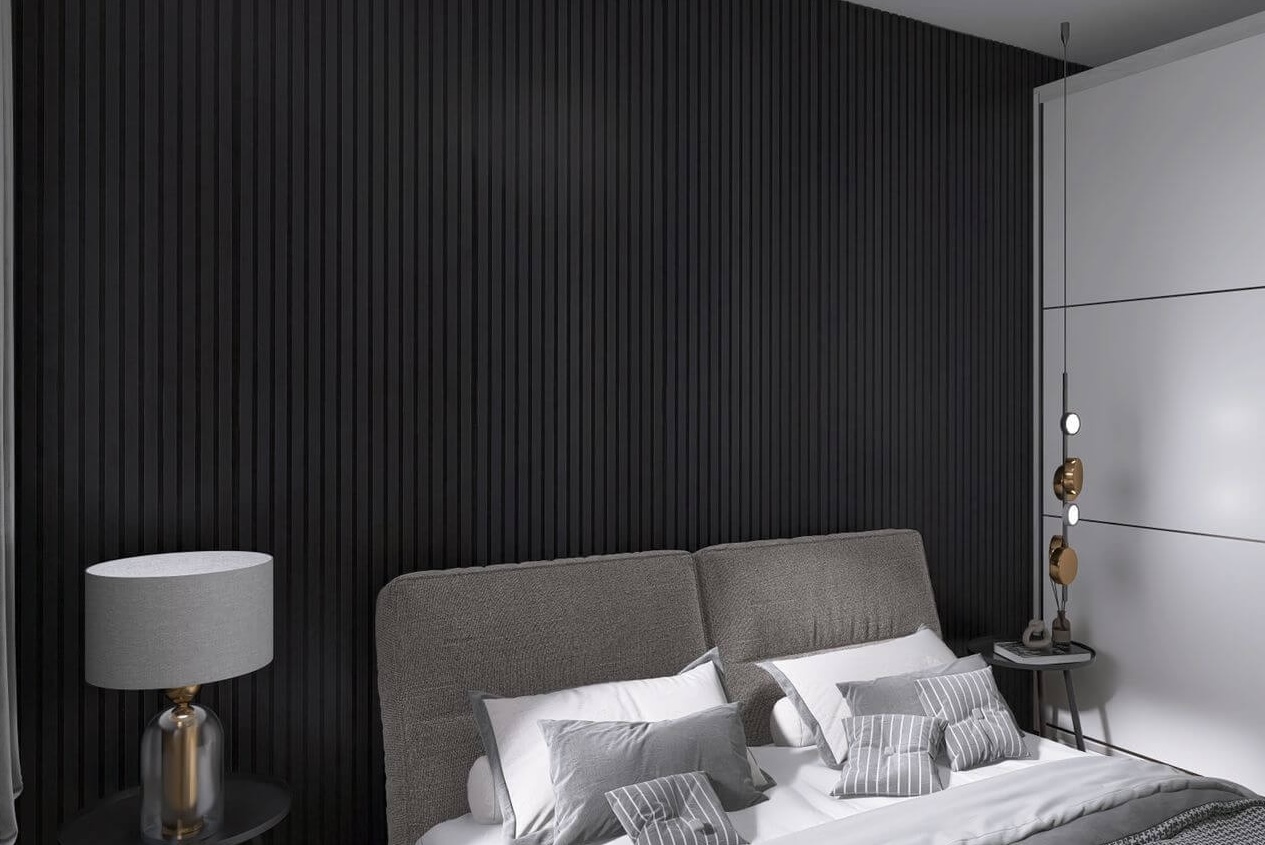
- Behind the TV for a statement media wall
- Bedroom walls for cosy textures
- Home offices for a calming backdrop
- Hallways to add depth and interest
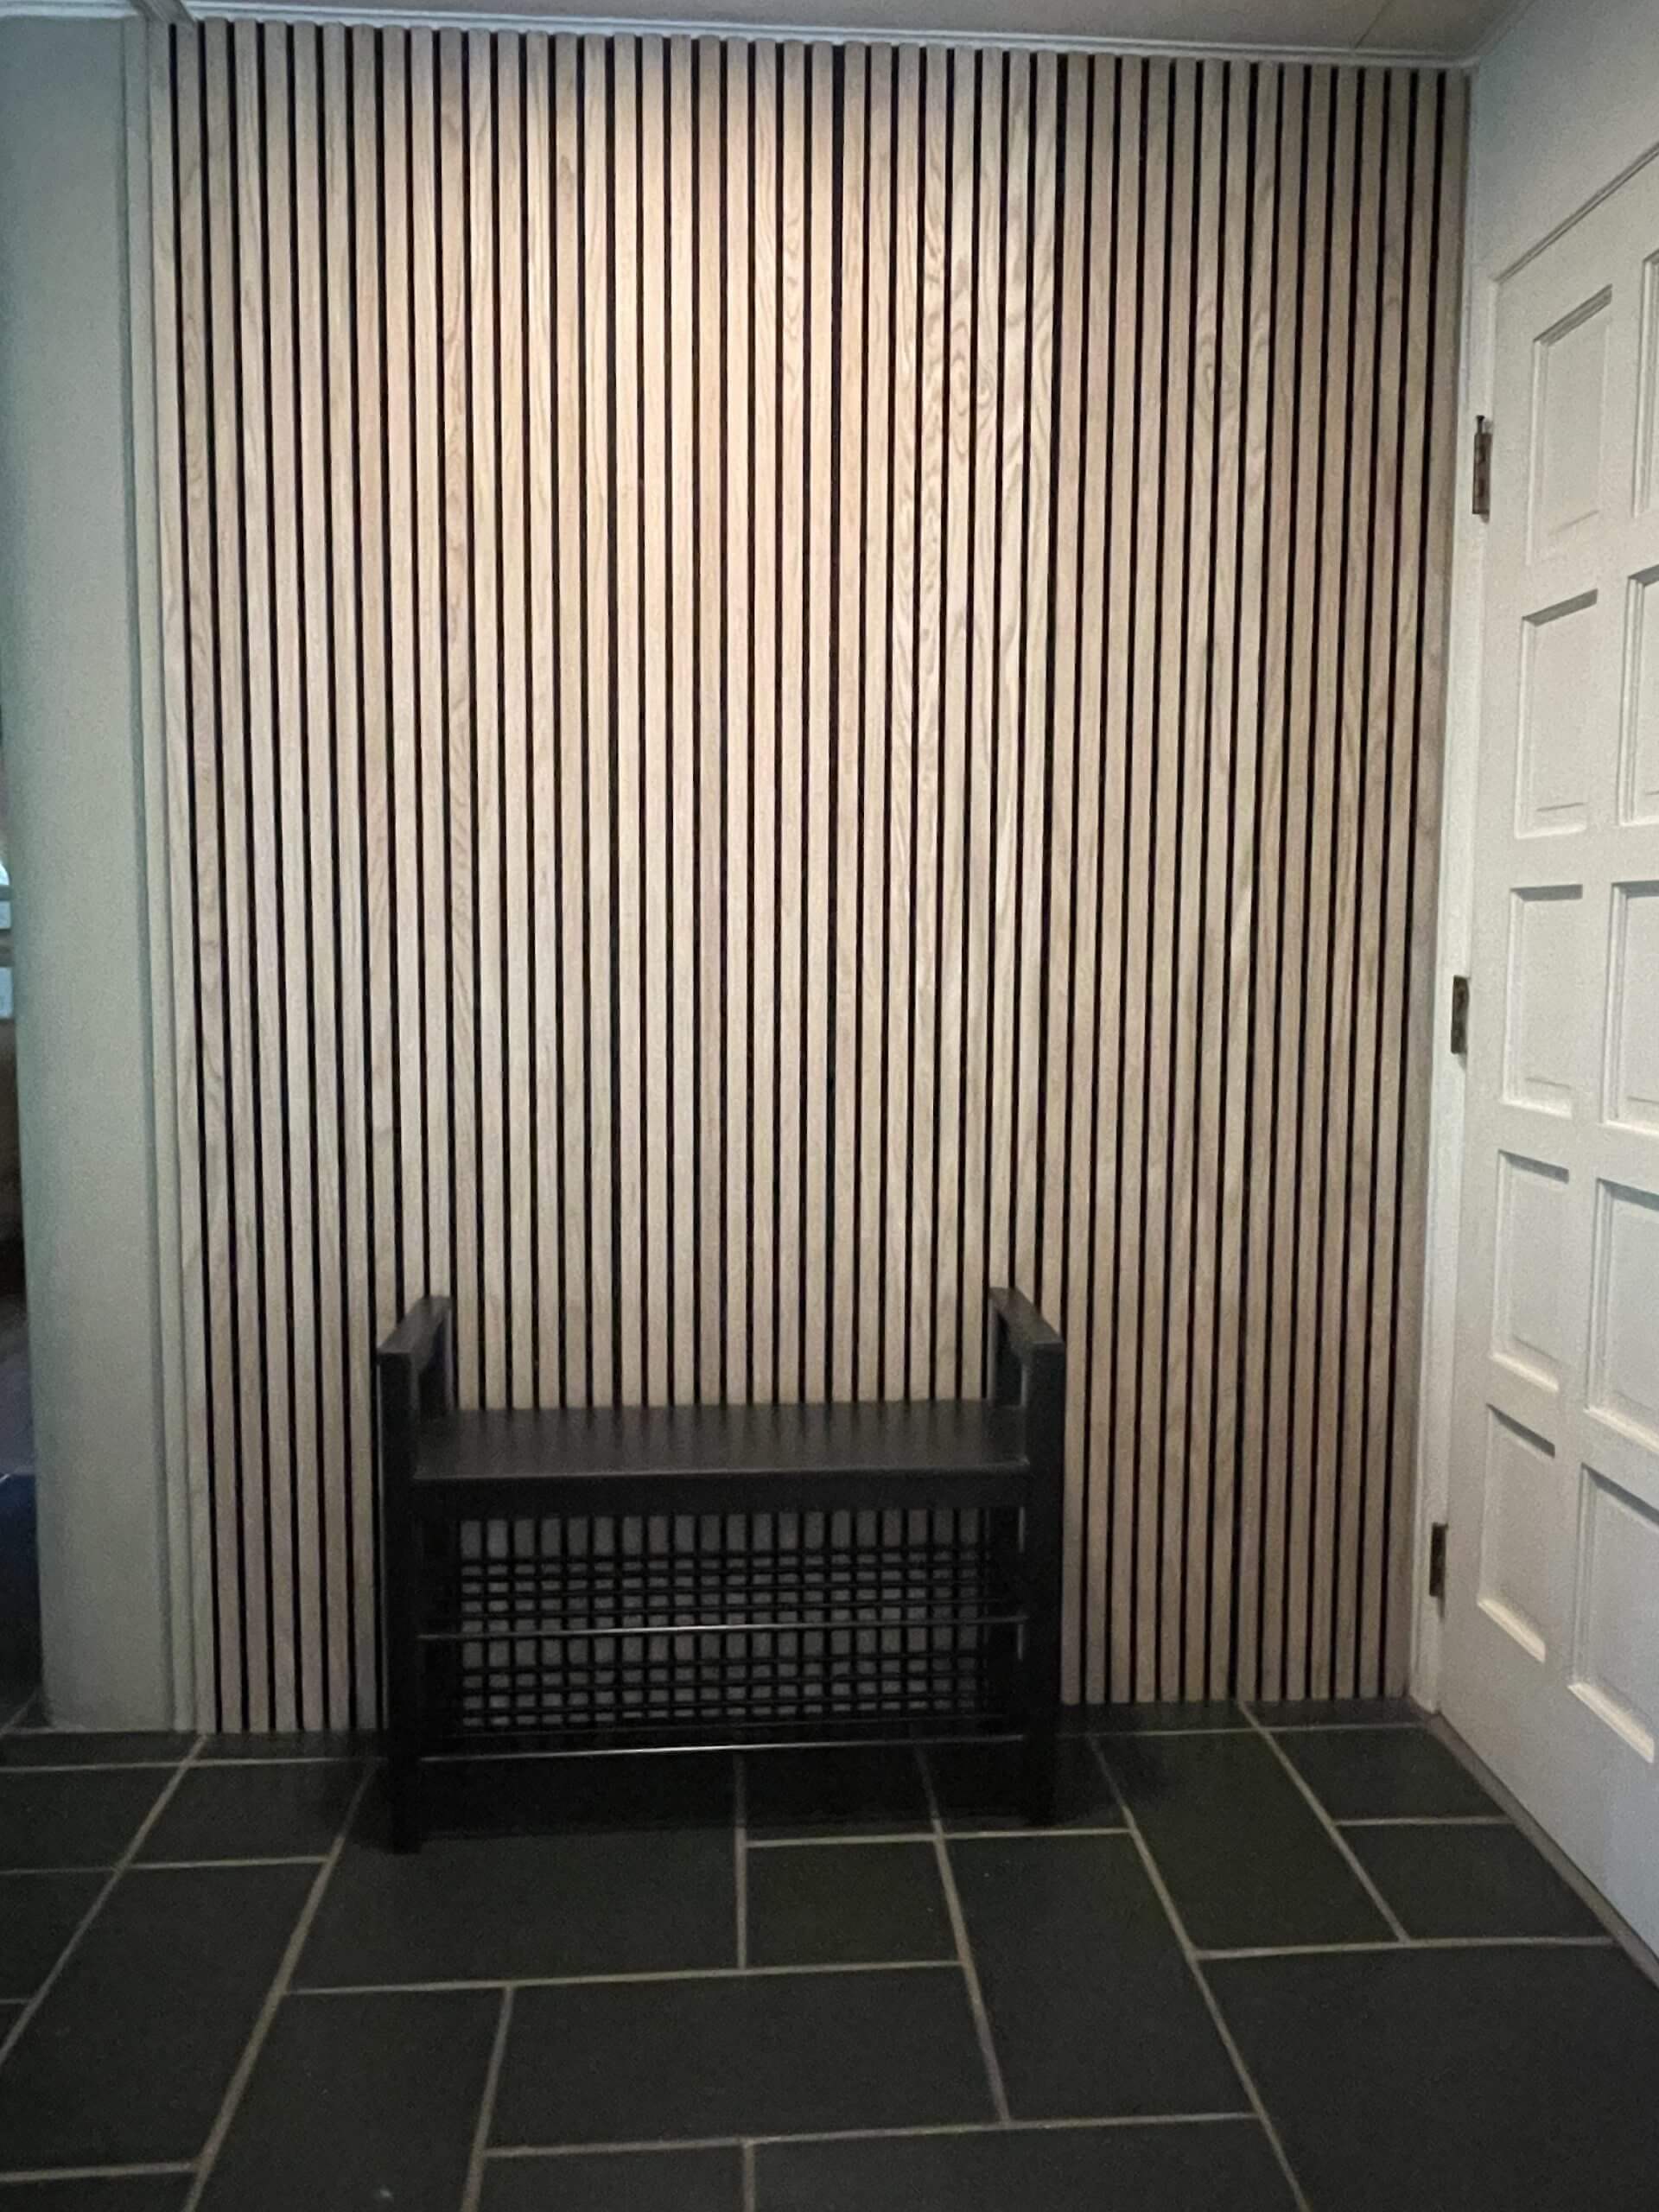
- Entryways for a wow factor first impression
Even bathrooms can work if your panels are sealed properly against moisture.
Design tip: Match your slat wood panels to the tones of your flooring, ceiling beams, or cabinetry. It ties the whole space together beautifully.
Installing slat wood panels on interior walls doesn’t just change how your home looks—it changes how it feels. There’s something grounding about natural wood textures, especially when done right. Whether you’re giving your room a full makeover or just want to add a bit of flair, these panels are a clever, affordable, and stunning solution.
And if you ever feel unsure, we’re just around the corner—ready to help you bring warmth and personality into every corner of your home.
FAQs
1. Can I install slat wood panels on my interior walls by myself, or do I need a professional?
You can definitely do it yourself if you’re comfortable with basic tools like a drill, level, and saw. The panels are designed to be DIY-friendly, especially if you’re working on a small space like a bedroom wall or hallway. But if you’re covering a large area or want a flawless finish, hiring a pro can save time and stress.
2. What kind of walls can slat wood panels be installed on?
Slat wood panels work well on most flat interior walls, including plasterboard (gyprock), MDF, brick, and timber. The key is making sure the surface is clean, dry, and even. If your wall is uneven or damp, it’s best to fix that before installing the panels.
3. How do I know how many slat wood panels I’ll need for my wall?
Measure the height and width of your wall in metres, then multiply those numbers to get the total square metres. Most panel packs list their coverage size, so divide your wall’s total area by that number. Always order 10–15% extra to allow for cutting and offcuts.
4. Will slat wood panels help with soundproofing my room?
Yes, slat wood panels can help reduce noise by absorbing sound and stopping echoes—especially when paired with an acoustic felt backing. While they won’t fully soundproof a room, they definitely make it quieter and more comfortable.
5. Can I use slat wood panels in humid areas like bathrooms or kitchens?
You can, but make sure you choose panels that are moisture-resistant or treated with a waterproof sealant. Avoid placing them where they’ll have direct contact with water, like behind a sink or near a shower. Proper ventilation is also important to keep the wood in good shape.