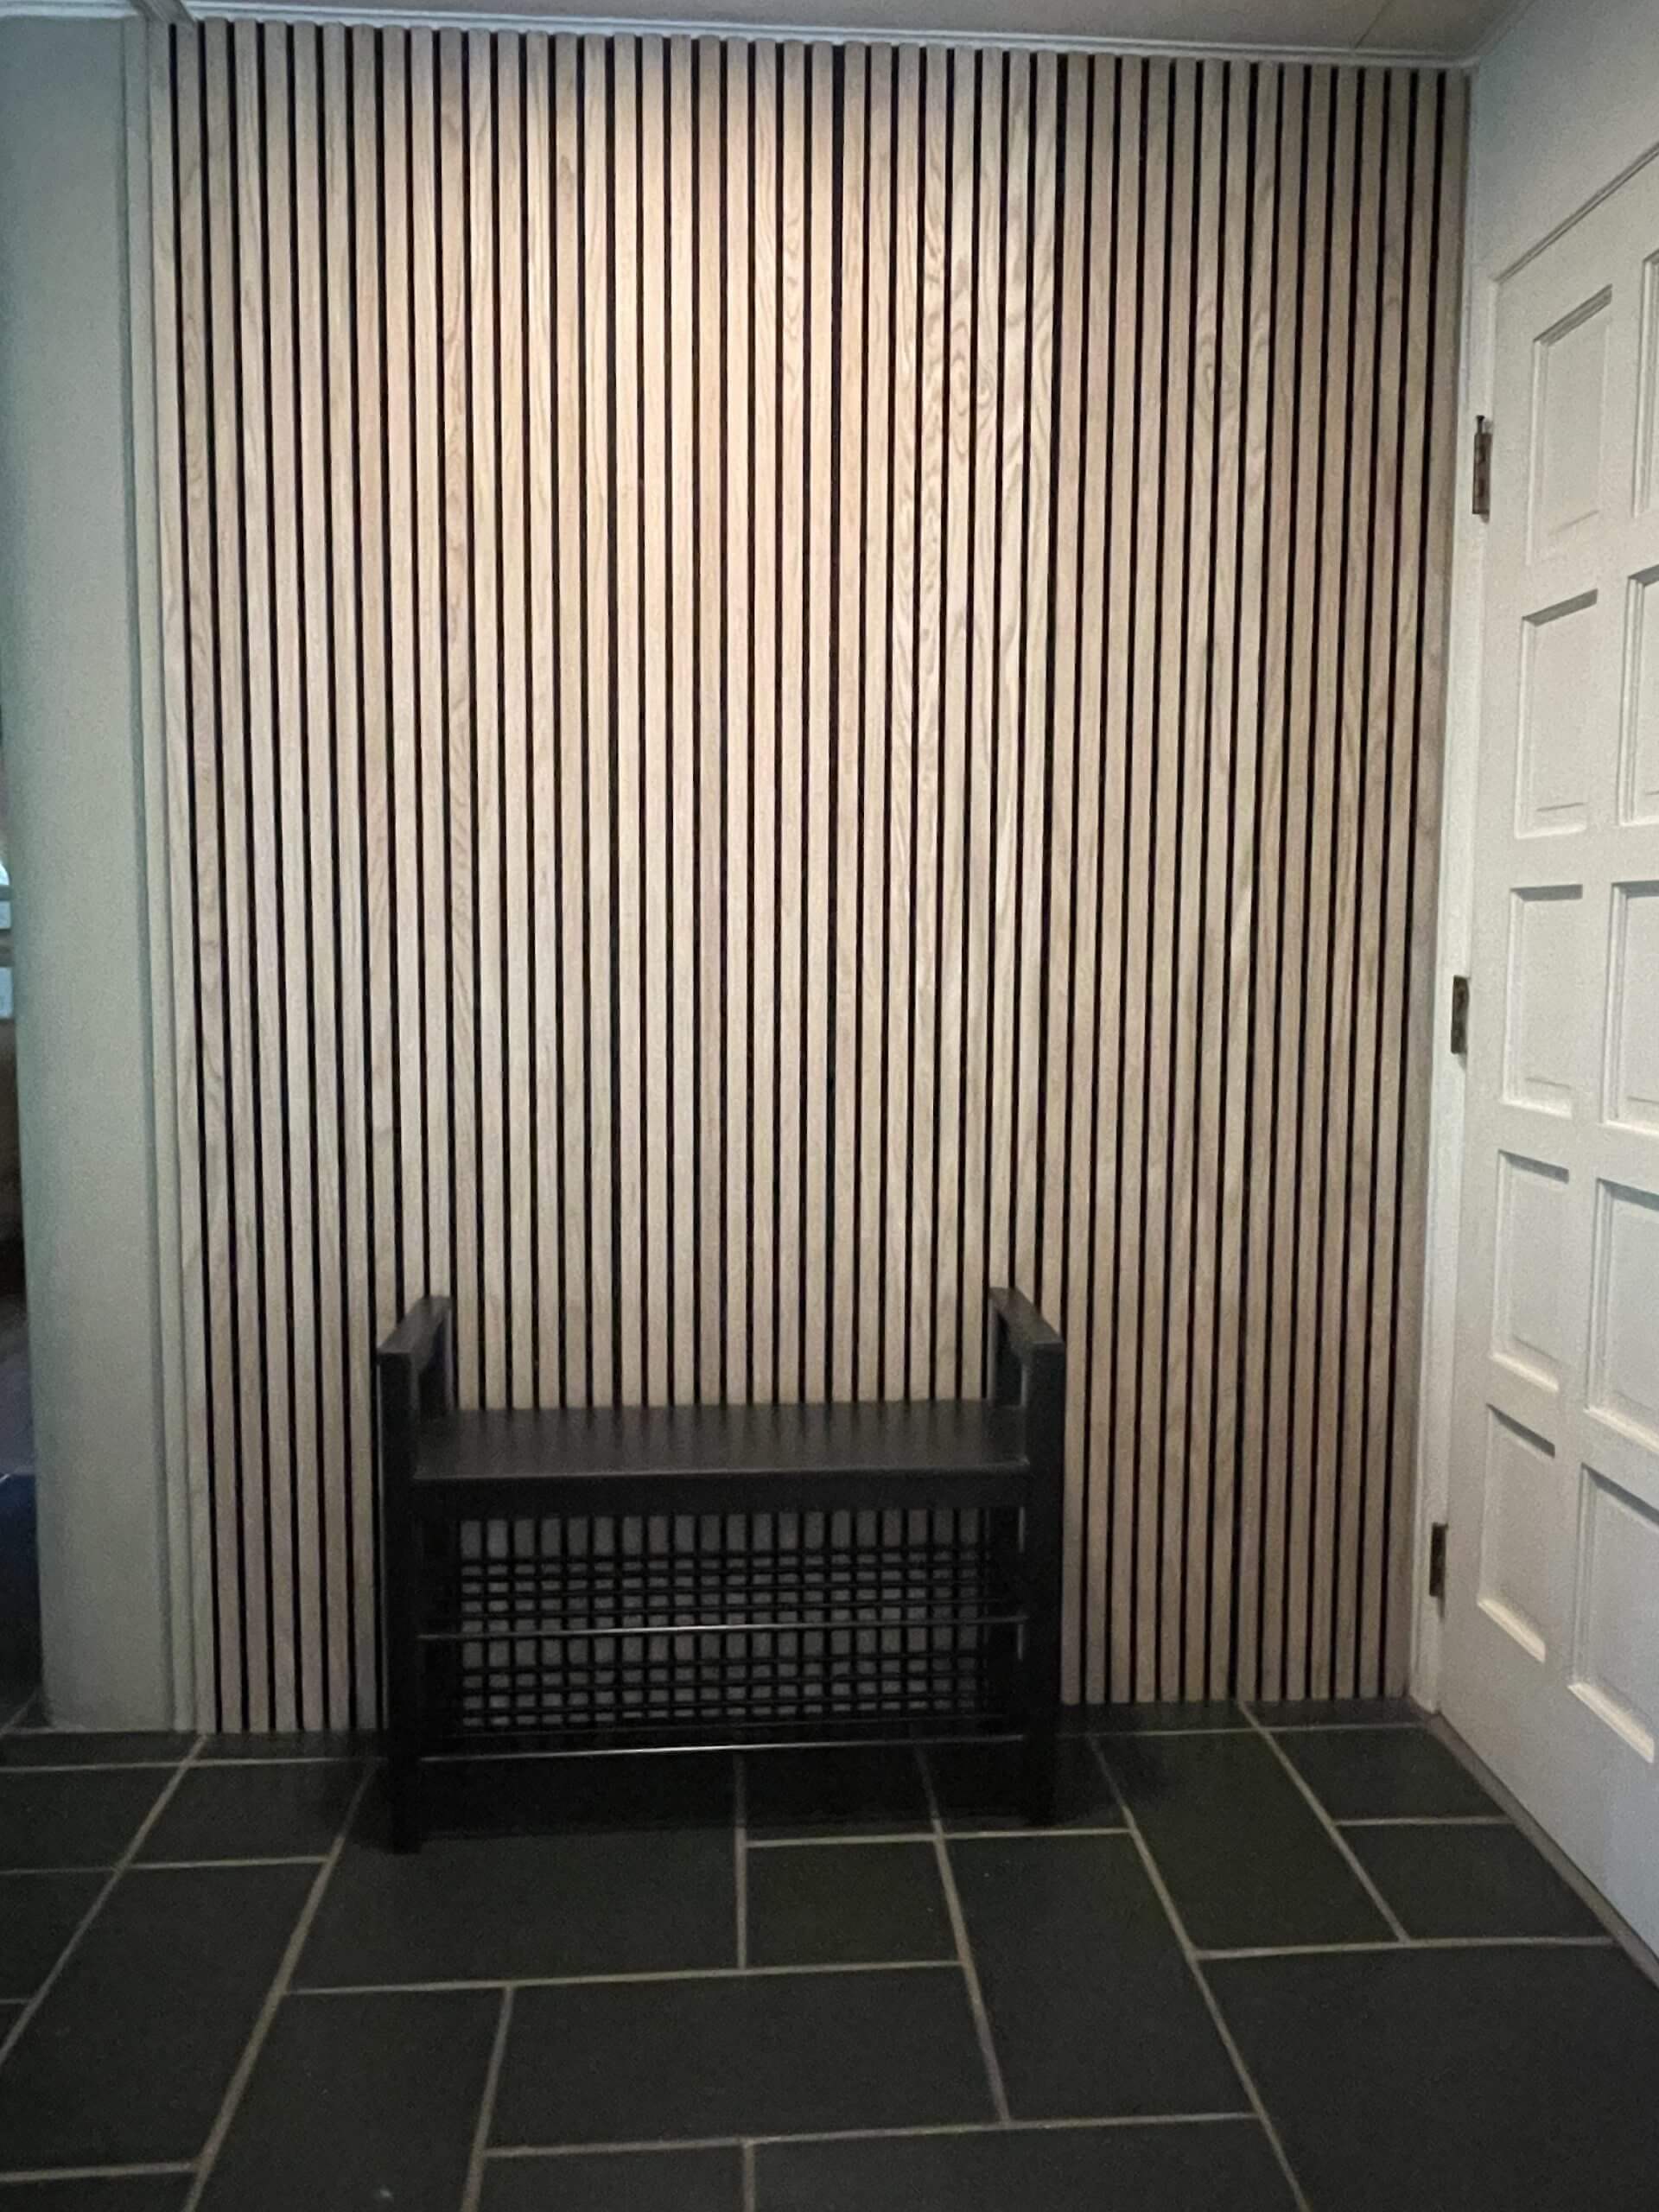
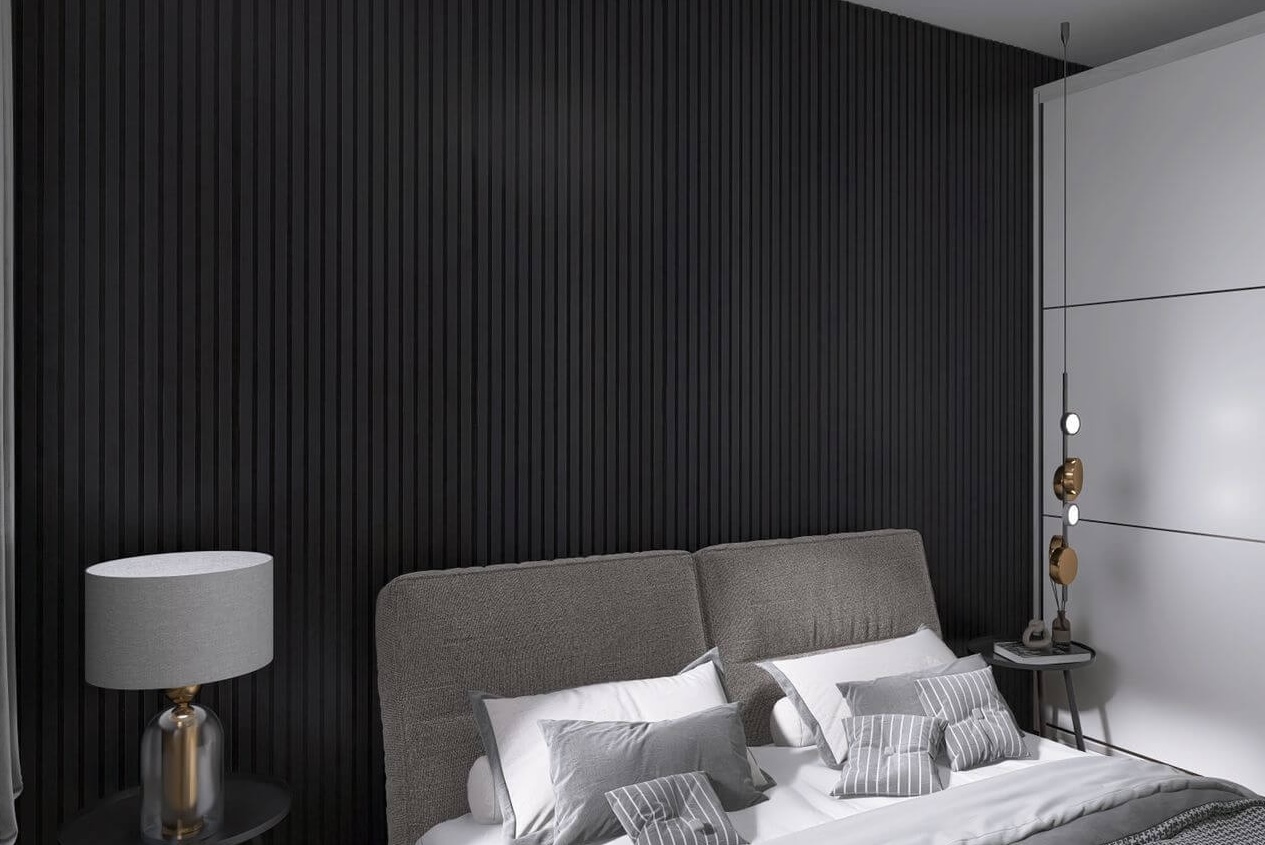
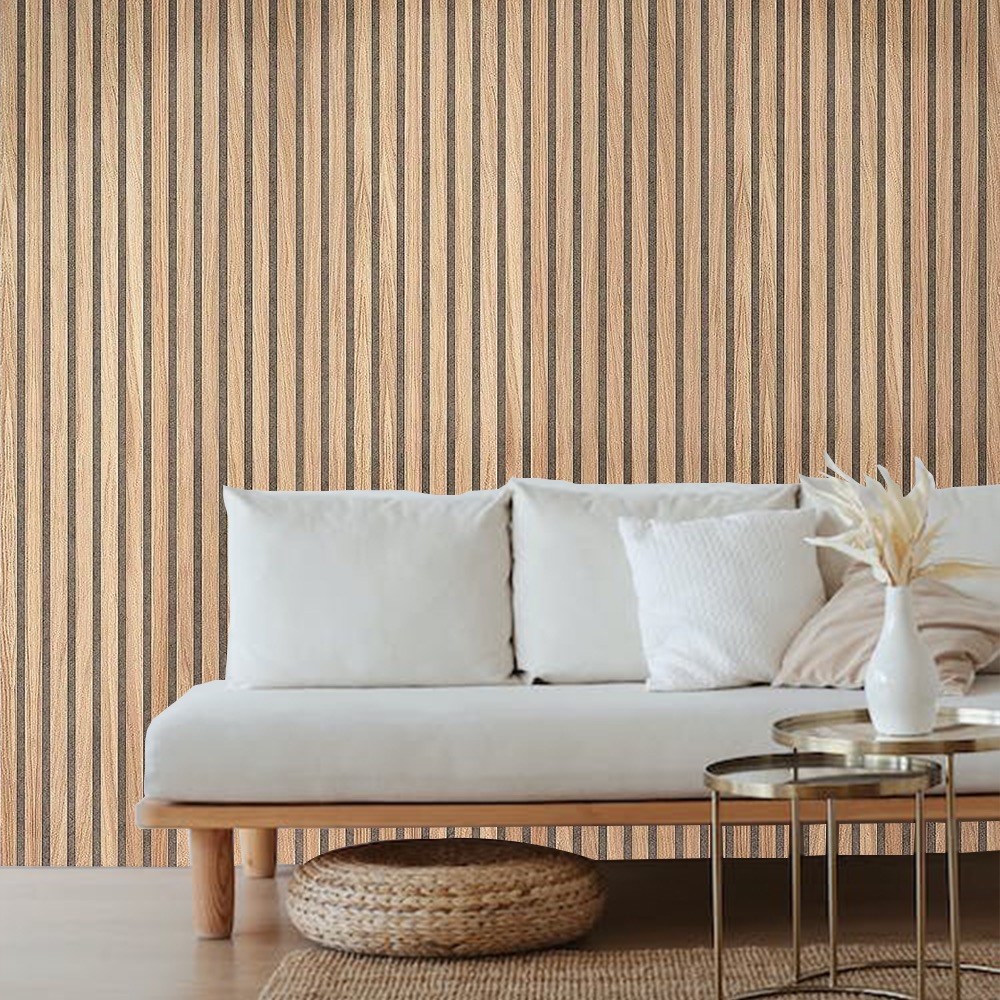
There’s something timeless about wood panel walls. They add warmth, character, and a touch of natural charm to any space. But as beautiful as they are, wood panels can be vulnerable—especially when water is involved. If moisture sneaks in, it doesn’t just cause damage—it invites mold, warping, and unwanted repairs. We’ve seen it happen more times than we’d like.
That’s why we want to share some smart, practical, and easy-to-follow waterproofing tips for wood panel walls. Whether you’re upgrading your living room or giving your basement a rustic twist, these tips can save your walls—and your wallet—from future headaches.
Let’s walk you through what works, what to avoid, and how to keep those wood panels looking their best for years to come.
Start with the Right Type of Wood Panels
Before you even think about sealants or sprays, it starts with the type of panel you choose. Some wood materials naturally handle moisture better than others. Here’s a quick breakdown of popular types of wood paneling and how they hold up:
| Wood Type | Water Resistance | Best Use Areas |
|---|---|---|
| Cedar | High | Bathrooms, basements |
| Redwood | High | Accent walls, exterior-facing walls |
| Pine | Medium | Living rooms, bedrooms |
| MDF (fiberboard) | Low | Dry indoor spaces only |
| Plywood panels | Medium-High | Utility rooms, garages |
Choosing wisely from the start gives you a huge advantage. For moisture-prone areas, cedar and redwood are tough to beat. But even the best wood can suffer without the right waterproofing tips for wood panel walls.
Seal It Before You Install It
One of the biggest mistakes we see is waiting until after installation to start thinking about moisture protection. But sealing each panel before it even touches the wall can be a game-changer.
Here’s how to do it right:
- Use a wood sealer or waterproofing primer made for indoor wood surfaces.
- Apply a coat to all sides of the panel, including the edges and back.
- Let it fully dry before mounting.
- For extra durability, follow up with a second coat on the exposed side after installation.
This step keeps hidden moisture from sneaking in behind the panel—a common cause of warping.
Tip: Look for eco-friendly, low-VOC sealers if you’re concerned about indoor air quality.
And if you’re still browsing for wall inspiration, check out these stunning yet affordable paneling ideas over at this blog on budget wall paneling upgrades.
Pay Attention to Where You Install
Not every wall is a good candidate for wood paneling. Knowing the risk zones can save you a lot of grief.
High-risk moisture areas include:
- Bathrooms
- Laundry rooms
- Basements
- Any wall that backs onto exterior siding
If you’re set on adding panels in these areas, combine design with strategy. Here are waterproofing tips for wood panel walls that work wonders in tricky spots:
- Add a moisture barrier layer (like polyethylene sheets) behind the wood.
- Use water-resistant adhesives to prevent softening or bubbling.
- Install a vapor barrier primer before the wood touches the wall.
These layers give your walls that extra bit of armor they need when facing water exposure.
Don’t Forget the Gaps and Seams
Moisture loves to sneak through cracks—so sealing gaps is just as important as treating the wood itself.
Here’s how to shut those sneaky spaces down:
- Caulk between panels using a waterproof, flexible sealant.
- Use corner trims to lock in corner areas where gaps can hide.
- Install baseboard and crown molding tightly to close off the top and bottom.
This is especially important in older homes where walls aren’t perfectly straight. Keeping seams tight keeps your panels protected. It’s one of those waterproofing tips for wood panel walls that might seem small—but makes a big difference.
Regular Maintenance Makes All the Difference
Waterproofing isn’t a one-and-done deal. Even the best-protected wood needs a little TLC over time. A quick check-up now and then keeps your panels going strong.
Simple maintenance checklist:
- Wipe panels down with a damp—not soaking—cloth monthly.
- Check corners and edges for signs of peeling or discoloration.
- Reseal surfaces every 2–3 years, especially in moisture-heavy rooms.
- Run a dehumidifier in basements or humid spaces to lower moisture in the air.
You don’t need fancy equipment. Just some time, care, and attention can prevent serious damage and expensive repairs later on.
Looking to upgrade your wall panels or start fresh with a new design? Explore our premium collection of wood panel wall options right here at Wood Panel Wall.
Smart Add-Ons That Boost Protection
You can always take your protection to the next level with a few smart add-ons. These extras aren’t just for show—they work hard to keep your walls safe and dry.
- Wall panel coatings – Adds a transparent layer that repels moisture.
- Silicone edge seal tape – Great for bottom panel lines near the floor.
- Moisture sensors – Alerts you when humidity behind walls rises too high.
- Wall-mounted fans or vents – Helps circulate air in tight or enclosed spaces.
We’ve tried these on customer projects, and the difference they make is real. They’re perfect for homeowners who want peace of mind, especially during rainy seasons or in coastal climates.
Signs It’s Time to Re-Seal or Replace
Even the best wood panels have a lifespan. But you don’t have to wait for a disaster to hit. Keep an eye out for these warning signs:
- Swelling or bulging areas in the panel
- Discoloration or fading, especially near windows or floors
- A musty or sour smell near the wall
- Flaking or peeling sealant
If you spot these early, resealing might be all you need. But if panels are soft or rotting, it’s time to replace. When you do, be sure to apply all the waterproofing tips for wood panel walls we’ve shared to keep your next set going strong.
Want a fresh start with durable, stylish, and easy-to-maintain panels? Browse top-rated waterproof paneling options right here at Wood Panel Walls.
Final Thoughts and Next Steps
We’ve been around long enough to know that moisture damage doesn’t announce itself. It creeps in quietly, and before you know it, your beautiful wood panel wall is in trouble. But by applying these smart and simple waterproofing tips for wood panel walls, you can stay ahead of the damage.
Think of it like putting on a raincoat. You wouldn’t go into a storm without one, and your wood panel wall shouldn’t either.
Need help choosing the right wood, sealant, or panel type? We’ve got you. Visit our homepage and get expert tips tailored to your space over at Wood Panel Wall.
FAQs
1. How do I waterproof my wood panel walls to prevent water damage?
To waterproof your wood panel walls, apply a high-quality wood sealant or waterproof primer to all sides of each panel before installation. Use a moisture barrier behind the panels in damp areas and seal all gaps with waterproof caulk. Regularly check for peeling or wear and reseal every few years for ongoing protection.
2. Can I use wood paneling in bathrooms or basements?
Yes, but it needs extra care. These areas hold more moisture, so it’s important to use naturally water-resistant wood like cedar or redwood. Install a vapor barrier behind the panels, use water-resistant adhesive, and make sure all edges and seams are sealed tightly to prevent moisture from creeping in.
3. How often should I reseal my wood panels?
It’s a good idea to reseal wood panel walls every 2 to 3 years, especially in high-humidity rooms. If you notice changes in color, texture, or smell, those are signs you may need to reseal sooner.
4. What’s the best type of wood panel for areas with high moisture?
Cedar and redwood are both excellent for moisture resistance and naturally repel water. Plywood panels also work well if properly sealed. Avoid MDF panels in wet areas—they tend to absorb moisture and can swell or warp over time.
5. What should I do if I see signs of water damage on my wood panels?
If the panel shows swelling, discoloration, or feels soft to the touch, it’s likely water-damaged. You may be able to dry and reseal it if caught early. But in most cases, replacing the affected panels and applying the proper waterproofing tips for wood panel walls will help you avoid repeat issues.