When you’re designing or renovating a space, the little details often make the biggest difference. One of those details? Wall panels. They bring warmth, texture, and depth to a room. But before choosing a design or finish, there’s one big question to answer: what’s the right thickness for wall panels?
We get this question a lot, and it makes sense. The thickness you choose affects everything—from how strong the panel is to how it looks once installed. Some people want a bold, deep panel that stands out. Others prefer a thinner, smoother look. But let’s break it down together in a way that’s easy to follow.
Why Does Thickness Matter in Wall Panels?
Picking the right thickness for wall panels isn’t just about looks. It’s about how the panels perform too. Here’s what the thickness can affect:
- Durability: Thicker panels are often stronger. They can take bumps, scrapes, or pressure better than thin ones.
- Insulation: Thicker panels offer better sound and heat control.
- Installation: Thinner panels are lighter and easier to handle, especially for DIY projects.
- Style: Some designs need thicker wood to show off patterns or grooves, while others work better with sleek, slim lines.
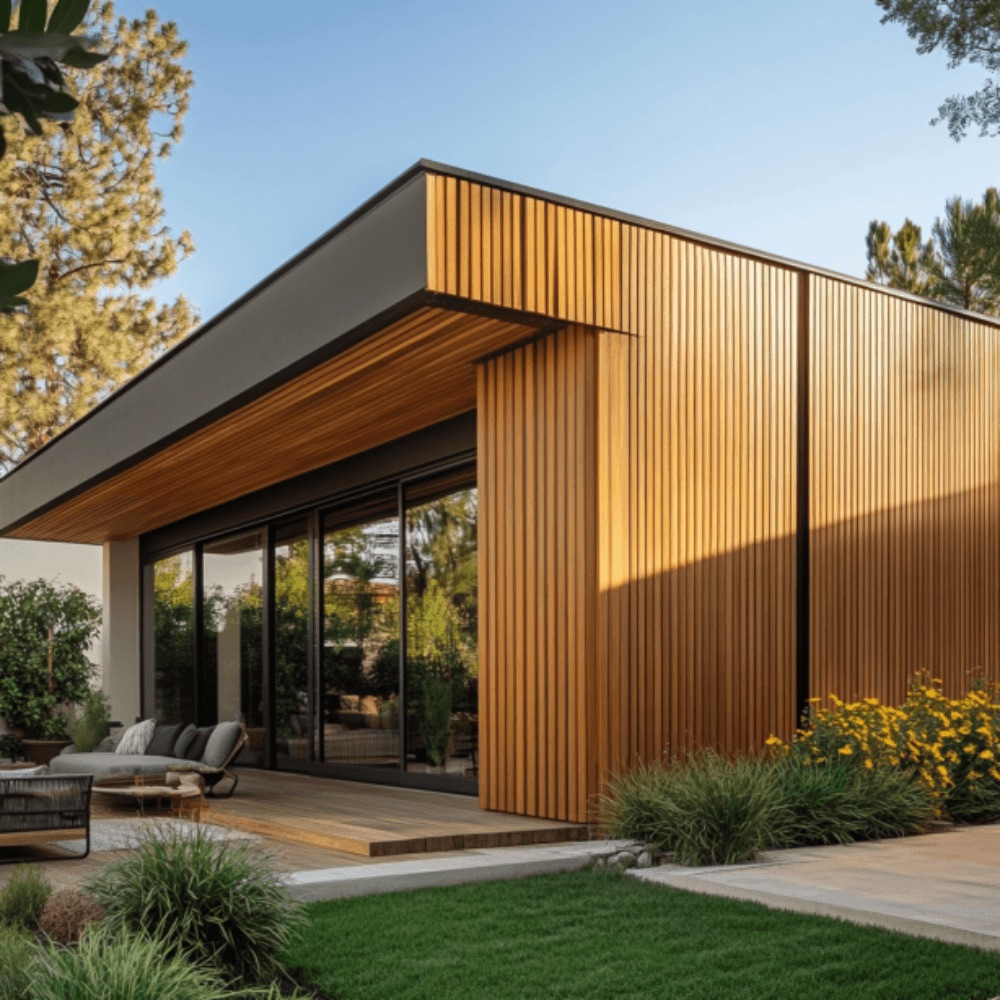
For example, in a cozy cabin room, you might want thick, rustic wooden planks. But for a modern city loft? Sleek, thinner panels could do the trick.
How to Choose the Right Thickness for Wall Panels
Choosing the right thickness for wall panels depends on a few key things. Let’s walk through the main points you should consider:
1. Purpose of the Room
Think about how the space is used:
- Living rooms or bedrooms: You might want something that helps with soundproofing. Thicker panels work well here.
- Bathrooms or kitchens: Thin, moisture-resistant panels are easier to clean and less bulky in tight spots.
- Offices or studios: Consider acoustic panels that are thicker to absorb sound.
2. Wall Conditions
Is the wall even and smooth, or rough and bumpy? If the wall isn’t flat, thicker panels can help hide imperfections. On smooth walls, thinner panels sit flush and clean.
3. Aesthetic Goals
Are you going for rustic charm, modern minimalism, or somewhere in between? Different thicknesses help tell different design stories:
- Thick panels = bold and dramatic
- Thin panels = clean and subtle
4. Budget and Materials
Here’s a quick cost comparison by thickness:
| Thickness | Common Materials | Approx. Price (per sq. ft.) |
|---|---|---|
| 1/4 inch | MDF, PVC | $1.00 – $2.50 |
| 3/8 inch | MDF, Natural Wood | $2.50 – $4.00 |
| 1/2 inch | Solid Wood, Plywood | $4.00 – $6.00 |
| 3/4 inch+ | Hardwood Panels | $6.00 – $10.00+ |
The thicker the material, the more it usually costs—not just for the panel, but for the installation too.
Popular Types of Wall Panels by Thickness
To help you visualize it better, here’s a list of common wall panel types and their usual thickness:
- Shiplap: 3/8 to 5/8 inch – Perfect for farmhouse-style or cozy cottage walls.
- Beadboard: 1/4 to 3/8 inch – Great for wainscoting or half-wall designs.
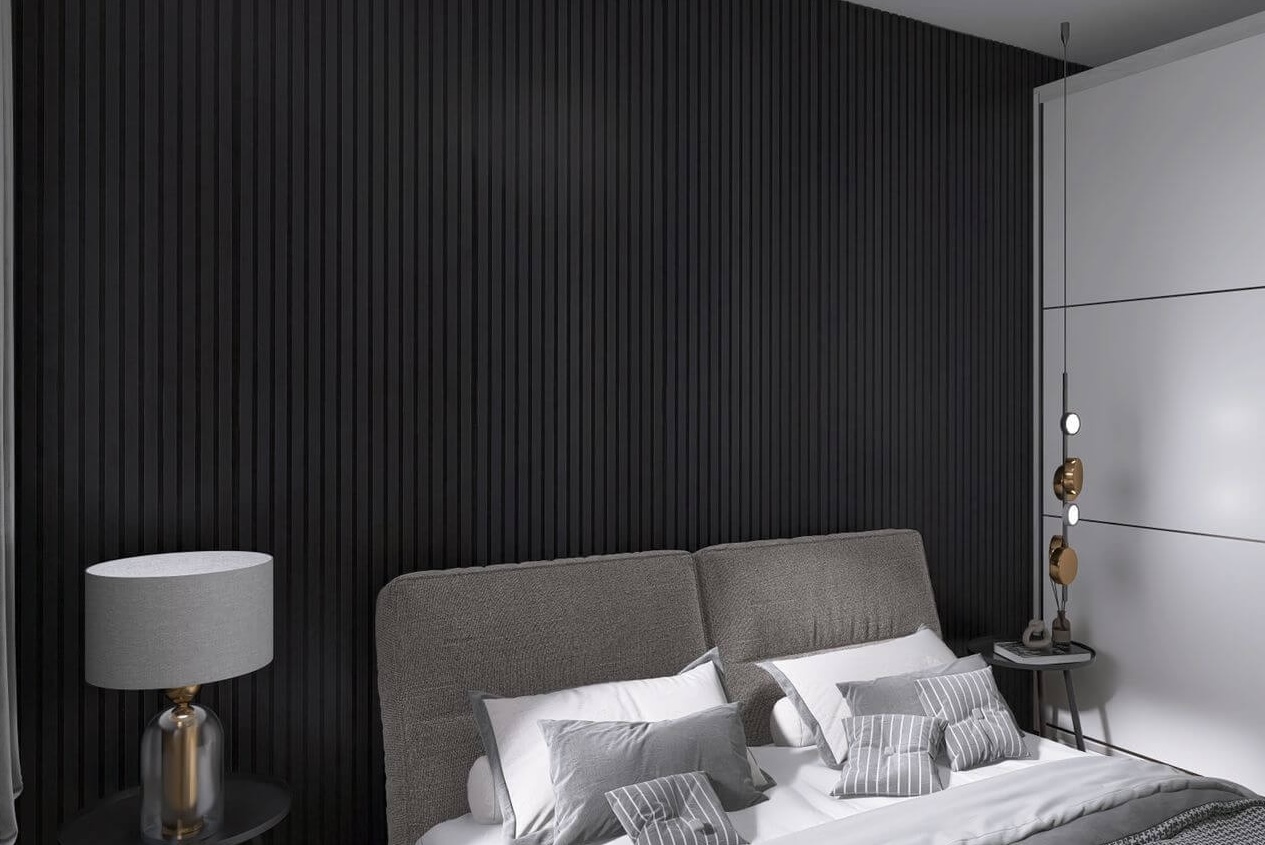
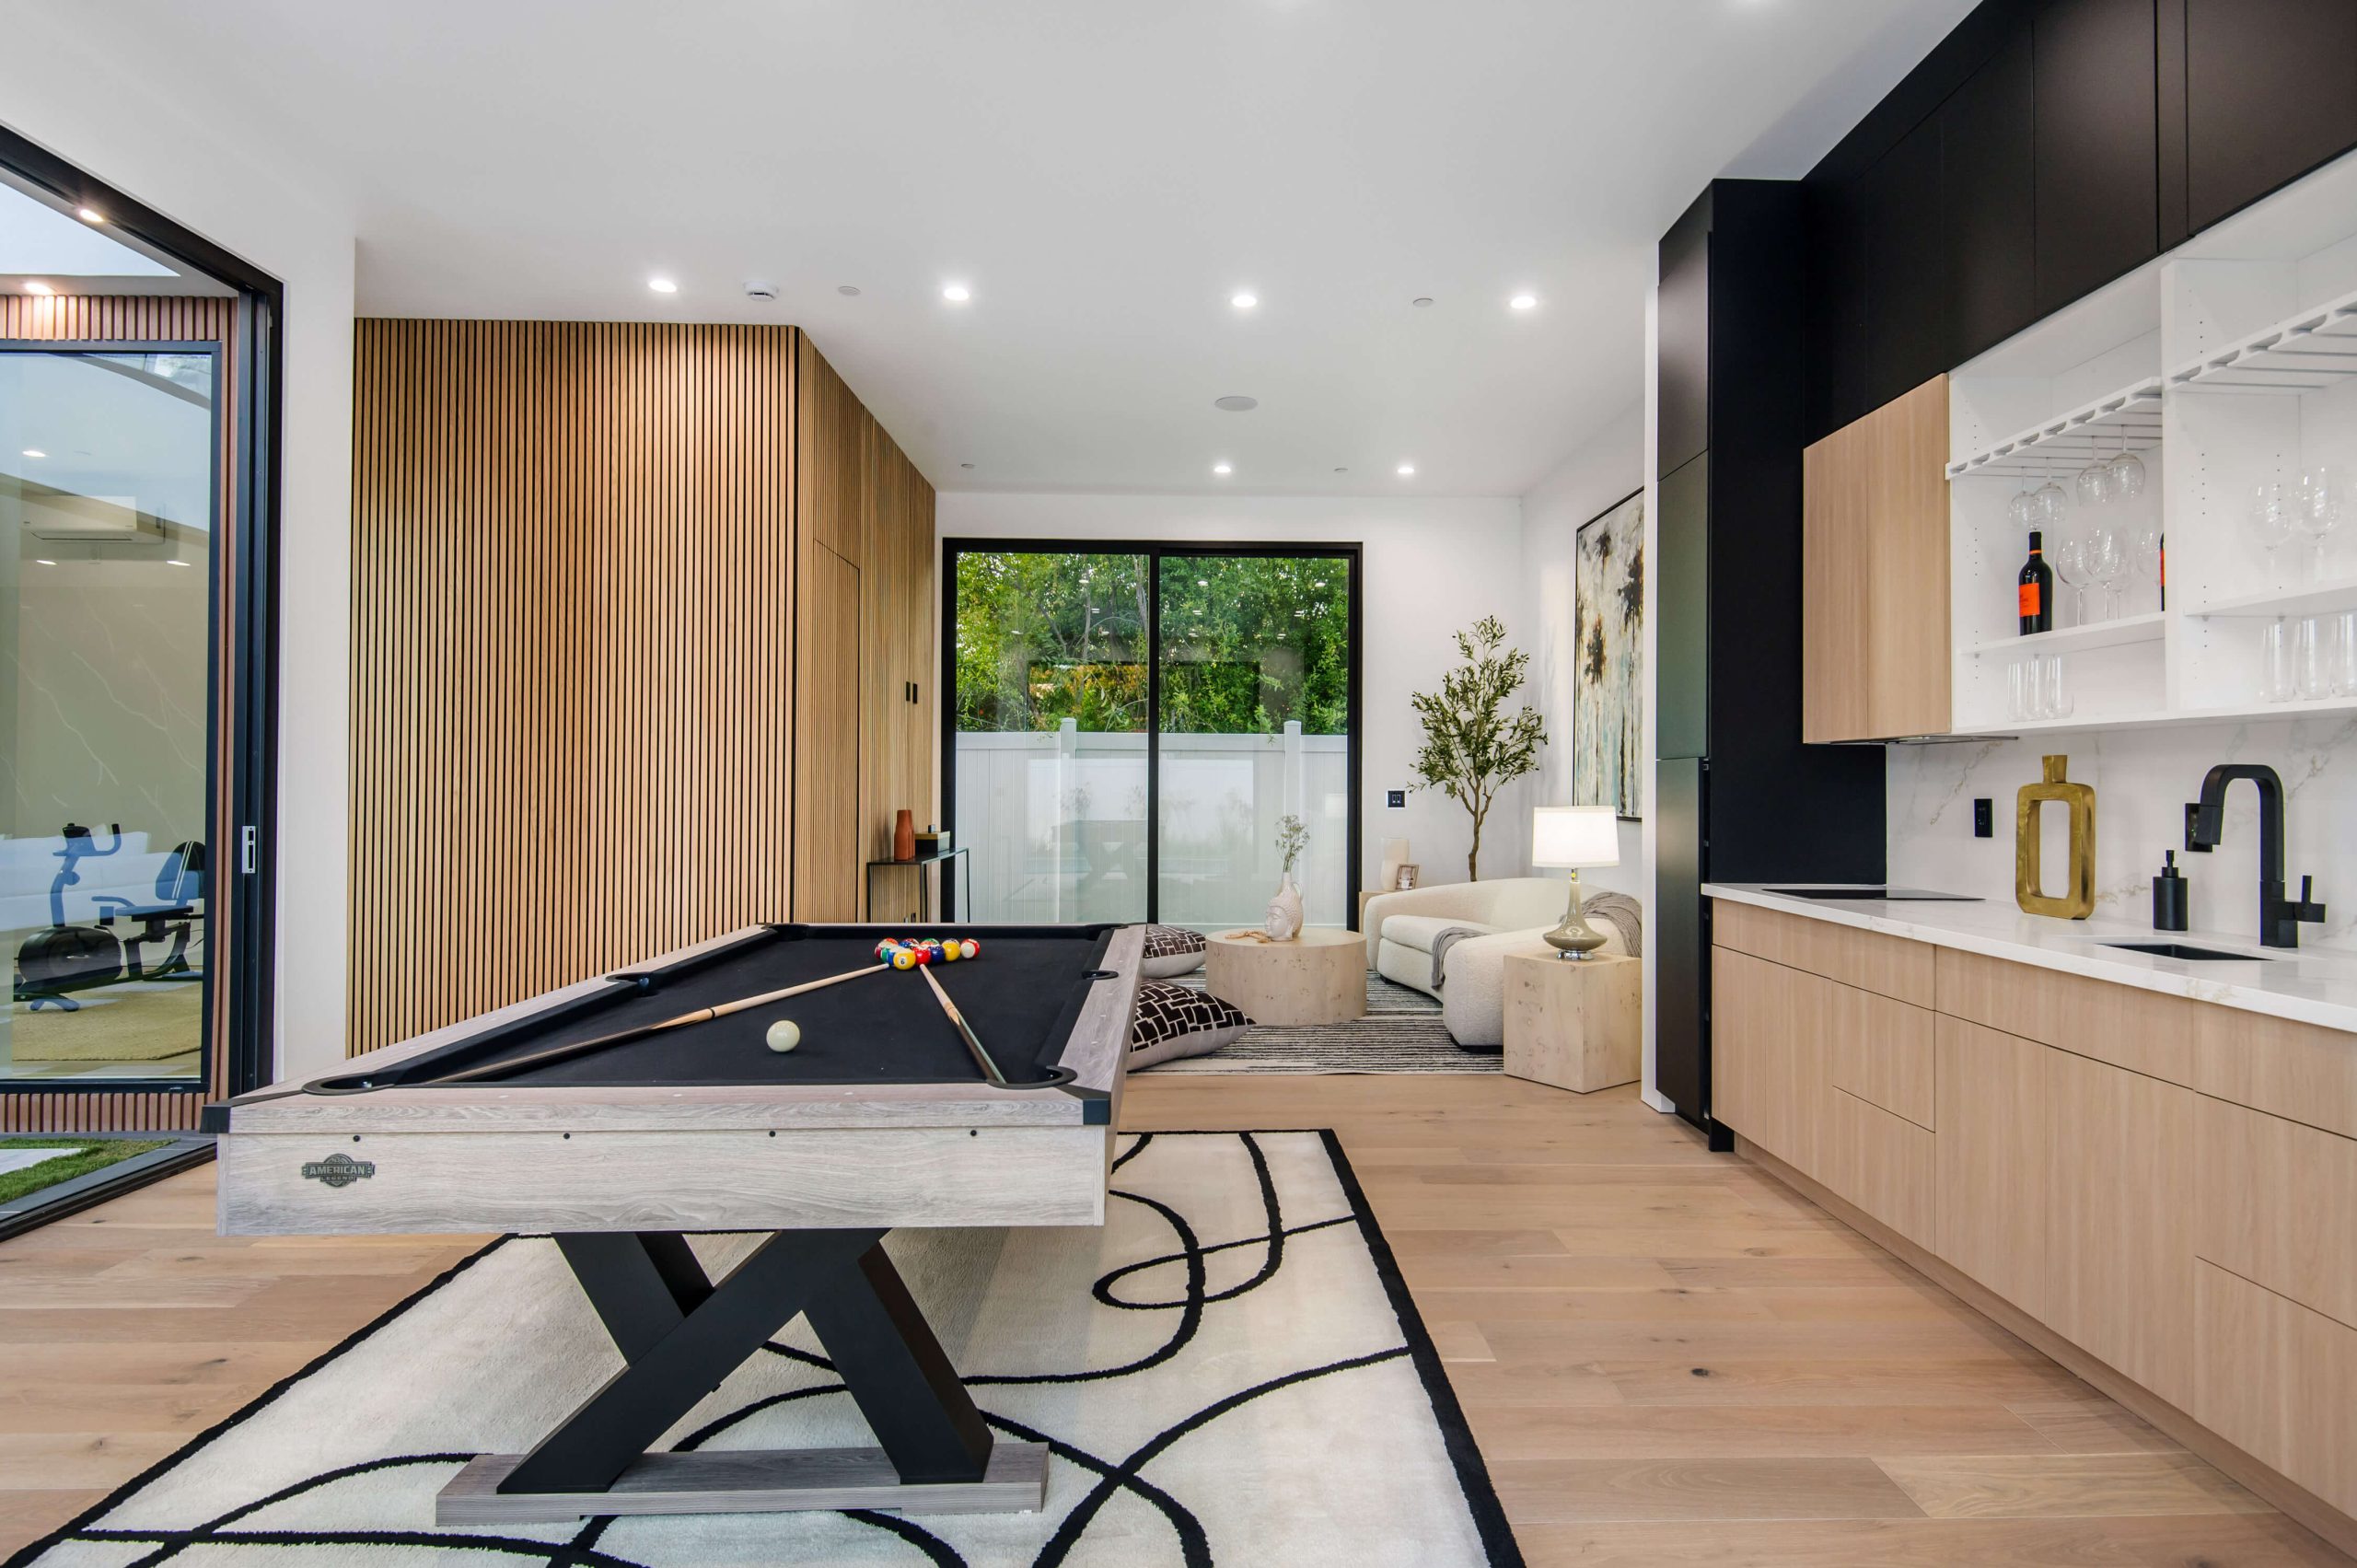
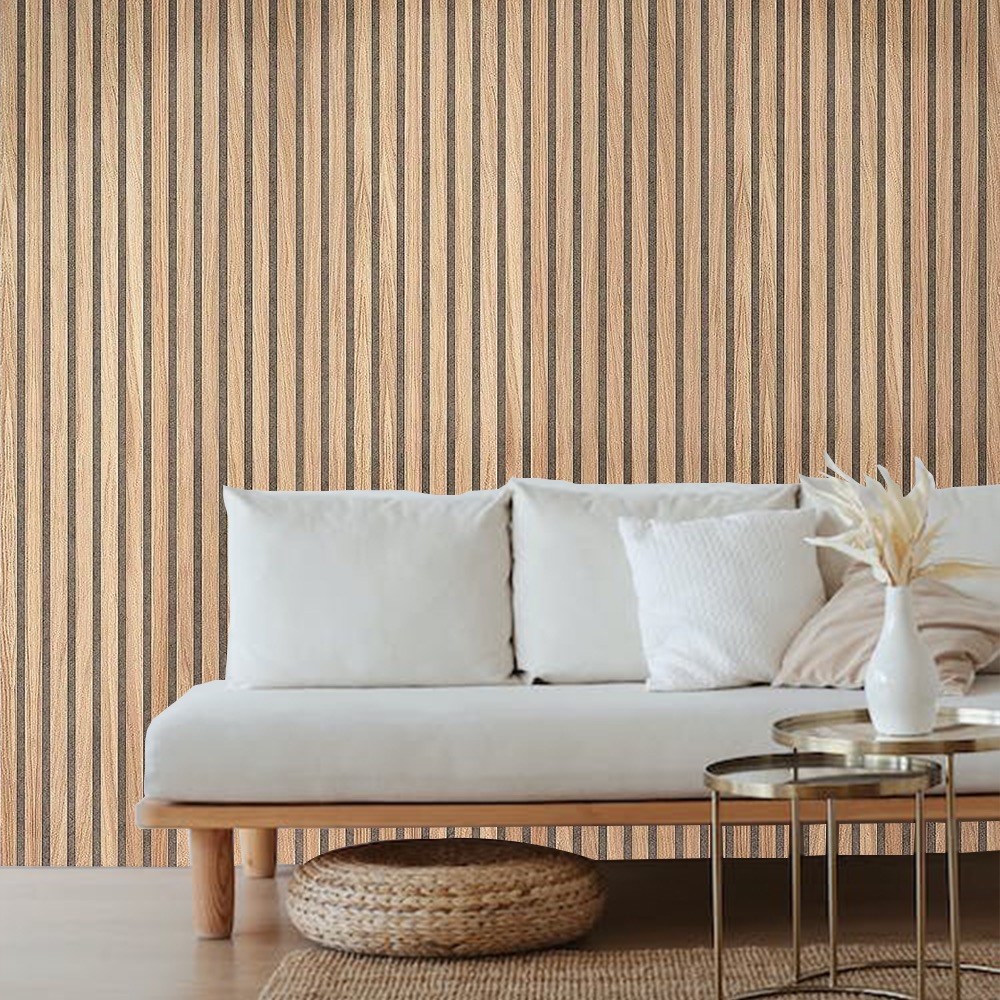
- Slat panels: 1/2 inch or thicker – Modern and excellent for accent walls.
- Tongue and groove: 3/8 to 3/4 inch – Works well in both traditional and modern homes.
- Acoustic panels: 1 inch or more – Ideal for studios or noisy areas.
Expert Tips to Pick the Right Thickness for Wall Panels
We’ve helped thousands of homeowners and designers find the best match for their needs. Here are some real-world tips:
- If you’re renting, go for thinner panels that can be easily removed.
- For permanent installs, invest in thicker panels—they last longer.
- Use contrast: Combine different panel thicknesses in one room for a layered effect.
- Think long-term: What works now should also work 5 or 10 years down the road.
Real-Life Examples That Work
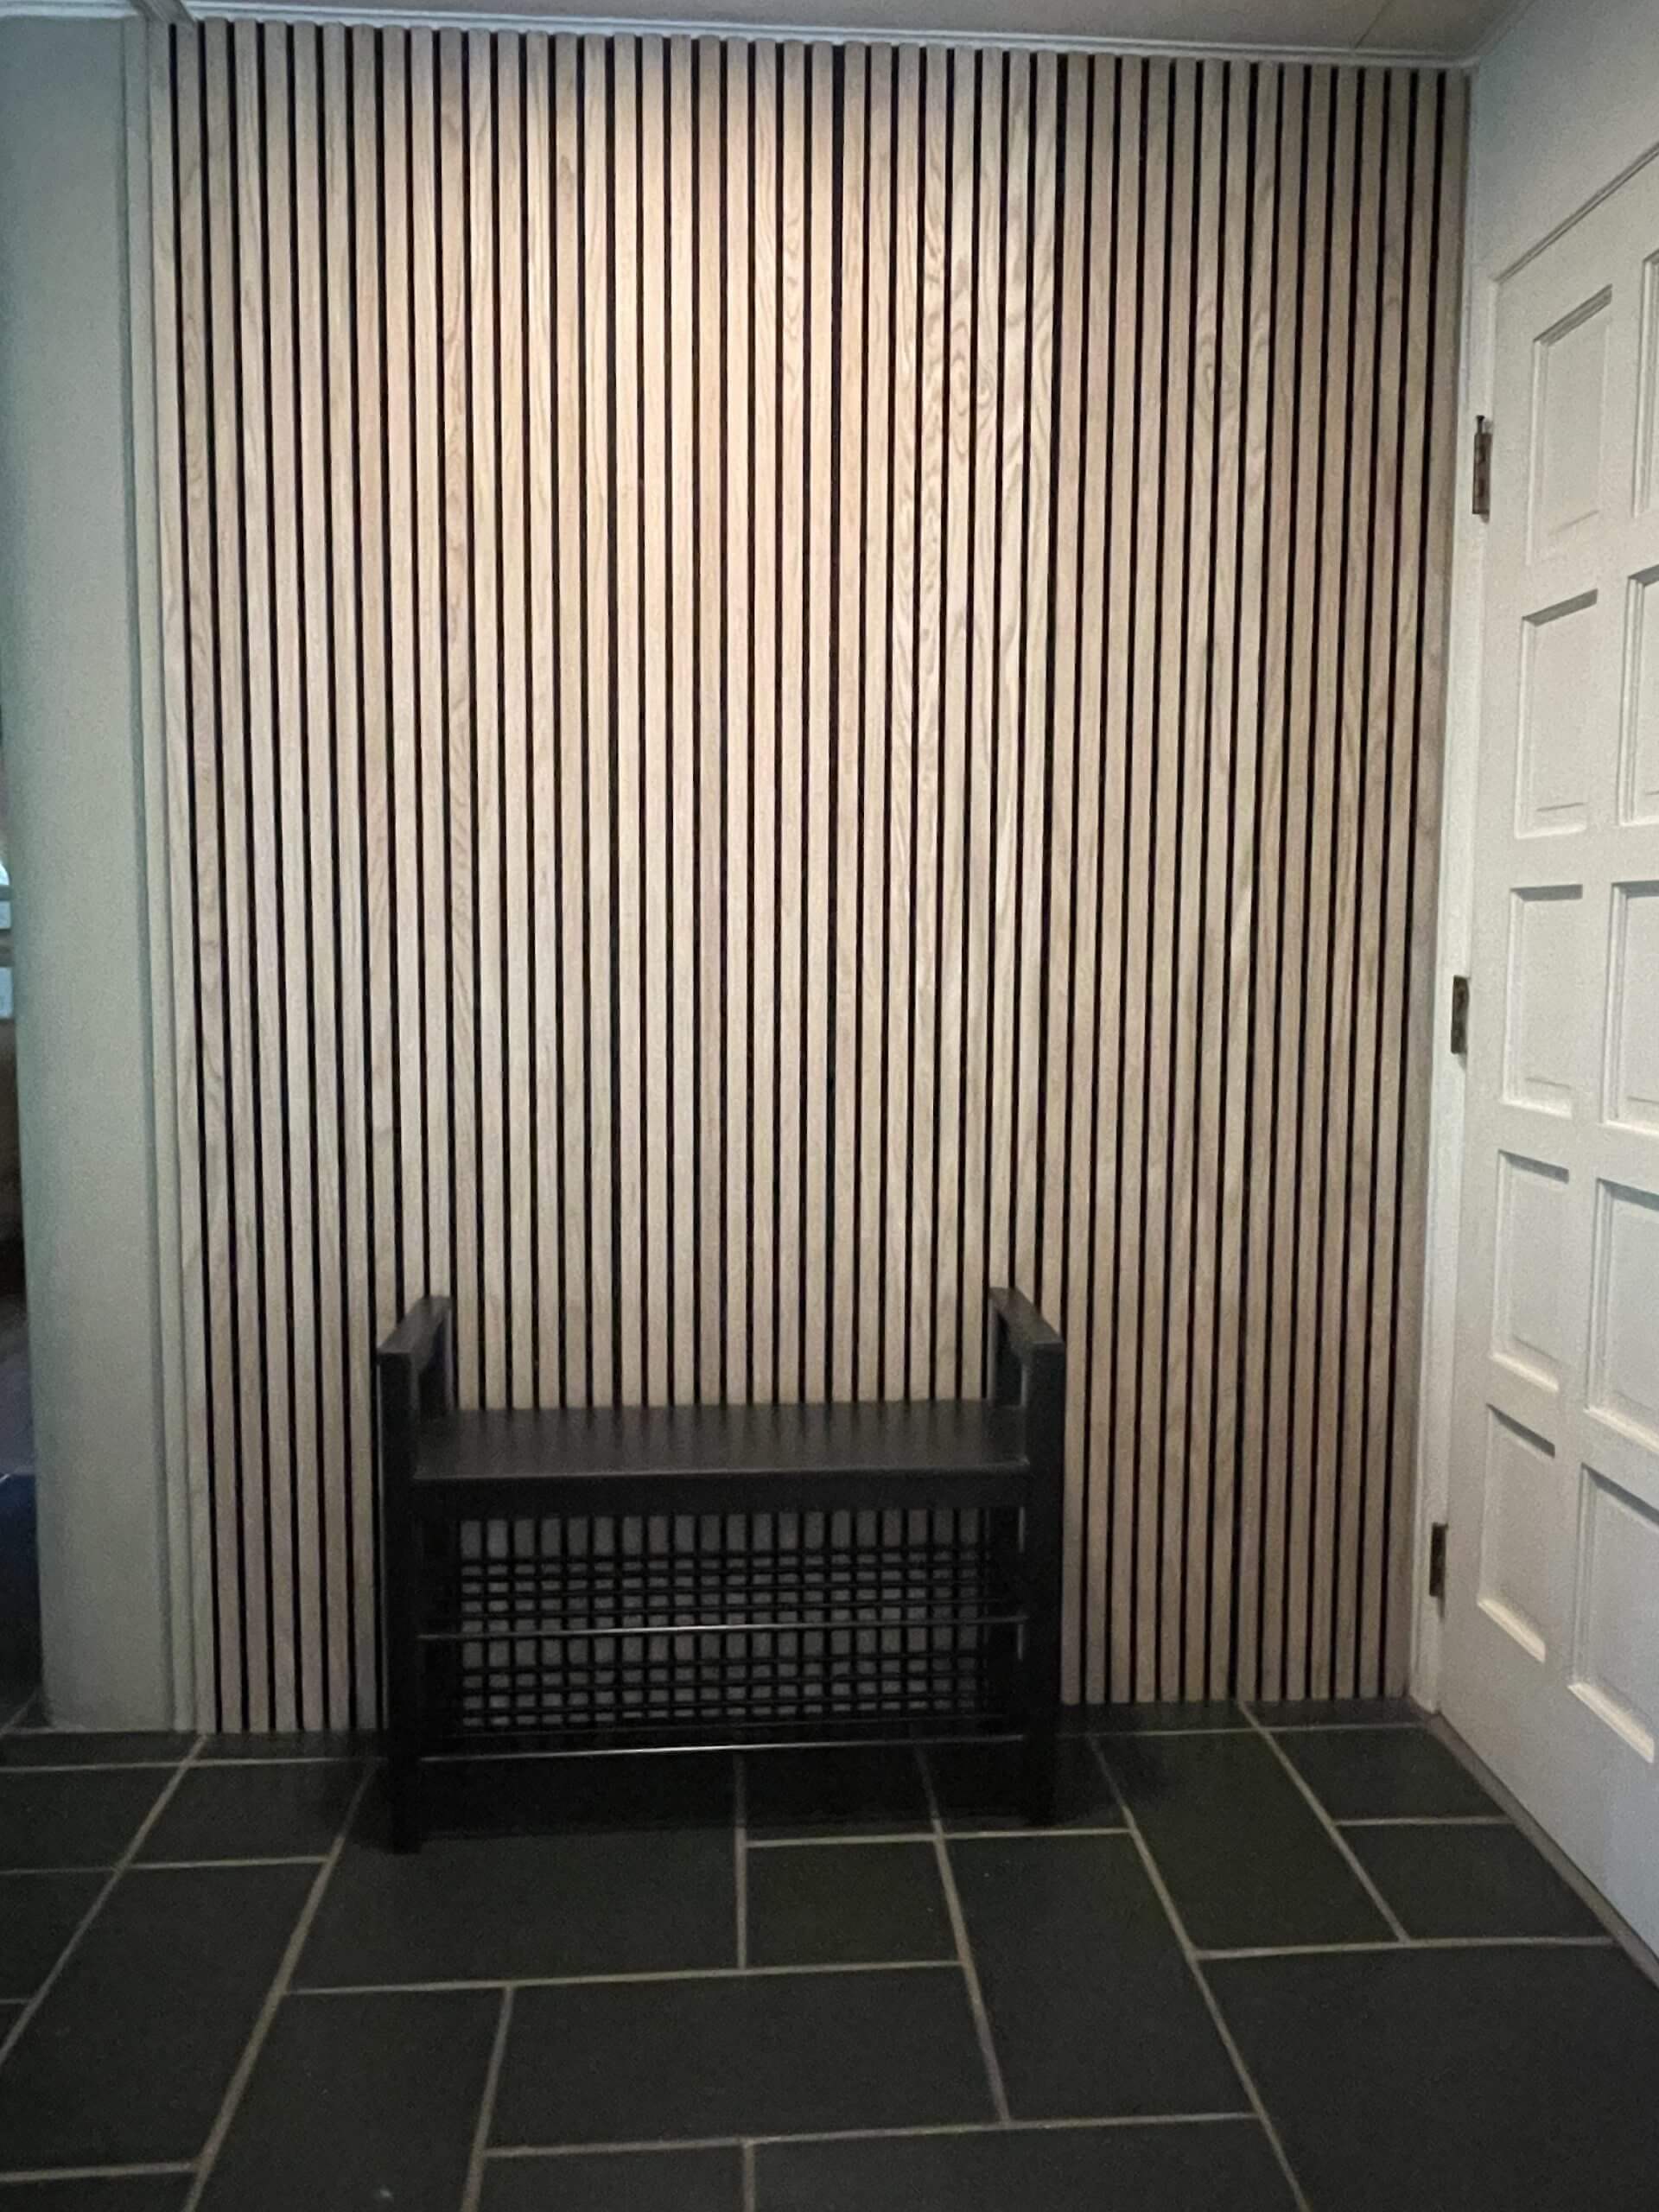
Imagine walking into a cozy reading nook wrapped in thick, textured wood panels. The space feels warm and secure. Now picture a bright hallway with slim, vertical slat panels—sleek, clean, and modern.
Each space tells a story, and the right thickness for wall panels helps write that story better. It’s not just about matching a Pinterest board. It’s about how the room feels when you step into it.
Choosing Thickness Based on Wall Panel Placement
Where you’re placing the panel also plays a big role. Here’s a quick guide:
A. Full Accent Wall
- Best thickness: 3/8 to 1/2 inch
- Why: Offers structure and detail without making the wall too bulky
B. Half Wall/Wainscoting
- Best thickness: 1/4 to 3/8 inch
- Why: Keeps things balanced with your baseboards and trims
C. Ceiling Panels
- Best thickness: 1/4 inch or less
- Why: Lightweight panels are easier and safer to install overhead
D. Bathroom/Kitchen Backsplash
- Best thickness: 1/4 to 3/8 inch with moisture resistance
- Why: Thin panels that don’t trap water or steam
What Most People Ask Before Choosing Wall Panels
We pulled together some common customer questions we hear:
- Will thick panels make my room feel smaller? – A little, but only visually. Clever lighting helps open things up again.
- Can I install them myself? – Thin panels, yes. Thicker ones usually need a nail gun or professional help.
- Do I need to worry about warping? – If you’re using real wood, yes. That’s why proper sealing and thickness matters.
- Can I paint them later? – Definitely! Just make sure you choose paintable material like MDF or wood.
For more design inspiration, check out our favorite ideas for modern wood wall panels.
Get Started With the Right Panels Today
Finding the right thickness for wall panels doesn’t have to be tricky. It just takes a bit of planning, a clear vision, and maybe a little expert help. If you’re just starting your wall panel journey, take a moment to browse our top-quality panel options here.
And if you’re ready to create something bold, natural, and full of character, our team is here to guide you every step of the way. Explore all the ways you can transform your space by visiting our full wall panel collection and guide.
Whatever look you’re going for, we’ve got the perfect fit—thickness and all.
FAQs
1. How do I know what thickness is best for my wall panels?
Think about where you’re installing them and what vibe you want. If it’s a high-traffic space like a hallway or living room, thicker panels (around 1/2 inch or more) give better durability. For smaller rooms or decorative touches, thinner panels (1/4 to 3/8 inch) are lighter and easier to install. It really comes down to the feel and function of the space.
2. Will thicker wall panels make my room look or feel smaller?
They can add a bit of depth visually, but not so much that it makes your room feel cramped—especially if you use good lighting and light colors. In fact, thick panels can create a cozy, high-end look when used right.
3. Can I install wall panels myself, or do I need a pro?
If you’re using thin panels like 1/4 or 3/8 inch, many people DIY it with just basic tools. But for anything thicker or heavier, it’s safer and faster to have a pro handle it—especially if you’re covering a large area or ceiling.
4. What’s the most common thickness used for decorative wall panels?
Most decorative panels fall between 1/4 and 1/2 inch. That range strikes the right balance between style, ease of installation, and affordability. It’s also flexible enough to work in almost any room.
5. Can I paint or stain the panels after installation?
Absolutely! Just make sure the panels are made from paint-friendly materials like MDF or real wood. For staining, use natural wood panels and test the color first. Always prep the surface before painting or staining for the best finish.