Imagine walking into a room and feeling an instant sense of warmth and character—just because of one wall. That’s the magic of DIY wood panel accent walls. They don’t just decorate a space—they tell a story, bring texture, and make everything feel a little more you. And the best part? You don’t need to be a pro to create one.
DIY wood panel accent walls are one of the easiest ways to level up your home without breaking the bank. All it takes is a bit of planning, the right tools, and a free weekend. Whether you’re updating a small bedroom, a cozy living room, or even a hallway, this project makes a big difference with just a little effort.
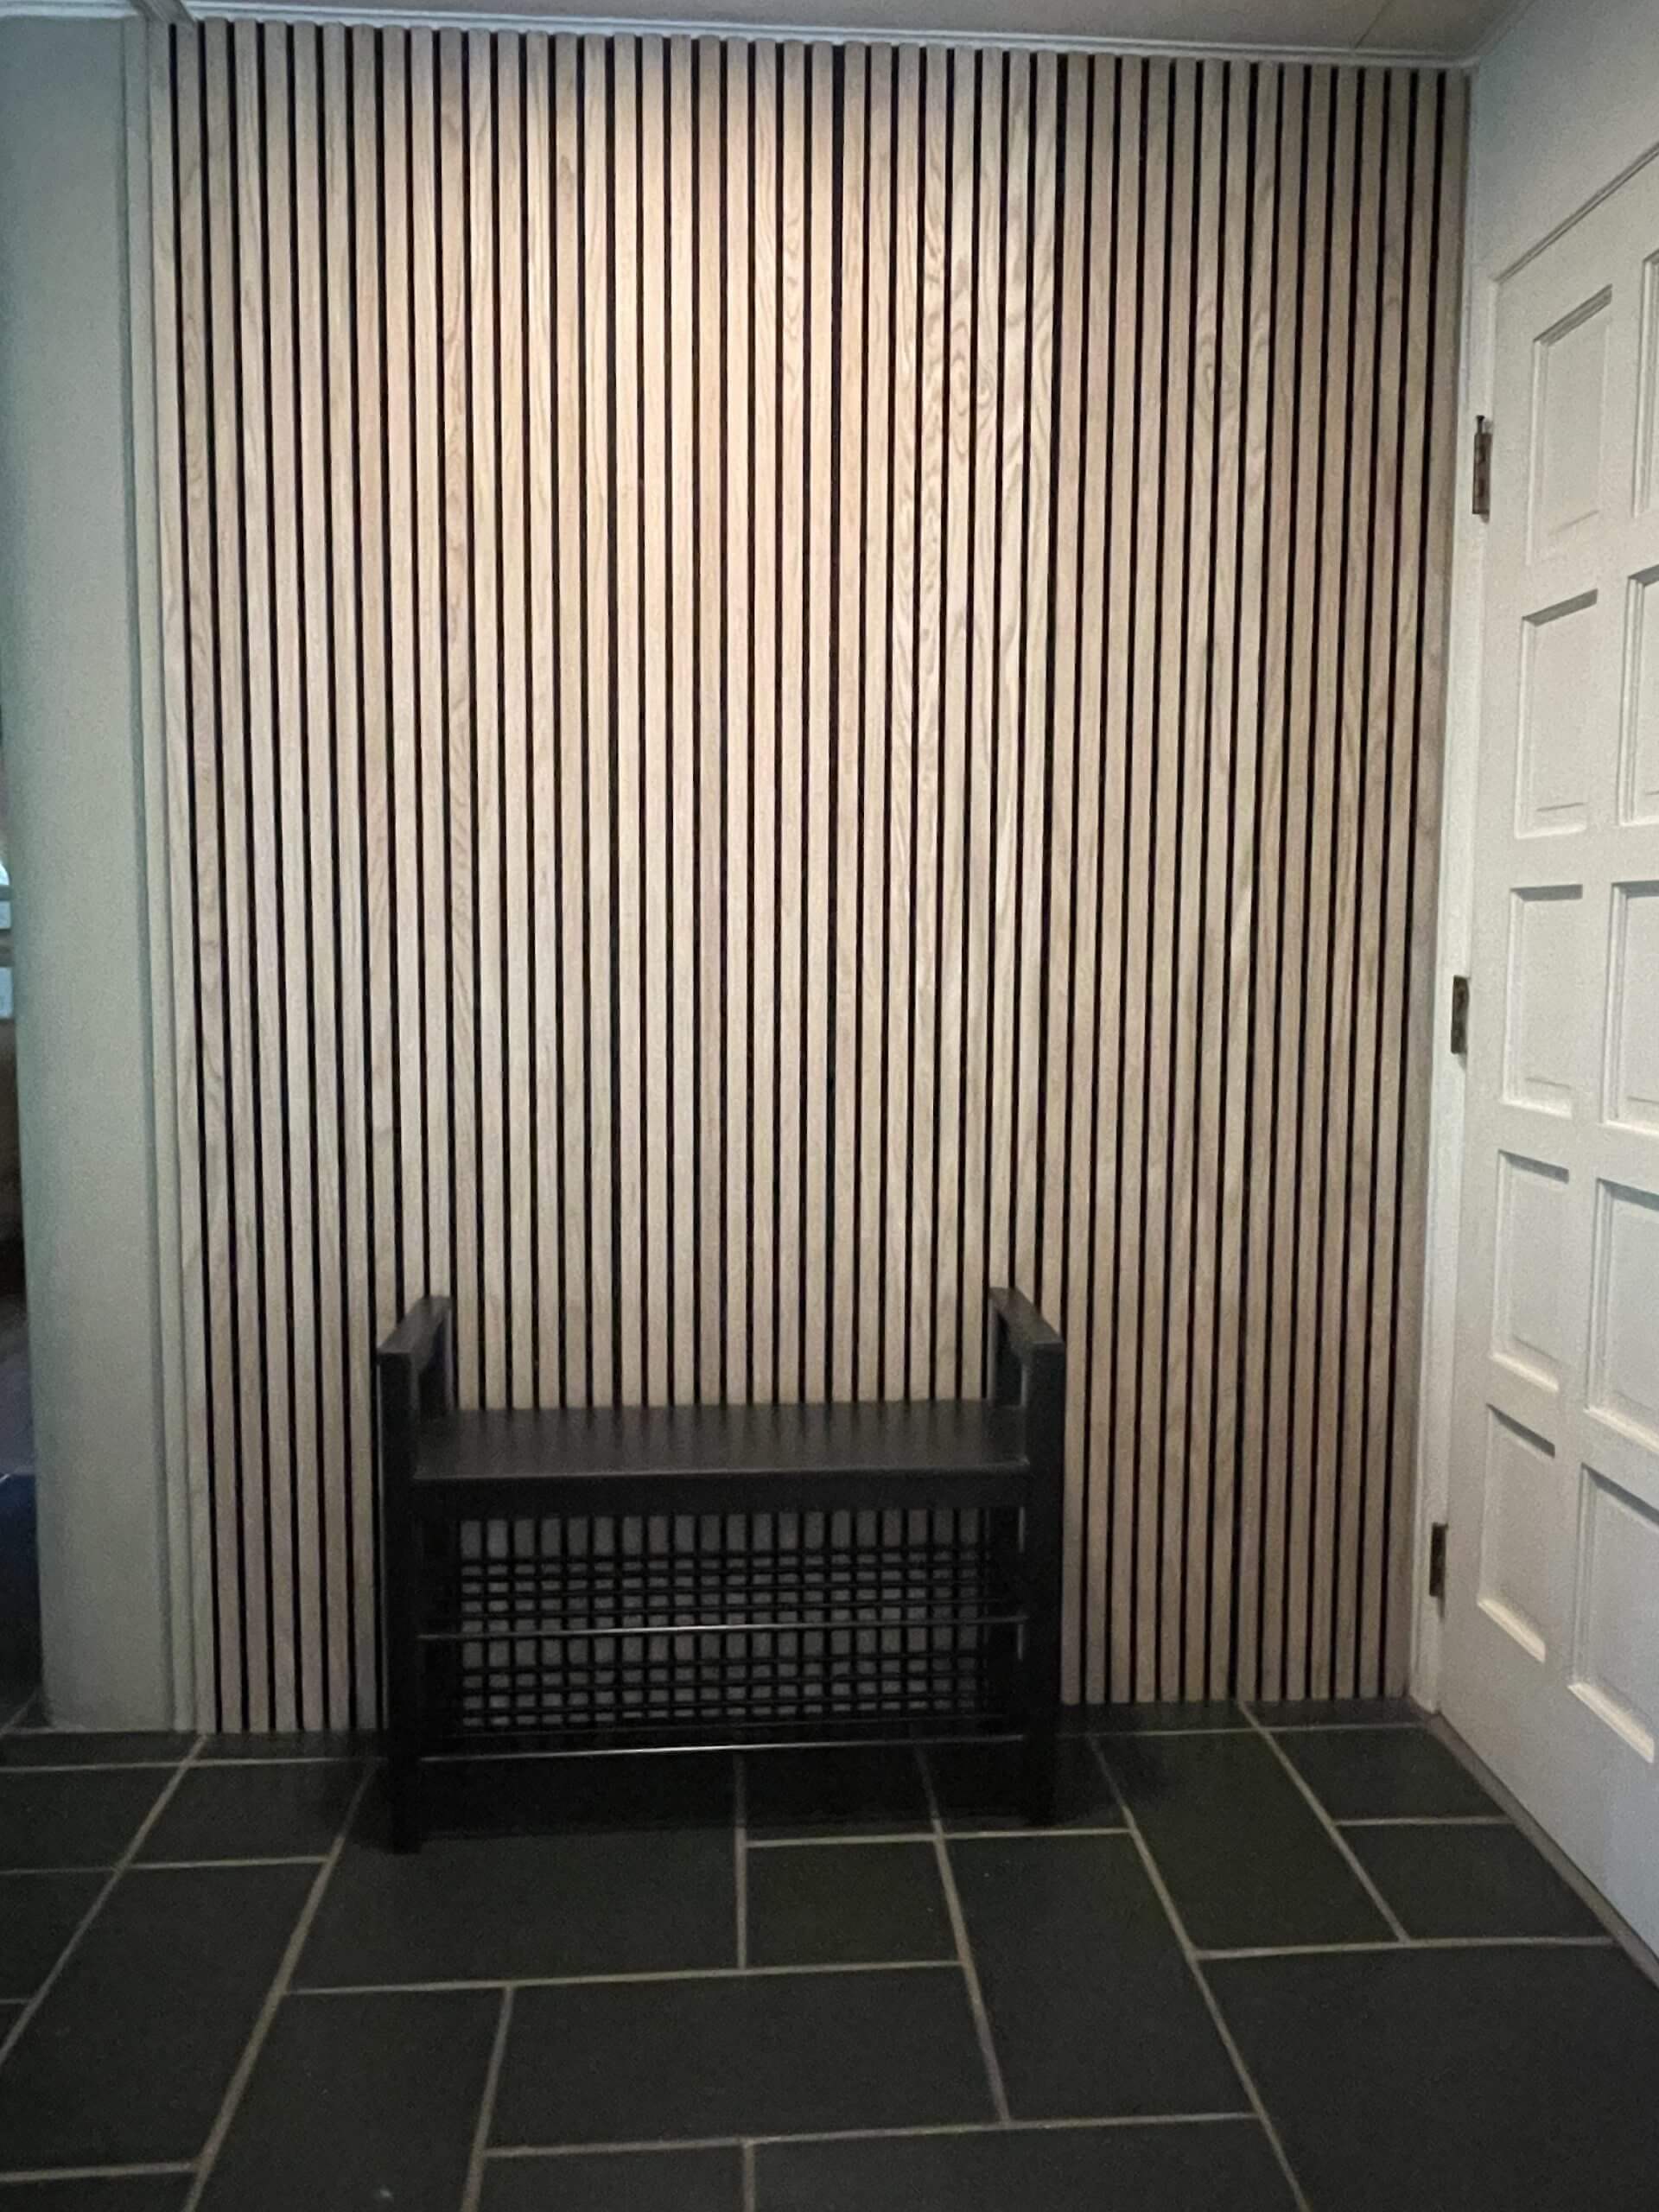
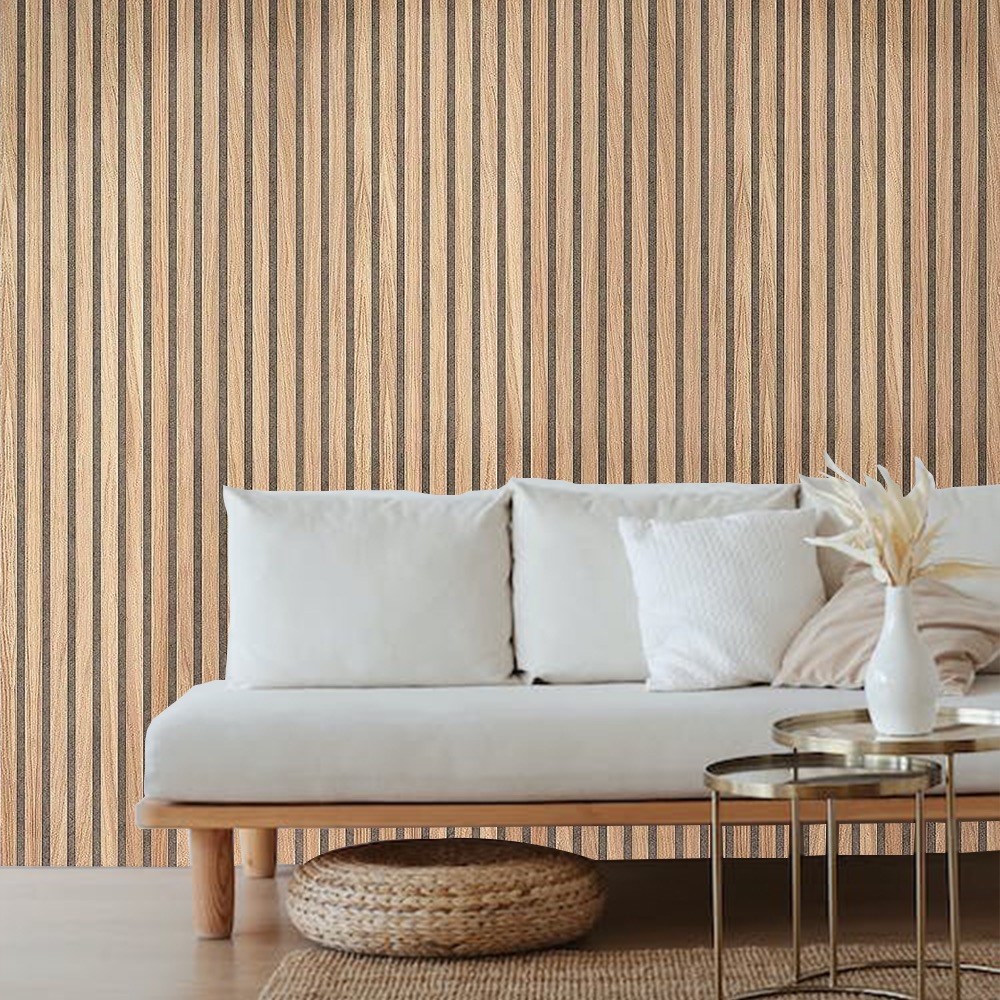
First, let’s talk about what these walls are. A wood panel accent wall is a single wall in a room that’s been covered with wood planks or panels to make it stand out. People use them to add texture, color, and a focal point to a space. The trend has taken off lately because it’s easy, affordable, and has endless styles—from rustic and weathered to modern and sleek.
Before getting started, you’ll need a few things. Here’s a list of the most common tools and supplies:
Basic Tools and Supplies
- Measuring tape
- Level
- Nail gun or hammer and nails
- Stud finder
- Wood glue (optional)
- Wood panels or planks (choose your favorite style!)
- Saw (hand saw or power saw)
- Sandpaper or sander
- Paint or stain (if you want a custom finish)
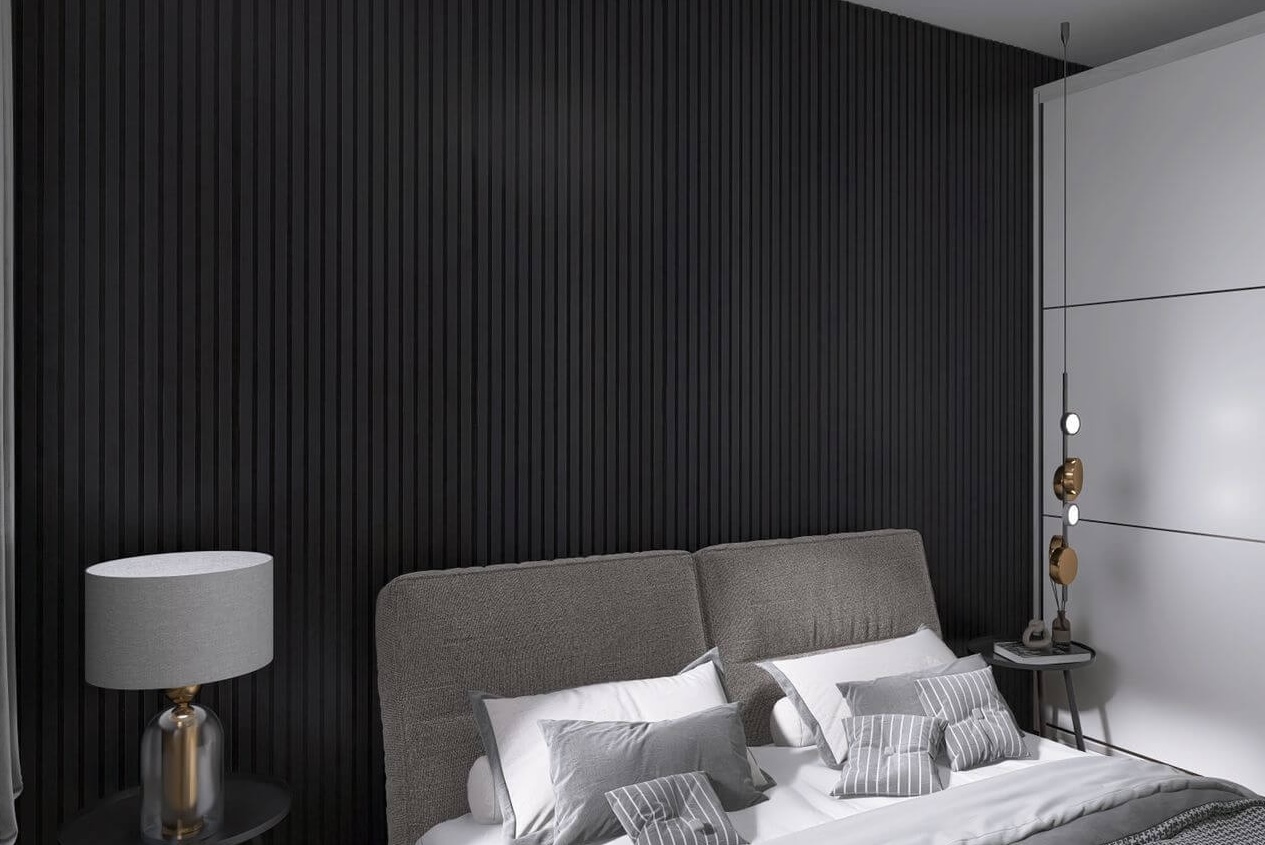
Once you’ve got your materials ready, it’s time to choose the wall. Ideally, pick one that naturally draws the eye, like the one behind a bed or sofa. That’s the perfect backdrop for your DIY wood panel accent walls.
Use your stud finder to locate the studs in your wall. Mark them lightly with a pencil. This gives you something solid to attach the wood panels to. Next, measure the wall carefully so you know how many panels you’ll need. It’s smart to buy a little extra, just in case.
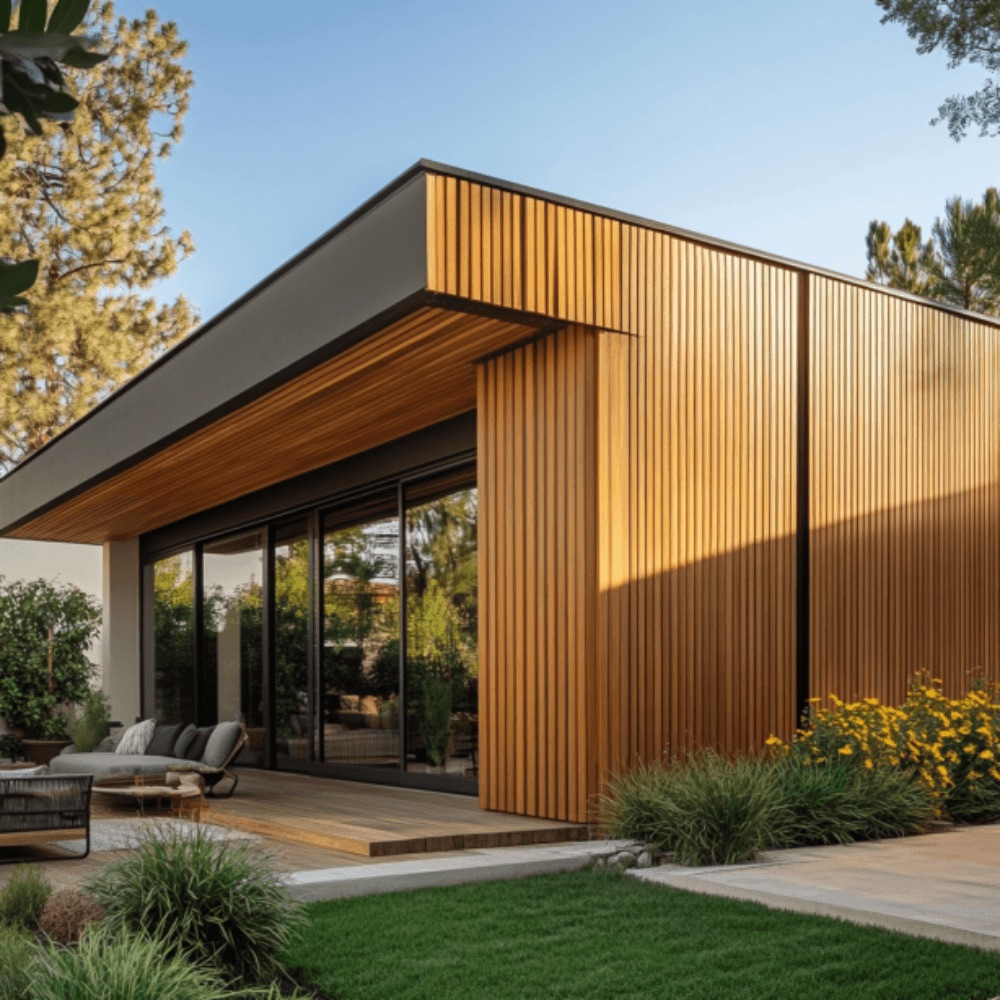
Now let’s prep the wood. If you’re using raw wood, sand it down to get rid of any rough spots. You can also paint or stain the panels before installing them—or after, depending on your look. Darker stains give a moody, rich feel. Lighter finishes add a soft, clean touch.
When you’re ready to install, start from the bottom and work your way up. Make sure each panel is level before attaching. Use nails or a nail gun to secure them. If you want extra grip, you can use a bit of wood glue, too.
Some popular wood panel styles include:
Types of Wood Panels
Shiplap – Horizontal boards that slightly overlap. Clean and farmhouse-friendly.
Tongue and Groove – Panels that fit snugly together. Great for a polished, tight look.
Reclaimed Wood – A rustic, eco-friendly option that adds texture and history.
Beadboard – Narrow vertical planks separated by a small ridge or “bead.” Adds cottage charm.
Board and Batten – Wide boards with thin strips (battens) over the seams. Stylish and structured.
Each one brings a different vibe. If you want that farmhouse Pinterest feel, go with shiplap. Looking for cozy and natural? Reclaimed wood is your best friend.
To keep things simple and budget-friendly, you can even use peel-and-stick wood panels. They’re great for renters or anyone who doesn’t want to use nails. No tools needed. Just measure, peel, stick, and press down.
Let’s look at a basic installation outline:
Step-by-Step Installation
- Pick the accent wall
- Measure the wall dimensions
- Choose your wood panel style
- Locate and mark wall studs
- Sand and prep your wood
- Apply finish (paint or stain)
- Start paneling from the bottom
- Secure each panel with nails or glue
- Use a level every few rows to stay straight
- Touch up any gaps or seams
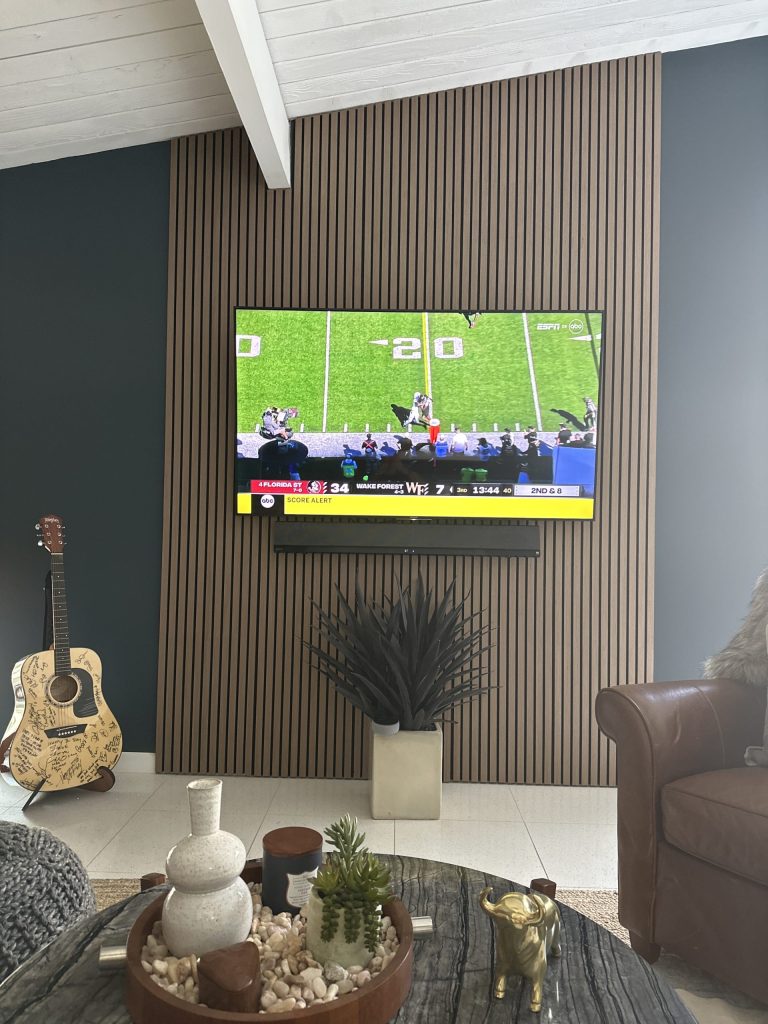
A small space? No problem. DIY wood panel accent walls work wonders even in tiny rooms. They draw attention, add depth, and make the room feel styled without clutter. Our favorite small living room paneling ideas show just how much you can do with limited space. Check out this design inspiration for tight spaces for clever tricks.
For more visual help, try this simple breakdown:
Quick Paneling Options Chart
| Panel Style | Best Room Type | Cost Range | Vibe |
|---|---|---|---|
| Shiplap | Living rooms, baths | $$ | Clean, farmhouse |
| Tongue & Groove | Bedrooms, hallways | $$$ | Sleek, tailored |
| Reclaimed Wood | Offices, dens | $-$$$ | Rustic, warm, sustainable |
| Beadboard | Entryways, kitchens | $ | Bright, cottage-like |
| Board & Batten | Dining areas, stairs | $$ | Bold, architectural |
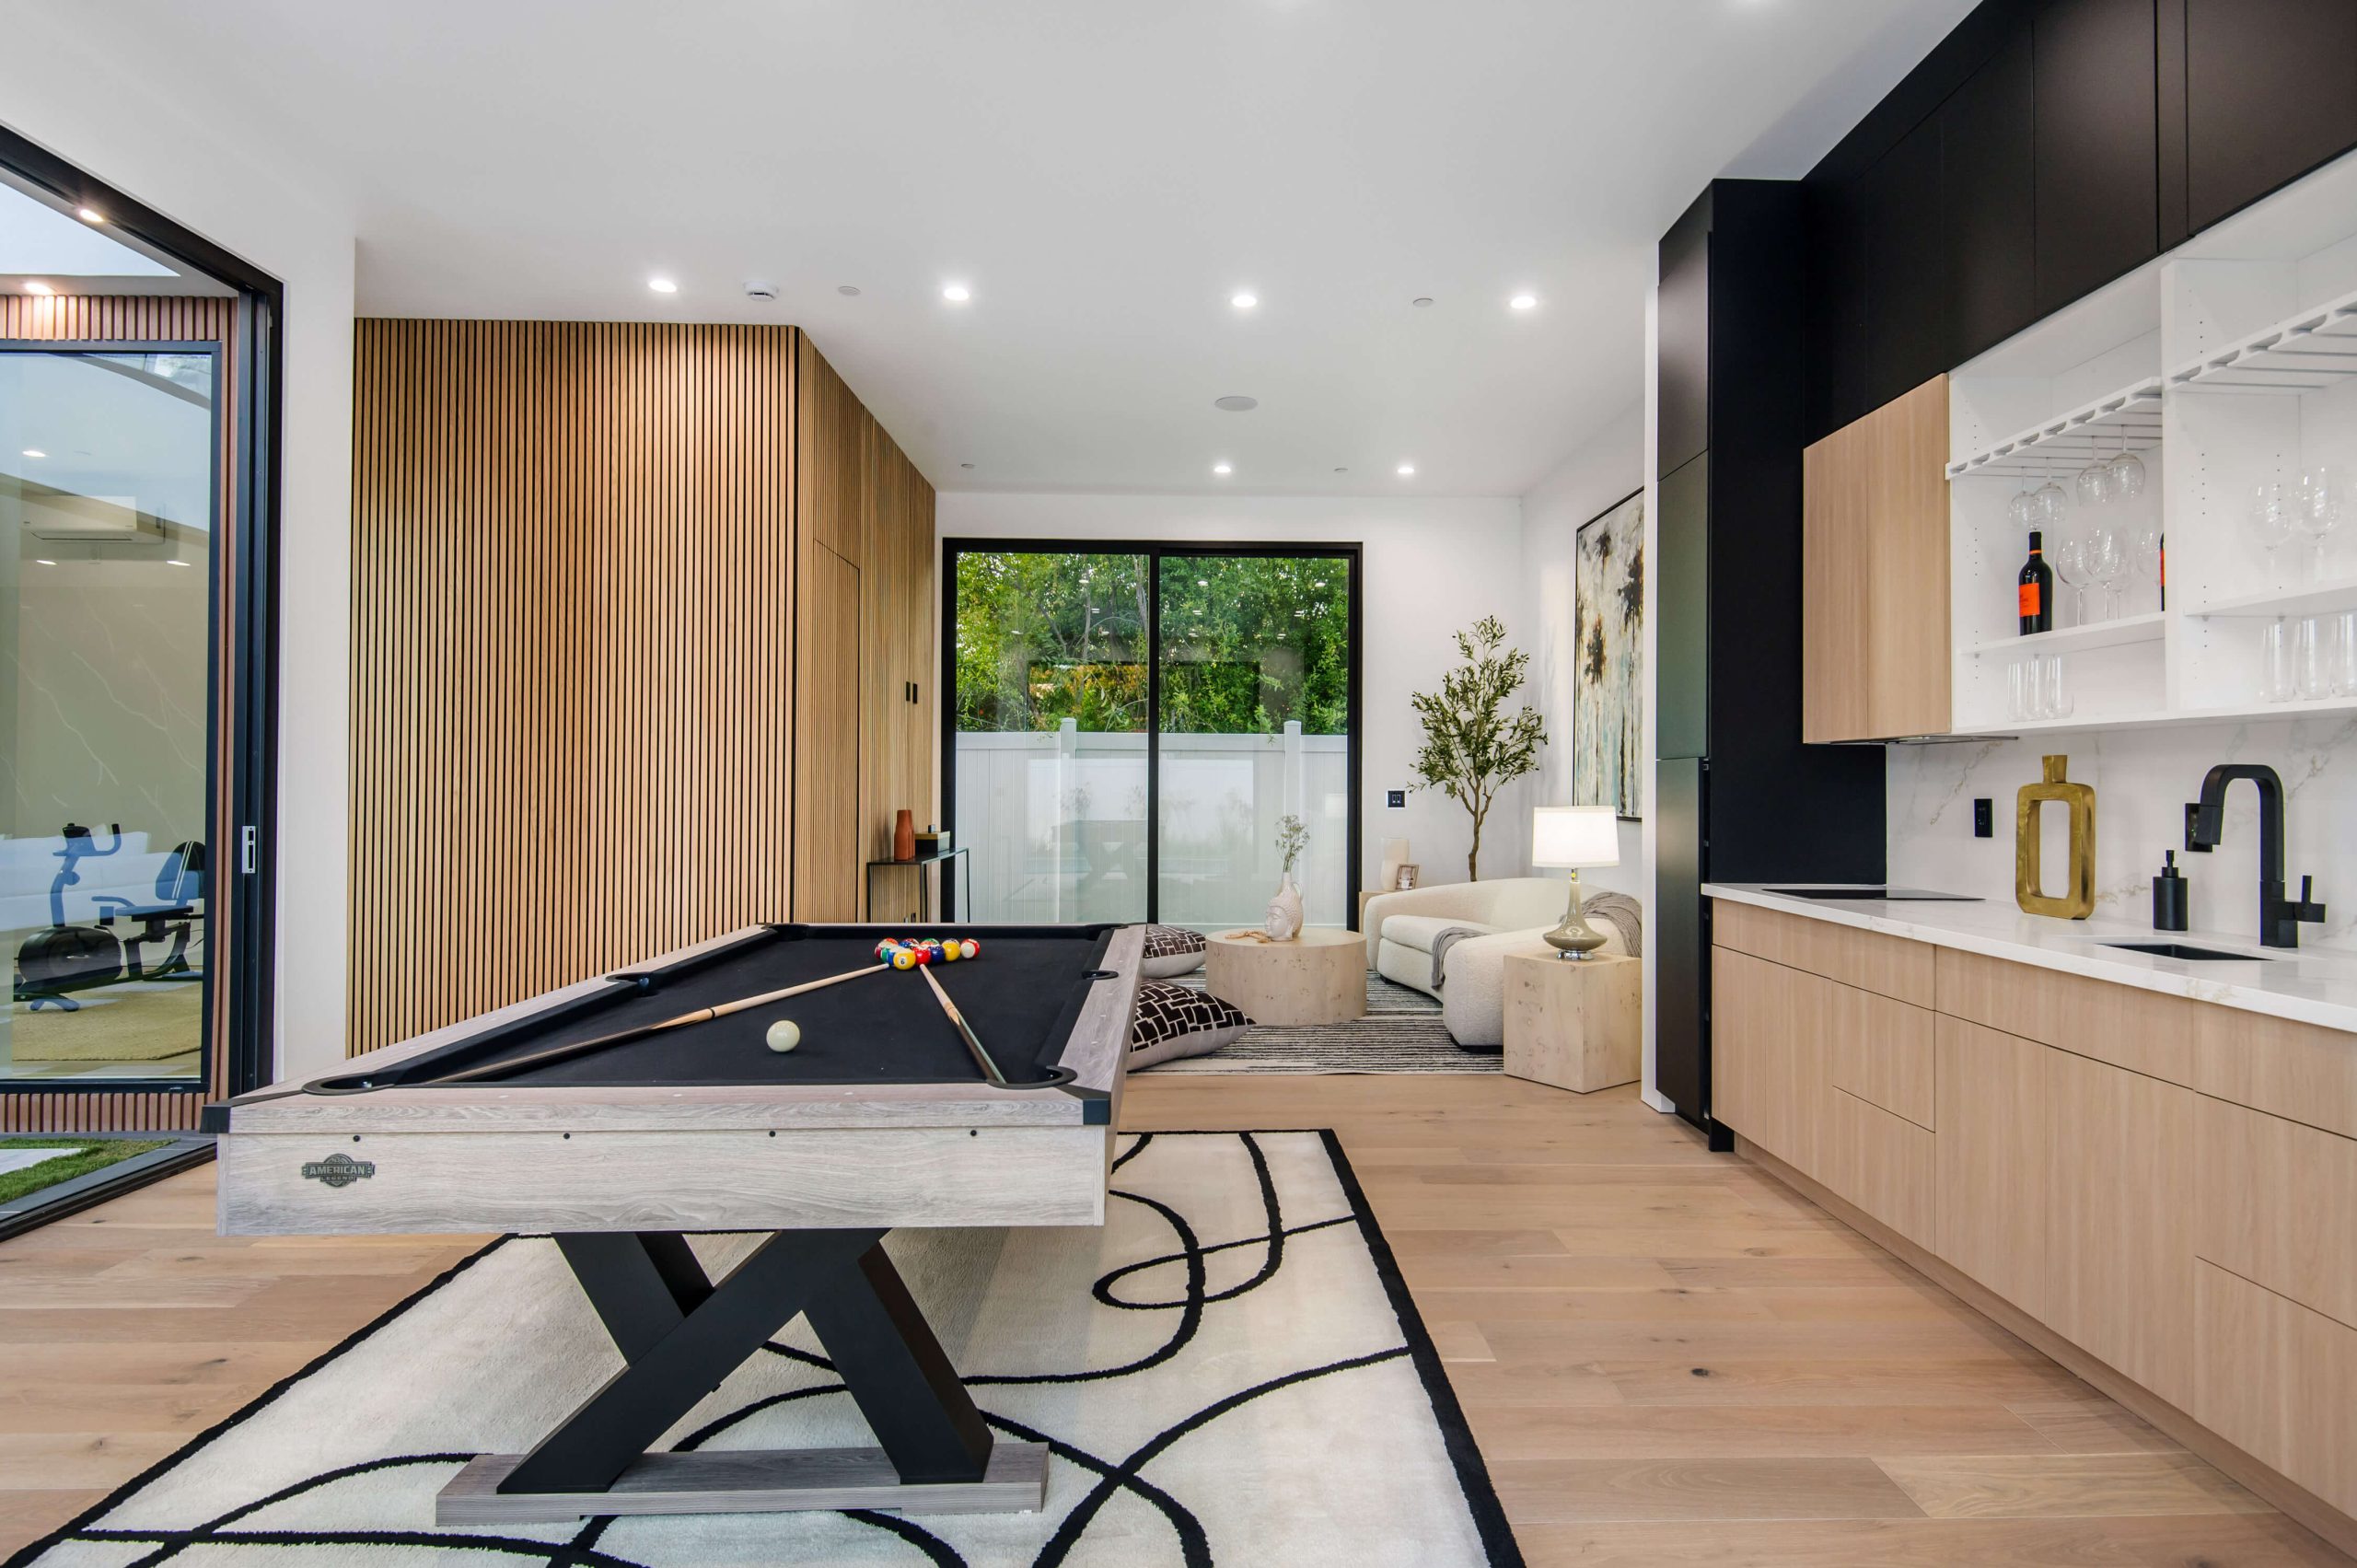
Remember, small details make big changes. A well-placed light fixture or a cozy chair in front of your new wall can tie the whole space together. Don’t forget to decorate around it—add some floating shelves, framed art, or a mirror for extra style.
Here’s a handy list of do’s and don’ts to keep in mind:
Do’s and Don’ts
Do:
- Double check your measurements
- Choose high-quality wood if possible
- Use a level regularly
- Add trim for a polished finish
Don’t:
- Skip sanding—it makes a big difference
- Forget to prep the wall
- Use too much glue (can cause warping)
- Rush—patience leads to better results
With the right prep and a little elbow grease, your DIY wood panel accent walls will turn heads. Whether you’re going for rustic, modern, or anything in between, this project gives you creative freedom. And it’s not just about beauty—it’s about building something yourself. That feeling lasts way longer than a weekend.
Need more ideas or want to see how others did it? Take a peek at our top wall panel gallery and get inspired by real-life transformations.
And if you’re just getting started or need expert guidance, don’t miss our full range of wood panel options and tips over at this amazing wood panel hub.
Building DIY wood panel accent walls is more than a trend. It’s a way to bring personality and purpose into your home. Go ahead—pick your wall, grab your tools, and get started. You’ve got this!
FAQs
1. Can I install a DIY wood panel accent wall if I’ve never done any home improvement before?
Yes, absolutely! Many first-timers have great success with DIY wood panel accent walls. The steps are simple and beginner-friendly. With the right tools, clear instructions, and a bit of patience, you can confidently complete the project over a weekend—even without any prior experience.
2. What’s the best type of wood panel to use for my space?
It depends on the style you’re going for. For a clean and classic look, shiplap is a favorite. If you want something rustic, go with reclaimed wood. For a more modern feel, tongue and groove or board and batten panels work well. Consider the vibe of your room, your budget, and how much texture or character you want on your wall.
3. How do I know how many wood panels I’ll need?
Start by measuring the height and width of your wall to calculate the total square footage. Then, check the size of your chosen wood panels. Always buy about 10% more than you need to cover any cuts, errors, or replacements. Most home improvement stores have helpful calculators or staff who can assist with this.
4. Do I have to use nails, or can I install panels without damaging the wall?
If you’re renting or prefer a damage-free option, peel-and-stick wood panels are a great choice. They’re easy to install and remove without using nails or glue. If you’re going for a more permanent finish, nails or a nail gun provide the most secure hold, especially for thicker wood panels.
5. What should I do if my panels aren’t lining up straight?
Use a level often while installing to make sure each row is straight. If a panel looks off, remove it and adjust before moving forward. Small gaps can be filled with wood filler or covered with trim for a seamless finish. Don’t rush the process—taking your time ensures a polished final look.