Wood panels can bring warmth, charm, and texture to any room. But when done wrong, even the best materials can end up looking cheap or uneven. We’ve seen it too many times—beautiful wood, wasted because of small mistakes that could’ve easily been avoided. Let’s walk through the biggest wood panel installation mistakes and how to steer clear of them.
Not Prepping the Wall Properly
One of the most common wood panel installation mistakes is skipping the prep work. If the wall underneath isn’t clean, flat, and dry, the panels won’t stay in place, or they may look uneven over time.
Here’s what happens when prep is ignored:
- Panels pop off due to hidden moisture.
- Uneven drywall causes the panels to bulge or gap.
- Dusty surfaces weaken the adhesive bond.
How to avoid it:
- Clean the wall with a damp cloth and let it dry.
- Use a level to check flatness.
- Repair holes, cracks, and bumps before starting.
Getting a smooth base is your foundation. Without it, your project might not last.
Skipping the Acclimation Step
Yes, wood breathes. It expands and contracts with humidity. Another major wood panel installation mistake is applying panels straight from the box.
Wood needs to adjust to your room’s temperature and moisture level. If not, you may get:
- Cracks or warps after a few weeks.
- Panels that don’t fit tight once they shrink.
- Misaligned edges.
Simple solution: Let your panels sit in the room for at least 48–72 hours. Lay them flat or stand them up, and let them get used to the climate.
It’s a small wait for a long-lasting result.
Not Measuring Twice (Or At All)
It sounds basic, but mismeasuring is one of the top wood panel installation mistakes out there. Rushing the tape work can cost time, money, and your sanity.
Some common measuring mistakes:
- Forgetting to measure around outlets and windows.
- Mixing up length and width.
- Not accounting for panel overlap or spacing.
Tips to stay sharp:
- Measure the full wall height and width.
- Use graph paper or an app to map your layout.
- Double-check before cutting any panels.
Being precise makes everything fit better. That’s where the real craftsmanship shows.
Using the Wrong Tools
Another huge mistake? Grabbing tools that just don’t cut it—literally. Using the wrong equipment can damage the panels or leave messy edges.
Avoid these tool-related wood panel installation mistakes:
- Cutting with dull blades.
- Skipping a level or straight edge.
- Using nails when adhesive works better—or vice versa.
Here’s a list of what you actually need:
- Measuring tape
- Carpenter’s level
- Fine-tooth saw or jigsaw
- Quality adhesive or brad nailer
- Stud finder
- Pencil for marking cuts
With the right tools, every panel fits better, faster, and cleaner.
Ignoring Stud Placement
Studs are your best friends. If you don’t anchor panels into wall studs, especially with nails, the boards can shift, sag, or even fall off.
Wood panel installation mistakes like ignoring stud lines often lead to repairs.
How to find and use studs effectively:
- Use a stud finder to map their location.
- Mark with a pencil line along the entire wall.
- Plan panel joints to land on or near studs.
Anchoring panels to studs adds strength, especially in high-traffic areas or moisture-prone rooms like kitchens and bathrooms.
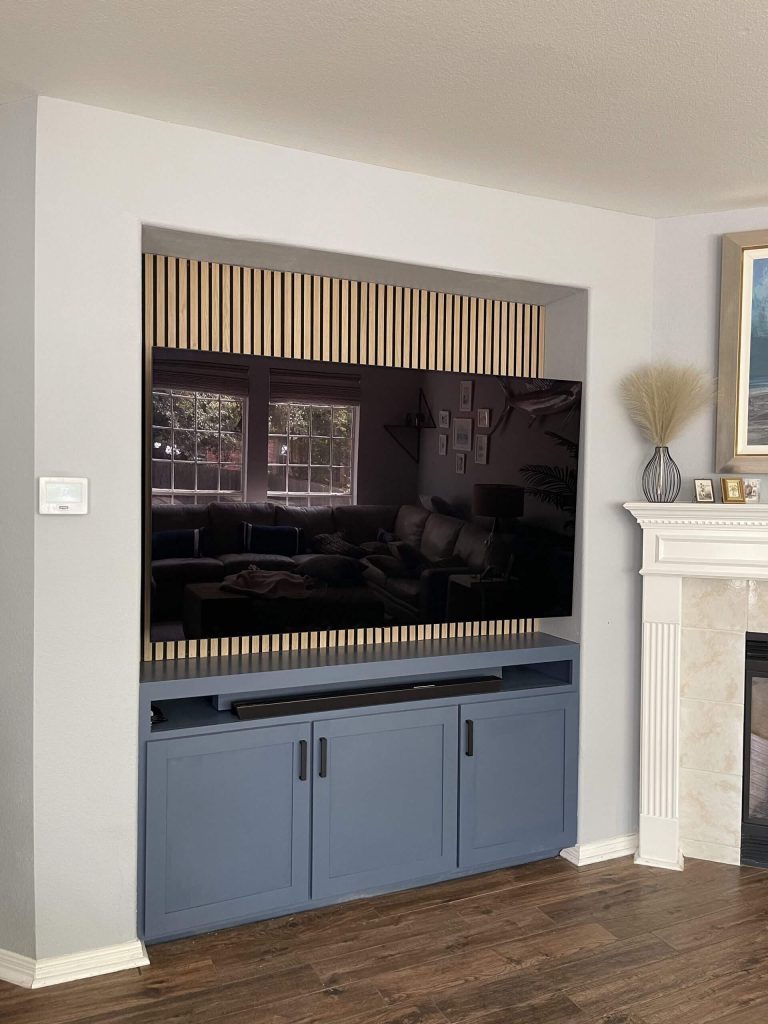
Overlooking Layout and Pattern Flow
This mistake ruins the overall look. Poor layout planning leads to awkward panel cuts, broken patterns, or mismatched grain direction.
Here’s how layout mistakes show up:
- Having two narrow strips at opposite ends.
- Mismatched grains that break the visual flow.
- Repeating seams too close together.
Layout tips for cleaner installs:
- Dry-fit a few rows before final installation.
- Stagger panel joints like bricks.
- Mix and match panels for a natural pattern.
Planning isn’t just about measurements. It’s about making the wall look balanced and natural.
Choosing the Wrong Panel Type for the Room
Not all wood panels work for all rooms. Using the wrong kind can mean trouble with moisture, temperature swings, or wear and tear.
Some wood panel installation mistakes happen before the install even begins—at the store.
Different types and their best uses:
| Panel Type | Best For |
|---|---|
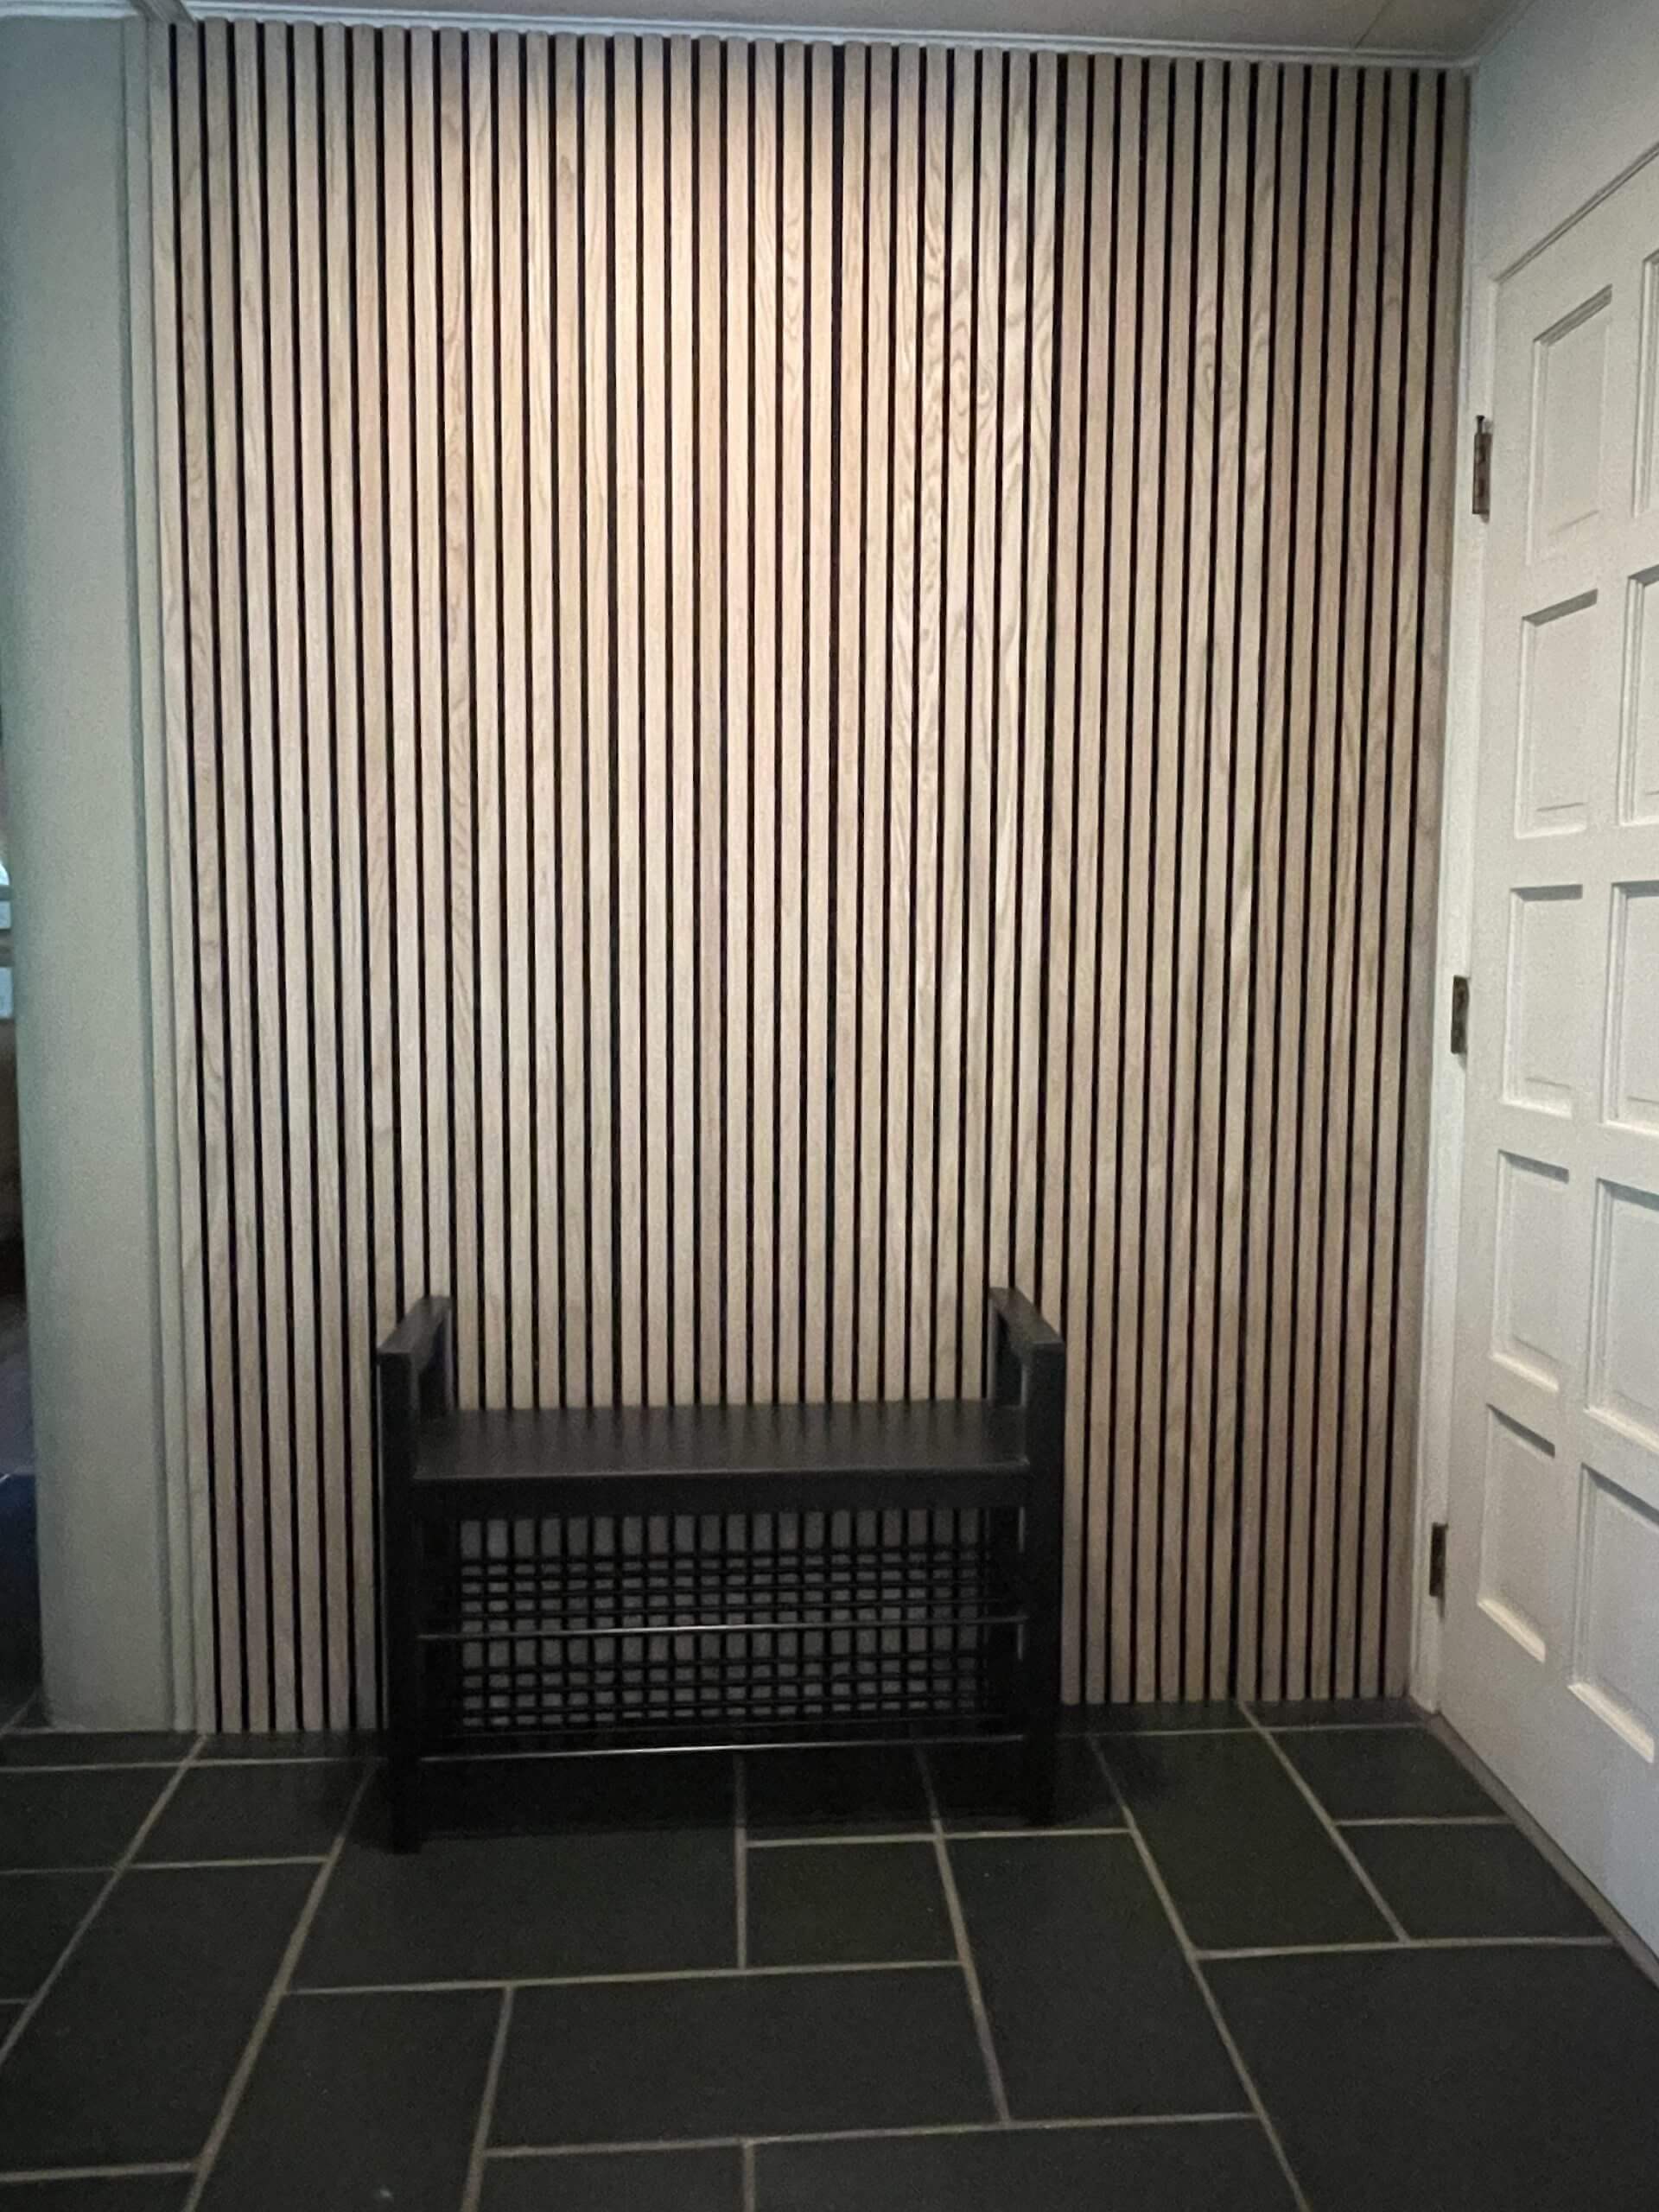
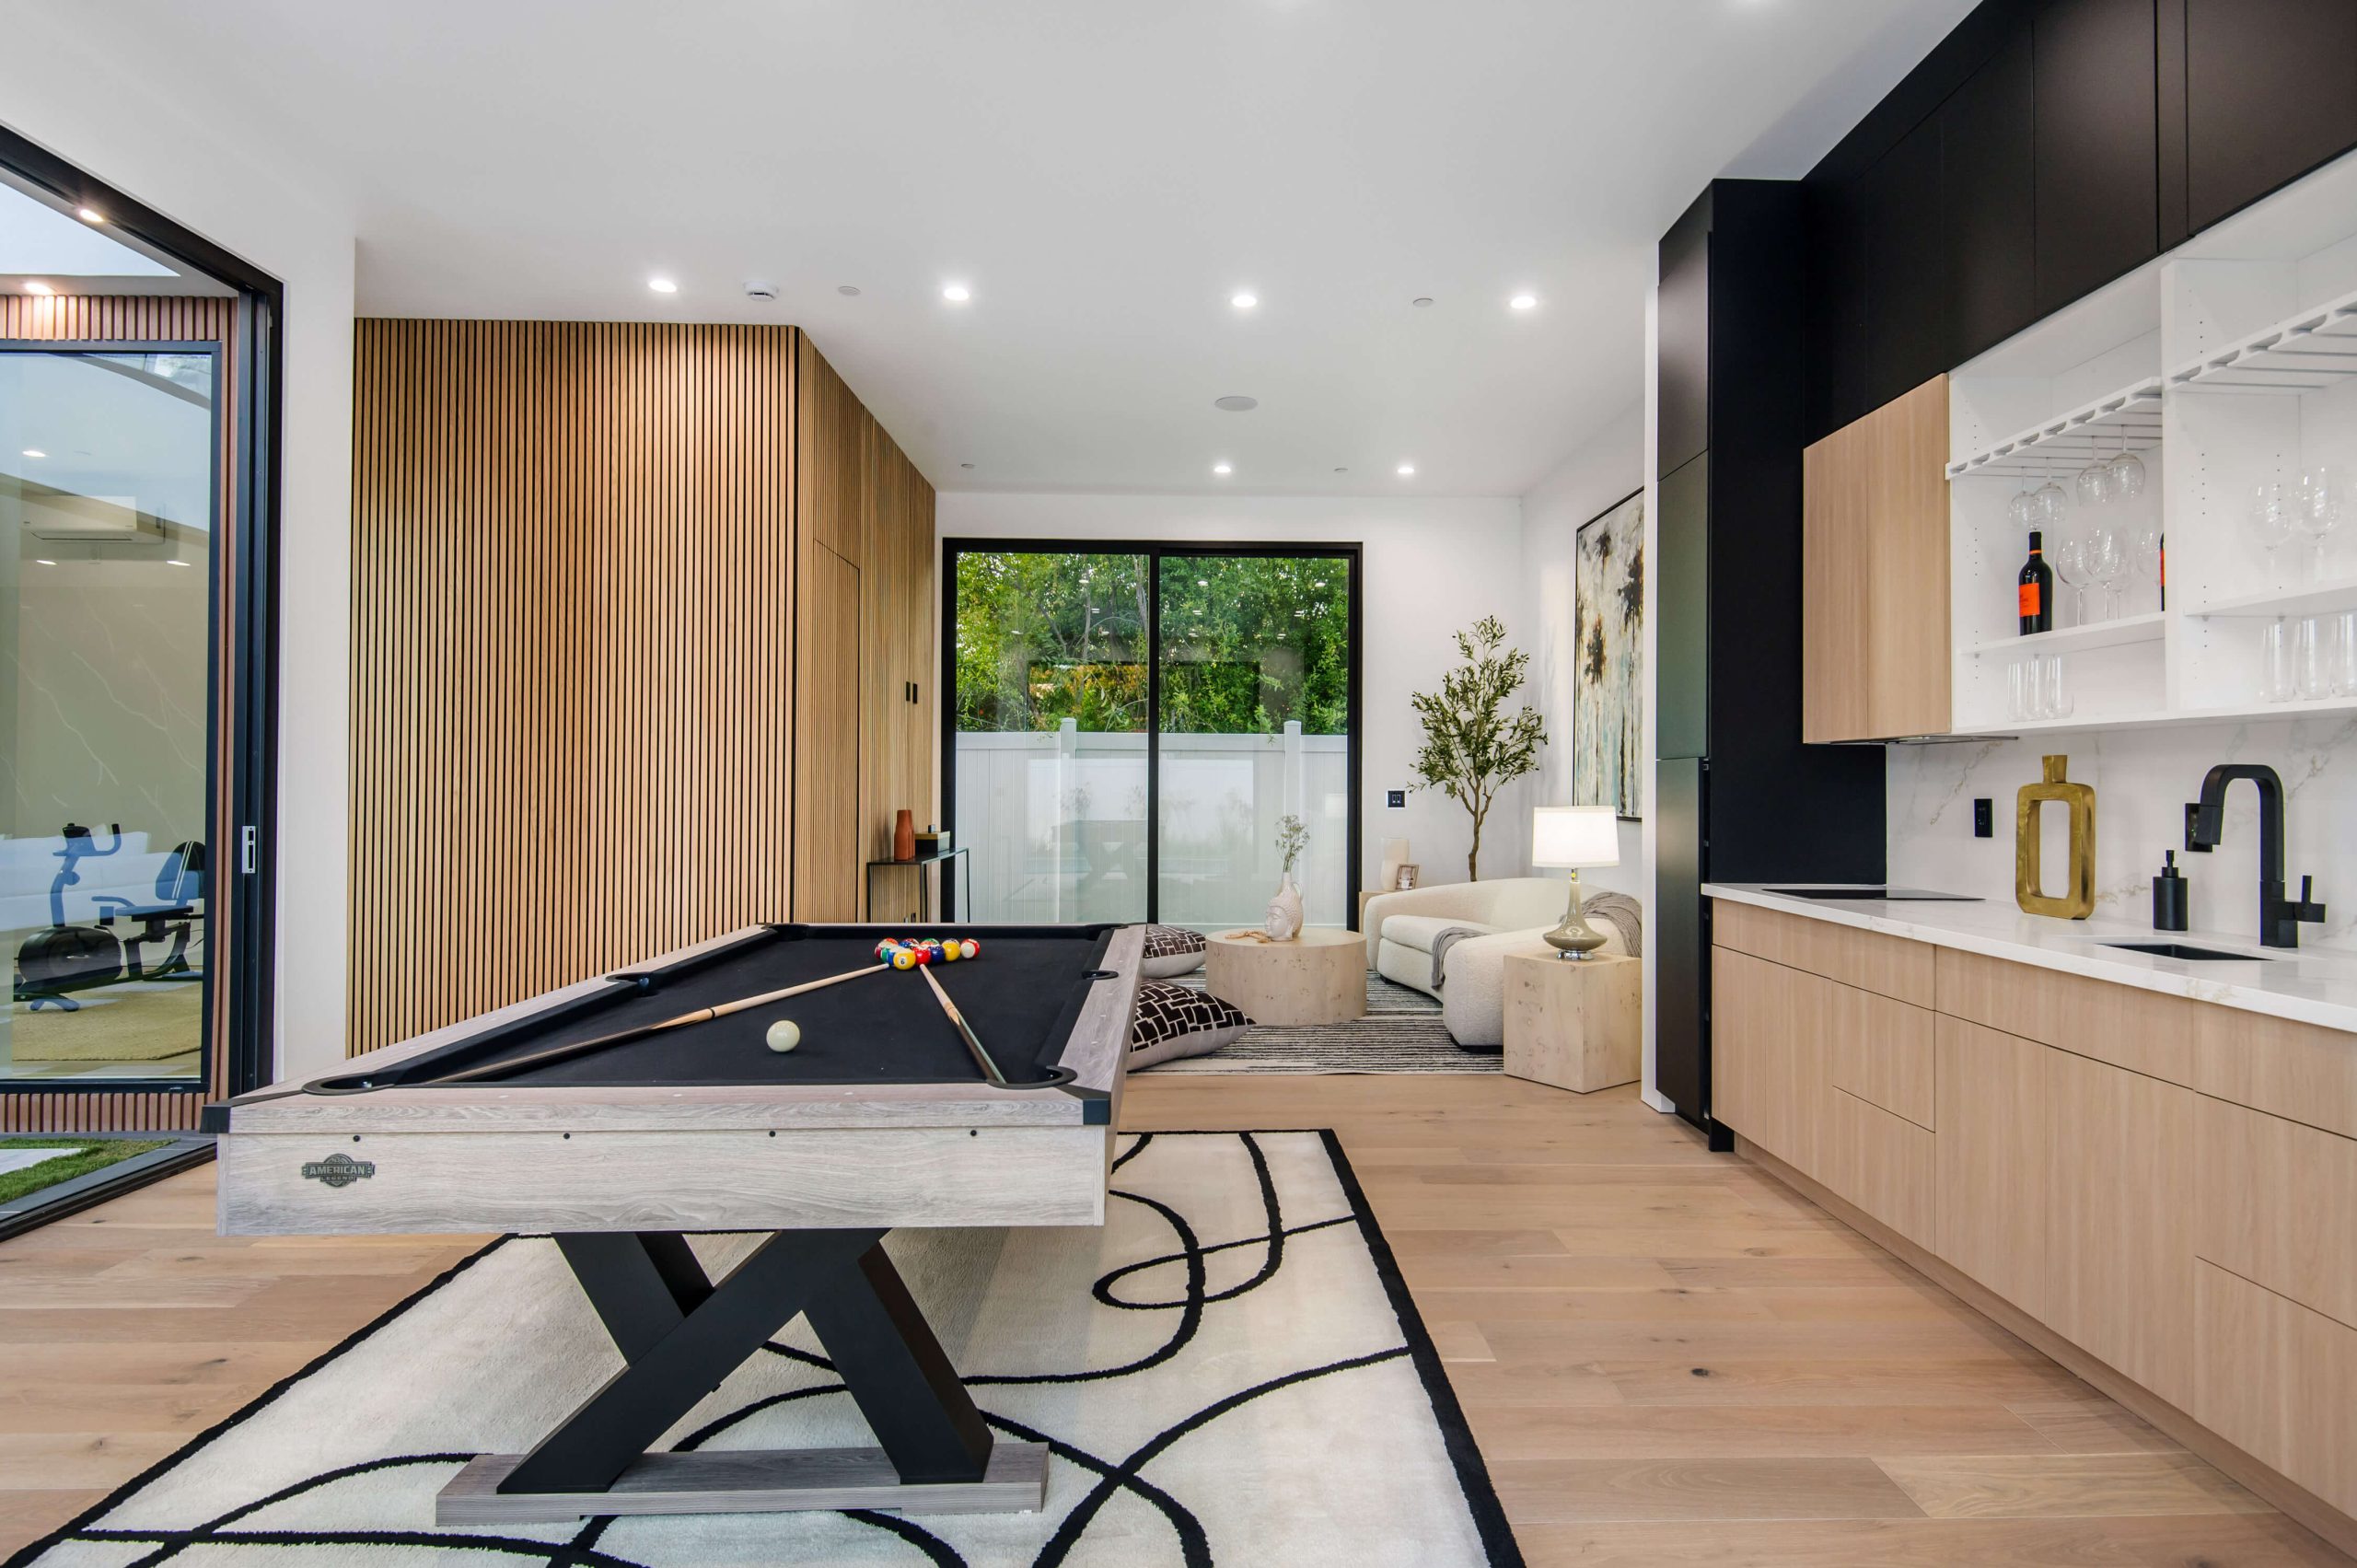
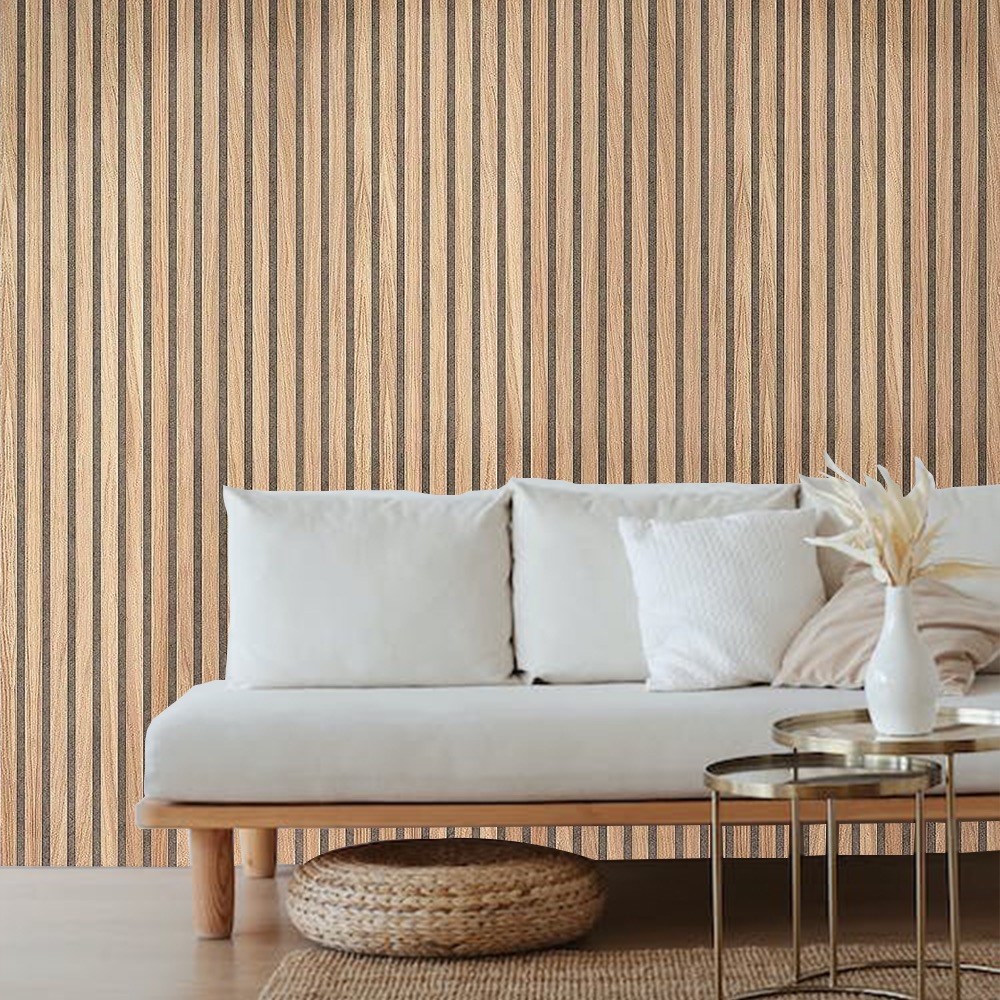
| Acoustic Slat Panels | Living rooms, offices |
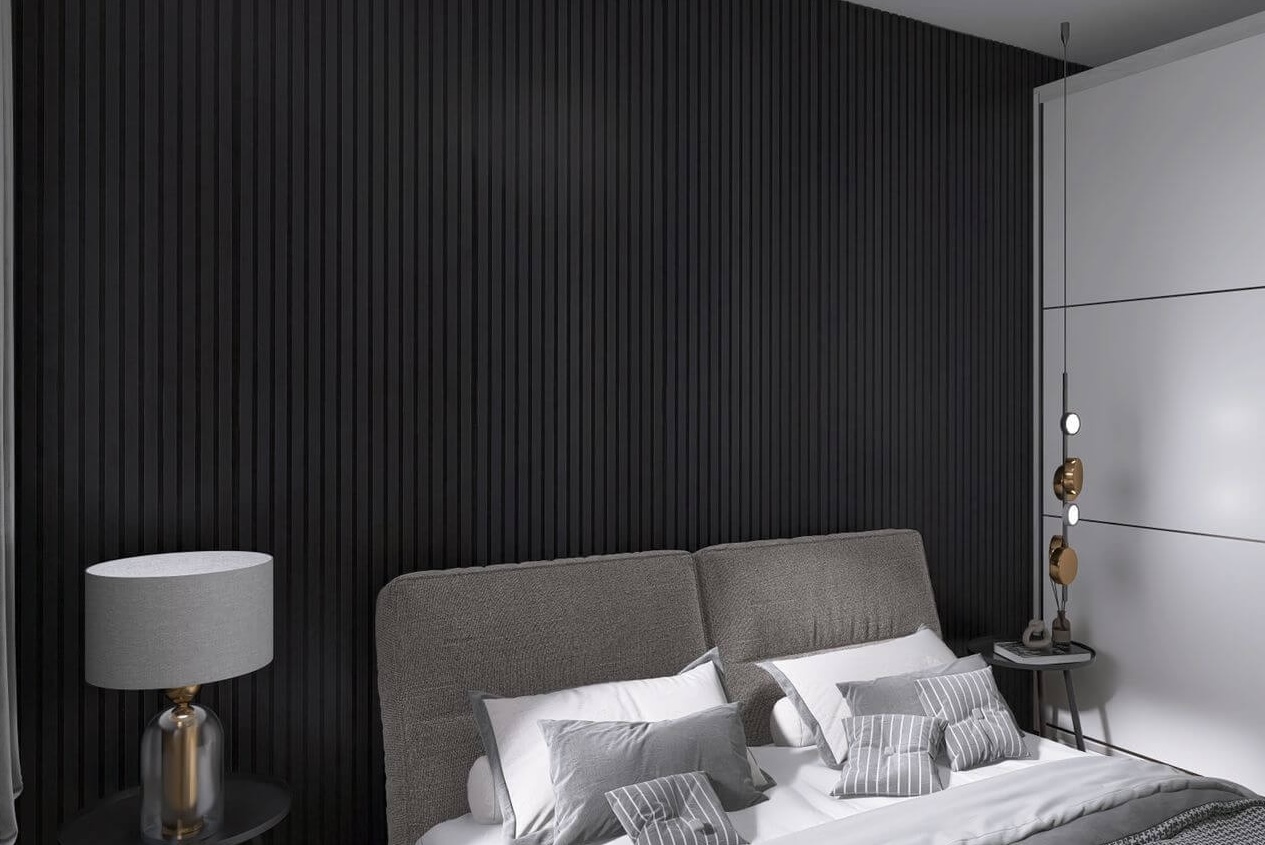
| Reclaimed Wood Panels | Bedrooms, accent walls |
| Moisture-Resistant MDF | Bathrooms, laundry rooms |
| Natural Oak Panels | Anywhere needing warmth & style |
Looking for a beautiful upgrade? Check out these Natural Oak Acoustic Slat Wood Wall Panels that blend function and design perfectly.
And if you’re unsure where to start, explore our complete wall panel collection for inspiration that matches your space and style.
Also, you can get cozy ideas from rooms that nailed reclaimed wood walls if you’re going for that rustic, earthy vibe.
Recap of Key Mistakes to Avoid
Let’s wrap it up with a quick checklist. Here are the top 7 wood panel installation mistakes:
A. Skipping wall prep
B. Not acclimating the wood
C. Poor measurements
D. Using the wrong tools
E. Ignoring studs
F. Rushing the layout
G. Picking the wrong panels for the room
Avoiding these? You’re already halfway to a flawless finish. We believe your space deserves craftsmanship that lasts, looks amazing, and adds value.
We’re always here to help make sure your wall panel dreams turn into real-life beauty. So take your time, follow the tips, and enjoy the process of making your walls truly stand out.
FAQs
1. How do I know if my wall is ready for wood panel installation?
Start by checking if the wall is smooth, clean, and completely dry. Run your hand across the surface—if you feel bumps, cracks, or see stains, it needs prepping. Use a level to make sure it’s even, patch any holes, and wipe it down to remove dust or grease. A clean wall helps the panels stick better and last longer.
2. Why do I need to let the wood panels sit in the room before installing them?
Wood naturally expands and contracts with moisture. Letting your panels sit in the room for 2–3 days helps them adjust to the temperature and humidity. This step prevents future warping, gaps, or shifting once they’re up on your wall.
3. What tools should I have before I start installing wood panels?
You’ll want a measuring tape, level, fine-tooth saw or jigsaw, adhesive or nail gun (depending on your panel type), stud finder, and a pencil. Using the right tools makes the process smoother and helps avoid damaging the panels.
4. Can I install wood panels on my bathroom wall or in humid spaces?
Yes, but make sure to choose moisture-resistant panels made for damp areas. Standard wood can swell or warp in humidity. Always check the product details and use sealants or vapor barriers if needed.
5. What’s the best way to plan the layout so the panels look even?
Measure your wall carefully, then lay out a few panels on the floor before sticking anything to the wall. Try to stagger seams like bricks and avoid having thin slivers at the edges. Planning the pattern ahead helps your wall look polished and professionally done.