Creating a stunning wall transformation doesn’t have to drain your wallet. With a bit of planning and creativity, you can have wood panels that look custom without spending thousands. Let’s explore how to get a high-end look affordably.
Wood Panels That Look Custom: choosing the right materials
To start, select materials that mimic high-end custom panels but stay budget-friendly:
- Plywood: Cheap, stainable, and paint-ready—ideal for DIY trim layouts.
- Beadboard or tongue-and-groove kits: Often sold pre-cut for easy installation.
- Reclaimed wood or pallet wood: Free or low-cost, with great texture.
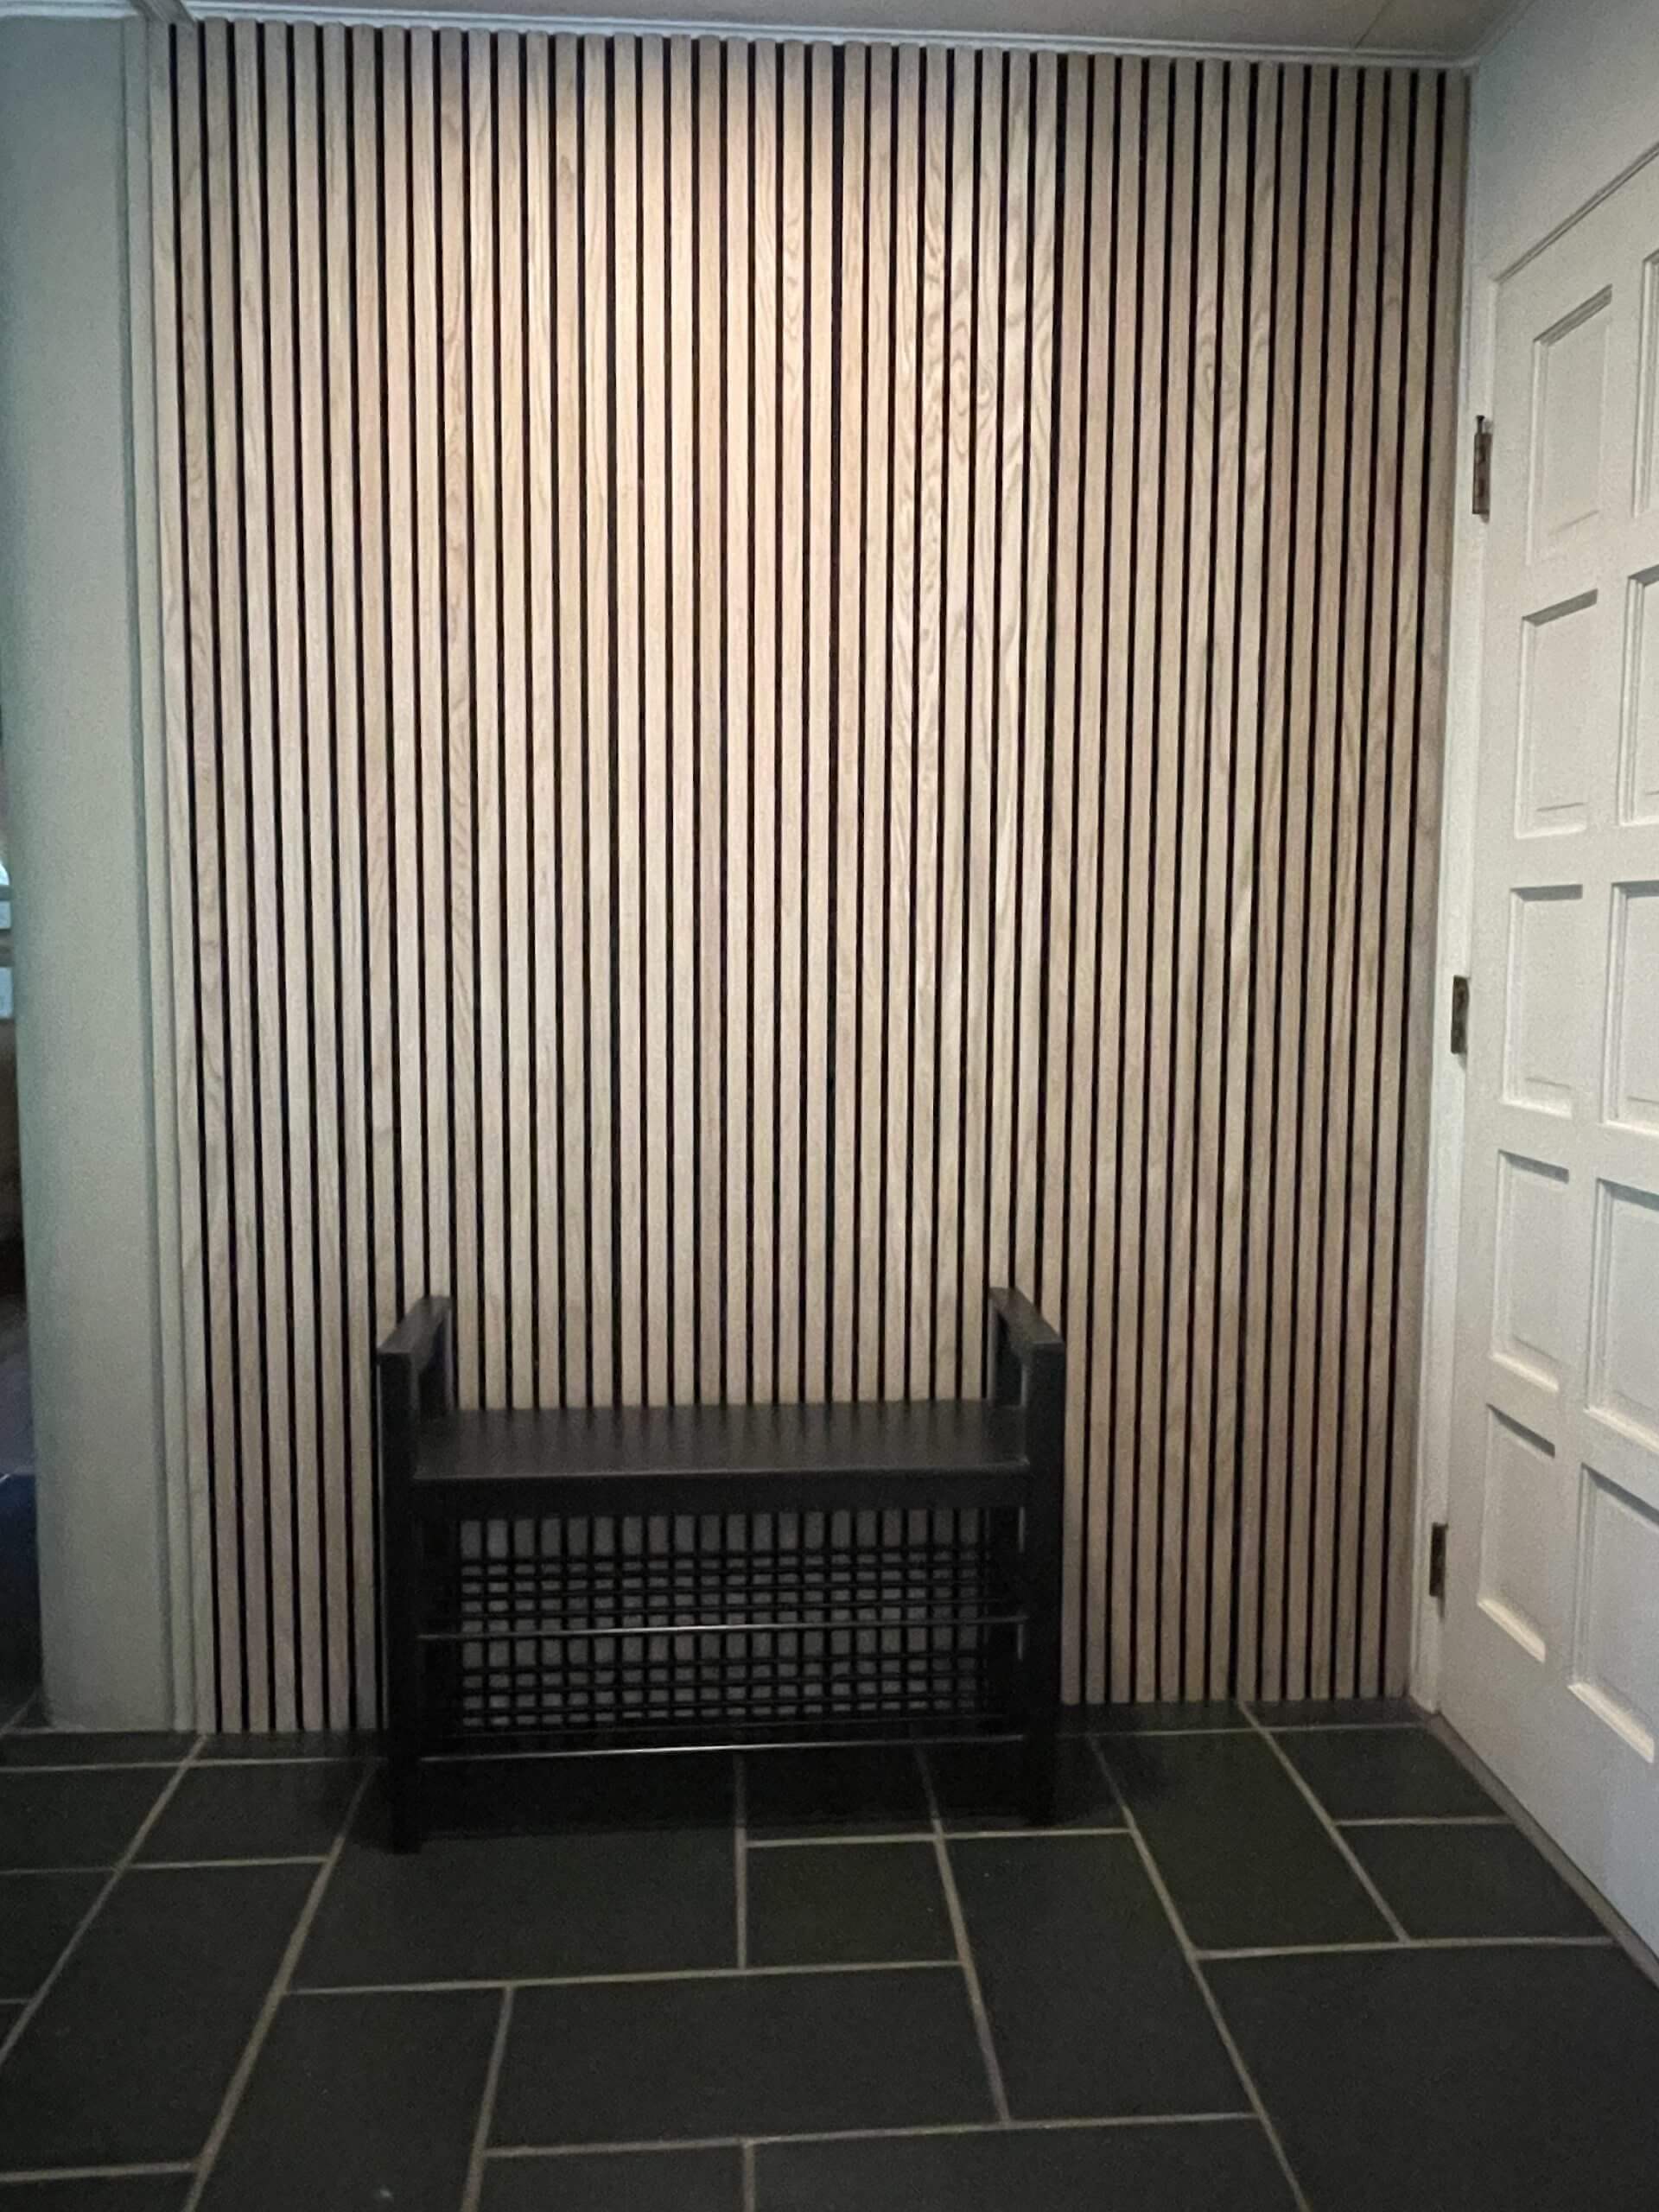
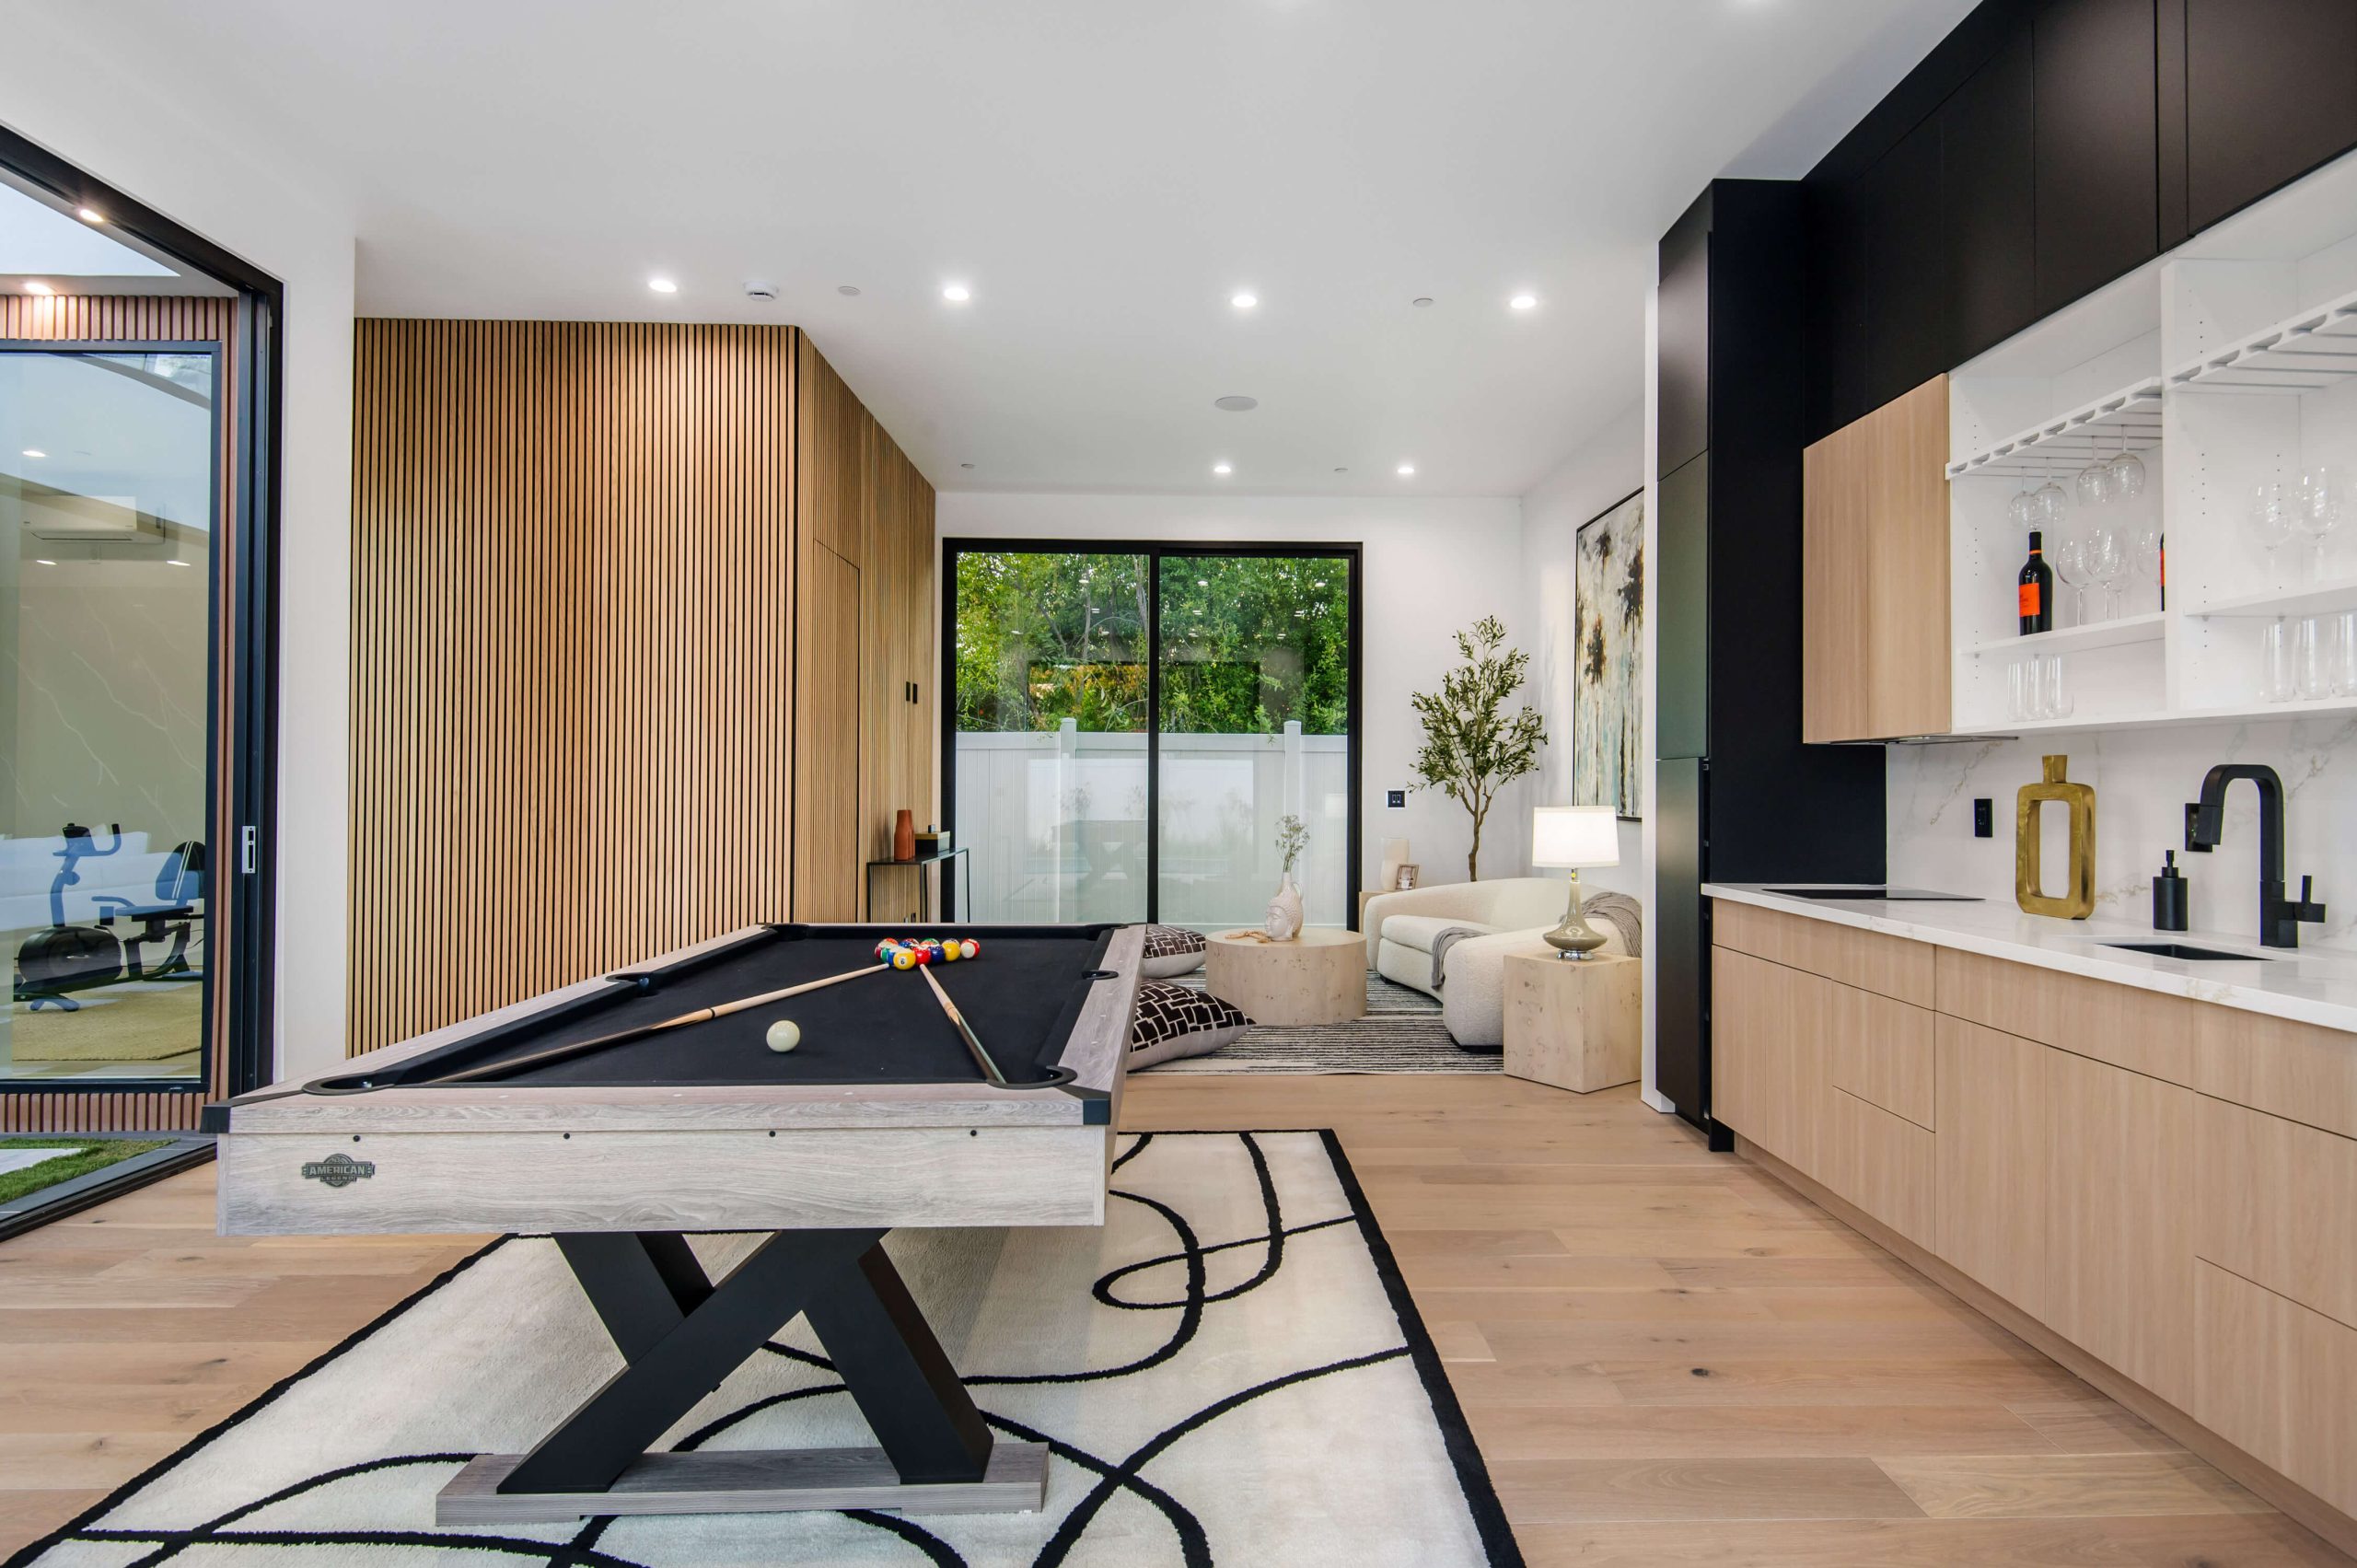
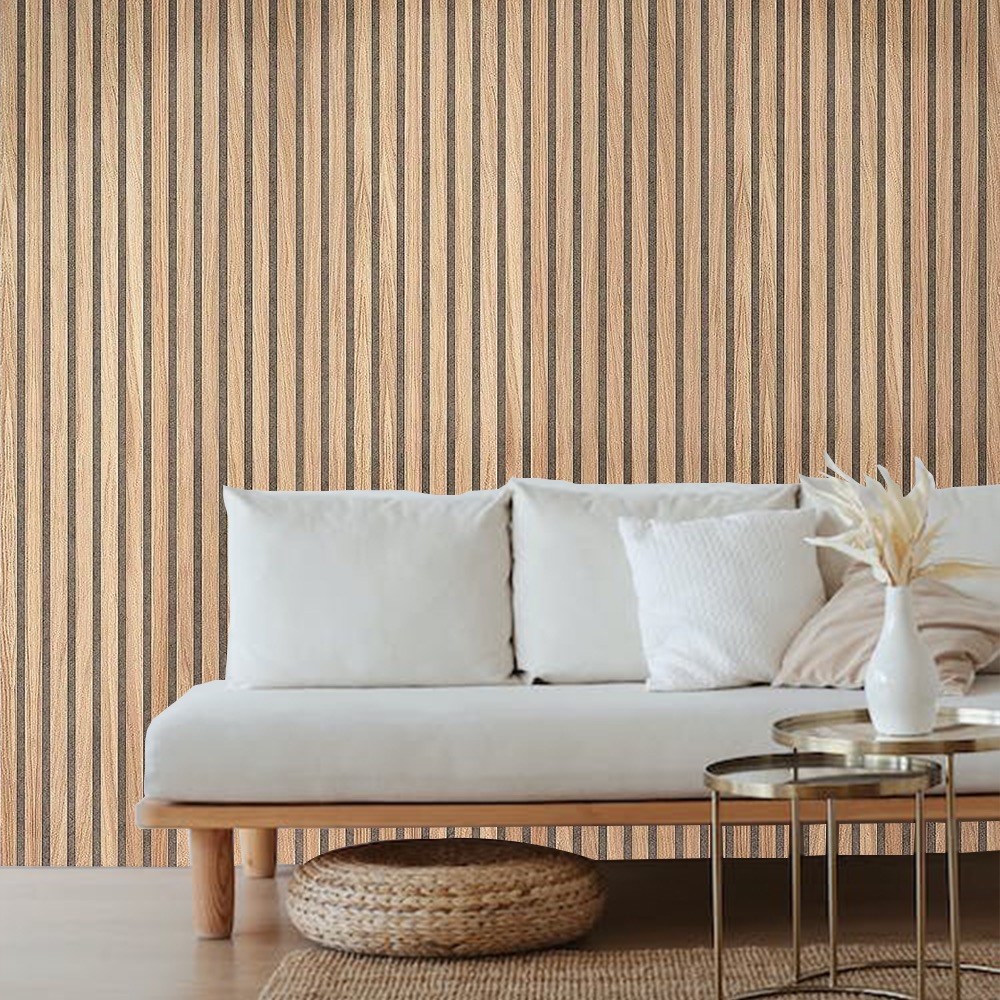
- Acoustic slat panels: Add style and sound absorption—explore the Natural Oak Acoustic Slat Wood Wall Panels for a polished finish.
Check out these real-wood options for premium appearance without the price tag:
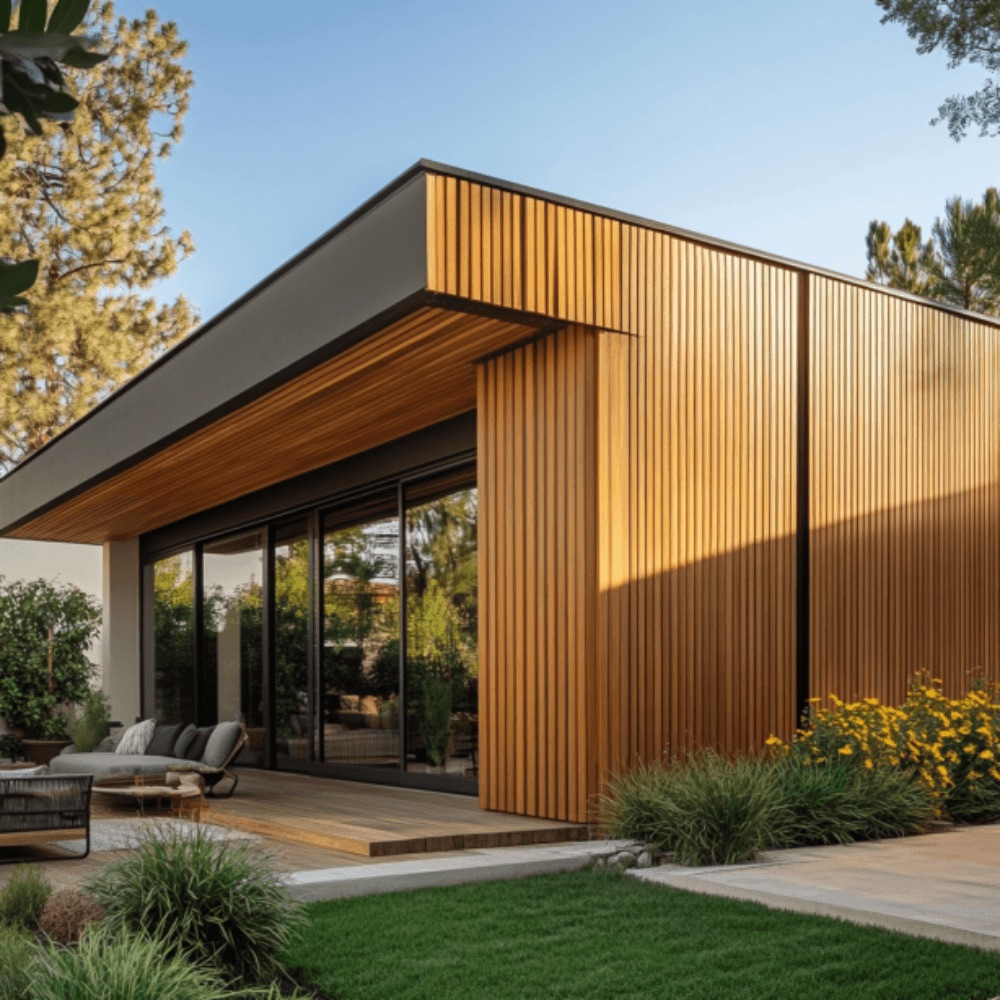
- Go bold with Natural Walnut Wood Wall Panels in a Real Oak Finish for a rich, warm tone.
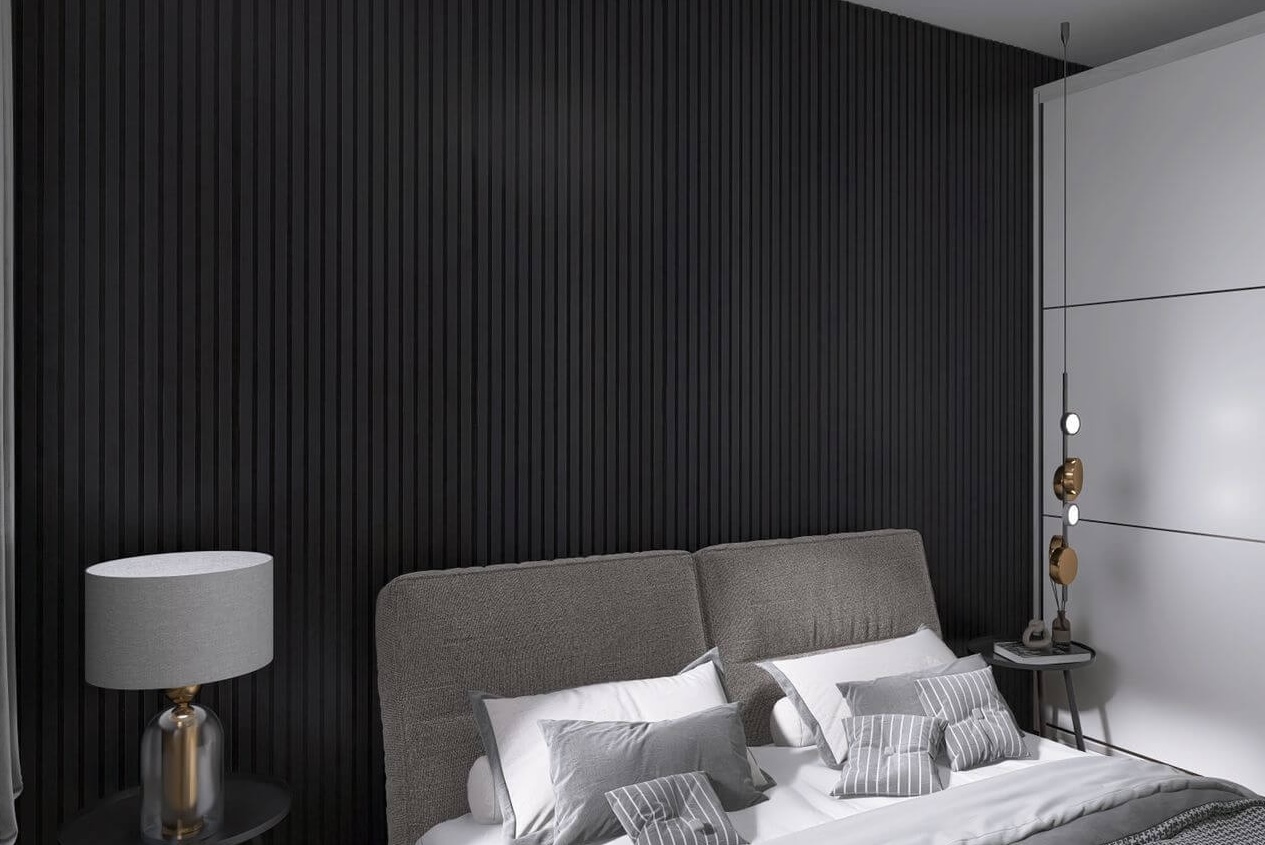
- Create contrast with sleek Black Wood Wall Panels featuring Real Oak Texture.
- Try the cozy modern aesthetic of Oak Grey Felt Panels for acoustic appeal.
Why these work:
- They’re made from high-quality real oak.
- Finished and acoustically designed for polished results.
- Easy to install—perfect for DIY.
Wood Panels That Look Custom: preparation and installation tips
Getting a sleek, custom-like finish isn’t hard when you follow best practices:
- Accurate planning
Measure walls precisely. Cut panels straight and to size. - Wall prep
Clean walls, patch holes, prime or paint if installing painted panels. - Level layout
Use a laser level or bubble level to keep panels aligned—especially vertical or slatted installations. - Finishing touches
Fill nail holes, caulk seams, and add stain or sealant for a refined edge.
From family-handyman sources:
“Beadboard and vertical fluted panels are easy and inexpensive to install. Just use a level.”
Wood Panels That Look Custom: smart design tricks
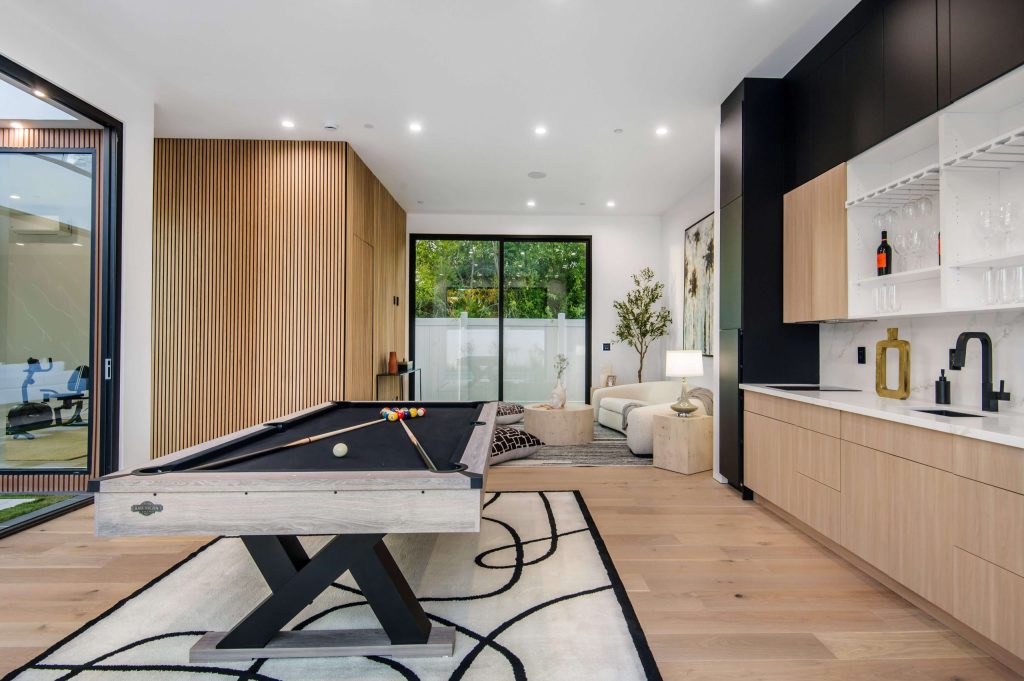
- Accent walls: Focus on one wall with slats or tongue‐and‐groove for maximum impact.
- Mix materials: Combine wood with paint, plaster, or wallpaper for depth.
- Add lighting: Warm sconces or hidden LEDs highlight texture.
- Functional flair: Incorporate floating shelves or built-ins for practical style.
- Reclaimed wood patterns: Try herringbone or chevron for interest.
Wood Panels That Look Custom: cost comparison
| Material type | Cost per sq ft | DIY time per 100 ft² | Finish possibilities |
|---|---|---|---|
| Plywood + DIY slats | $0.50–$2 | 3–4 hours | Paint or stain |
| Beadboard/tongue & groove kits | $1–$6 | 4–6 hours | Painted or stained |
| Slat acoustic panels (oak/felt) | $6–$10 | 4–5 hours | Prefinished real wood |
| Reclaimed/pallet wood | $1–$10+ | 6–8 hours | Natural, weathered, or painted |
Plywood and beadboard are wallet-friendly, while slat panels give more of a custom, polished look—without the custom price.
Wood Panels That Look Custom: bringing realism and quality to your project
- Staining vs painting: Stain brings out wood grain and gives depth; paint hides flaws but can look flat.
- Test finishes: Always try a stain/paint on scrap before committing.
- Seal edges: This prevents moisture damage and blurs patch lines.
- Clean seams: Sand lightly and caulk for a seamless, custom finish.
Wood Panels That Look Custom: final thoughts
Achieving beautiful, high-end paneling on a budget is easy with the right materials and methods. Use precision cuts, plan layouts thoughtfully, and apply smart finishes for a sleek, bespoke look. DIY slat panels and real-wood slat options like Natural Walnut Wood Wall Panels in a Real Oak Finish add style and value you’d expect from custom installs—but at a fraction of the cost.
Inspired to get started? Visit this detailed beginner’s guide to wood paneling projects to learn how to prep, measure, and finish like a pro. Not only will you save money—you’ll end up with wood panels that really look custom.
Ready to transform your space? Choose your style, gather your tools, and let’s bring that wall to life today.
FAQs
1. How can I make wood panels look custom without spending a lot?
You can achieve a custom look by using cost-effective materials like plywood, beadboard, or acoustic slat panels. Focus on clean installations, aligned seams, and finishing details like caulking and staining. Choosing pre-finished panels such as slatted oak or walnut options gives a high-end appearance with minimal effort.
2. What tools do I need to install wood wall panels myself?
For most DIY wood panel projects, you’ll need a measuring tape, level, saw (hand or power), adhesive or brad nailer, caulk, putty, and paint or stain. Panels like the acoustic slat styles are designed for quick and easy installation with just basic tools.
3. Will affordable panels still last over time?
Yes, especially if you properly prep your wall surface and seal the panel edges. High-quality budget options, like real oak-faced slat panels, are durable when installed correctly and protected from excess moisture or extreme wear.
4. Can I install these panels in a rental without causing damage?
Absolutely. Many renters use removable adhesive strips or mount thin backing boards that hold the panels without harming the walls. Lightweight options like felt-backed slat panels are especially rental-friendly.
5. Where should I start if I’ve never installed wall panels before?
A great place to start is a single accent wall using pre-finished slat panels. They’re beginner-friendly and don’t require sanding, staining, or sealing. You can also check out this helpful beginner’s guide to wood paneling projects for step-by-step tips and inspiration.