Installing siding on your home is an excellent way to update its appearance, enhance energy efficiency, and increase its overall value. However, before you embark on this home improvement project, it’s crucial to ensure that your exterior walls are properly prepped. This guide will walk you through the key steps to prepare your exterior walls before installing siding, ensuring a smooth process and long-lasting results.
Why Proper Wall Preparation Is Essential
Before delving into the actual steps, it’s important to understand why preparing your exterior walls before installing siding is so critical. Proper preparation ensures that the siding adheres correctly, reduces the chances of moisture damage, and provides a solid foundation for the new siding. By taking these necessary steps, you protect your home from potential issues like water infiltration and insulation loss, which can occur when siding is installed on an unprepared surface.
Step-by-Step Guide to Prepping Exterior Walls
1. Inspect the Current Wall Condition
The first step in preparing your walls for installing siding is to inspect the current state of the exterior walls. Look for signs of damage, such as cracks, mold, mildew, and any areas where moisture may have seeped into the structure. It’s essential to address any damage you find before moving forward.
- Cracks and gaps: Use a sealant or caulk to fill any cracks.
- Mold or mildew: Clean with a mixture of water and mild detergent.
- Rotten wood: Replace any rotten wood or damaged panels entirely.
Ensuring the walls are clean and damage-free provides a stable surface for the new siding to adhere to.
2. Remove Old Siding and Materials
If you have old siding on your home, it must be removed before the new siding can be installed. This step can reveal potential problems, like decaying wood or poor insulation, that may need to be addressed before moving forward with installing siding.
- Safety tip: Wear protective gloves and goggles to avoid injury while removing old siding.
- Check for damage: Pay attention to what’s underneath the old siding, as this will indicate whether any repairs or additional preparation are needed.
Removing the old materials allows you to start fresh and ensure a clean surface for the new siding.
3. Install a Water-Resistant Barrier
One of the most important aspects of prepping your walls before installing siding is installing a water-resistant barrier, often referred to as house wrap. This barrier helps prevent moisture from penetrating the walls, which can cause damage over time.
- House wrap installation tips:
- Start at the bottom and overlap the wrap as you move up.
- Use staples or nails to secure the house wrap to the wall.
- Pay close attention to seams and edges to ensure there are no gaps where water could infiltrate.
This barrier adds an extra layer of protection, ensuring your home remains safe from water damage.
4. Add Flashing for Extra Protection
Flashing is a thin material, usually metal or rubber, that’s installed to redirect water away from certain areas, such as windows and doors, before installing siding. By doing this, you help prevent leaks and keep water from causing structural damage.
- Types of flashing: Aluminum, steel, and rubber.
- Where to install flashing: Around windows, doors, and at the base of walls.
Properly installed flashing is key to ensuring that your home remains dry and damage-free, even during heavy rain.
5. Address Insulation Needs
Proper insulation plays a critical role in the energy efficiency of your home. When prepping for installing siding, evaluate whether additional insulation is needed. Adding insulation at this stage can greatly improve your home’s thermal efficiency, saving on heating and cooling costs.
- Common insulation types: Foam board, blown-in insulation, or rigid foam panels.
- Insulation benefits: Reduces energy bills, maintains indoor temperatures, and improves overall comfort.
A well-insulated home is not only more energy-efficient but also more comfortable year-round.
6. Repair Any Structural Issues
Before you begin installing siding, check for any structural problems that could compromise the siding’s integrity. This includes warped studs, loose nails, and any signs of foundation shifting.
- Loose nails or screws: Remove or tighten any loose nails.
- Warped wood: Replace any studs or beams that show signs of warping or rotting.
Ensuring that your structure is in excellent condition will help the siding installation process go smoothly and result in a more durable outcome.
Common Mistakes to Avoid
Prepping exterior walls before installing siding is critical, but many homeowners make common mistakes that can lead to long-term issues. Here are a few to watch out for:
- Skipping the inspection stage: Always thoroughly inspect your walls for hidden damage.
- Neglecting the water barrier: Failing to install a water-resistant barrier can lead to water damage and mold growth.
- Overlooking insulation: Many homeowners forget to address insulation needs, which can increase energy bills in the long run.
By avoiding these mistakes, you ensure your new siding will not only look great but also last for many years.
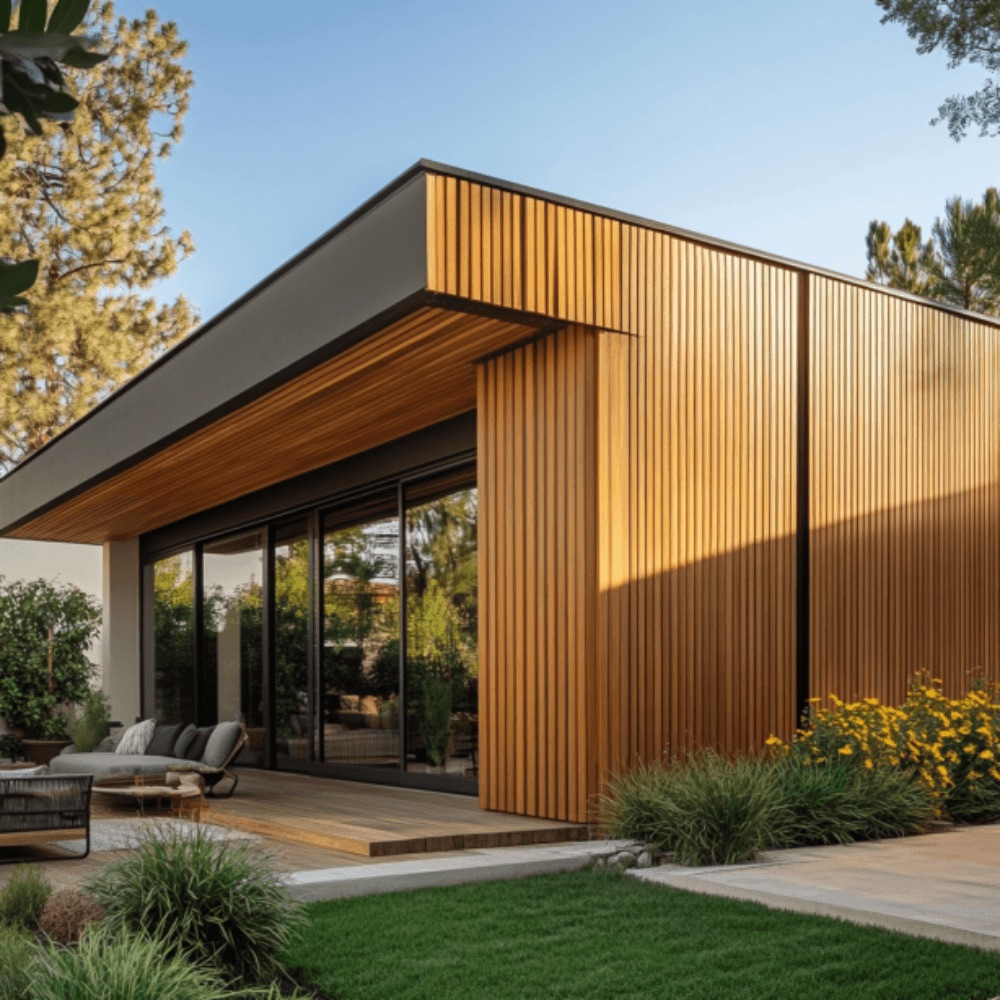
Types of Siding and Their Requirements
There are many types of siding available, and each comes with its own set of requirements for installation. Understanding these can help you prepare your exterior walls appropriately.
- Vinyl Siding: Lightweight and easy to install, it requires a clean surface and adequate insulation underneath.
- Wood Siding: More traditional wood siding requires a solid base and extra attention to water-resistant barriers to prevent rot.
- Fiber Cement Siding: Known for its durability, this siding requires reinforced walls due to its weight and a strong moisture barrier.
Each type of siding requires proper wall preparation to ensure it adheres correctly and performs as expected.
FAQs
1. Why is it important to prep walls before installing siding?
Prepping your walls ensures the new siding adheres properly, prevents moisture infiltration, and prolongs the siding’s lifespan.
2. Can I install siding over existing siding?
While possible, it’s not recommended. Removing the old siding allows you to address potential issues like damage or poor insulation.
3. How do I know if I need more insulation?
If your home struggles to maintain a consistent temperature, adding insulation during siding prep can improve energy efficiency.
4. What is house wrap, and why do I need it?
House wrap is a water-resistant barrier that protects your home from moisture damage. It’s essential for keeping water out while allowing your home to “breathe.”
5. How long does it take to prep walls for siding installation?
The time depends on the condition of your walls and whether repairs or insulation are needed, but typically, it can take a few days.
Conclusion
Proper preparation of exterior walls before installing siding is essential for ensuring a successful, long-lasting project. By inspecting for damage, installing a water-resistant barrier, addressing insulation needs, and following these essential steps, you’ll set yourself up for a siding installation that enhances the beauty, efficiency, and durability of your home for years to come.