When it comes to home improvement projects, siding installations can significantly transform the appearance and durability of your home. Whether you’re looking to boost curb appeal, improve insulation, or protect your home from harsh weather, installing siding is a great DIY project. Below, we’ll walk you through the easiest DIY siding installations, share tips on getting started, and provide detailed insights to ensure your project is a success.
Why Choose DIY Siding Installation?
Taking on a siding installation project yourself can save you a lot of money. While professional installations come with labor costs, DIY siding installations allow you to allocate your budget toward higher-quality materials, tools, and other home improvements. The sense of accomplishment when you finish is another great reward!
Here’s why DIY siding installations are a great idea for homeowners:
- Cost Savings: By eliminating labor costs, you can invest in higher-quality siding materials.
- Customization: As the installer, you have complete control over the look and feel of the project.
- Skill Development: A DIY project helps you hone valuable home improvement skills that can be applied to future tasks.
Step-by-Step Guide to DIY Siding Installation
Let’s break down the process of siding installation into manageable steps to help you get started.
- Select the Right Siding Material
- Options include vinyl, wood, composite, or even fiber cement siding.
- Each material has its pros and cons in terms of durability, aesthetics, and ease of installation.
- For beginners, vinyl siding is often recommended due to its lightweight properties and ease of handling.
- Prepare Your Tools and Workspace
- Ensure you have essential tools: a hammer, measuring tape, level, utility knife, and a circular saw.
- Clear the workspace around your home, ensuring you have easy access to every wall.
- If removing old siding, be careful to avoid damaging underlying insulation.
- Install the First Layer of House Wrap
- Before adding your siding, apply house wrap or another weather-resistant barrier to protect your home from moisture.
- Secure the wrap using staples or nails, ensuring full coverage over any wooden or other surfaces.
- Begin with the Bottom Row
- Start from the bottom and work your way up to ensure each piece overlaps correctly.
- Use a level to ensure your siding is perfectly straight, as the first row sets the tone for the entire project.
- Secure the Siding Panels
- Vinyl or wood panels often come with pre-drilled holes for nails. Insert nails loosely to allow for expansion and contraction due to weather changes.
- When using wood siding, you may need to pre-drill holes to avoid cracking.
- Cut and Fit Around Windows and Doors
- Use a utility knife or a saw to cut panels to fit around windows and door frames.
- Remember to leave a slight gap around edges to allow for expansion.
- Finish with Trim Pieces
- Once all siding is installed, add trim around windows, doors, and corners for a clean, professional finish.
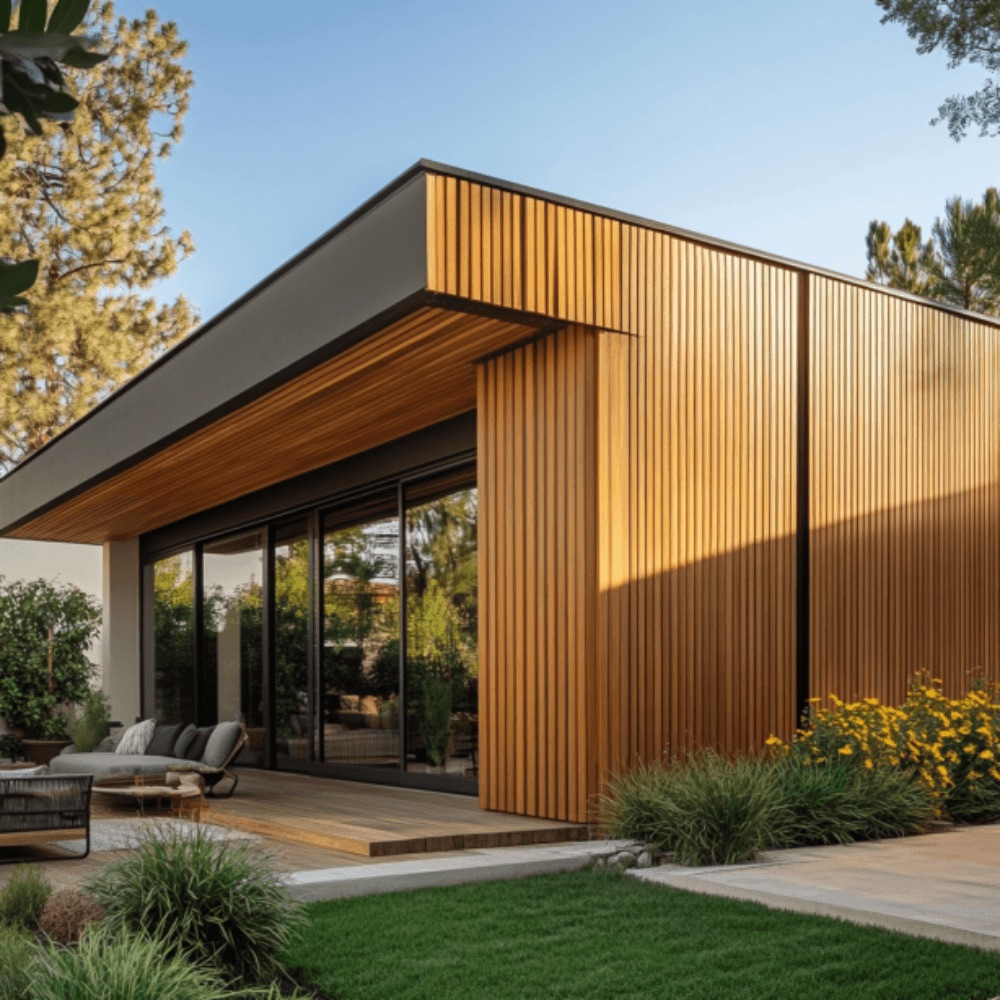
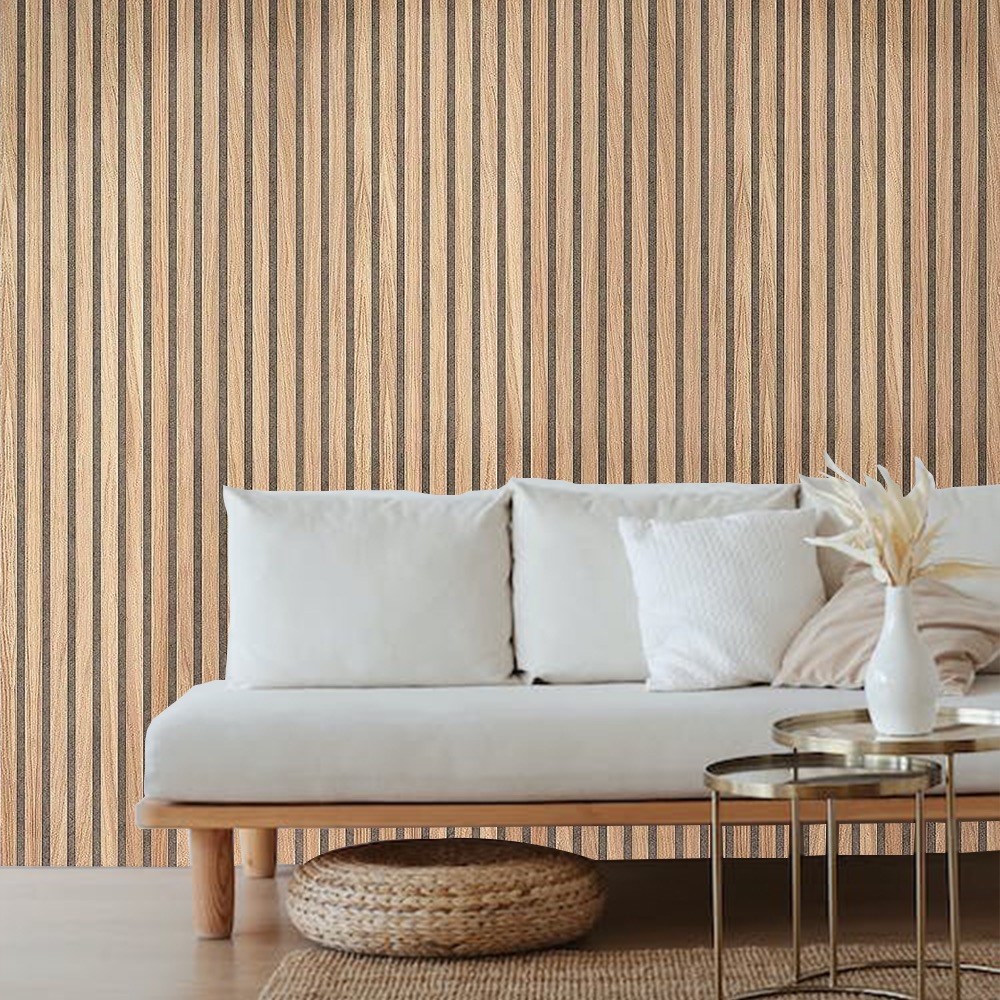
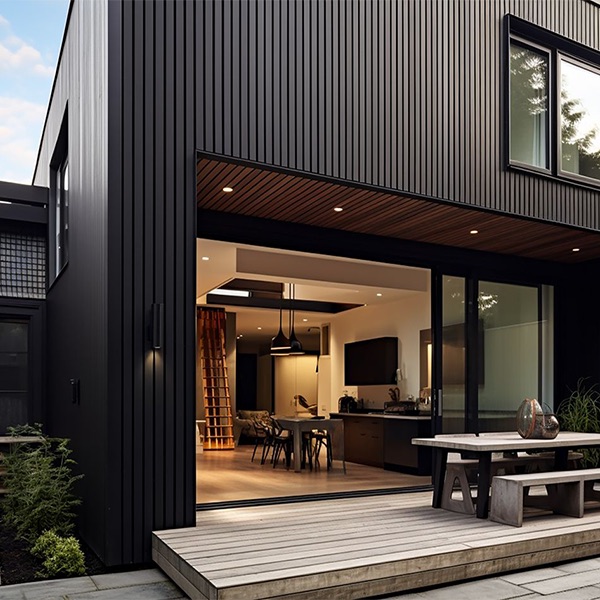
Best Siding Materials for DIY Projects
Choosing the right material for your DIY siding installation is key to the success of your project. Below is a comparison of popular siding materials to help you make an informed decision.
| Material | Pros | Cons | Difficulty Level | Cost |
|---|---|---|---|---|
| Vinyl Siding | Easy to install, affordable, low maintenance | Limited aesthetic options, can crack in cold | Beginner | $$ |
| Wood Siding | Natural look, customizable with paint or stain | Prone to rot, requires more maintenance | Intermediate | $$$$ |
| Fiber Cement | Durable, fire-resistant, variety of textures | Heavier, harder to cut, requires special tools | Advanced | $$$$ |
| Composite Siding | Eco-friendly, weather-resistant | Can be more expensive than vinyl | Beginner-Intermediate | $$$ |
Expert Tips for a Successful Siding Installation
- Measure Twice, Cut Once: Proper measurements are crucial to ensure you don’t waste materials or create unnecessary gaps.
- Leave Room for Expansion: All materials will expand and contract with temperature changes. Always leave a small gap when securing panels.
- Install a Moisture Barrier: Don’t skip the house wrap. It’s essential for protecting your home from moisture and preventing future water damage.
- Use Quality Fasteners: High-quality nails and screws prevent rusting and ensure that your siding remains securely attached for years to come.
- Don’t Rush the Process: Take your time to install each panel accurately. Rushing can lead to costly mistakes that require removal and reinstallation.
Advantages of Vinyl Siding for DIY Projects
Vinyl siding is one of the most popular materials for siding installation among DIY homeowners, and for good reasons:
- Affordability: Vinyl siding is one of the most cost-effective materials.
- Low Maintenance: Once installed, vinyl siding requires little upkeep beyond occasional washing.
- Wide Range of Styles: Available in various colors and textures, vinyl siding can mimic wood, stone, or even shake shingles.
- Easy Installation: It snaps together easily, making it the best choice for those with limited experience in home improvement projects.
How to Choose the Right Siding for Your Home
Selecting the right siding for your DIY siding installation depends on several factors:
- Climate: In areas with frequent temperature fluctuations, composite or fiber cement may be a better option than wood or vinyl.
- Aesthetic Preferences: If you love the rustic charm of wood but don’t want the maintenance, consider composite options.
- Budget: Vinyl siding is generally the most affordable, while wood and fiber cement tend to be more expensive.
FAQ: Common Questions About Siding Installations
1. What is the easiest siding to install for DIY projects?
Vinyl siding is widely regarded as the easiest to install, especially for beginners. It is lightweight, easy to cut, and snaps together without the need for specialized tools.
2. Do I need to remove old siding before installing new siding?
It depends. If the old siding is in poor condition or structurally compromised, it’s best to remove it before installing new siding. However, if it’s in good shape, you can often install new siding over the old material
3. Can I paint vinyl siding?
Yes, vinyl siding can be painted, though it’s important to use a paint specifically designed for use on vinyl surfaces. Be sure to clean the siding thoroughly before painting for the best results.
4. How long does siding installation take?
For DIY installations, it can take anywhere from a few days to a week depending on the size of your home and the type of siding. Vinyl installations typically go faster, while wood or fiber cement takes longer due to more complex cutting and fitting.
5. Is house wrap necessary for siding installations?
Yes, house wrap is a critical layer that provides moisture protection. It helps prevent water damage and improves the insulation of your home.
By following these steps and tips, your DIY siding installation project will be a rewarding and successful endeavor. Not only will you improve your home’s exterior appearance, but you’ll also increase its overall value and longevity.