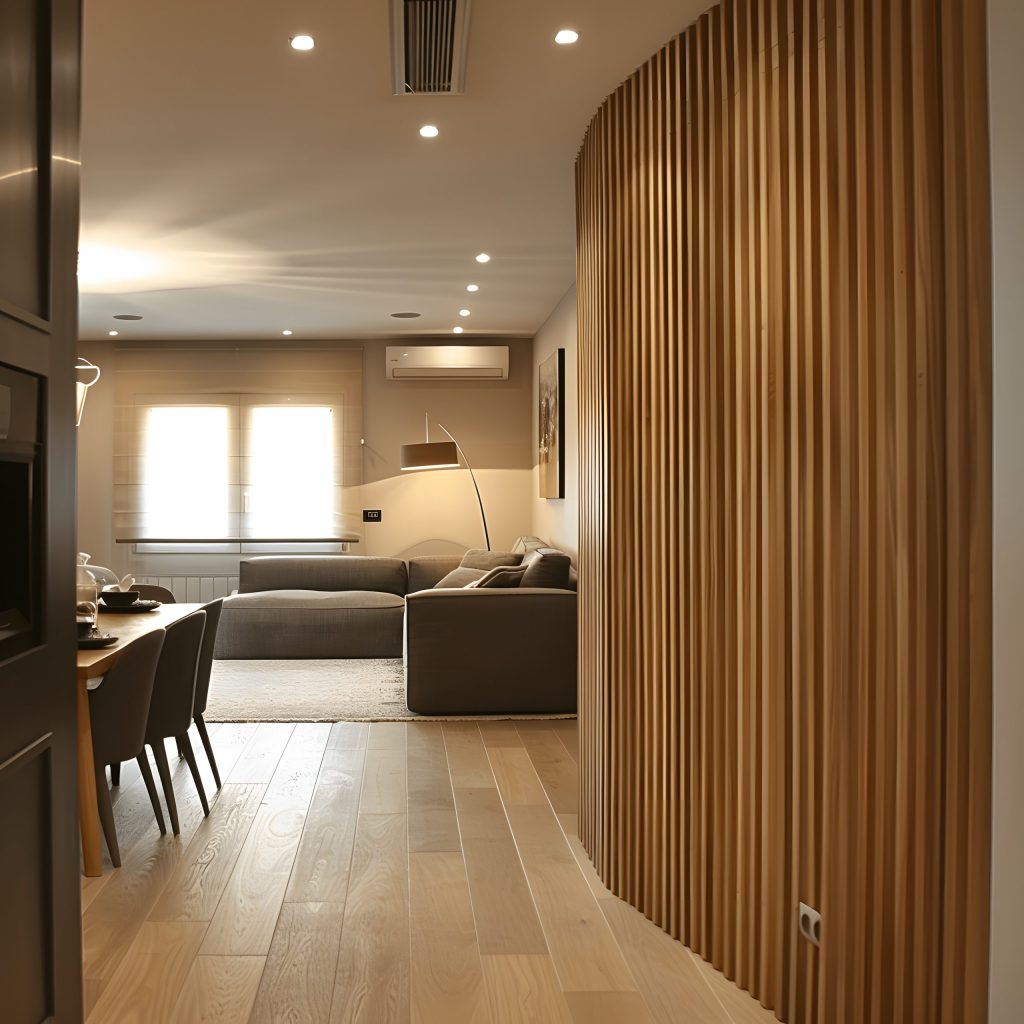
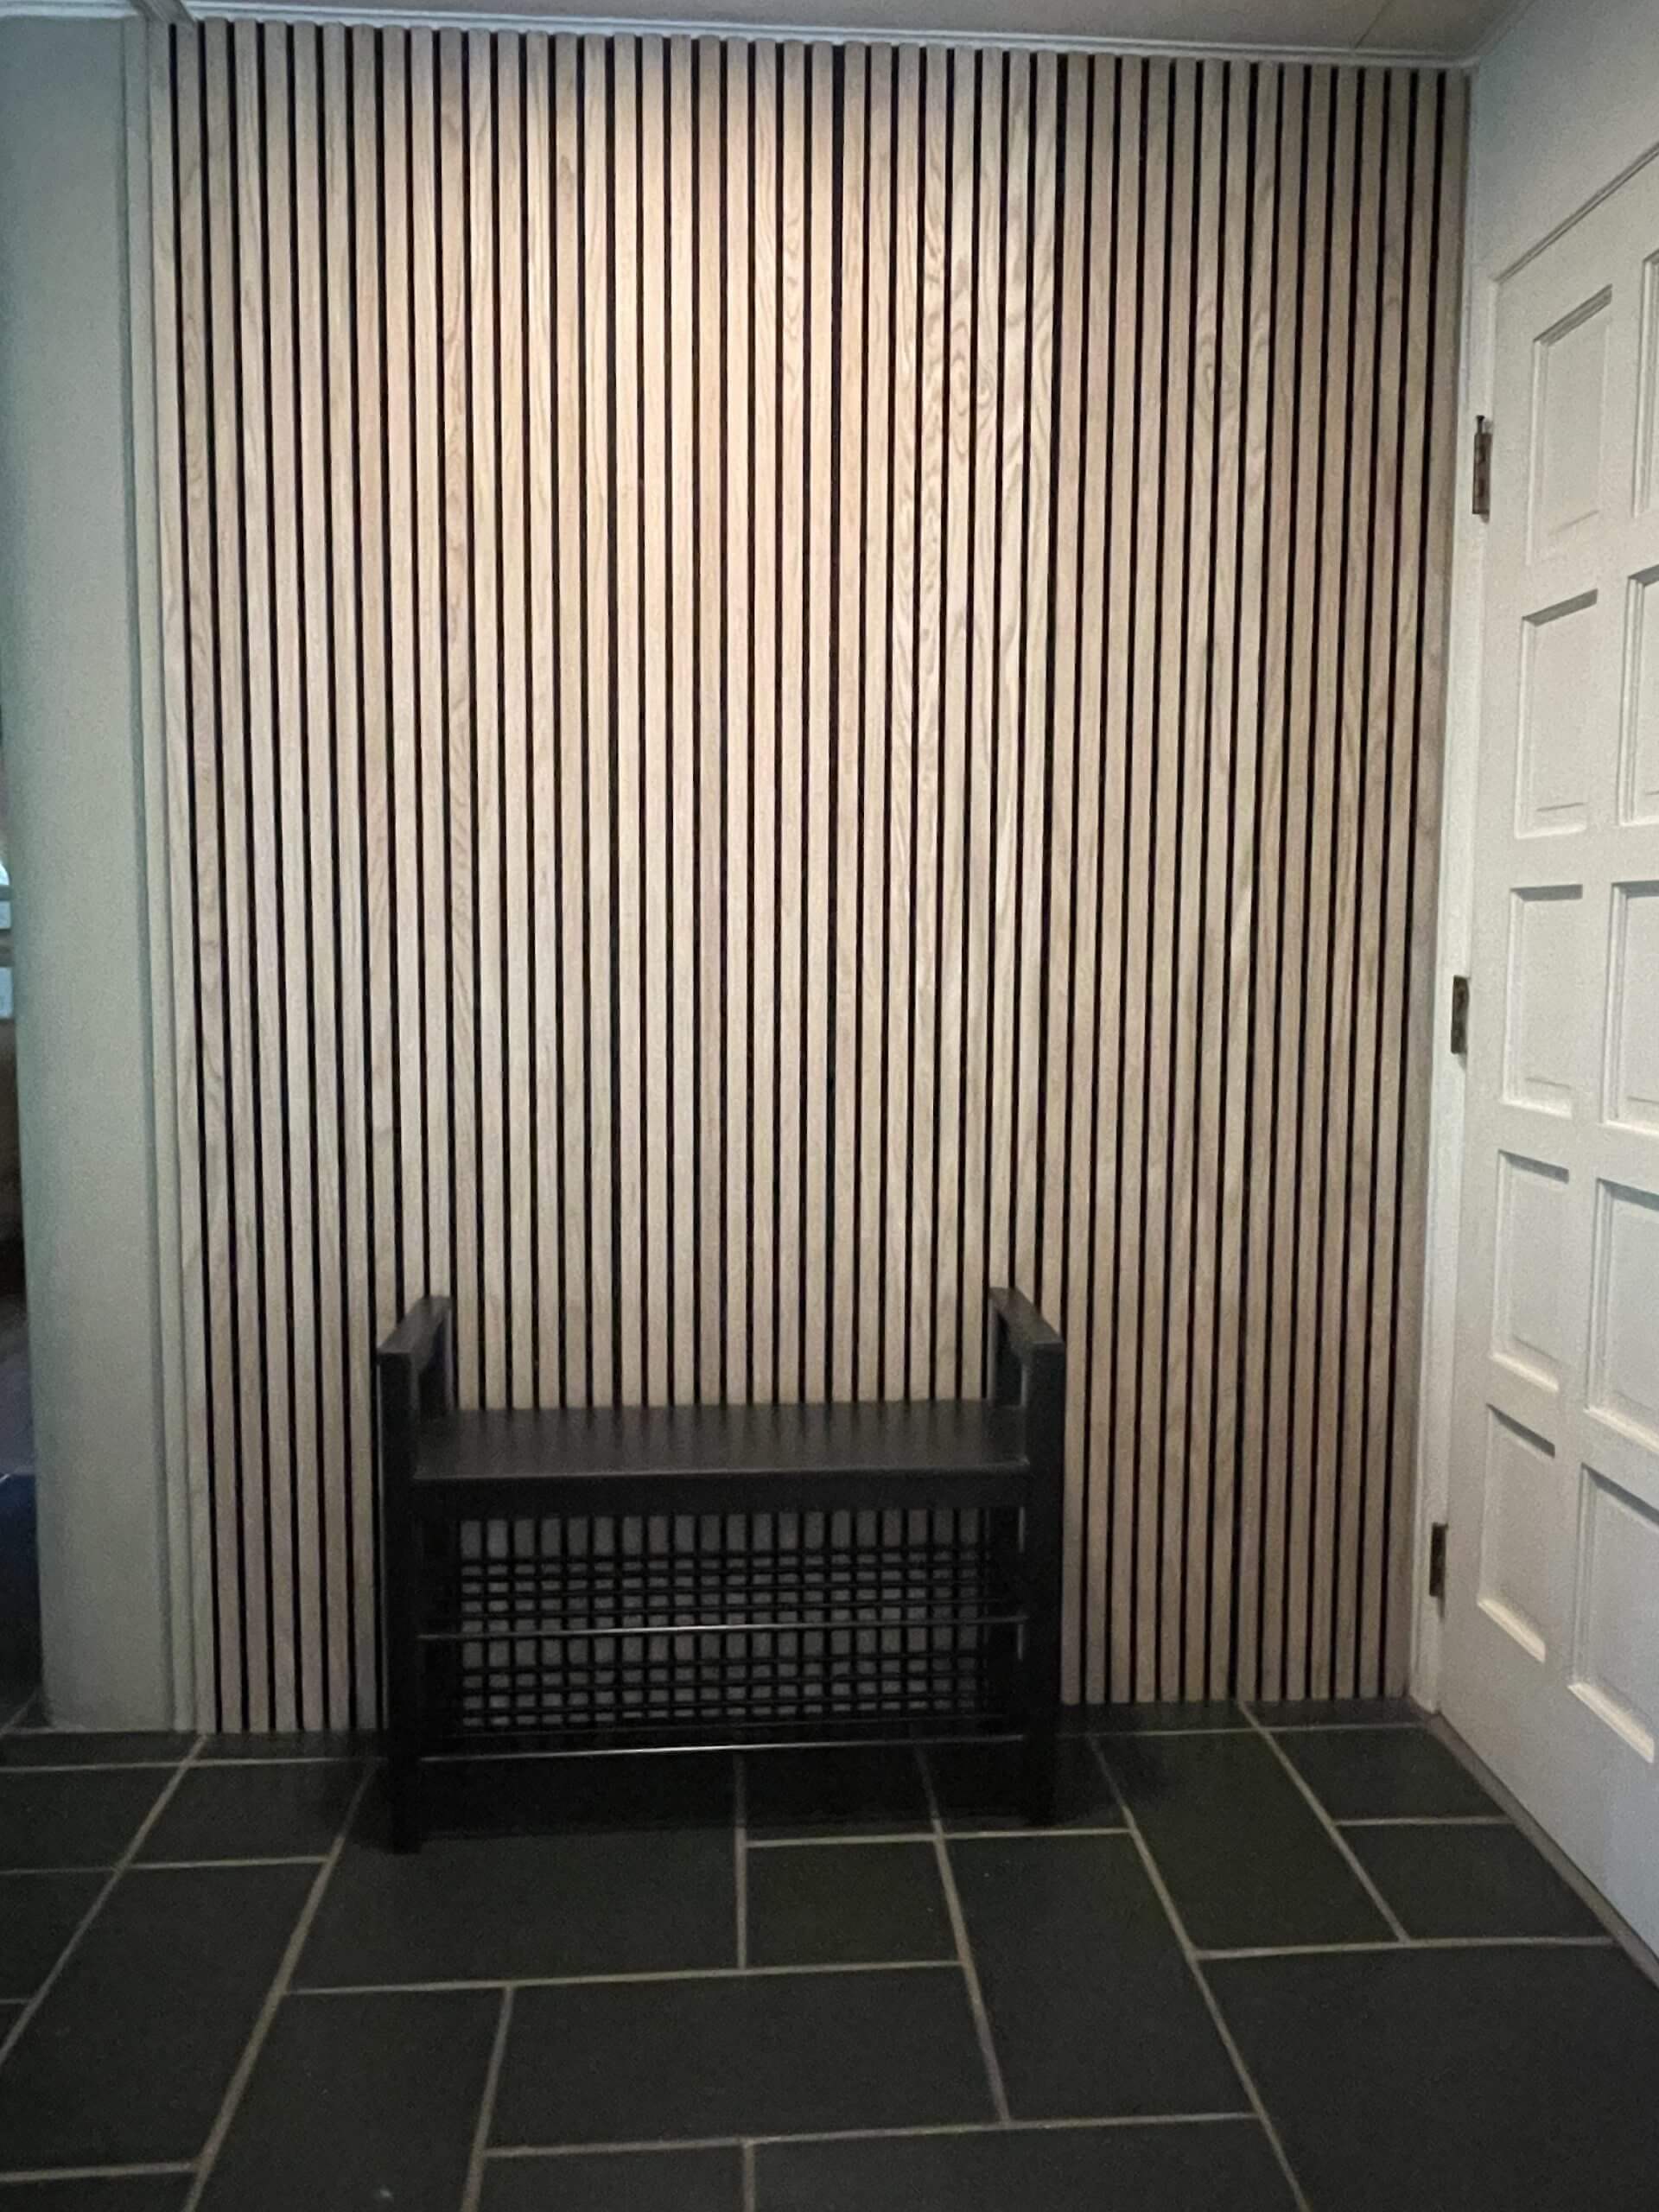
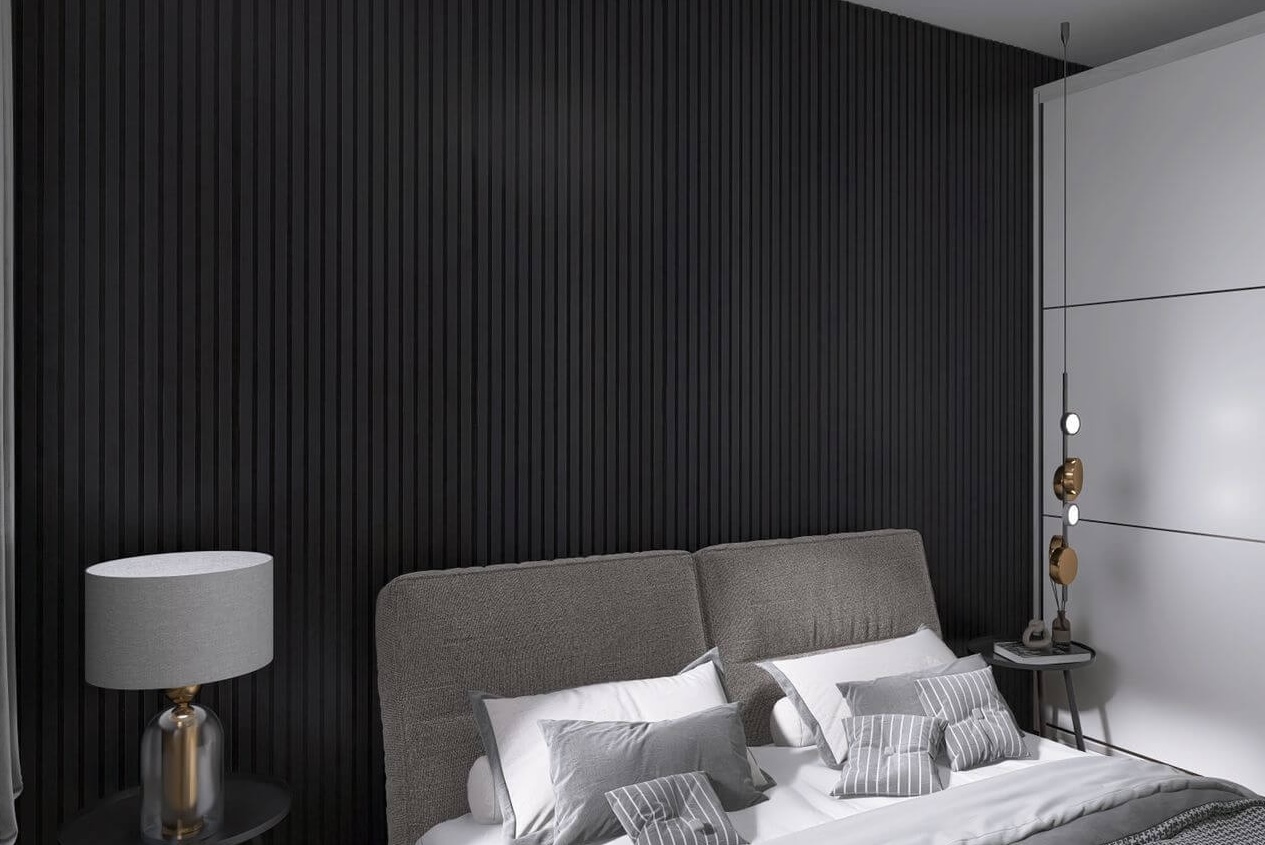
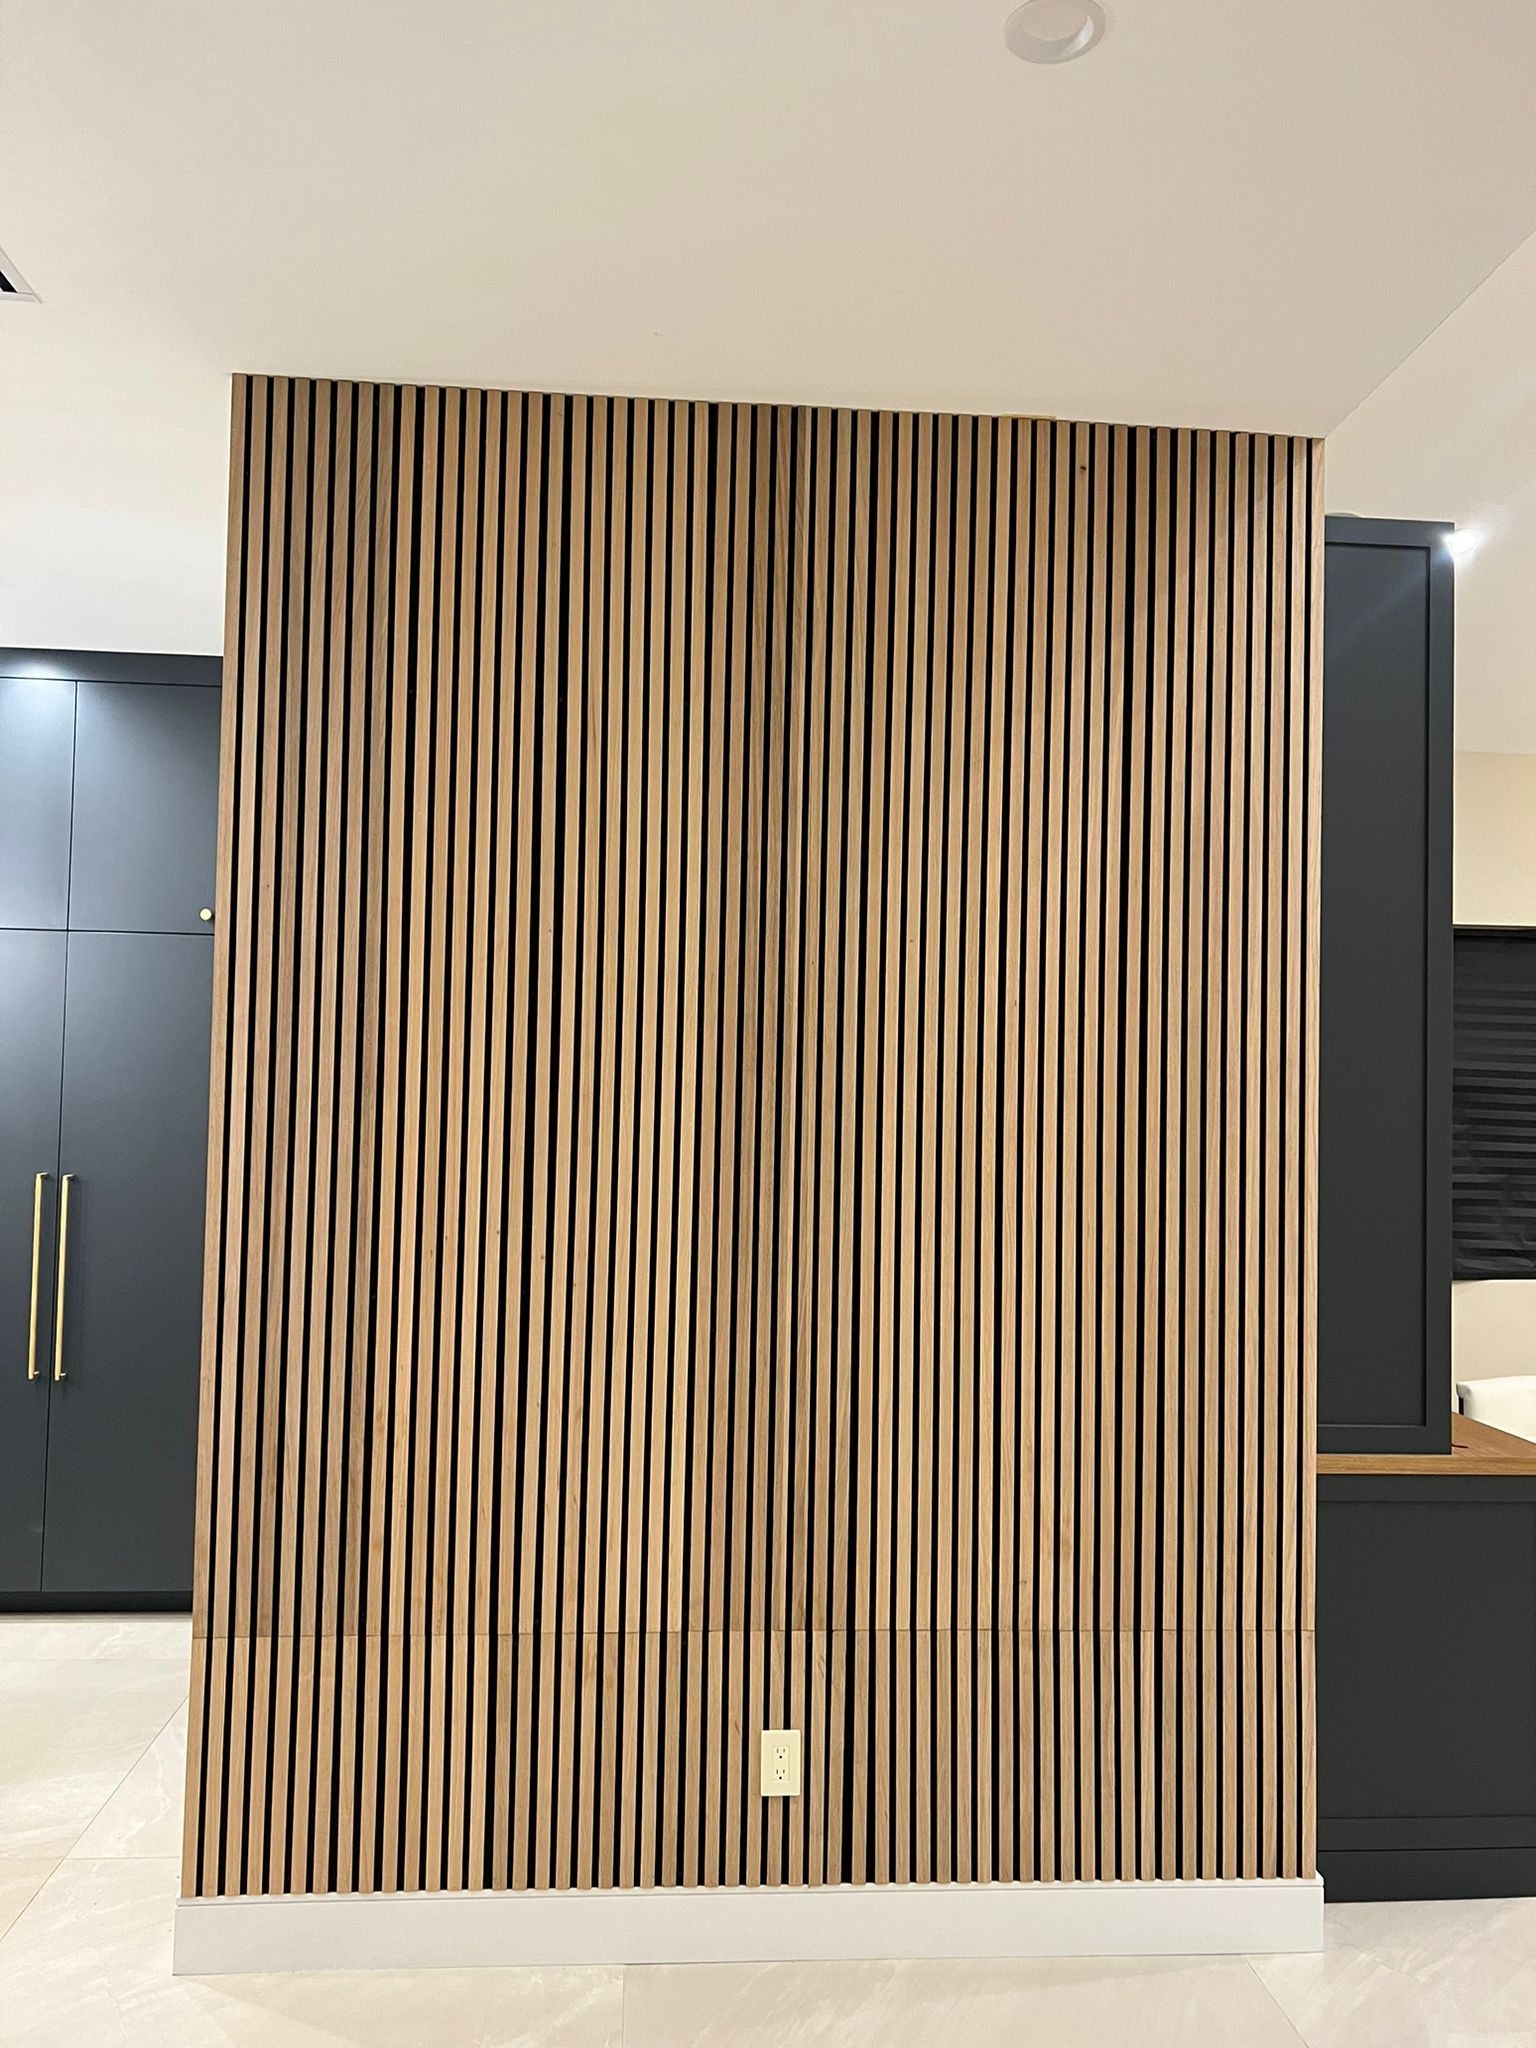
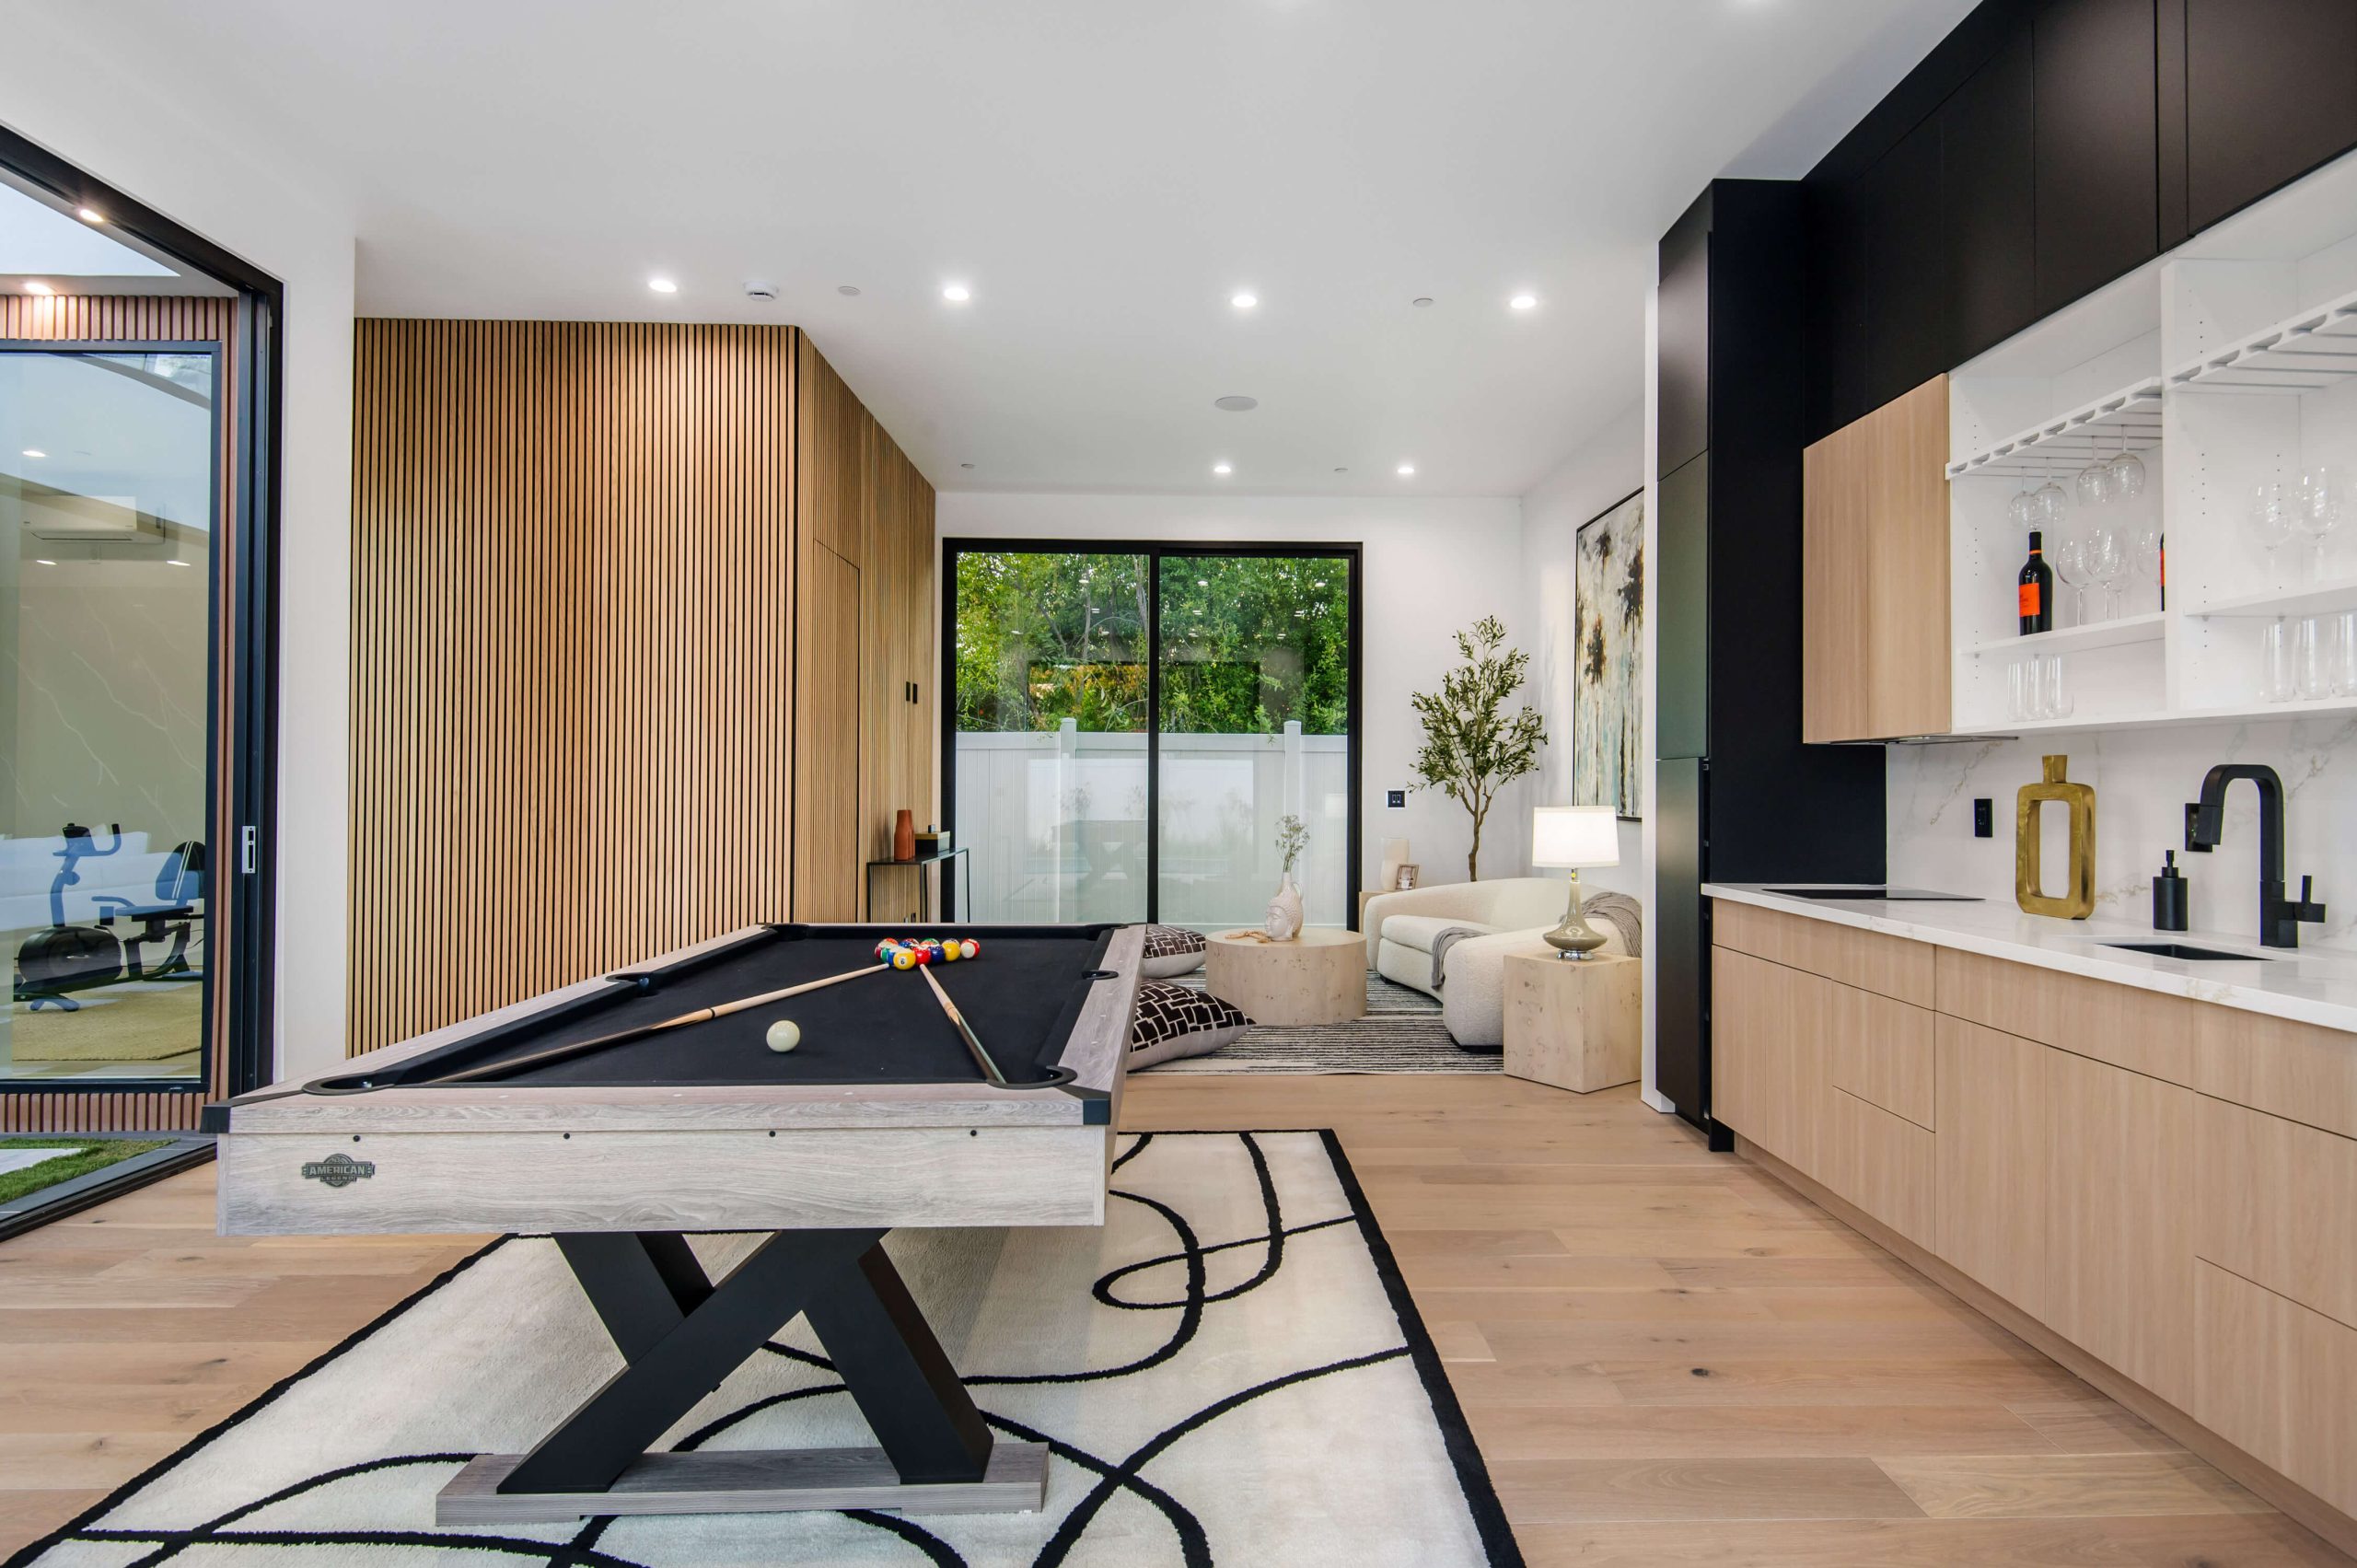
Tambour panels are becoming increasingly popular for their sleek, modern look and versatile use in home décor. Whether you’re looking to enhance your living room or give your office a touch of elegance, tambour panels are a perfect choice. This guide will walk you through the process of installing tambour panels step by step. By the end, you’ll be equipped with all the necessary tools and knowledge to complete the job yourself.
What Are Tambour Panels?
Tambour panels are flexible wood slats that are often used in both residential and commercial interior design. These panels are known for their aesthetic appeal and the ease with which they can be installed on walls or ceilings. They are typically made from high-quality wood materials, such as oak or walnut, and are designed to offer both beauty and functionality, including sound absorption properties.
Tools and Materials You’ll Need
Before starting, make sure you have all the necessary tools and materials on hand. Here’s a list to get you started:
- Tambour panels (measure your wall or ceiling area for the correct amount)
- Measuring tape
- Spirit level
- Adhesive or wood glue (suitable for your wall type)
- Screws or nails (if using mechanical fastening)
- Drill and screwdriver
- Putty knife
- Pencil
- Saw or cutting tool (if panels need trimming)
- Caulk or filler (optional, for finishing touches)
Step 1: Measure Your Space
The first step in installing tambour panels is accurately measuring the area where you plan to install them. This will ensure you purchase the correct amount of panels and avoid unnecessary gaps or overlaps during installation.
- Use your measuring tape to measure both the width and height of the wall or ceiling.
- Account for any outlets, switches, or other obstacles by marking their location with a pencil.
Step 2: Prepare the Surface
It’s important that the surface where the tambour panels will be installed is clean, dry, and smooth.
- If the wall has any imperfections or bumps, use a putty knife to scrape them off.
- For uneven surfaces, you may need to sand the wall down or apply a filler to ensure an even base for the panels.
Step 3: Cut the Panels to Fit
Before installing tambour panels, you’ll need to cut them to the appropriate size. This step is crucial to ensure a professional finish.
- Use a saw or cutting tool to trim the panels, ensuring that they align perfectly with the wall dimensions you measured in Step 1.
- Double-check your measurements before cutting, as trimming mistakes can lead to gaps or overlaps.
Step 4: Attach the Tambour Panels
Now comes the main part: attaching the tambour panels to the wall or ceiling. There are two common methods to do this: adhesive or mechanical fastening with screws or nails.
Method 1: Adhesive
- Apply adhesive or wood glue to the back of each panel, focusing on the edges and the center.
- Press the panel against the wall, ensuring it’s level with the help of a spirit level.
- Hold the panel in place for a few minutes to allow the adhesive to set, then move on to the next panel.
Method 2: Mechanical Fastening
- Use screws or nails to attach the panels. Pre-drill holes in the panels to avoid splitting the wood.
- Fasten the screws or nails at regular intervals along the edges and in the middle of each panel for stability.
Step 5: Align and Finish
As you continue installing tambour panels, ensure that each panel is properly aligned with the others.
- Use a spirit level to check that the panels are straight and evenly spaced.
- If there are any gaps or imperfections, use caulk or wood filler to touch them up.
Step 6: Final Touches
Once all the panels are securely in place, give them a final inspection.
- If necessary, sand any rough edges or fill in small gaps with caulk or filler.
- For a professional look, you may want to stain or paint the panels, depending on the desired finish.
Benefits of Tambour Panels
Installing tambour panels offers many advantages for both aesthetic and functional purposes. Here are some benefits:
- Aesthetic Appeal: Tambour panels provide a sleek, modern look that can enhance any space.
- Versatility: Suitable for walls, ceilings, and even furniture.
- Sound Absorption: Tambour panels can improve the acoustics of a room, reducing echo and noise.
- Easy Installation: As you can see from the guide, installing tambour panels is a straightforward process that can be completed by most DIY enthusiasts.
Common Mistakes to Avoid
While installing tambour panels, there are a few common mistakes that can affect the outcome. Avoid these errors to ensure a smooth and professional-looking installation:
- Incorrect measurements: Always double-check your measurements before cutting or attaching the panels.
- Rushing the adhesive process: Allow adequate time for the adhesive to set before moving on to the next panel.
- Ignoring the alignment: Use a spirit level consistently to make sure each panel is perfectly aligned.
Tambour Panel Care and Maintenance
After installing tambour panels, it’s important to care for them properly to maintain their beauty and functionality. Here are some tips:
- Dust regularly: Use a microfiber cloth to remove dust from the slats.
- Avoid water exposure: While tambour panels can be durable, avoid direct contact with water to prevent warping.
- Repair damage promptly: If a panel becomes loose or damaged, repair it quickly to avoid more extensive issues later on.
Step-by-Step Flow Diagram
A flow diagram can simplify the installation process by visually representing the steps involved in installing tambour panels. Here’s a suggested diagram:
- Measure the Area → 2. Prepare the Surface → 3. Cut the Panels → 4. Attach the Panels (Adhesive or Screws) → 5. Align the Panels → 6. Add Final Touches
Material Checklist Table
| Material | Quantity Required |
|---|---|
| Tambour Panels | Based on measurements |
| Adhesive | As needed |
| Screws or Nails | As needed |
| Measuring Tape | 1 |
| Spirit Level | 1 |
| Saw or Cutting Tool | 1 |
FAQs
-
Can tambour panels be used in humid areas like bathrooms?
It’s not recommended to use tambour panels in very humid areas, as wood can warp over time. However, with proper sealing, some types may work.
-
How long does it take to install tambour panels?
Depending on the size of the area, installation can take a few hours to a full day.
-
Can I paint or stain tambour panels?
Yes, tambour panels can be stained or painted to match your design preferences.
-
Do tambour panels help with soundproofing?
Yes, tambour panels can improve the acoustics of a room by absorbing sound and reducing echoes.
-
What’s the best way to clean tambour panels?
A microfiber cloth is ideal for dusting tambour panels. Avoid harsh chemicals that could damage the wood finish.
By following this comprehensive guide, installing tambour panels can be a straightforward and rewarding project, adding both beauty and functionality to any space in your home or office.

