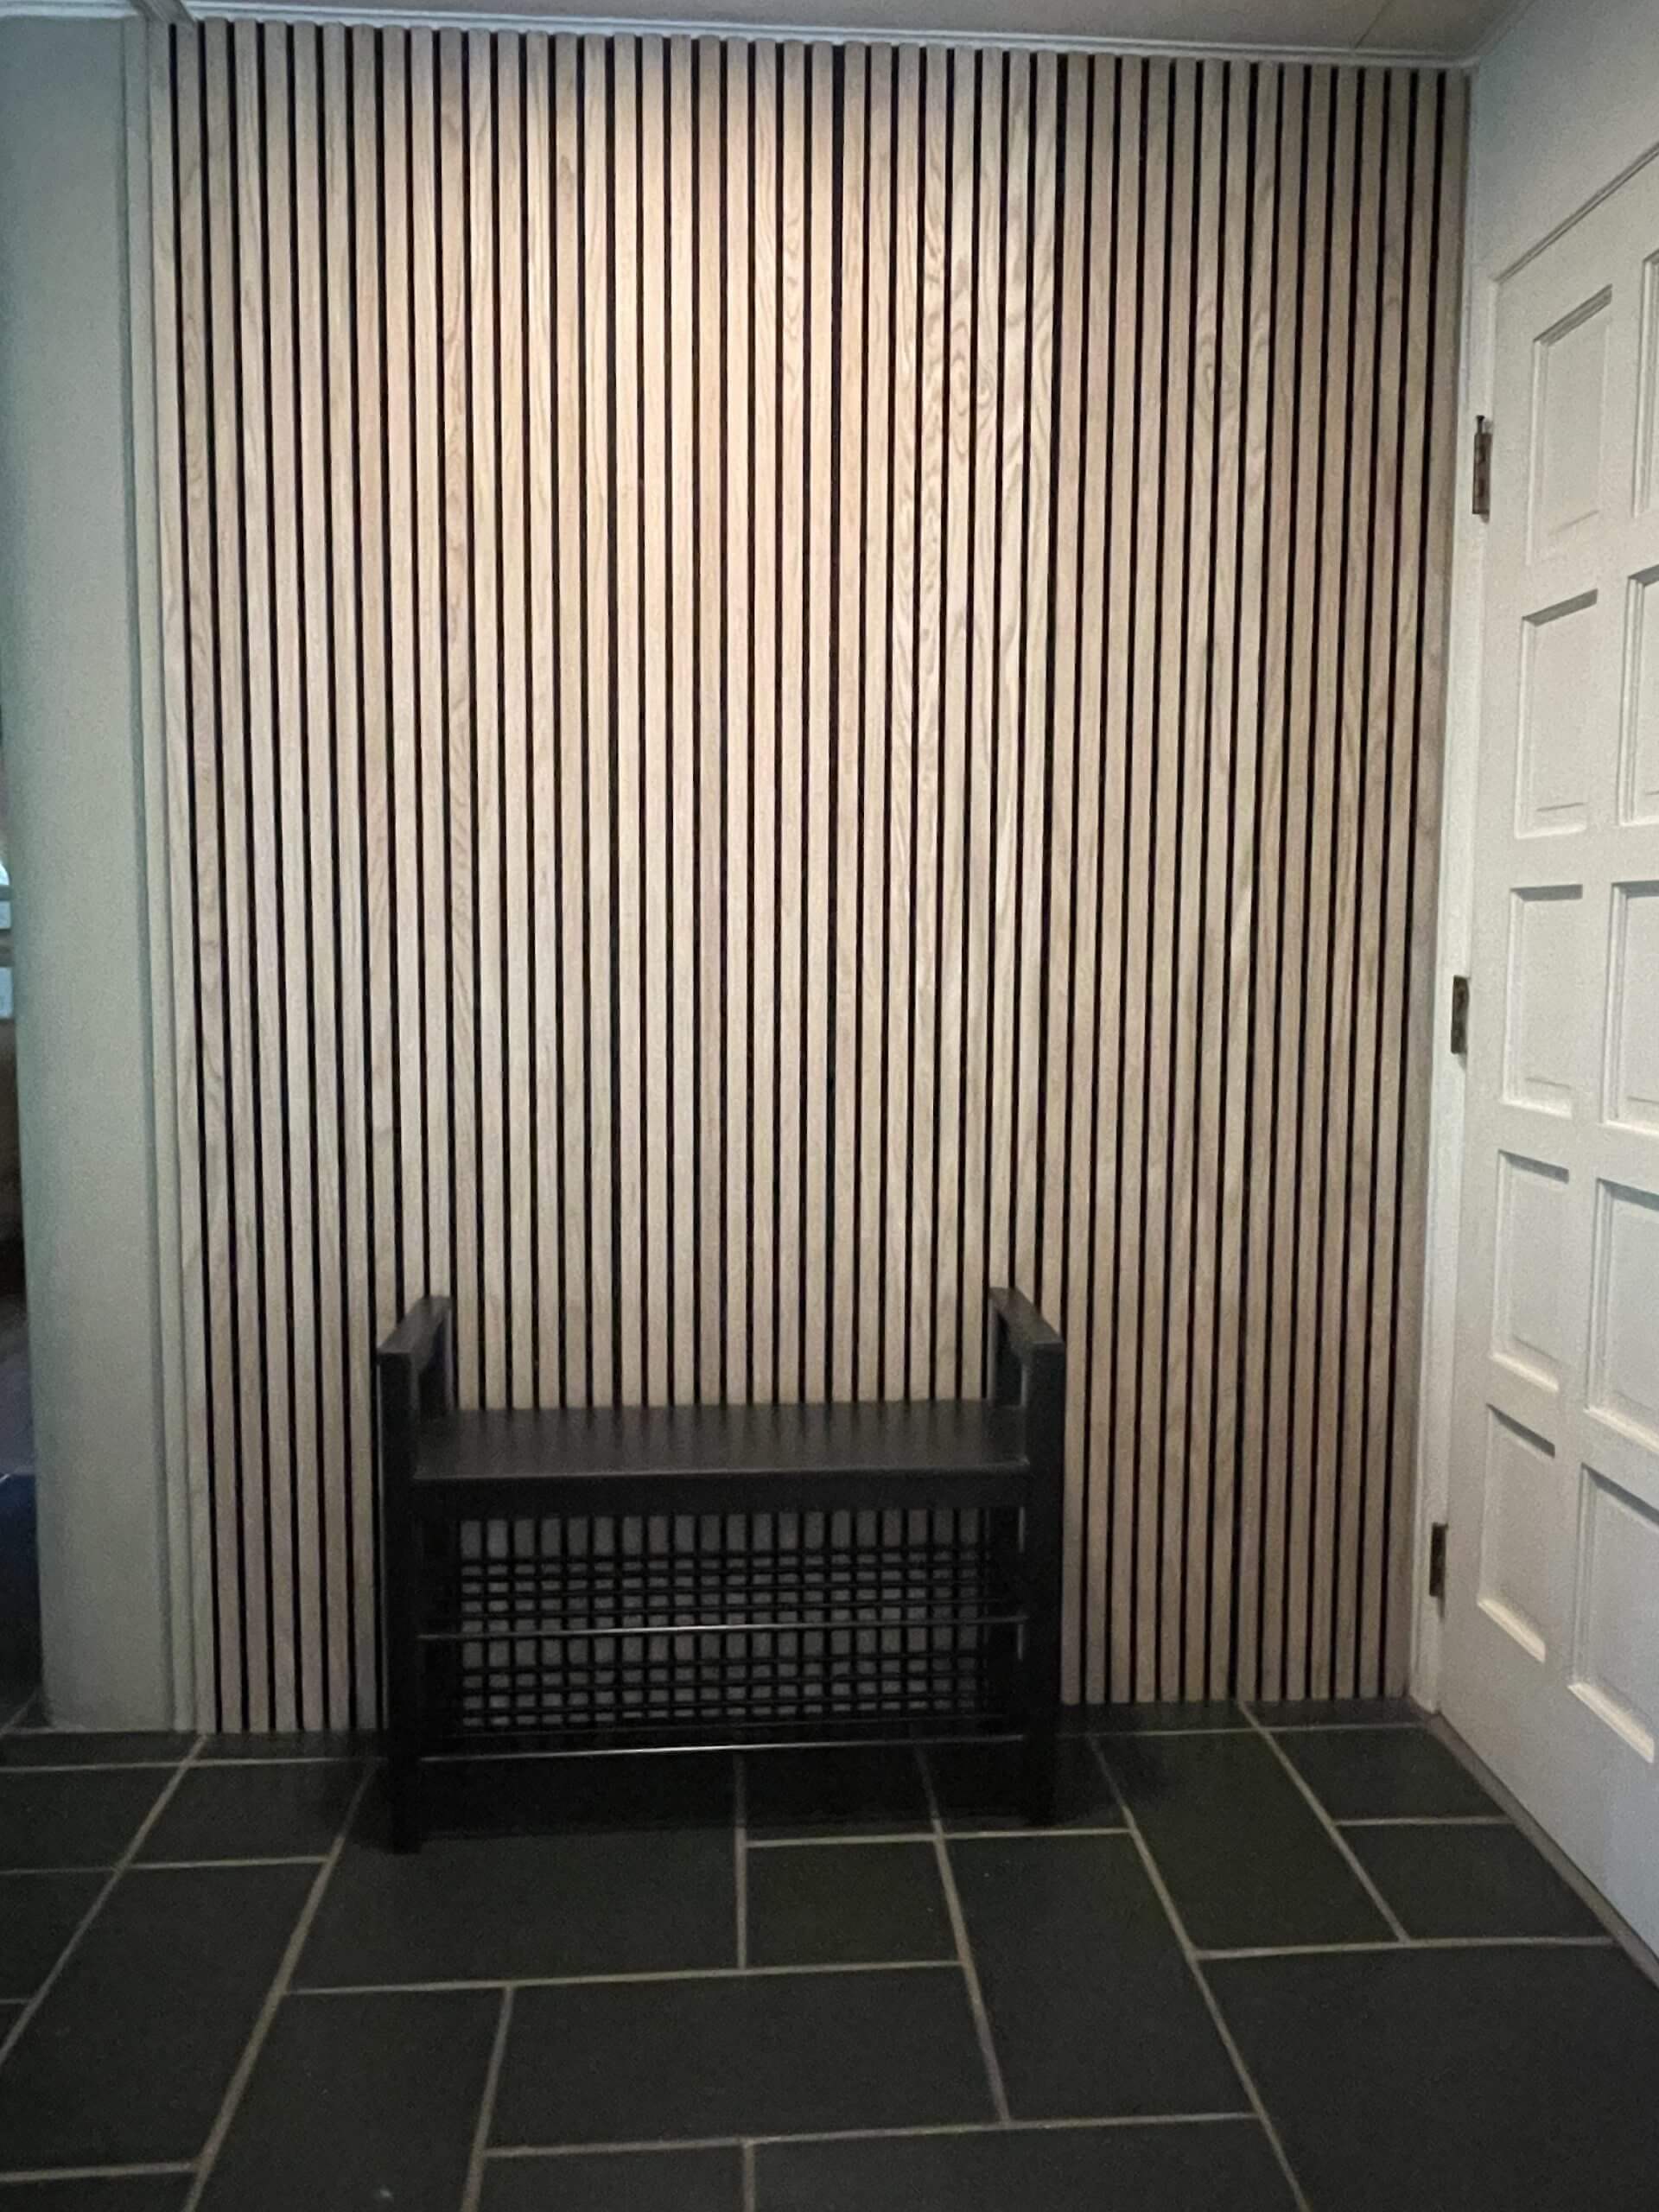
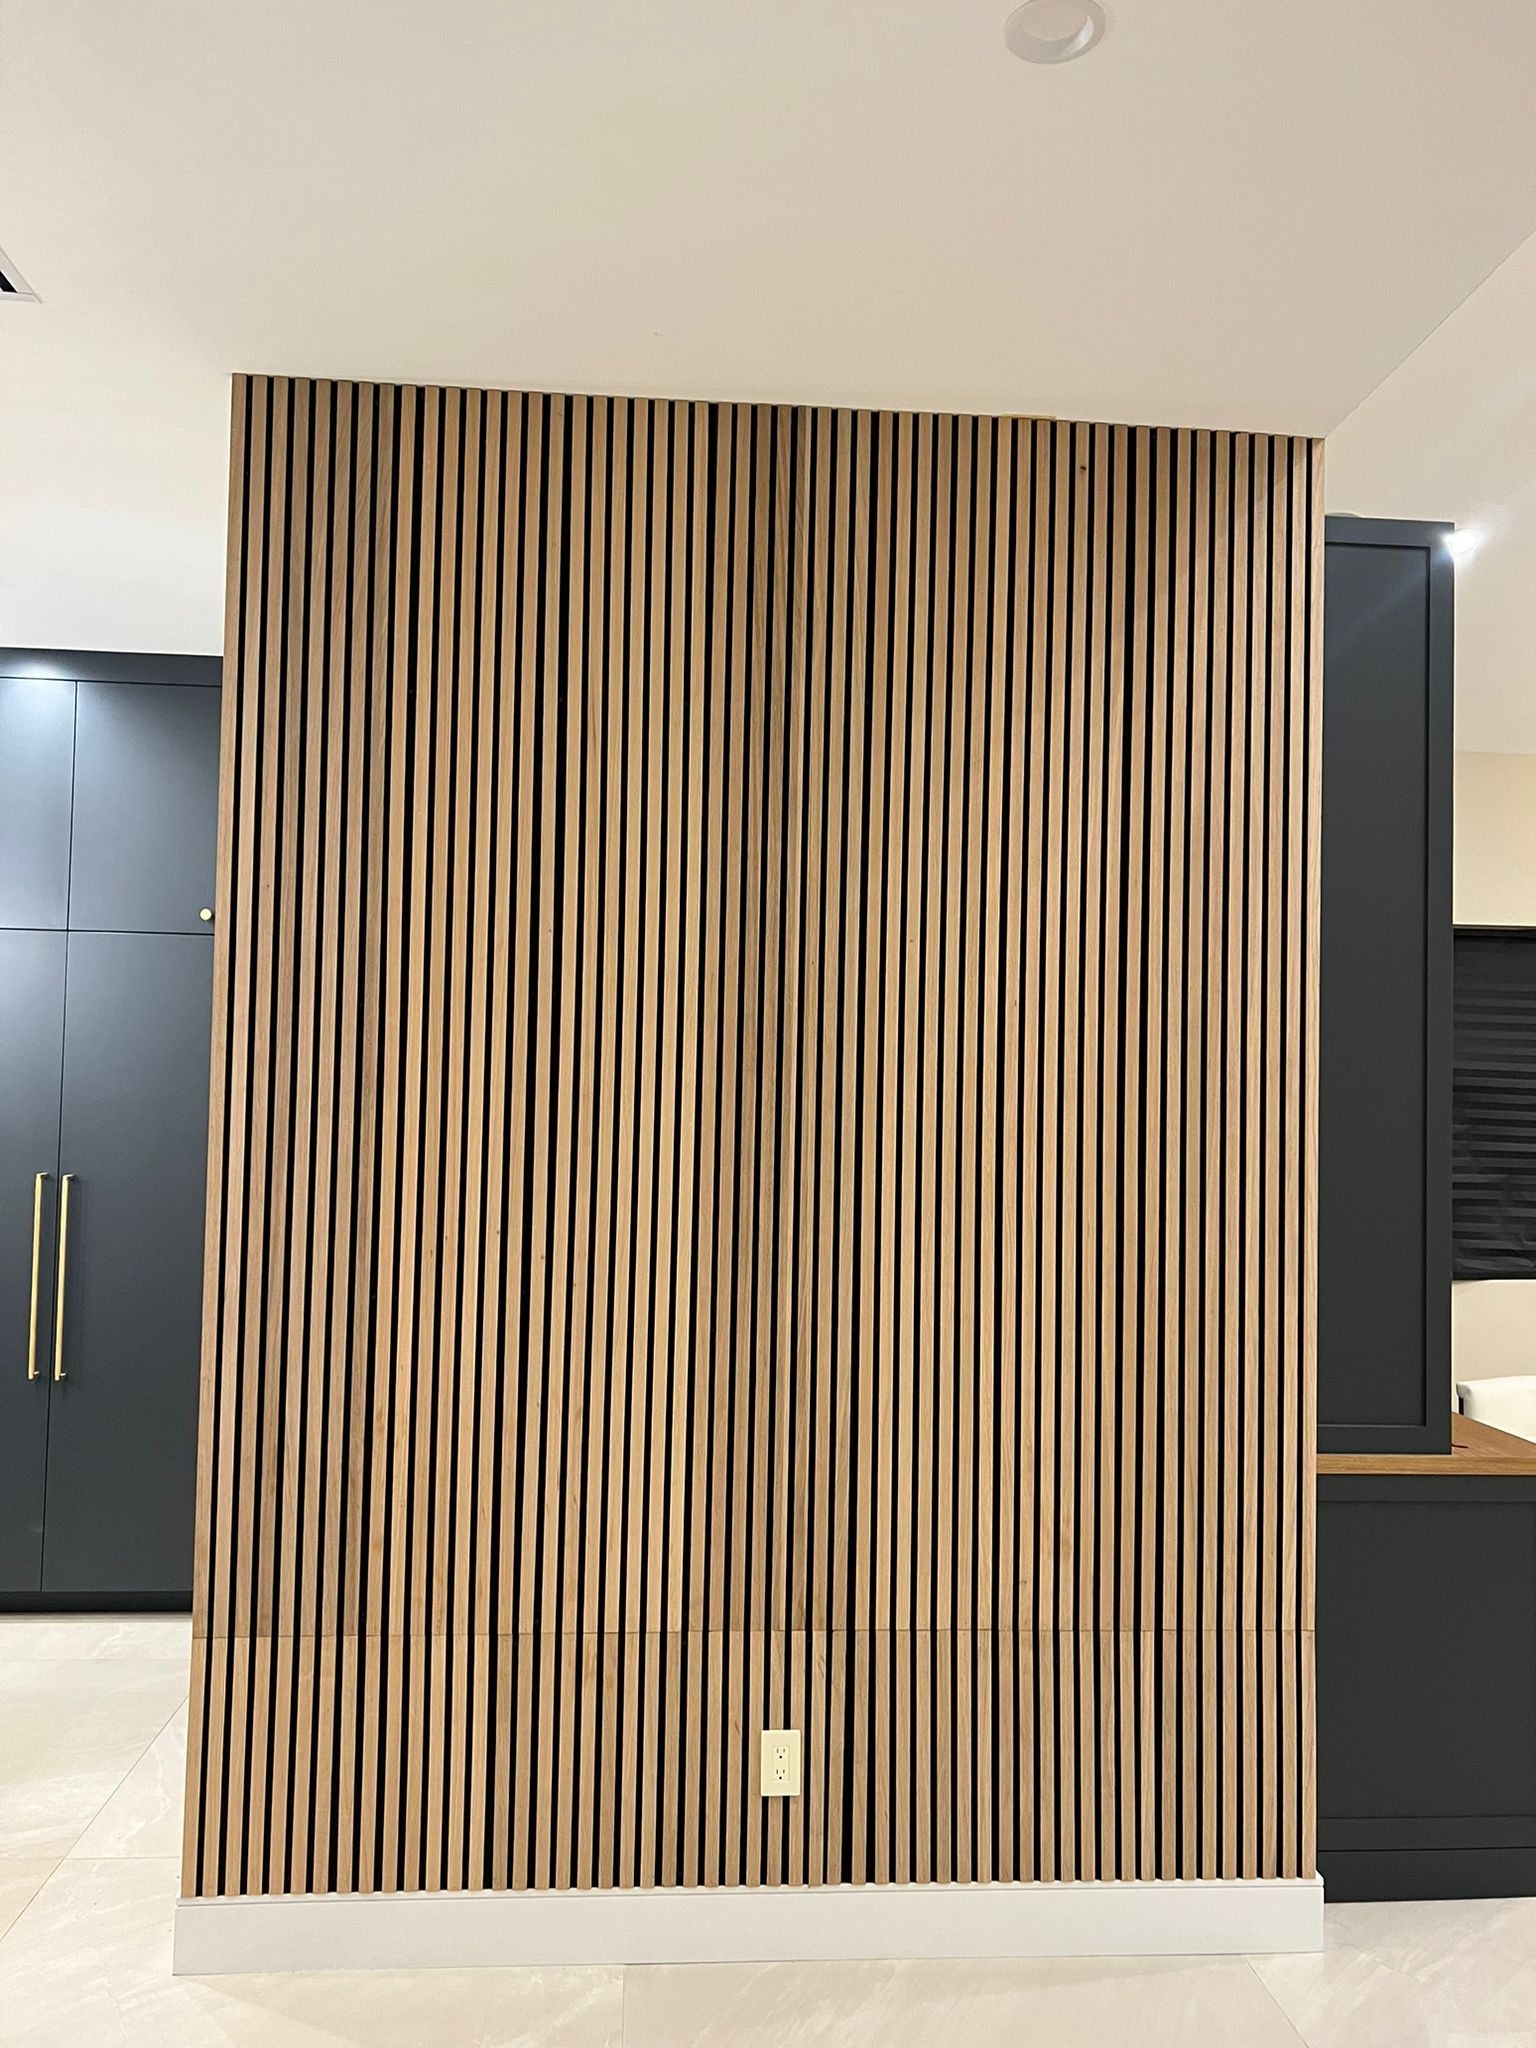
Tambour panels are an increasingly popular option in home design due to their unique aesthetic appeal and versatility. Whether you’re a DIY enthusiast, a professional contractor, or a homeowner aiming to enhance your living space, learning the best practices for cutting tambour panels cleanly is essential. In this guide, we’ll cover everything you need to know, from the right tools to expert tips for achieving smooth, precise cuts.
Why Cutting Tambour Panels Cleanly Matters
Tambour panels are made of narrow, flexible slats typically crafted from wood, making them ideal for both decorative and functional purposes. However, their design requires careful handling during installation, especially when cutting. A clean cut ensures a seamless finish, which is vital for both the aesthetic and functional integrity of the panel.
Poor cuts can lead to splintering, uneven edges, or misaligned panels, which detracts from the overall look and can complicate installation. By following the right techniques, you’ll achieve professional-quality results without damaging the panels.
Tools You’ll Need for Cutting Tambour Panels
To achieve a clean cut on tambour panels, it’s important to gather the right tools. The following tools are essential for ensuring precision and avoiding damage:
- Measuring Tape – for accurate measurements before cutting.
- Pencil or Chalk – to mark cutting lines.
- Utility Knife – ideal for scoring or trimming soft wood.
- Circular Saw or Table Saw – to cut through thicker or harder tambour panels.
- Fine-Tooth Blade – reduces splintering by creating cleaner cuts.
- Clamps – to hold the panel securely in place while cutting.
- Sandpaper or File – for smoothing rough edges post-cut.
Each tool plays a critical role in ensuring you make clean, accurate cuts. Using a fine-tooth blade is especially important as it helps to prevent splintering, a common issue when cutting wood panels.
Step-by-Step Guide for Cutting Tambour Panels
Here’s a simple, step-by-step process for cutting tambour panels cleanly:
1. Measure and Mark Your Cut Line
Start by measuring the length and width of the panel you need. Use a measuring tape and a pencil or chalk to mark the cutting line. Be precise to avoid any mistakes when cutting.
2. Secure the Panel with Clamps
Clamp the tambour panel to your workspace to prevent it from moving during the cutting process. Secure clamping is crucial to ensure that the panel stays steady, leading to an even and smooth cut.
3. Choose the Right Blade
When using a circular or table saw, select a fine-tooth blade. The finer the teeth, the cleaner the cut will be. A coarse blade can tear at the wood, causing unwanted splintering.
4. Cut the Panel Slowly
With your panel securely clamped and your blade selected, make the cut slowly and steadily. Rushing through the process can cause the blade to snag or deviate from the cutting line, resulting in uneven edges. If you’re using a utility knife for scoring softer woods, multiple slow passes will yield the best results.
5. Smooth the Edges
After cutting, use sandpaper or a file to smooth any rough edges. This not only improves the overall appearance but also ensures the tambour panel fits seamlessly into your design.
Common Mistakes to Avoid When Cutting Tambour Panels
Even with the right tools and techniques, there are a few common mistakes that can occur when cutting tambour panels. Here’s how to avoid them:
- Skipping Measurements: Failing to measure or marking inaccurately can result in incorrect cuts that waste material.
- Using a Dull Blade: A dull blade can cause splintering or tearing of the wood. Always ensure your tools are sharp and in good condition.
- Not Clamping Properly: Without secure clamps, the panel can shift during cutting, leading to jagged or uneven edges.
- Rushing the Cut: Speeding through a cut can result in imprecise edges or cause the wood to chip. Always take your time to ensure accuracy.
Choosing the Right Type of Tambour Panels
Before cutting, it’s important to choose the right tambour panels for your project. Tambour panels come in various materials and finishes, each offering unique advantages depending on your specific needs.
Popular Tambour Panel Materials:
- Natural Oak: Offers a classic, timeless look and is ideal for both traditional and modern designs.
- MDF (Medium Density Fiberboard): A budget-friendly option that is easy to cut and paint, though it may not offer the same durability as natural wood.
- WPC (Wood Plastic Composite): Perfect for outdoor use due to its weather-resistant properties. It combines wood fibers with plastic for a highly durable and water-resistant option.
Maintaining Clean Cuts: Expert Tips
To maintain the cleanest cuts, follow these expert tips:
- Pre-Score the Panel: Before making a full cut, lightly score the panel along the cutting line. This reduces the likelihood of splintering when you make the full cut.
- Cut from the Back: If you’re worried about splintering on the front of the panel, make your cut from the back side. This ensures that any splintering occurs on the side that won’t be visible once installed.
- Sand the Edges Immediately: After cutting, sand the edges promptly to prevent splinters and maintain a smooth finish.
Best Practices for Installation
Once your tambour panels are cut, it’s time to install them. Follow these installation best practices for a flawless finish:
- Dry-Fit First: Before securing the panels, perform a dry fit to ensure they align perfectly with your space.
- Use Adhesive and Nails: For the best results, use both adhesive and finishing nails to secure the tambour panels in place. This provides extra stability and ensures the panels won’t shift over time.
- Consider Expansion Gaps: Wood expands and contracts with temperature changes. Make sure to leave a small gap between panels to accommodate natural wood movement.
FAQs: Cutting Tambour Panels
1. Can tambour panels be cut with a utility knife?
Yes, softer tambour panels can be scored and cut with a utility knife. However, for thicker or harder woods, a saw with a fine-tooth blade is recommended.
2. What type of saw is best for cutting tambour panels?
A circular or table saw fitted with a fine-tooth blade is ideal for cutting tambour panels cleanly and without splintering.
3. How do I prevent splintering when cutting tambour panels?
To prevent splintering, use a fine-tooth blade, make cuts slowly, and consider scoring the panel before making the full cut.
4. Can I paint or stain tambour panels after cutting them?
Yes, tambour panels can be painted or stained after cutting. Just be sure to sand the edges first to ensure a smooth finish.
5. What is the best way to secure tambour panels during cutting?
Use clamps to hold the panel securely in place on your work surface. This will prevent shifting and ensure a cleaner cut.
By following these best practices, you’ll ensure a clean, professional finish when cutting tambour panels, helping to elevate the overall look of your project. Whether you’re a beginner or a seasoned DIYer, precision and care are key to achieving the perfect result.


