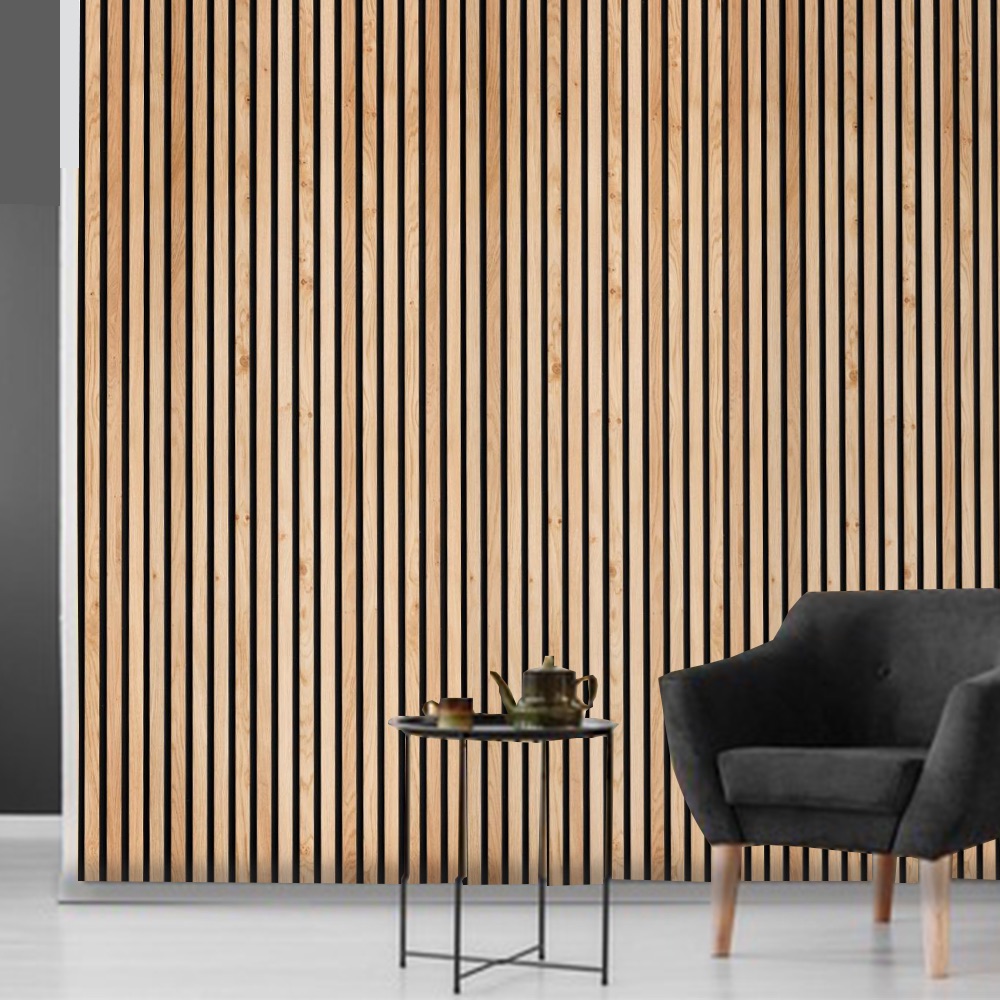
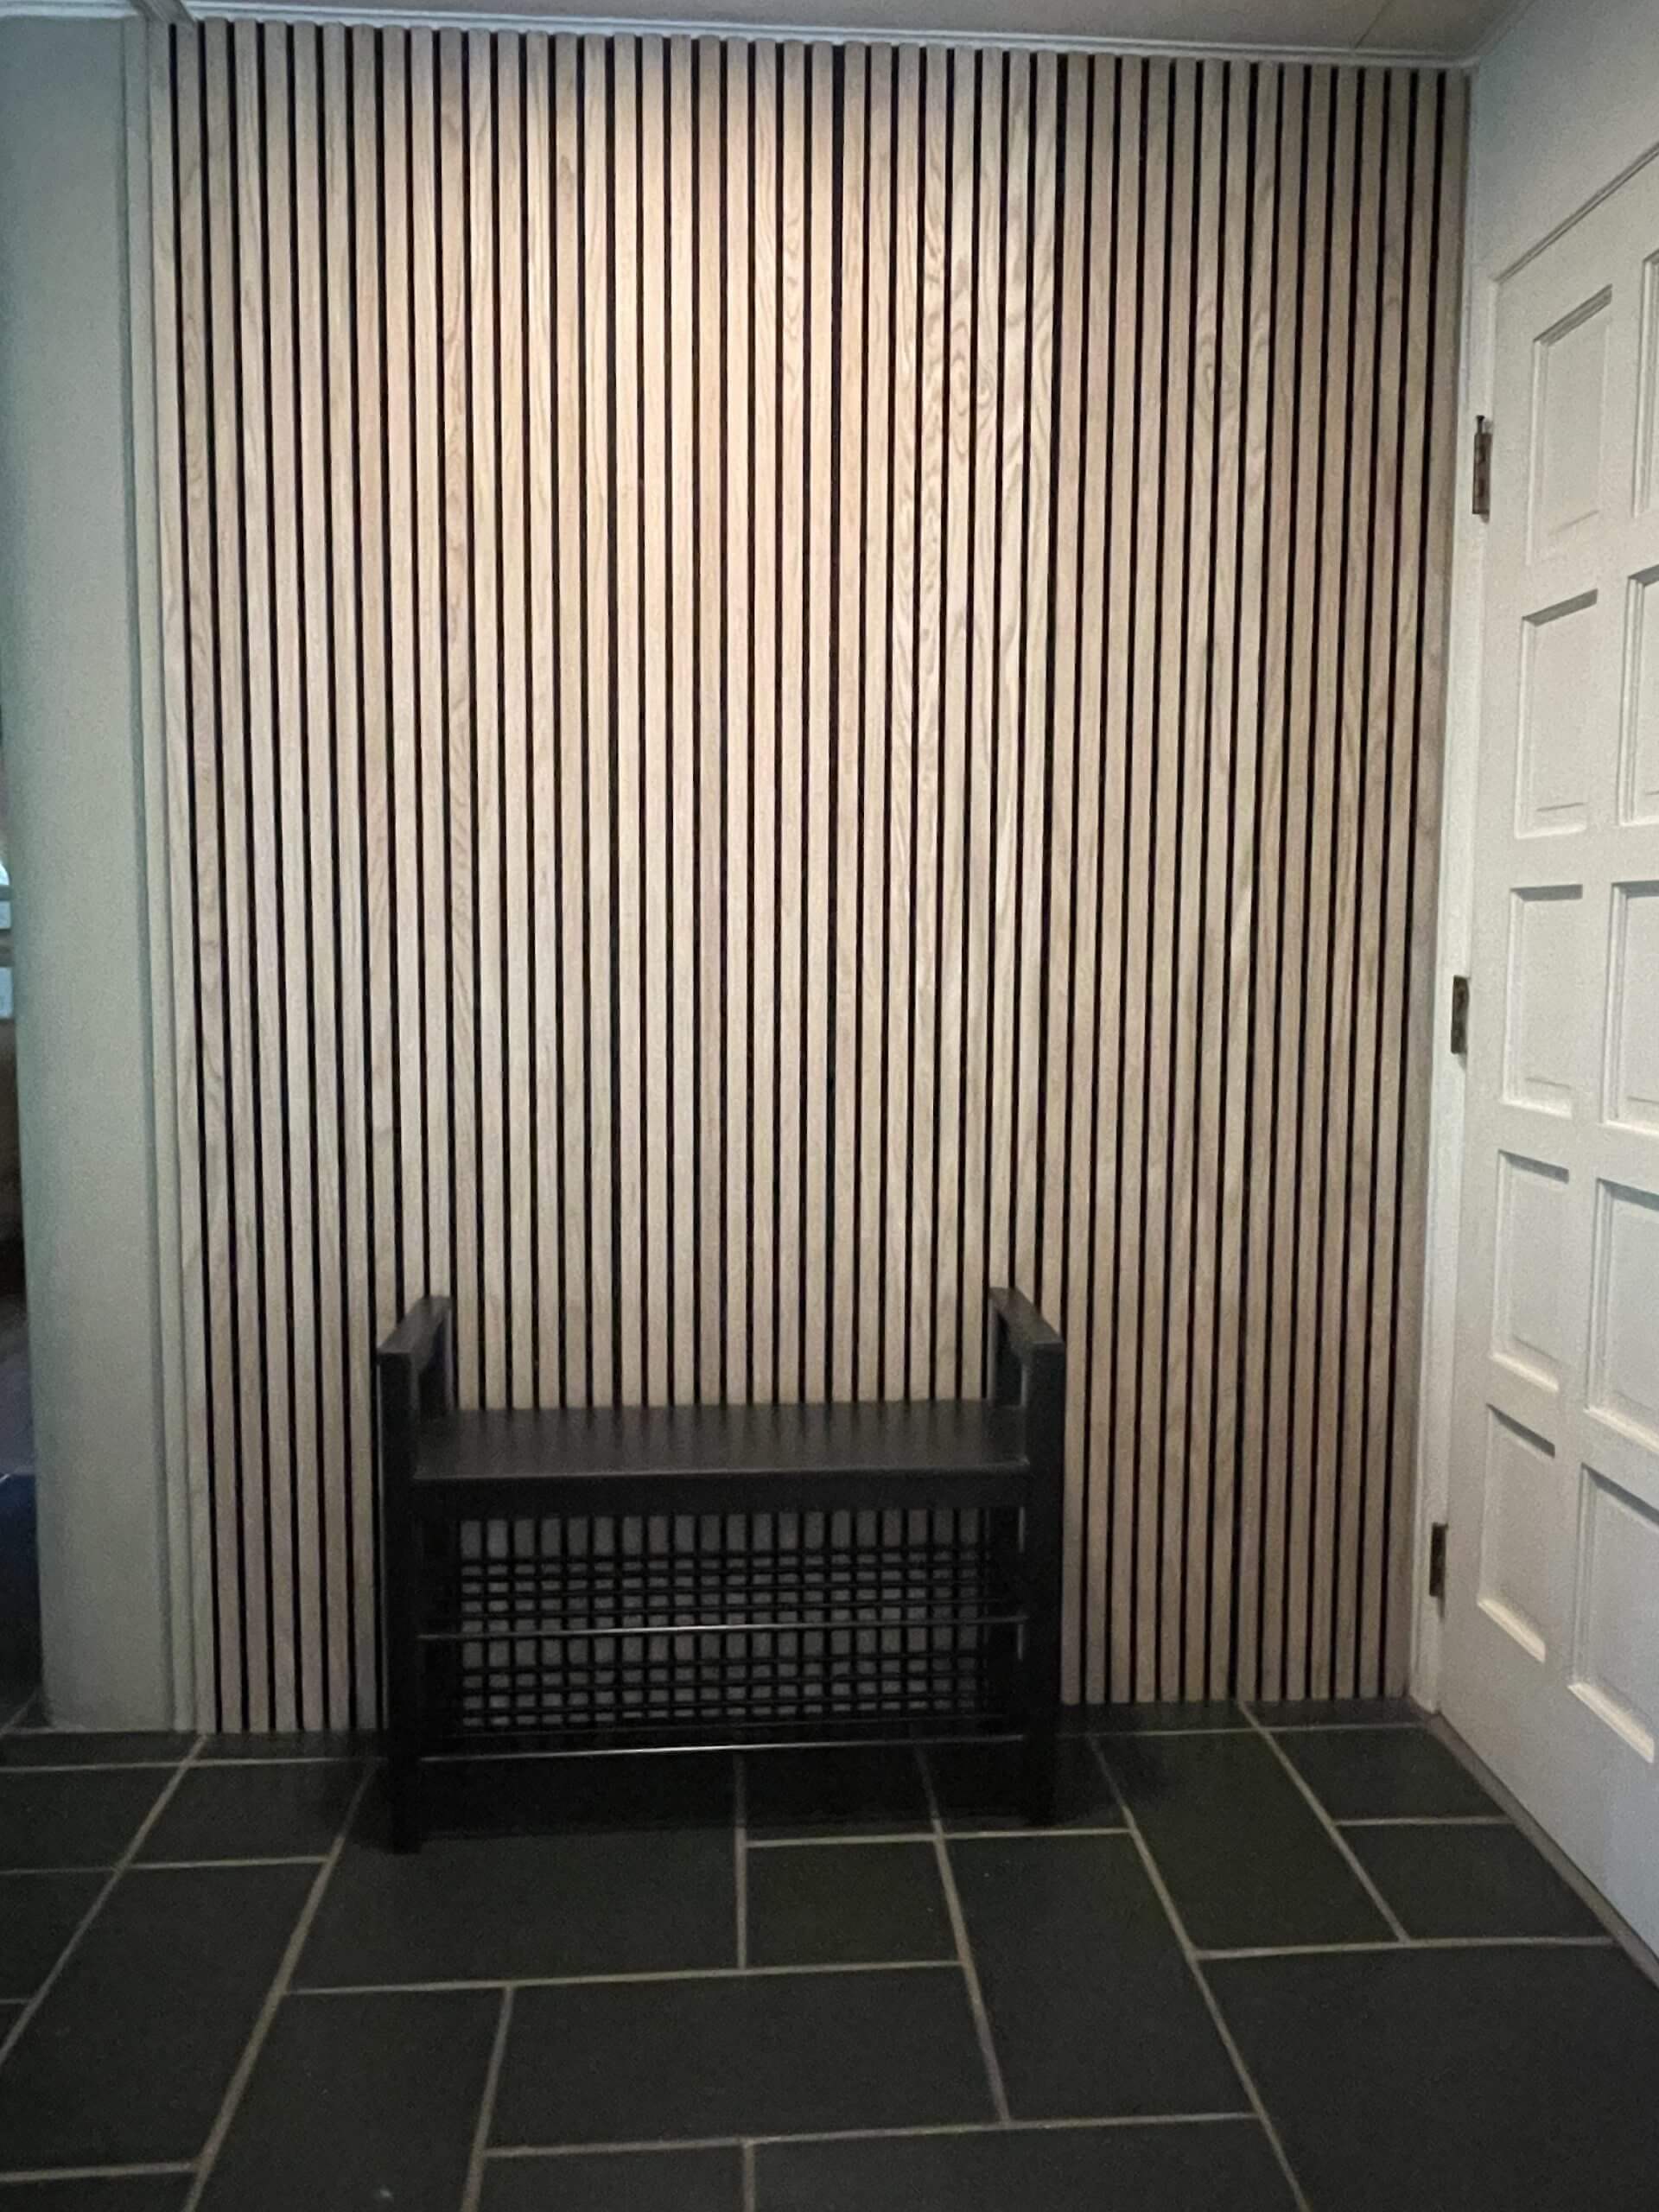
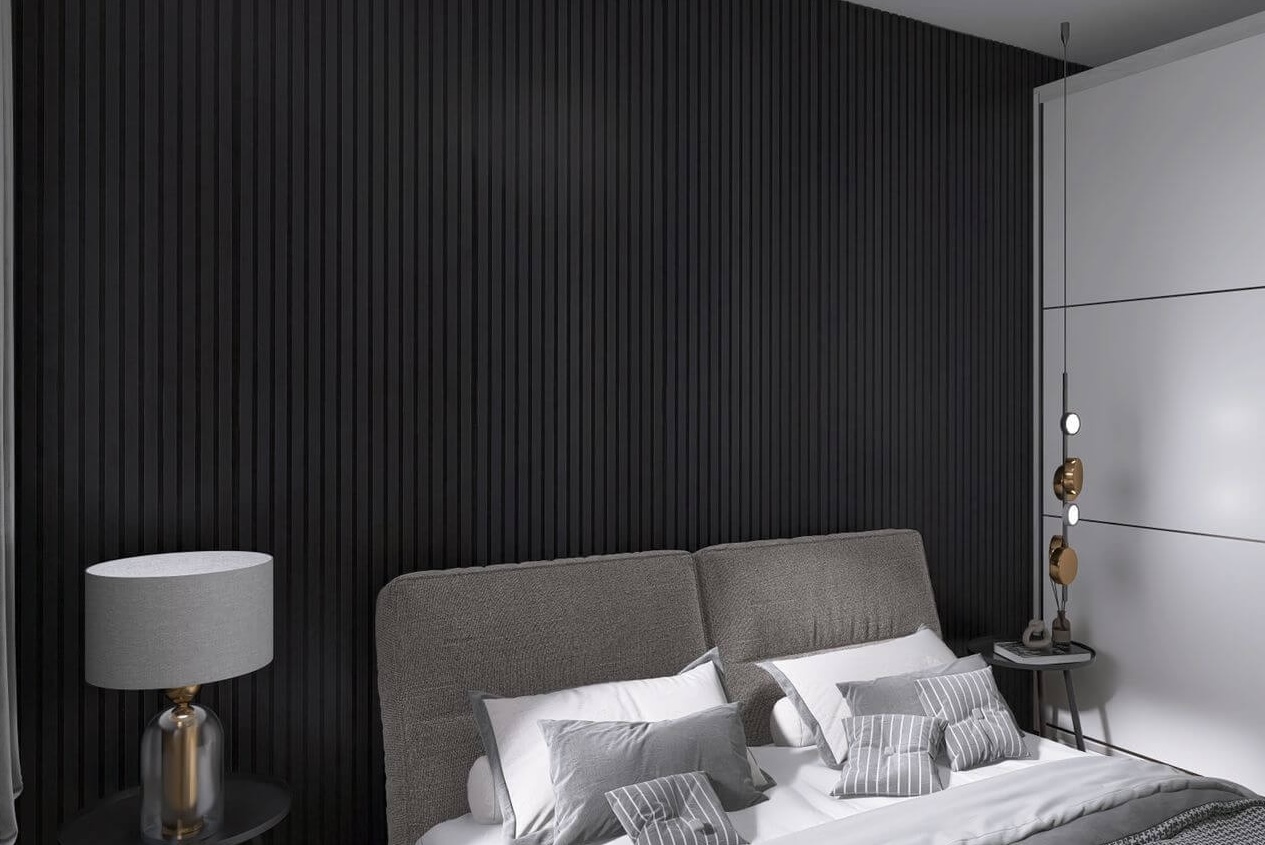
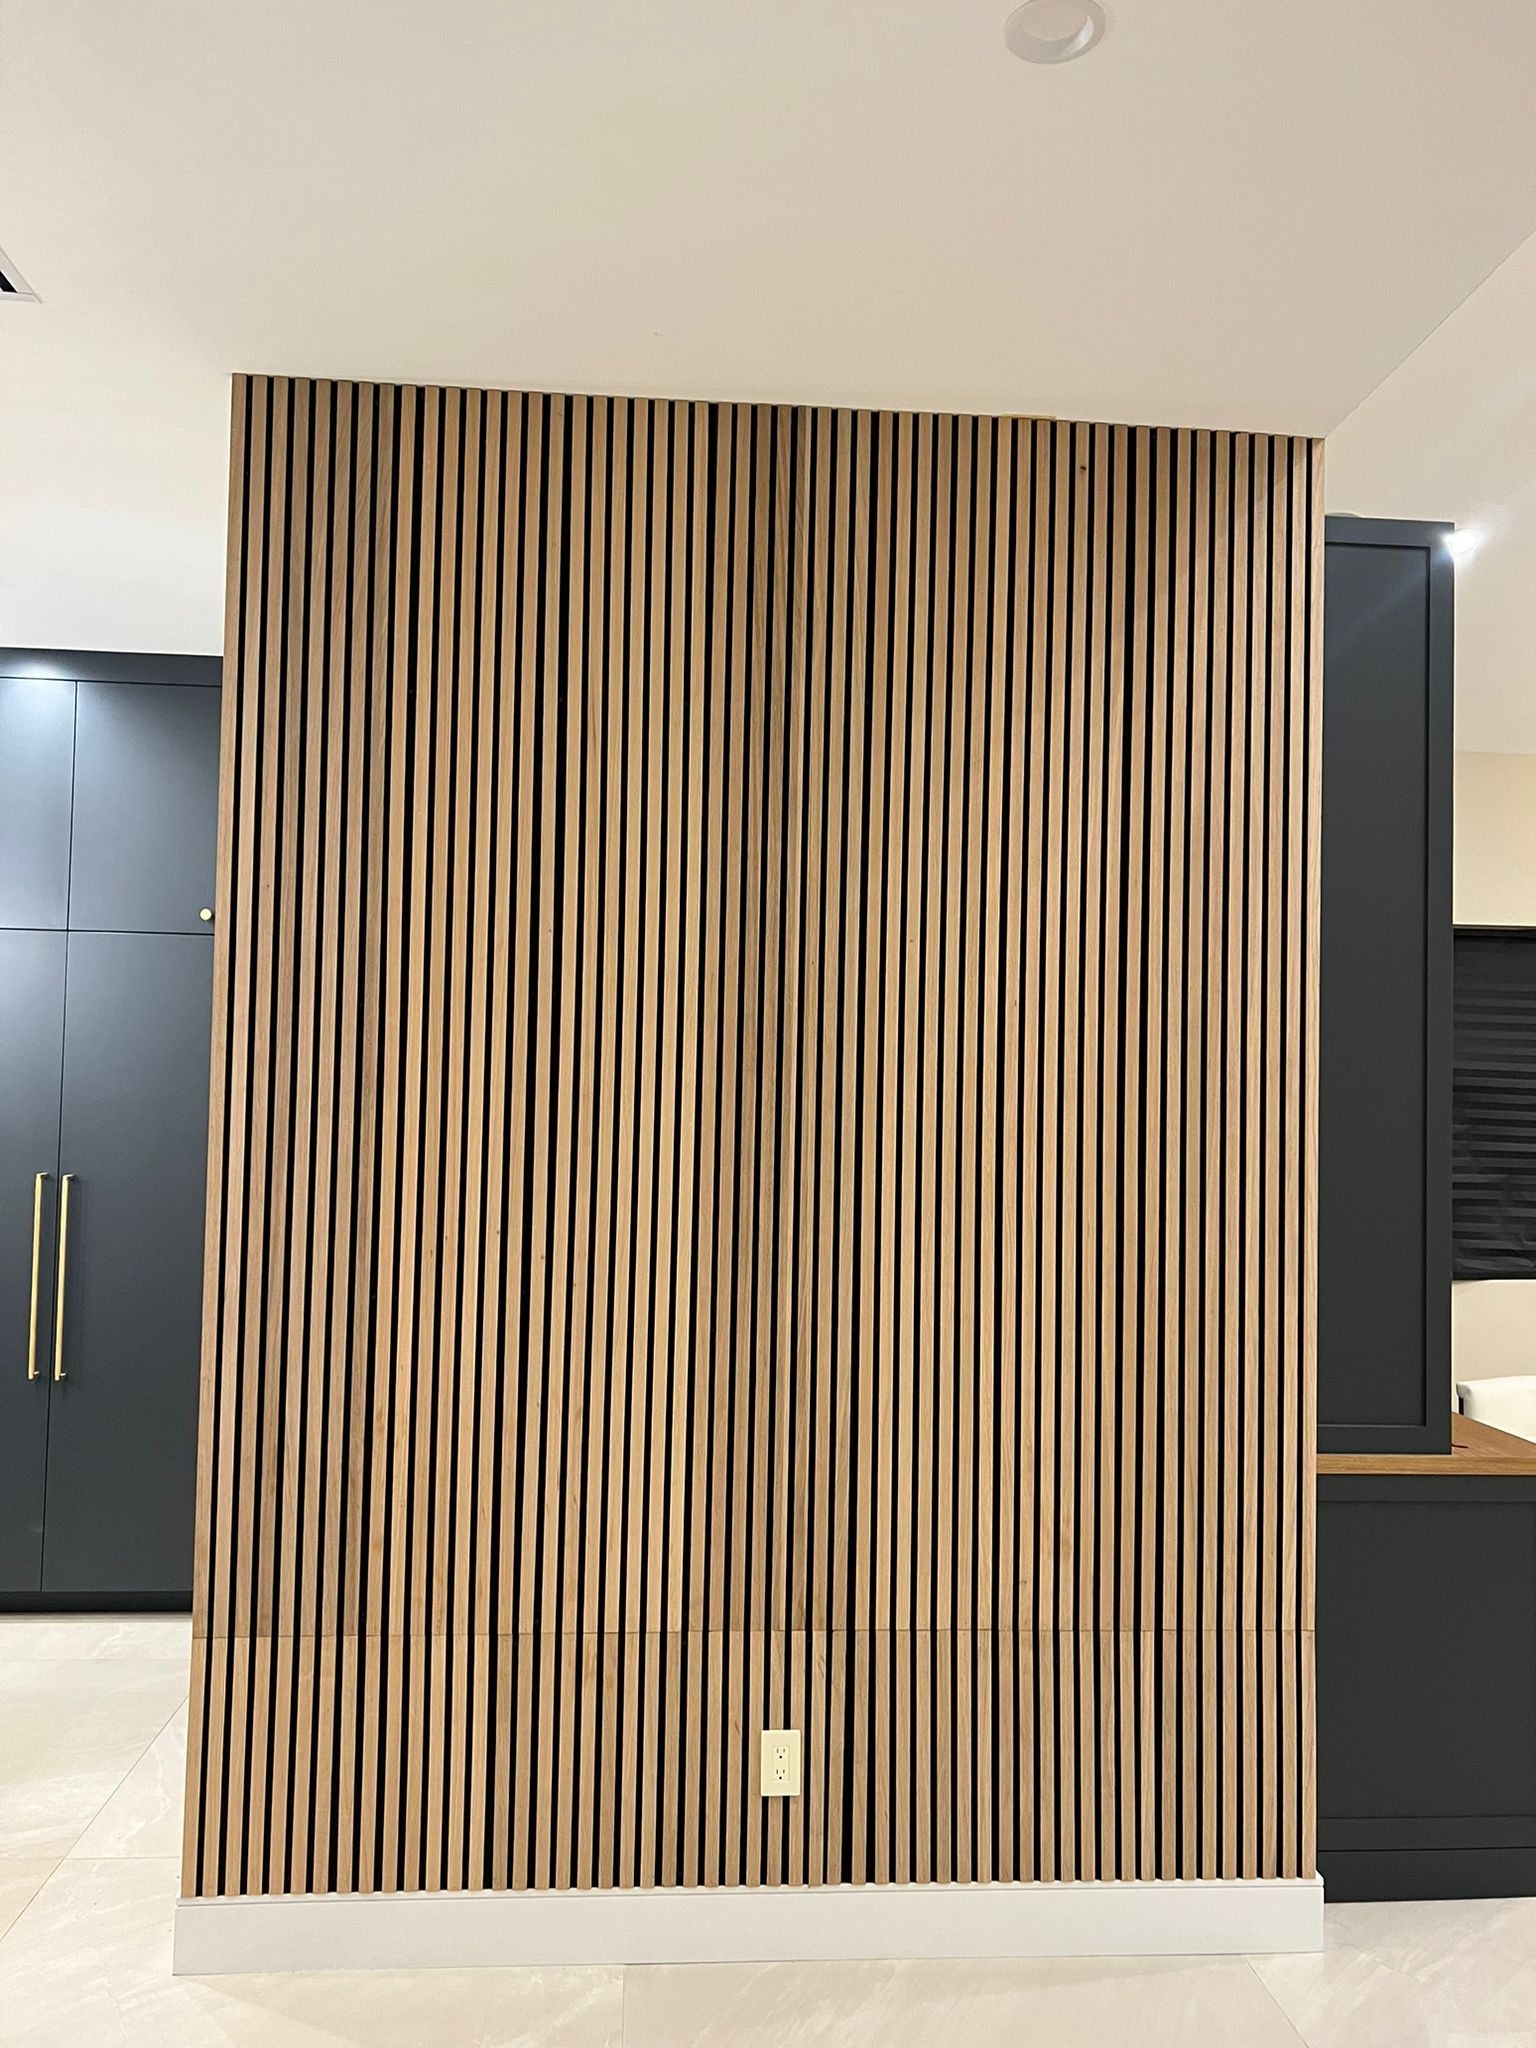
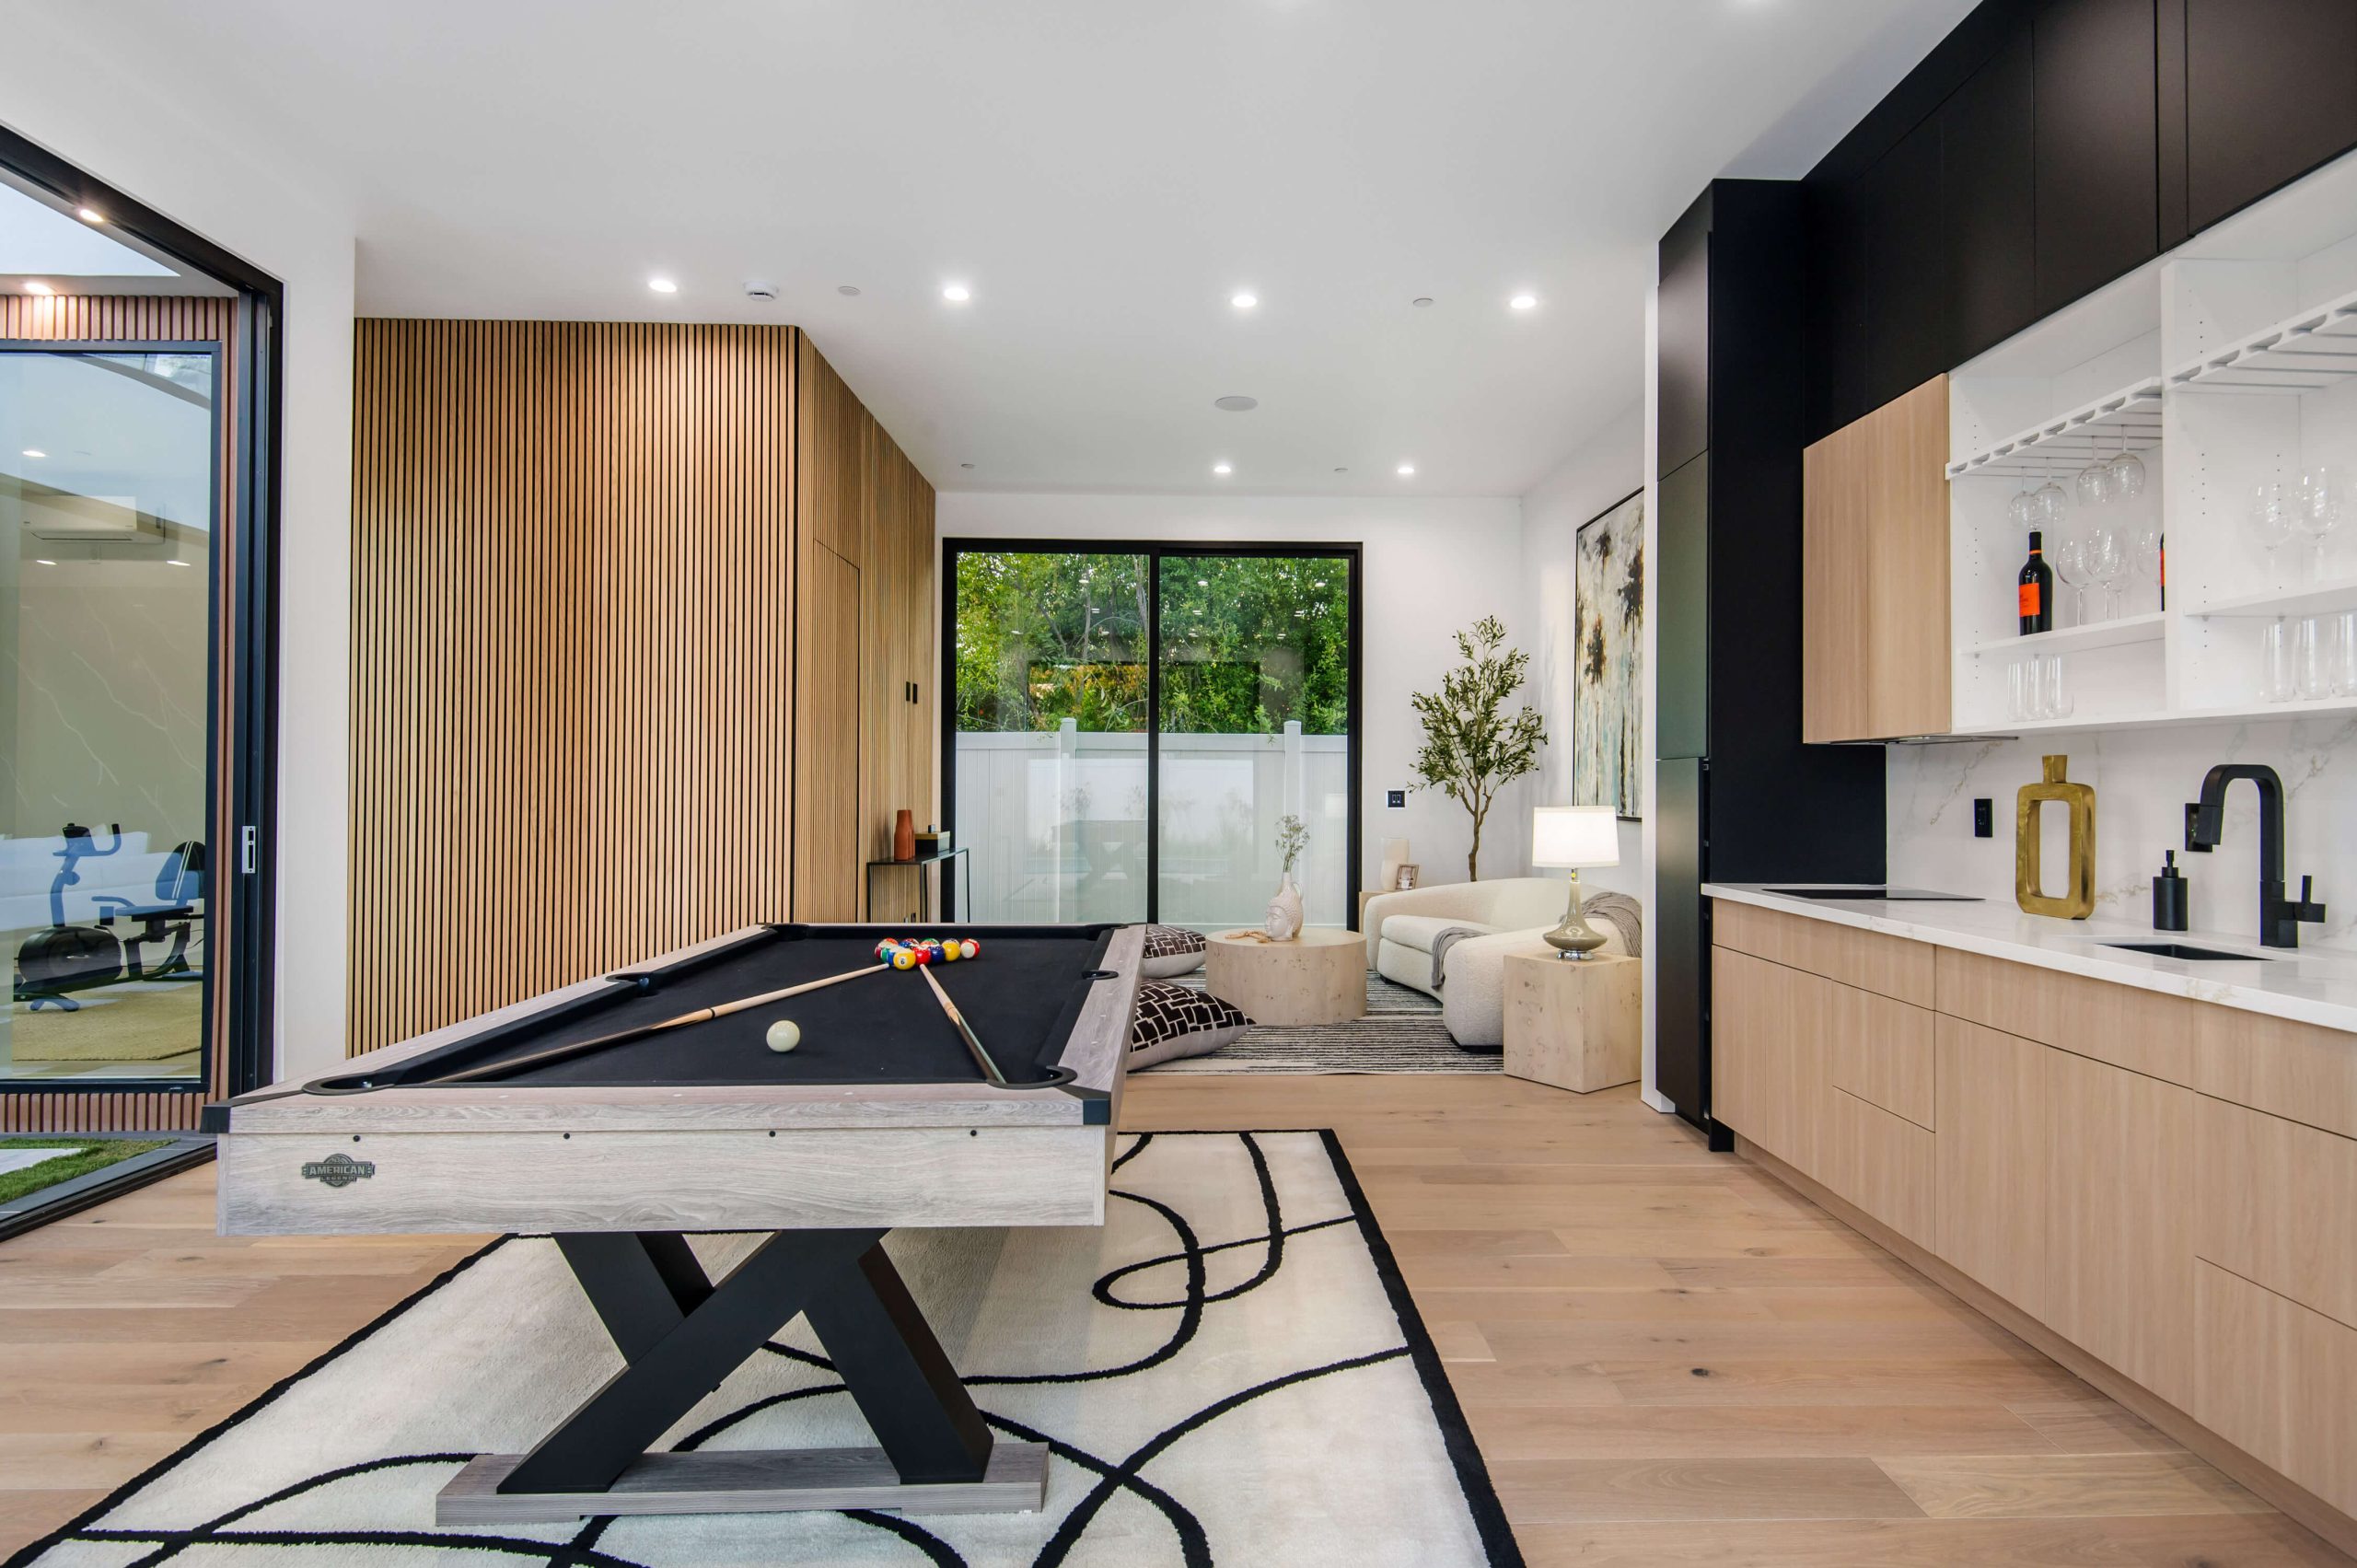
If you’ve been looking to elevate your interior design with a modern yet timeless touch, wood slat walls are the perfect solution. They blend aesthetics with functionality, adding warmth, texture, and acoustic benefits to your space. However, for many homeowners and DIY enthusiasts, the challenge lies in properly attaching wood slats to the wall. This guide offers practical, easy-to-follow tips to help you get started, ensuring a flawless finish that lasts for years.
Choose the Right Type of Wood Slats
Before diving into the installation process, it’s essential to select the correct type of wood slats for your project. Here are a few popular options:
- Solid Wood Slats: Durable and luxurious, these are perfect for creating a high-end look.
- Engineered Wood Slats: A cost-effective alternative with excellent stability and reduced warping risk.
- Pre-finished Panels: Save time and effort with slats that come ready to install, featuring finishes like walnut, oak, or black.
When choosing your slats, consider the room’s style, moisture levels, and your budget. For instance, moisture-resistant slats are ideal for bathrooms or kitchens.
Essential Tools and Materials for Attaching Wood Slats
Preparation is key to a successful installation. Gather the following tools and materials before starting:
- Measuring tape
- Spirit level
- Pencil or chalk
- Power drill and screws
- Adhesive (construction glue or mounting tape)
- Saw (if slats need trimming)
- Sandpaper or smoothing tool
Having these essentials at hand will save time and ensure the process goes smoothly.
Step-by-Step Guide for Attaching Wood Slats
Follow these steps to achieve a professional-looking wood slat wall:
- Measure and Plan
Start by measuring your wall space and calculating how many slats you’ll need. Account for consistent gaps between slats if you’re going for a spaced design. Use a pencil or chalk to lightly mark the placement of each slat on the wall. - Prepare the Wall Surface
Ensure the wall is clean, dry, and even. If there are cracks or imperfections, patch them up with filler and sand the surface smooth. A well-prepared wall ensures the adhesive or screws hold securely. - Cut the Slats to Size
Trim your slats to fit the dimensions of your wall. Double-check measurements before cutting to avoid waste. Sand the edges for a smooth finish. - Apply Adhesive
For a seamless look, use construction adhesive to attach the slats. Apply a generous bead of glue along the back of each slat, ensuring even coverage. Position the slat on the wall according to your markings, pressing firmly for a few seconds. - Reinforce with Screws (Optional)
If you’re attaching wood slats to a drywall or uneven surface, consider reinforcing with screws. Drill pilot holes through the slats to prevent splitting, then secure them with screws. - Maintain Even Spacing
Use spacers to achieve consistent gaps between slats. This step is crucial for creating a polished and professional appearance. - Finishing Touches
Once all the slats are attached, check for alignment using a spirit level. Fill any visible screw holes with wood filler, sand smooth, and touch up with matching paint or stain.
Benefits of Using Adhesive and Screws Together
Combining adhesive and screws offers the best of both worlds:
- Adhesive: Provides a smooth finish with no visible fasteners.
- Screws: Adds durability and ensures the slats stay securely in place over time.
This hybrid method is especially useful for larger, heavier slats or installations in high-traffic areas.
Common Mistakes to Avoid
When attaching wood slats, avoid these common pitfalls:
- Skipping Surface Preparation: A dirty or uneven wall can compromise adhesion and alignment.
- Inconsistent Gaps: Uneven spacing detracts from the overall look of your design.
- Using the Wrong Adhesive: Always choose a construction adhesive designed for wood to ensure a strong bond.
Visualizing Your Design: Tips and Tricks
Here are some creative ideas to make your wood slat wall stand out:
- Accent Wall: Use wood slats to highlight a single wall in the room, creating a focal point.
- Vertical vs. Horizontal: Vertical slats add height to a space, while horizontal slats make a room feel wider.
- Mixed Materials: Combine wood slats with painted sections for a modern, artistic look.
FAQ: Attaching Wood Slats to a Wall
1. Can I attach wood slats without screws?
Yes, construction adhesive can be used alone for lightweight slats. However, screws add extra security.
2. Do I need to treat the slats before installation?
If the slats are unfinished, apply a protective finish like stain or sealant to enhance durability.
3. What’s the best spacing for wood slats?
The gap size depends on personal preference, but 1 to 2 inches is a common choice for aesthetic consistency.
4. Can I install wood slats on a textured wall?
Yes, but you’ll need to level the surface with a plywood backing or adhesive filler first.
5. How do I clean wood slat walls?
Use a soft cloth or duster to remove dust. For deeper cleaning, lightly dampen the cloth and wipe gently.
With these tips, attaching wood slats to your wall can be an enjoyable and rewarding DIY project. Not only will you add character and elegance to your home, but you’ll also gain the satisfaction of creating a feature that’s uniquely yours. Take your time, follow the steps carefully, and soon, you’ll have a stunning wood slat wall to show off!

