You know that feeling when you walk into a room and the walls just… feel empty? Boring. Missing something. Wood panel textures can fix that. They bring warmth, character, and style—plus real acoustic benefits. Here’s how to turn those bland, blank walls into a cozy, textured space that you’ll love.
Why Add Texture to Blank Walls With Wood Panel
Wood texture isn’t just decorative. It solves real problems:
- Acoustic dampening: Slatted or felt-lined wood panels reduce echo, perfect for home offices or living rooms.
- Visual depth: Texture helps hide minor wall imperfections and adds a sense of dimension.
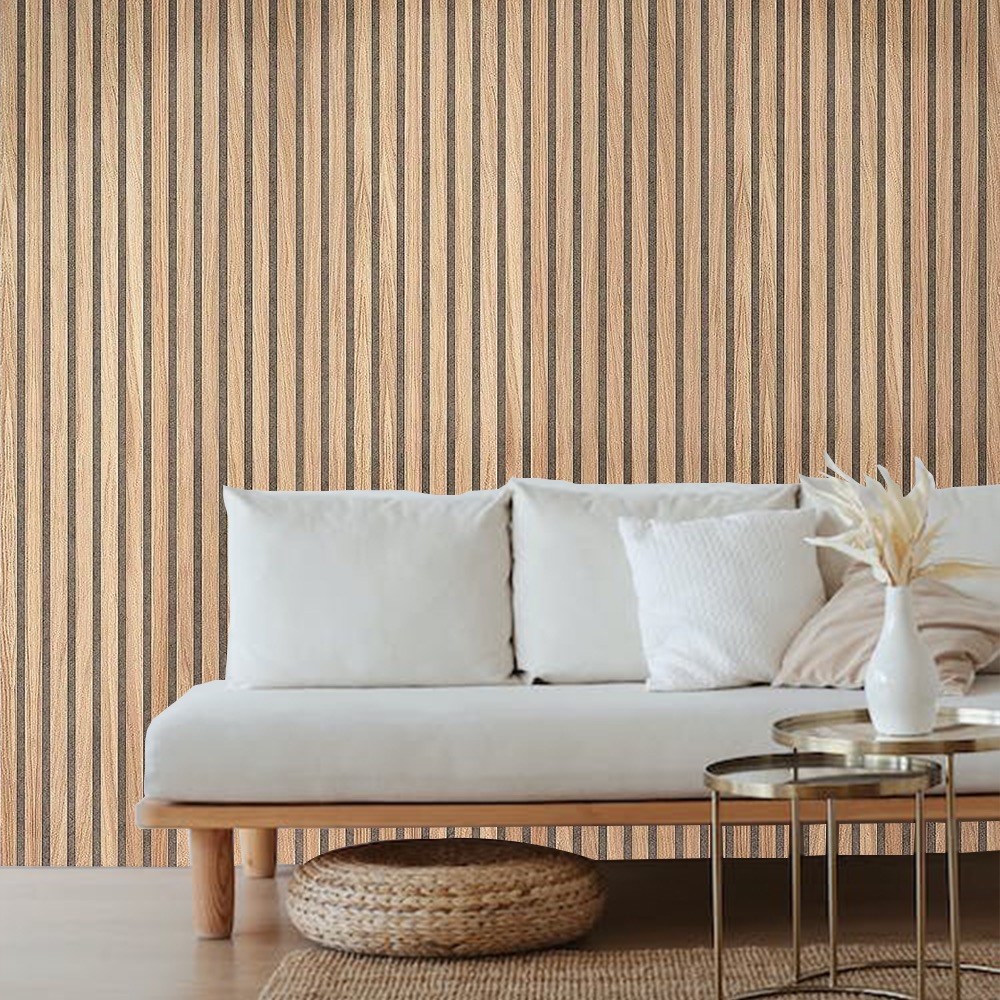
- Warmth & comfort: Wood tones make a space immediately more inviting.
- Easy update: Swap out panels, change finishes, even paint the wood for a quick new look.
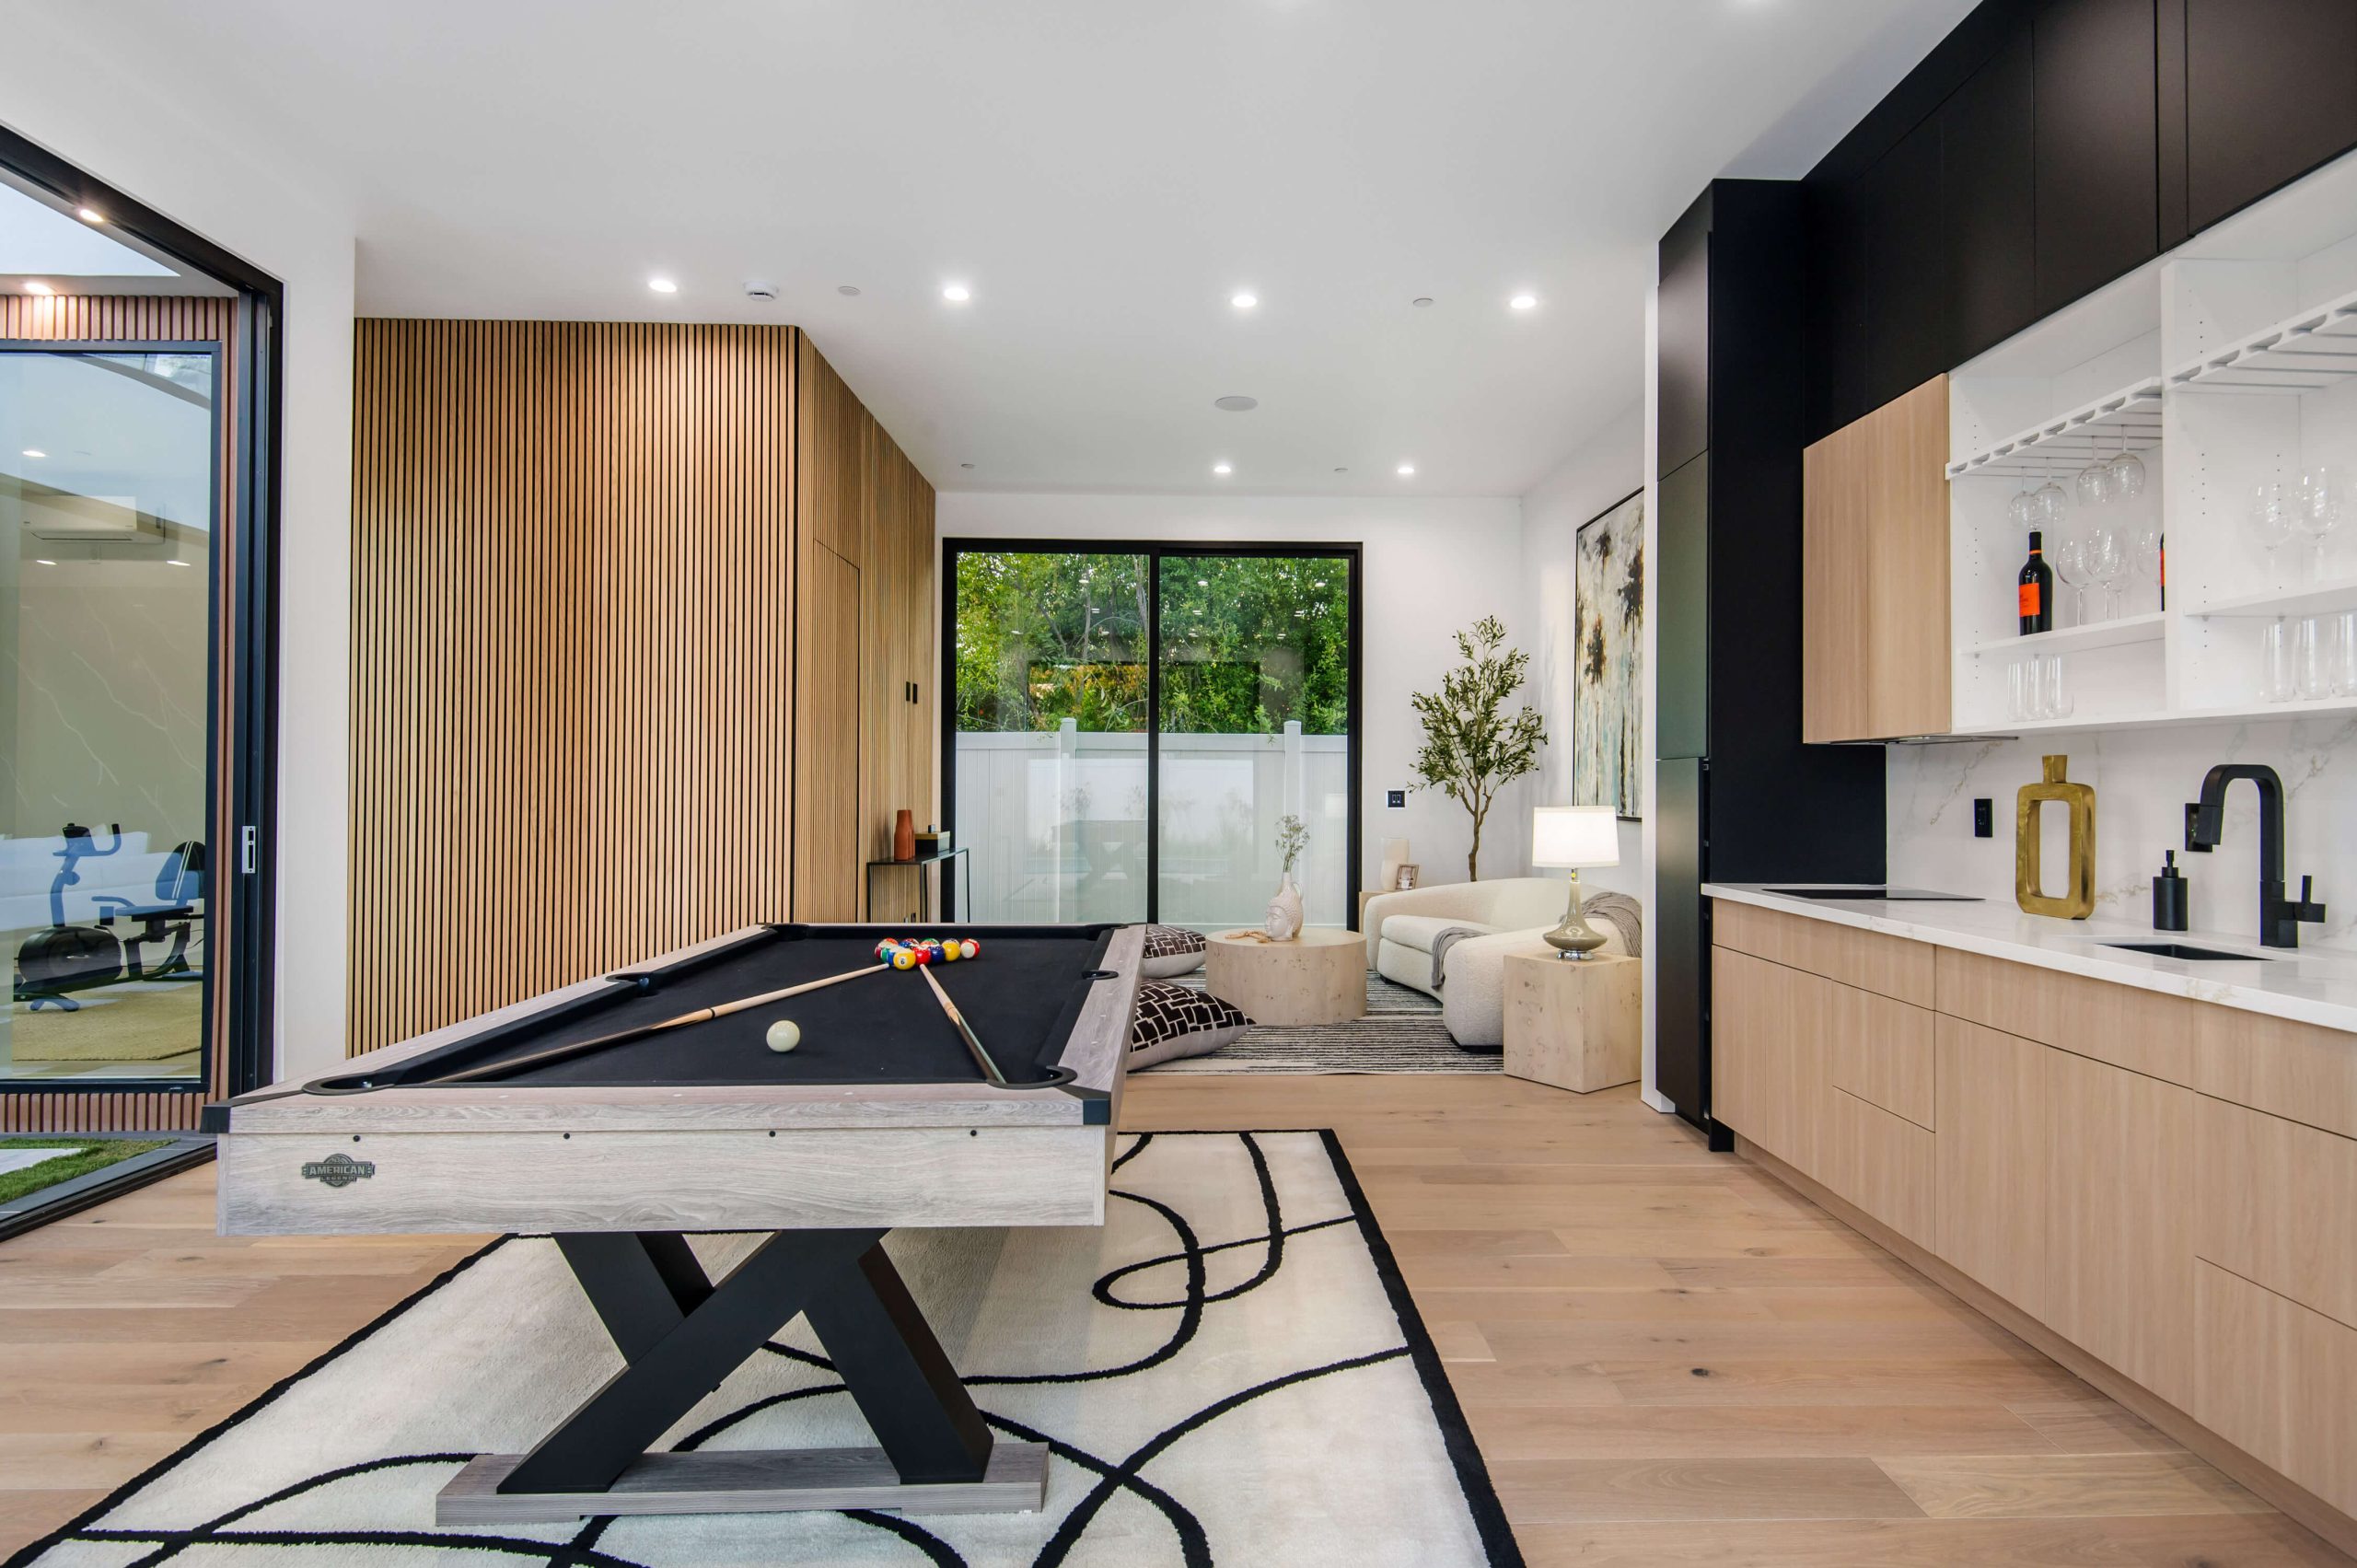
Imagine your office with black wood grain, offering a modern, moody vibe. That’s exactly what you get with Natural Walnut Wood Wall Panels Natural Real Oak Finish—a sleek, bold statement that still feels cozy. Or go softer with acoustic slat finishes like Natural Oak Acoustic Slat Wood Wall Panels—stylish and sound-smart.
Choosing the Right Panel Style
Here are different wood panel options to match your needs:
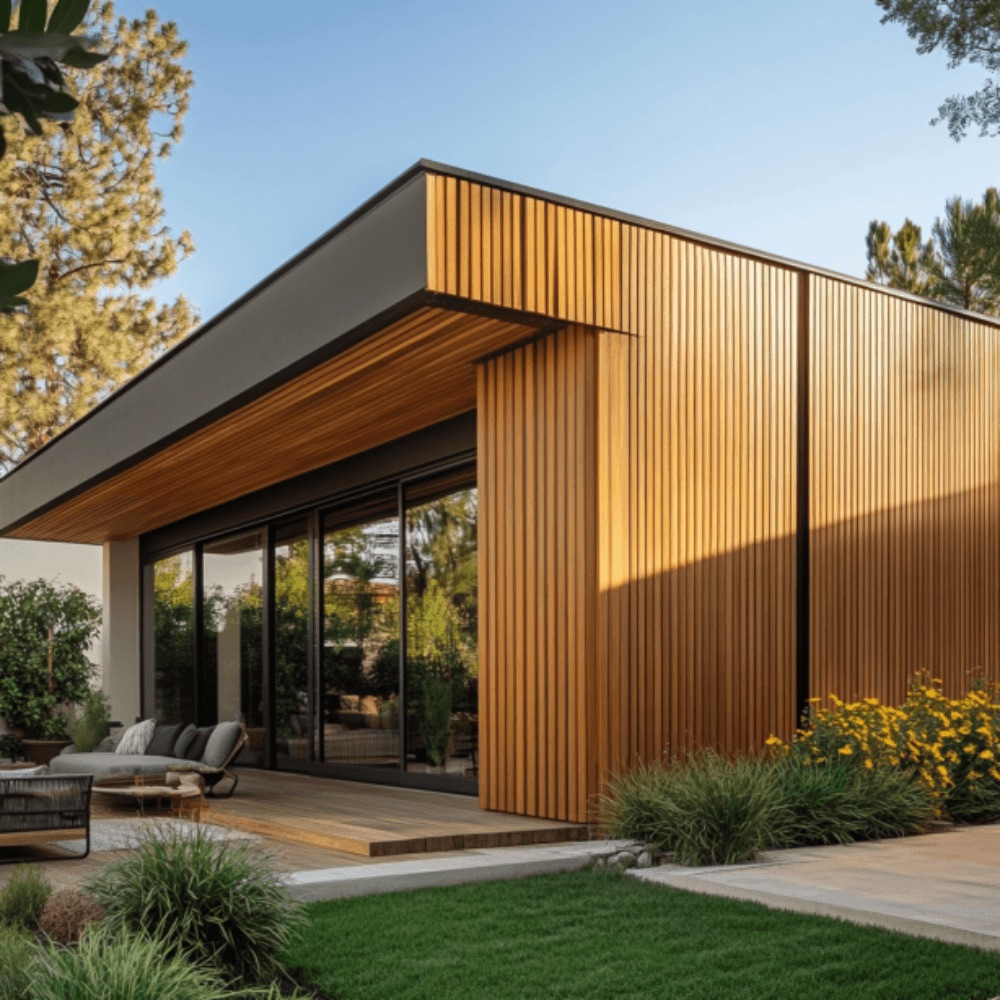
Horizontal Slats
Wider planks, laid horizontally, make your wall appear broader. Great for low ceilings.
- Best for: small rooms, lounge areas
- Pros: spacious feel, simple installation
- Cons: can look plain without variation in tone
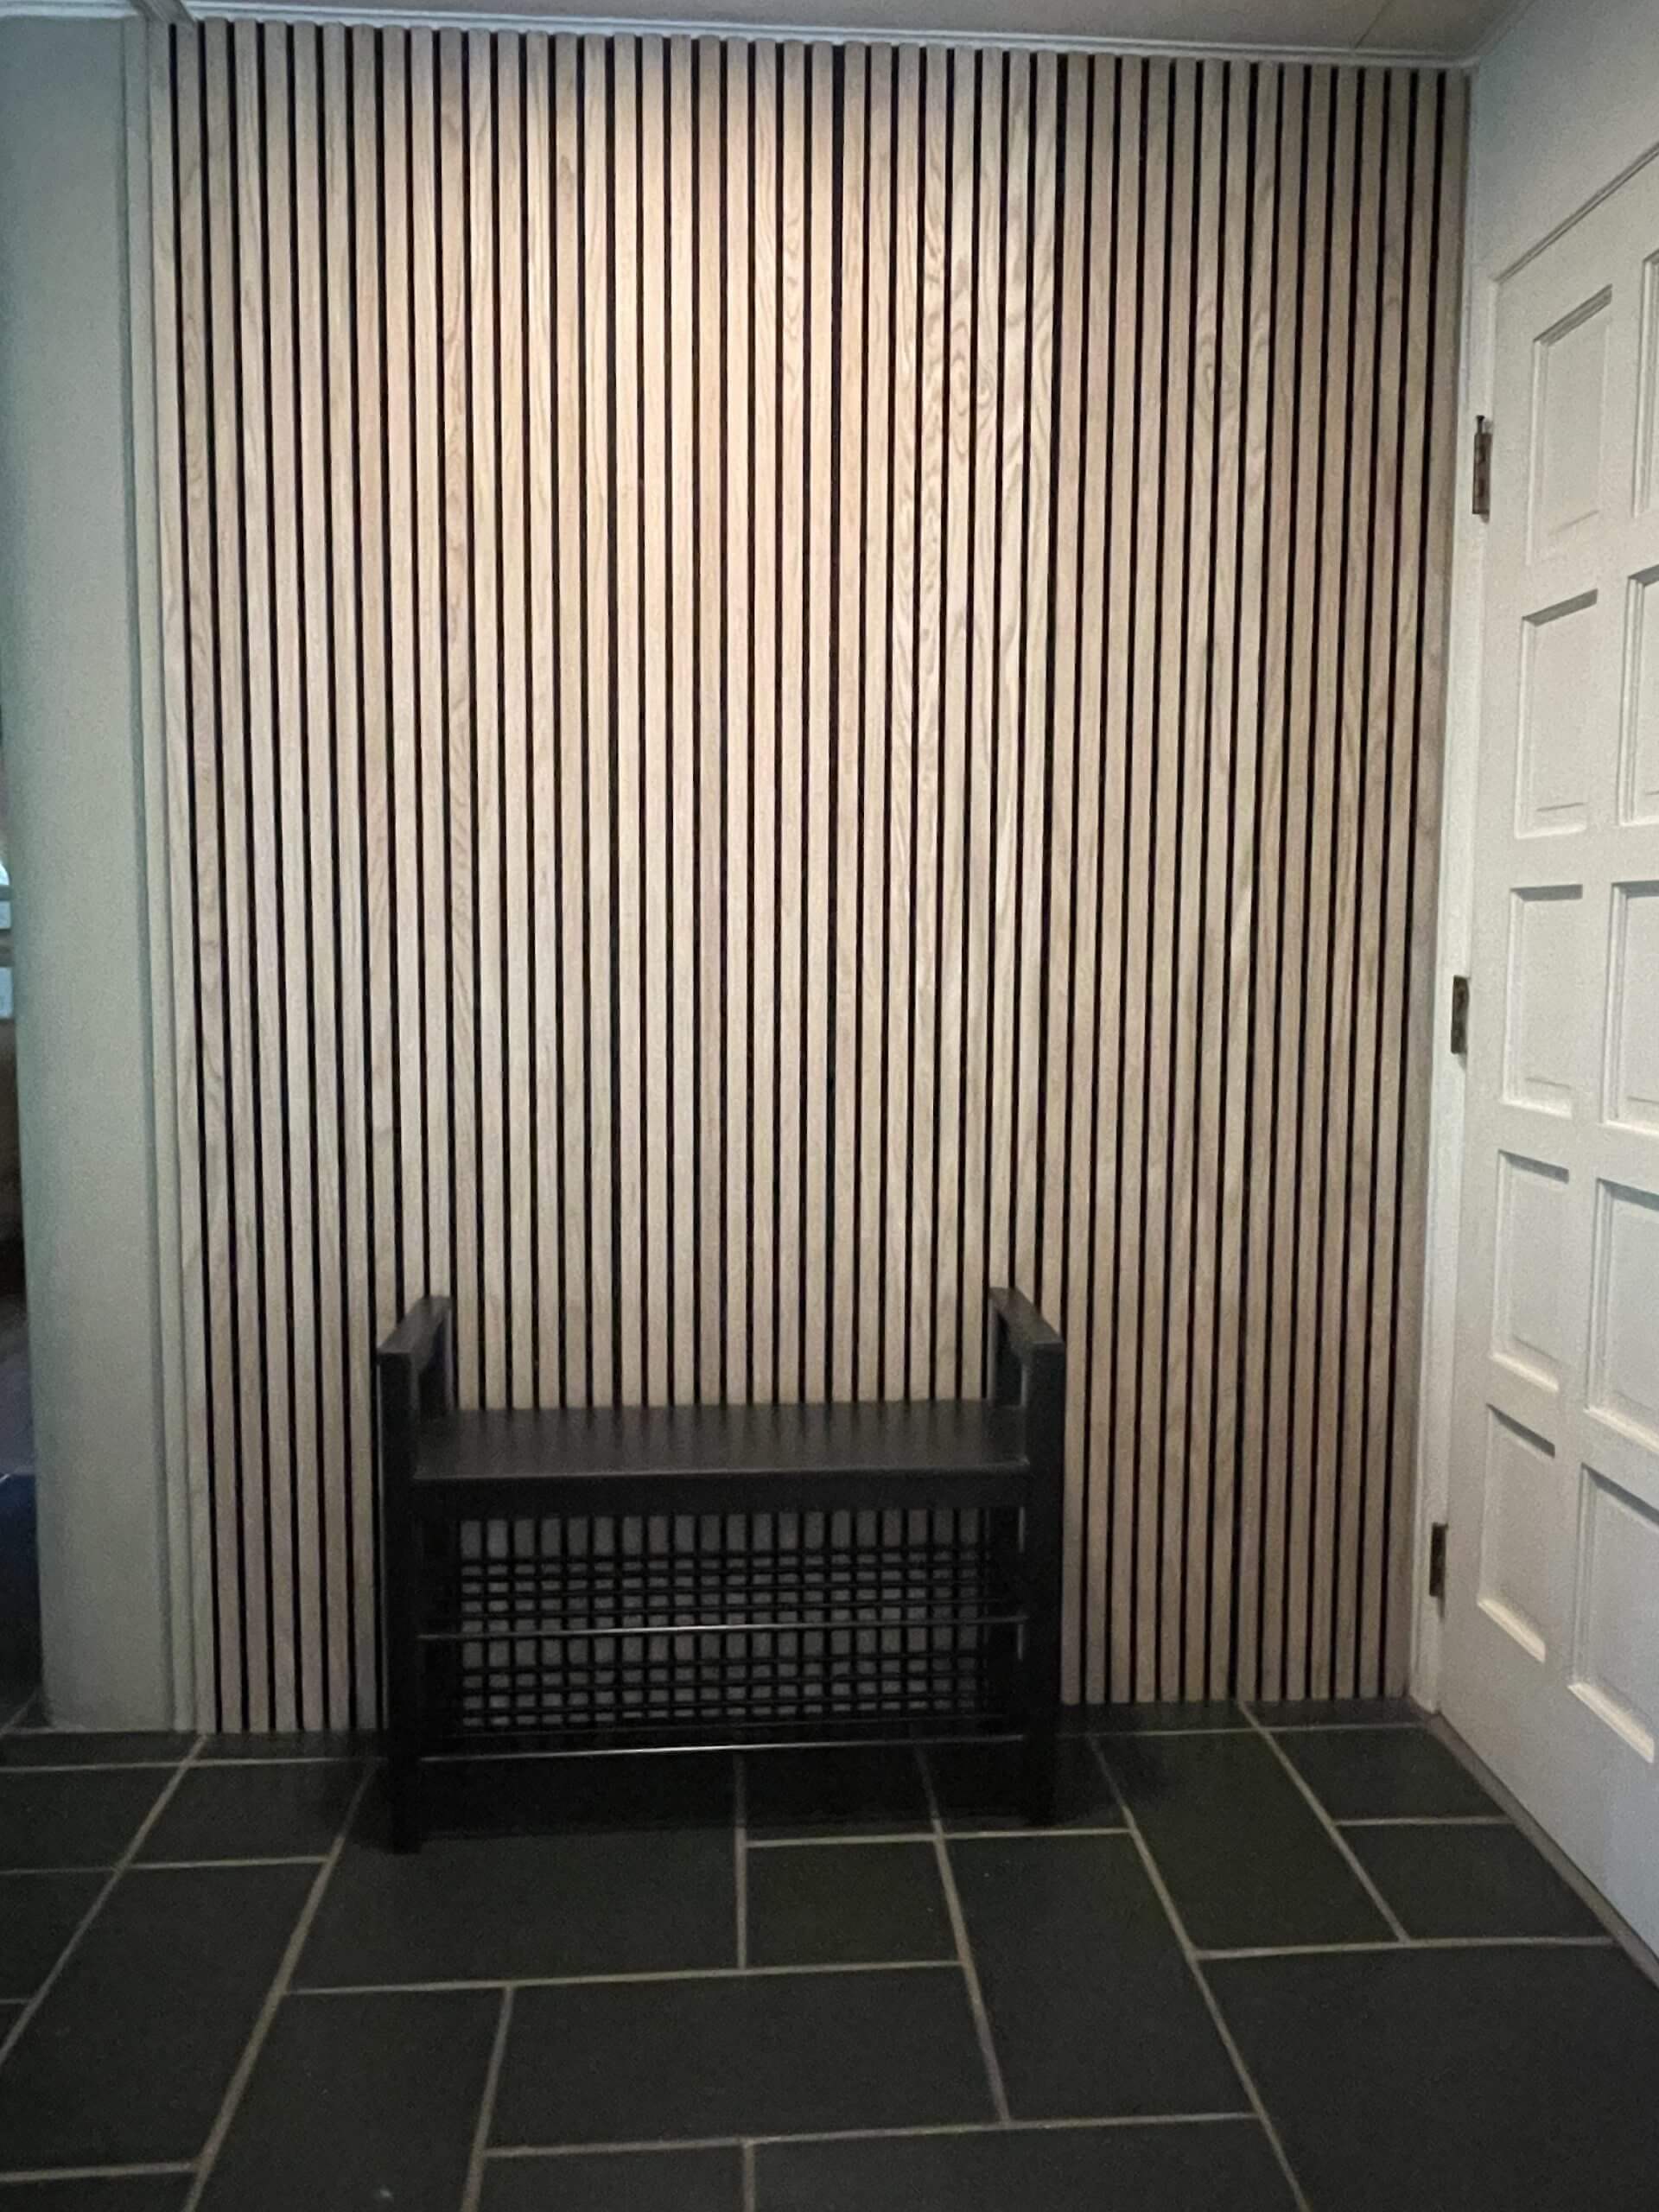
Vertical Tongue-and-Groove
Classic lines lead the eye upward—ideal for tall rooms.
- Best for: entryways, feature walls
- Pros: elegant, timeless
- Cons: vertical seams may be more visible
Acoustic Felt Backing
Softens sound and adds dual tone. Felt-lined panels like Oak Grey Felt bring both texture and functionality.
- Best for: media rooms, offices
- Pros: reduces echo, tactile contrast
- Cons: felt may need occasional cleaning
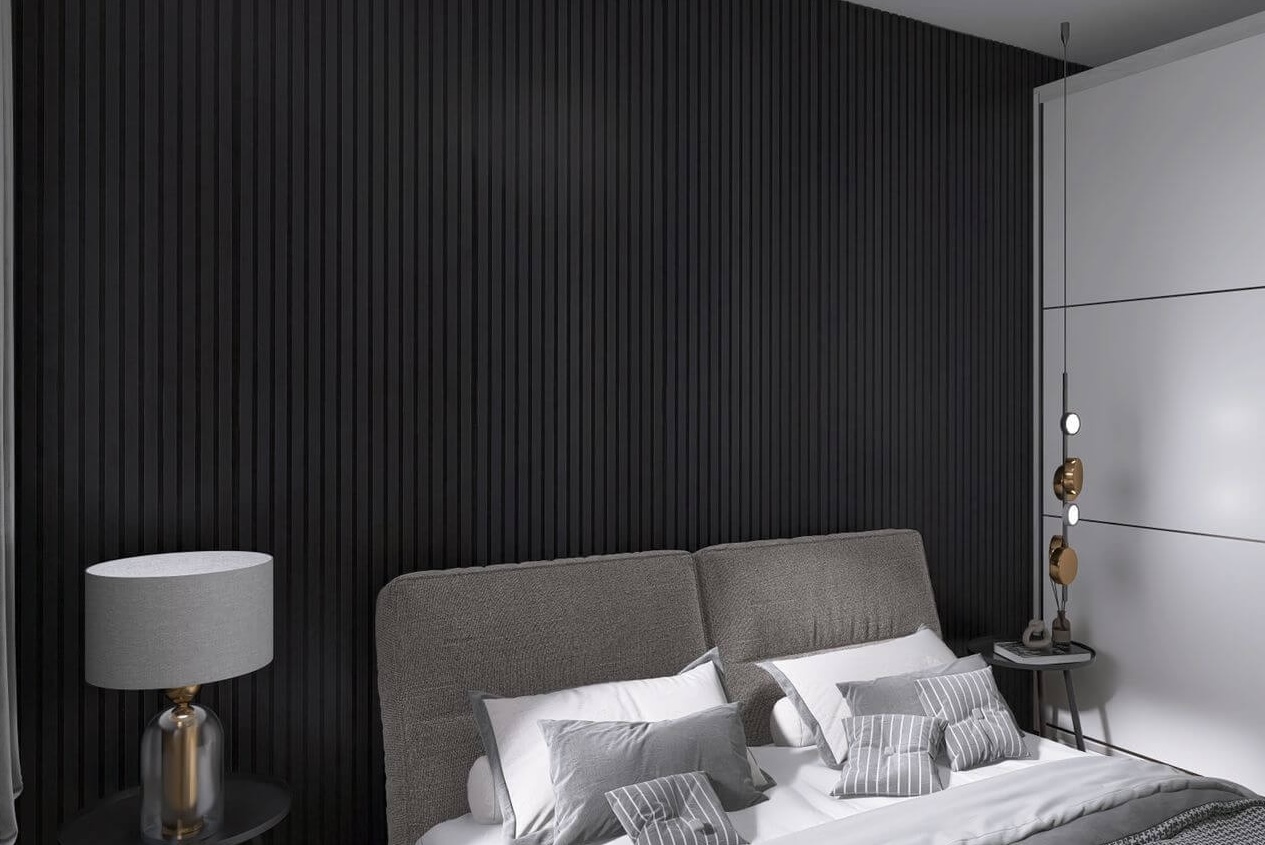
Bold Dark Panels
For drama and contrast, try black finishes. The Black Wood Wall Panels Natural Real Oak Finish bring sophistication and depth.
- Best for: accent walls, professional spaces
- Pros: hides smudges, adds punch
- Cons: dark colors show dust more easily
How to Buy and Install Wood Panels
Thinking of starting a DIY project? Here’s your step‑by‑step:
- Measure your wall – include any windows or outlets.
- Choose panel style – whether you want slats, grooves, felt-backed, or dark tones.
- Order extra – get 10–15% more material to cover mistakes or cuts.
- Prep the wall – remove nails/picture hangers and patch holes.
- Use furring strips – they help align panels straight and give space for wiring.
- Apply adhesive and nails – glue + a brad nail gun ensures a secure hold.
- Finish edges with trim or moulding – clean up seams and cover raw cuts.
Many homeowners don’t realize how easy it can be, and you get a great DIY sense of accomplishment.
Stunning Before-and-After Examples
Living Room Accent Wall
Before: white, blank wall.
After: vertical oak slats from Authentic wood wall panels bring warmth and hide imperfections. Subtle lighting makes the texture shine.
Home Office Upgrade
Before: loud echoes and bland paint.
After: grey‑felt‑backed slat panels absorb sound and visually calm the space. Soft grey felt combines beautifully with natural wood.
Bedroom Nest
Before: plain headboard and wall.
After: walnut panels behind the bed act as a built‑in headboard alternative. It frames the bed and adds visual interest without bulky furniture.
For more inspiration from interior pros, check out designers are loving wood wall panels—that blog walks through actual use cases and trending ideas.
Matching Wood Tone With Your Decor
Pick panels that enhance your existing design palette:
- Light oak tones: pair beautifully with whites, pastels, soft blues.
- Walnut or black finishes: ideal next to greys, metals, or deep jewel tones.
- Grey-felt backings: work great in modern minimalist or Scandinavian rooms.
To help, here’s a quick comparison:
| Panel Style | Mood | Best With |
|---|---|---|
| Light oak slats | Bright & casual | Coastal or Scandinavian decor |
| Walnut real oak | Cozy & warm | Rustic, traditional spaces |
| Black wood finish | Modern & bold | Industrial or commercial vibe |
| Grey-felt back | Soft & sound-optimized | Contemporary offices, home theaters |
Maintenance Tips for Wood Panels
Keeping panels looking their best is simple:
- Dust weekly – use a soft cloth or duster, especially for slats.
- Avoid moisture – high humidity can warp wood. Use a dehumidifier if needed.
- Clean carefully – mild detergent and water on a soft cloth works fine.
- Recoat every few years – a fresh varnish or seal brings out the grain again.
Treat them as part of a furniture cleaning routine—you’ll get years of good looks.
When Wood Panels Might Not Be Right
They aren’t for every space. Things to consider:
- Full room coverage: can feel heavy if not balanced with lighter furniture.
- High moisture rooms: bathrooms need careful sealing or alternative materials.
- Rental restrictions: landlords may forbid cutting into walls—check first.
Getting the Look Without the Commitment
For renters or low-cost options:
- Peel-and-stick wood panels: easier to install/remove and less permanent.
- Wood wallpaper: realistic prints without sourcing real panels.
- Modular panels: attachable batten-lattice systems that don’t need glue or nails.
You still gain texture and warmth, even if you can’t use real wood.
Bring It All Together: Your Wood Panel Project Plan
- Pick a focal point – choose one wall to avoid overwhelming the room.
- Select a style – slats, tongue-and-groove, felt-backed, or dark finish.
- Measure carefully – double-check all dimensions before ordering.
- Order panels plus trim – include enough for mistakes and finishing.
- Prep walls & tools – patch holes, gather adhesive, nails, levels.
- Install mindfully – use straight guides and spacers for neat seams.
- Finish edges – cap cuts with moulding for a polished look.
- Dress the space – add complementary lighting and furniture to highlight texture.
Final Touches
Once your new wood panel wall is up, add simple accents:
- A wall‑mounted lamp that casts gentle shadows on the texture
- Shelving or art with mixed wood tones to tie everything together
- Green plants—you’ll be surprised how beautifully plants pop against wood
Now you’ve turned that blank space into a feature with feeling. It’s more than just decoration—it’s a real transformation. Time to enjoy the cozy upgrade!
By focusing on Blank Walls With Wood Panel ideas, styles, and how-tos, this guide gives you a genuine, experience-based roadmap. No fluff. Just actionable steps. You can do this—your walls are waiting.
FAQs
1. How do I know which type of wood panel is best for my room?
Start by thinking about what your room needs—do you want sound control, warmth, or a bold visual change? For example, slatted panels with felt backings are great for reducing echo in offices or living rooms, while dark panels work well for dramatic accents. Match the panel’s tone to your decor style to keep everything cohesive.
2. Can I install wood panels on my own, or do I need a professional?
Many wood panel systems are DIY-friendly, especially if they use adhesive and nails. If you’re comfortable with measuring, leveling, and basic tools, you can do it yourself. For more complex layouts or built-in lighting, hiring a pro can save time and ensure perfect alignment.
3. Will wood panels damage my wall or be hard to remove later?
If installed with care—using furring strips or non-permanent adhesives—wood panels can be removed with minimal damage. Always patch and paint afterward if needed. For rentals or temporary updates, peel-and-stick options are a great low-impact alternative.
4. How do I maintain and clean my wood wall panels?
Dust them regularly with a soft cloth. Avoid harsh cleaners—just use mild soap and water if needed. For felt-backed or textured finishes, a vacuum with a brush attachment works well. Keep them dry to prevent warping.
5. Are wood wall panels safe to use in humid areas like bathrooms or kitchens?
Wood can warp in high humidity unless it’s properly sealed or treated. For damp spaces, consider moisture-resistant versions or make sure there’s good ventilation. If unsure, opt for wood-look alternatives that mimic texture but are better suited for wet zones.