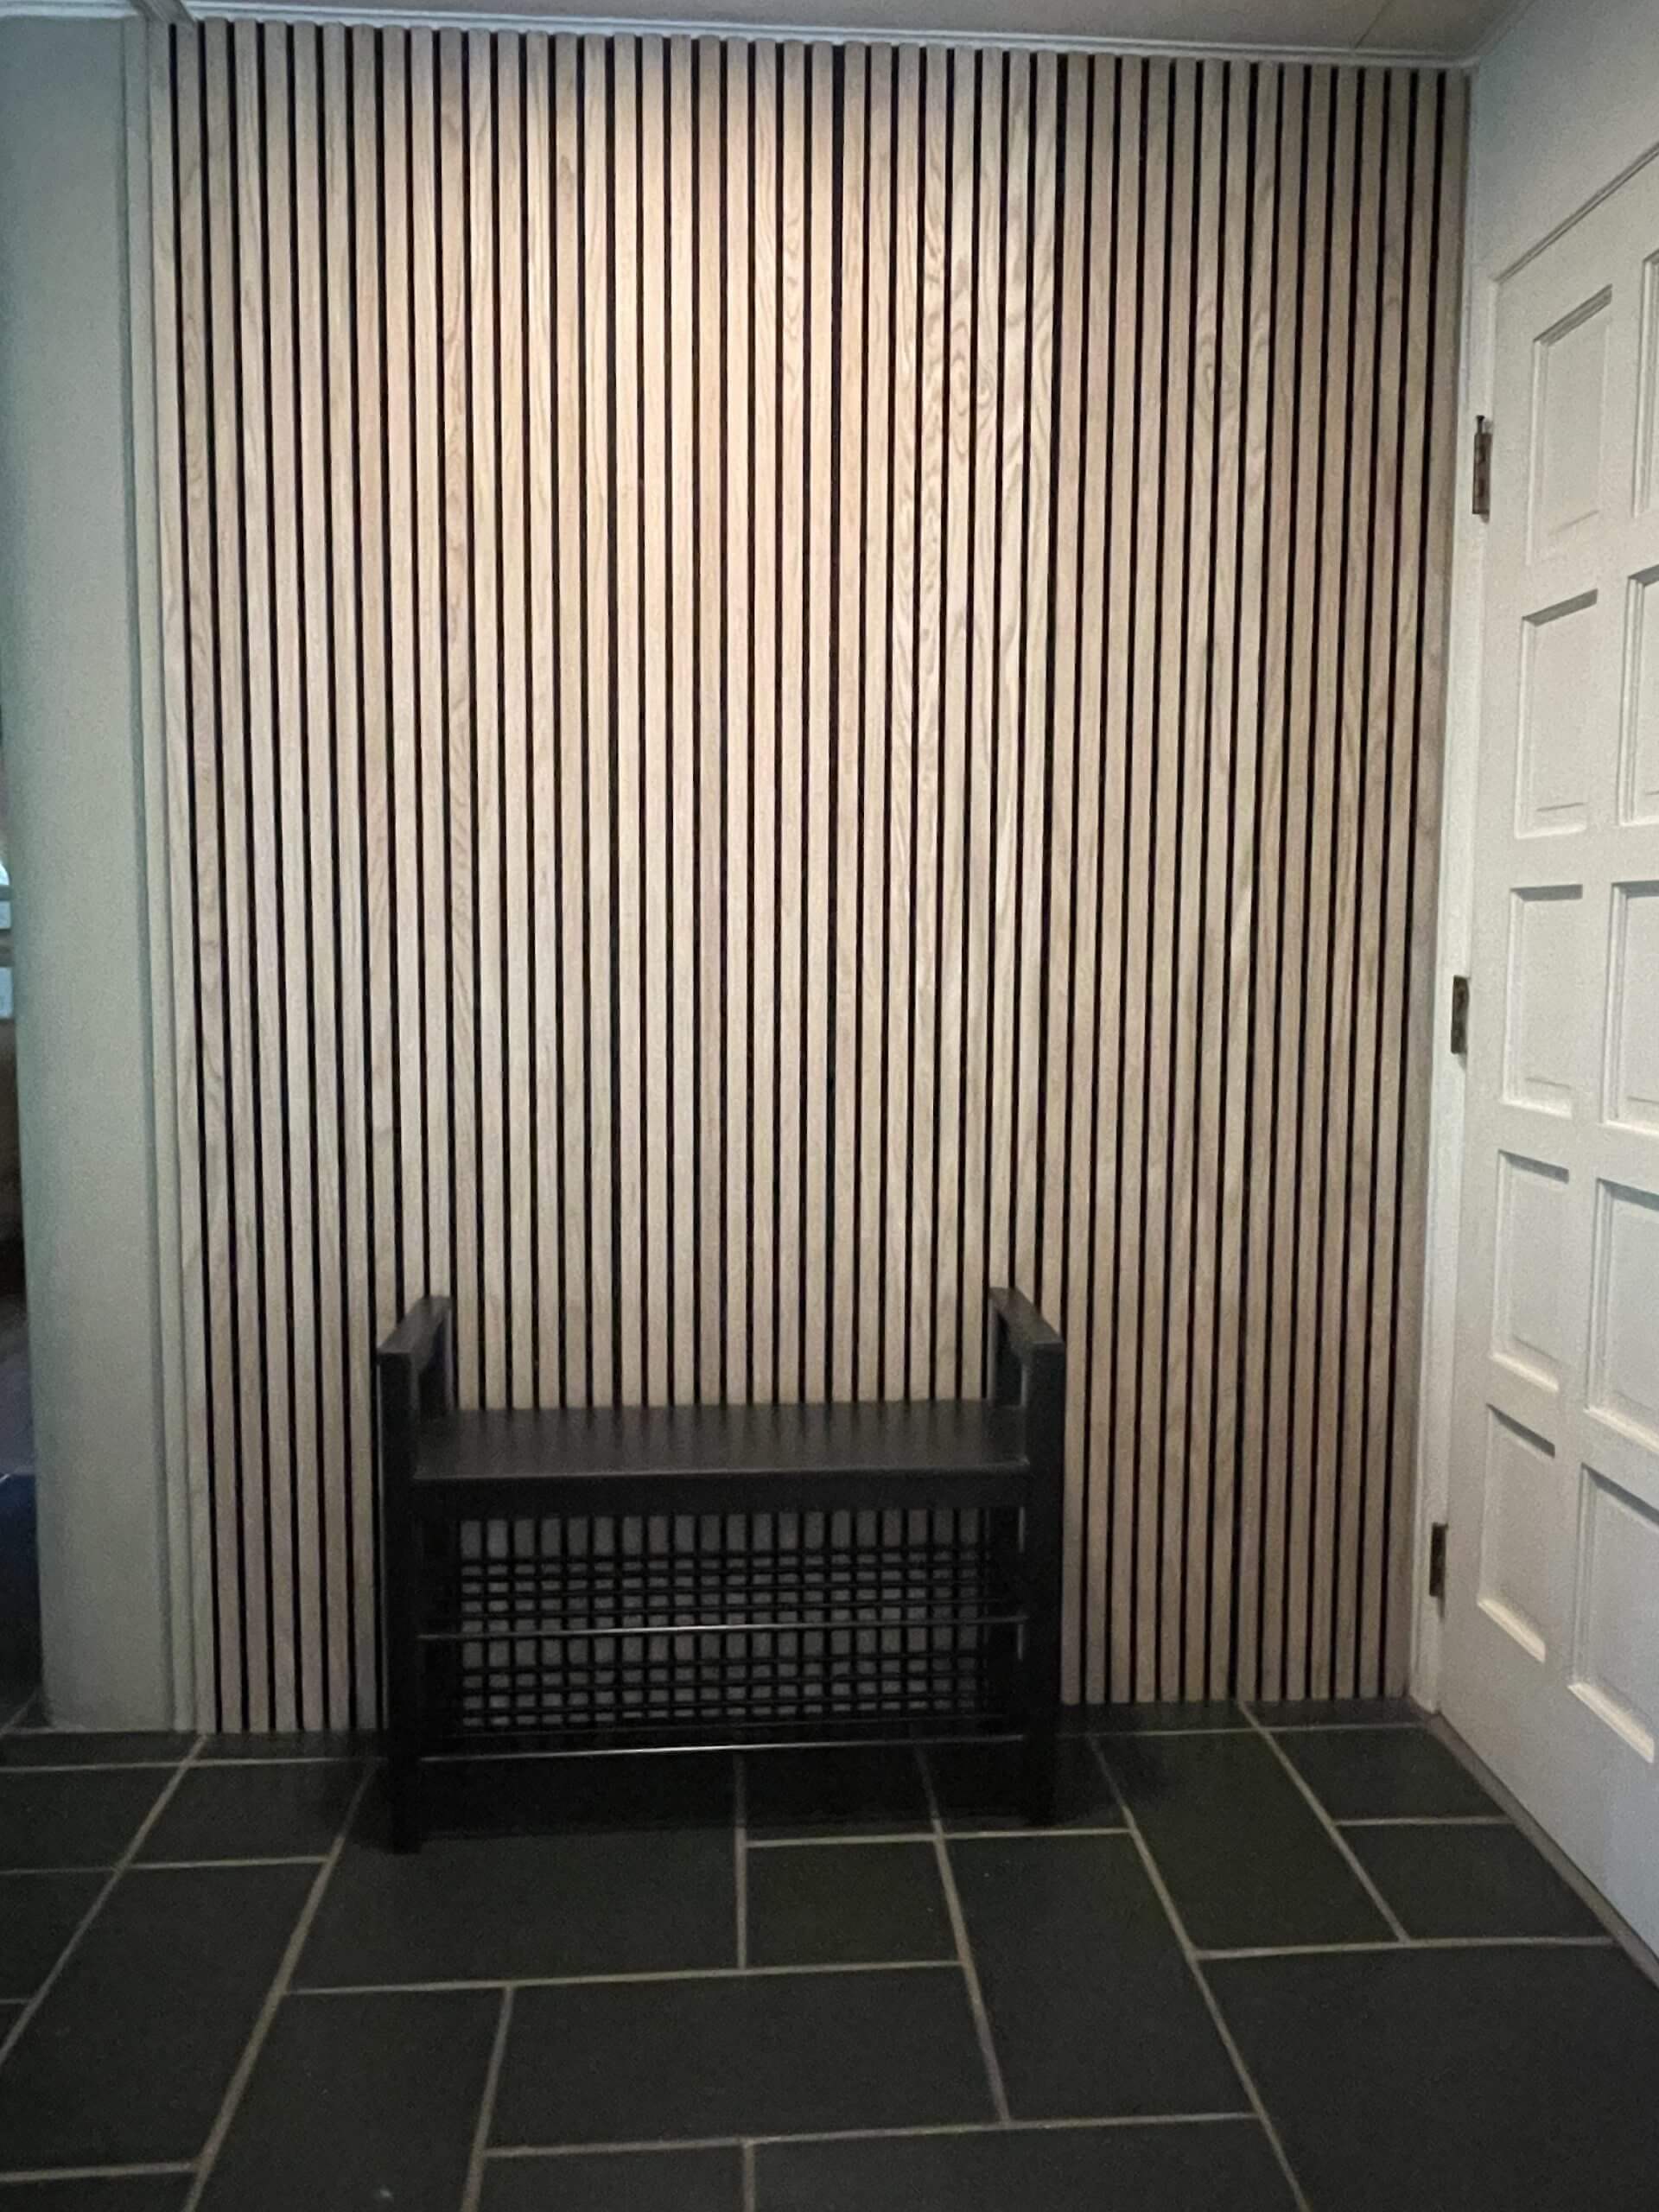
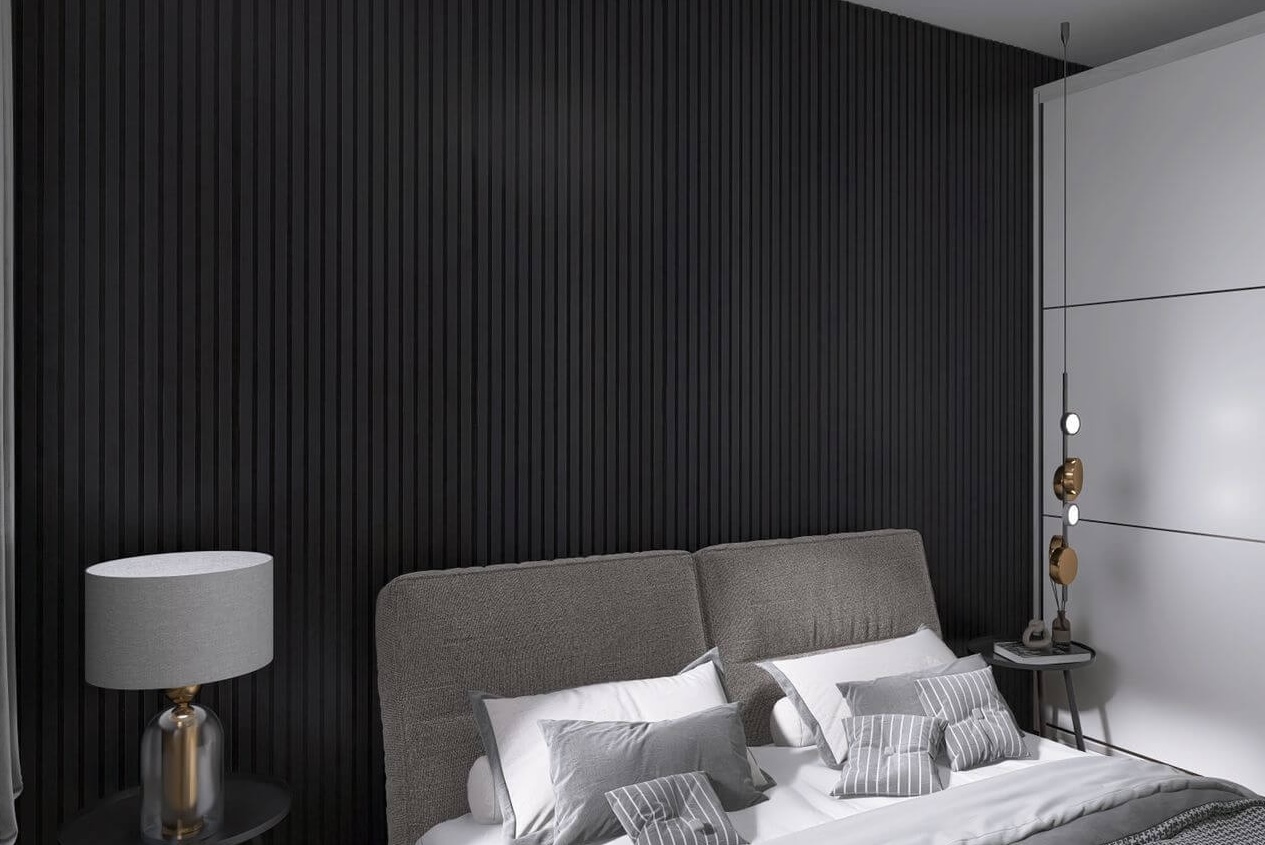
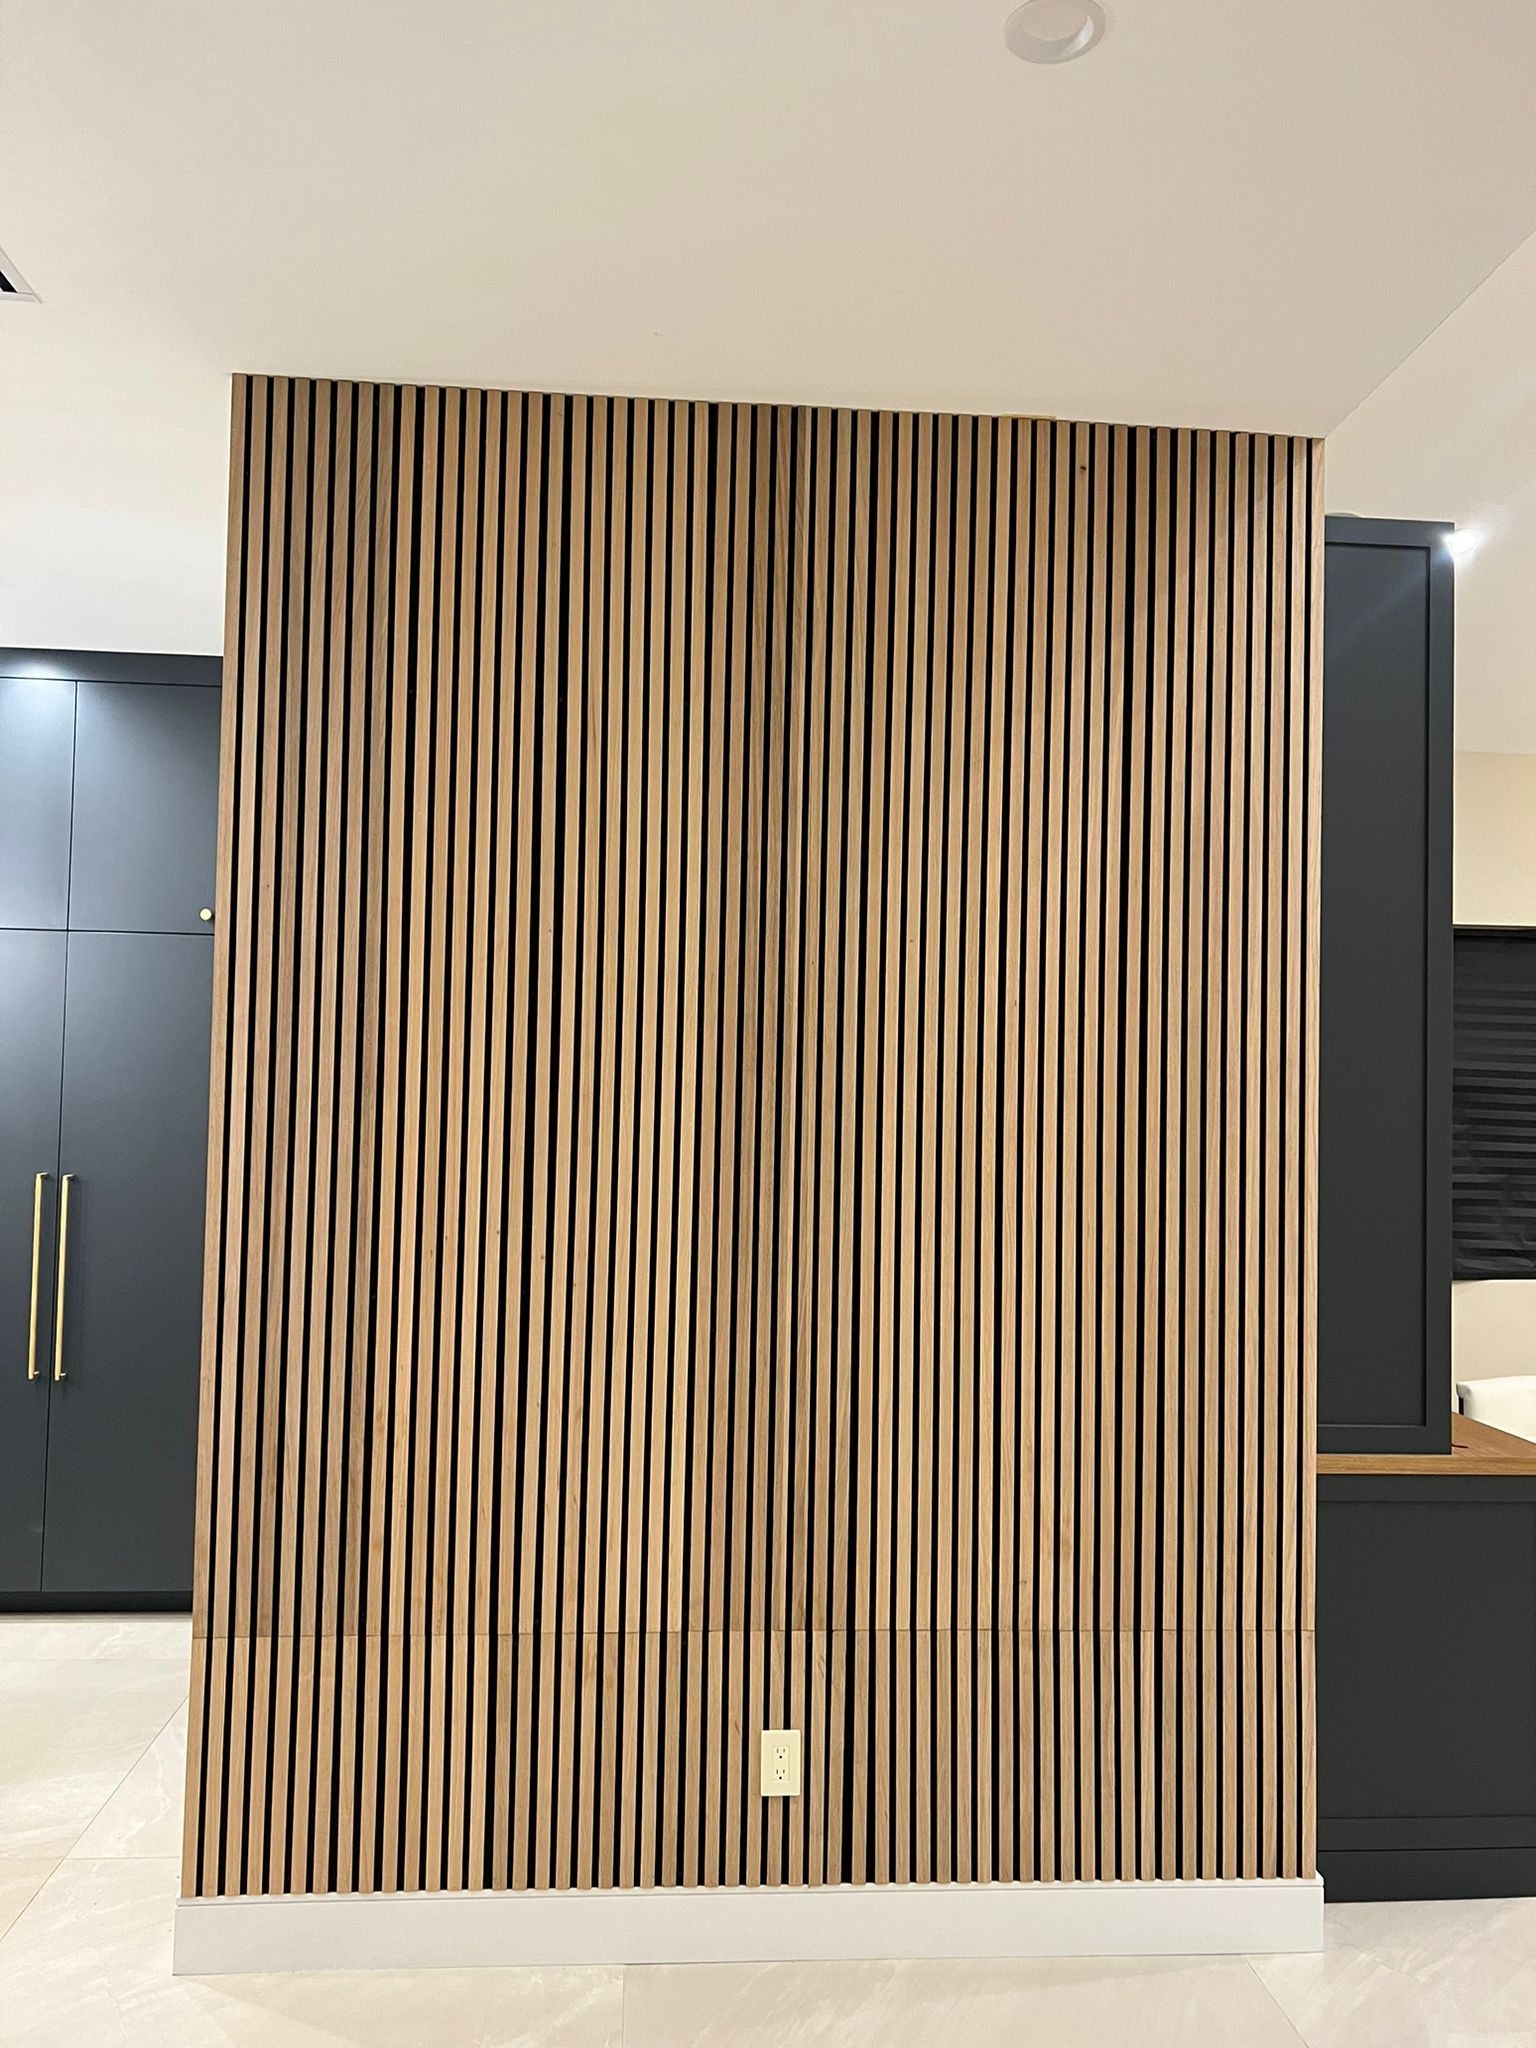
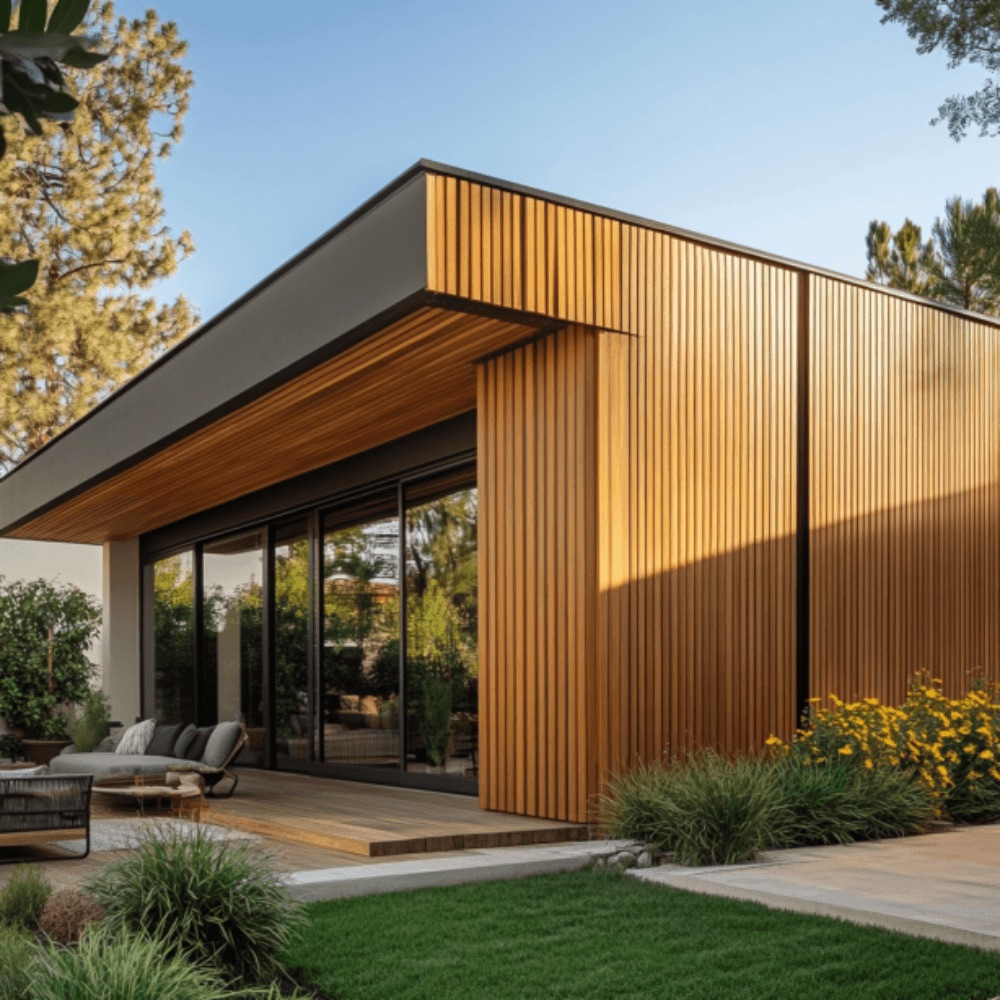
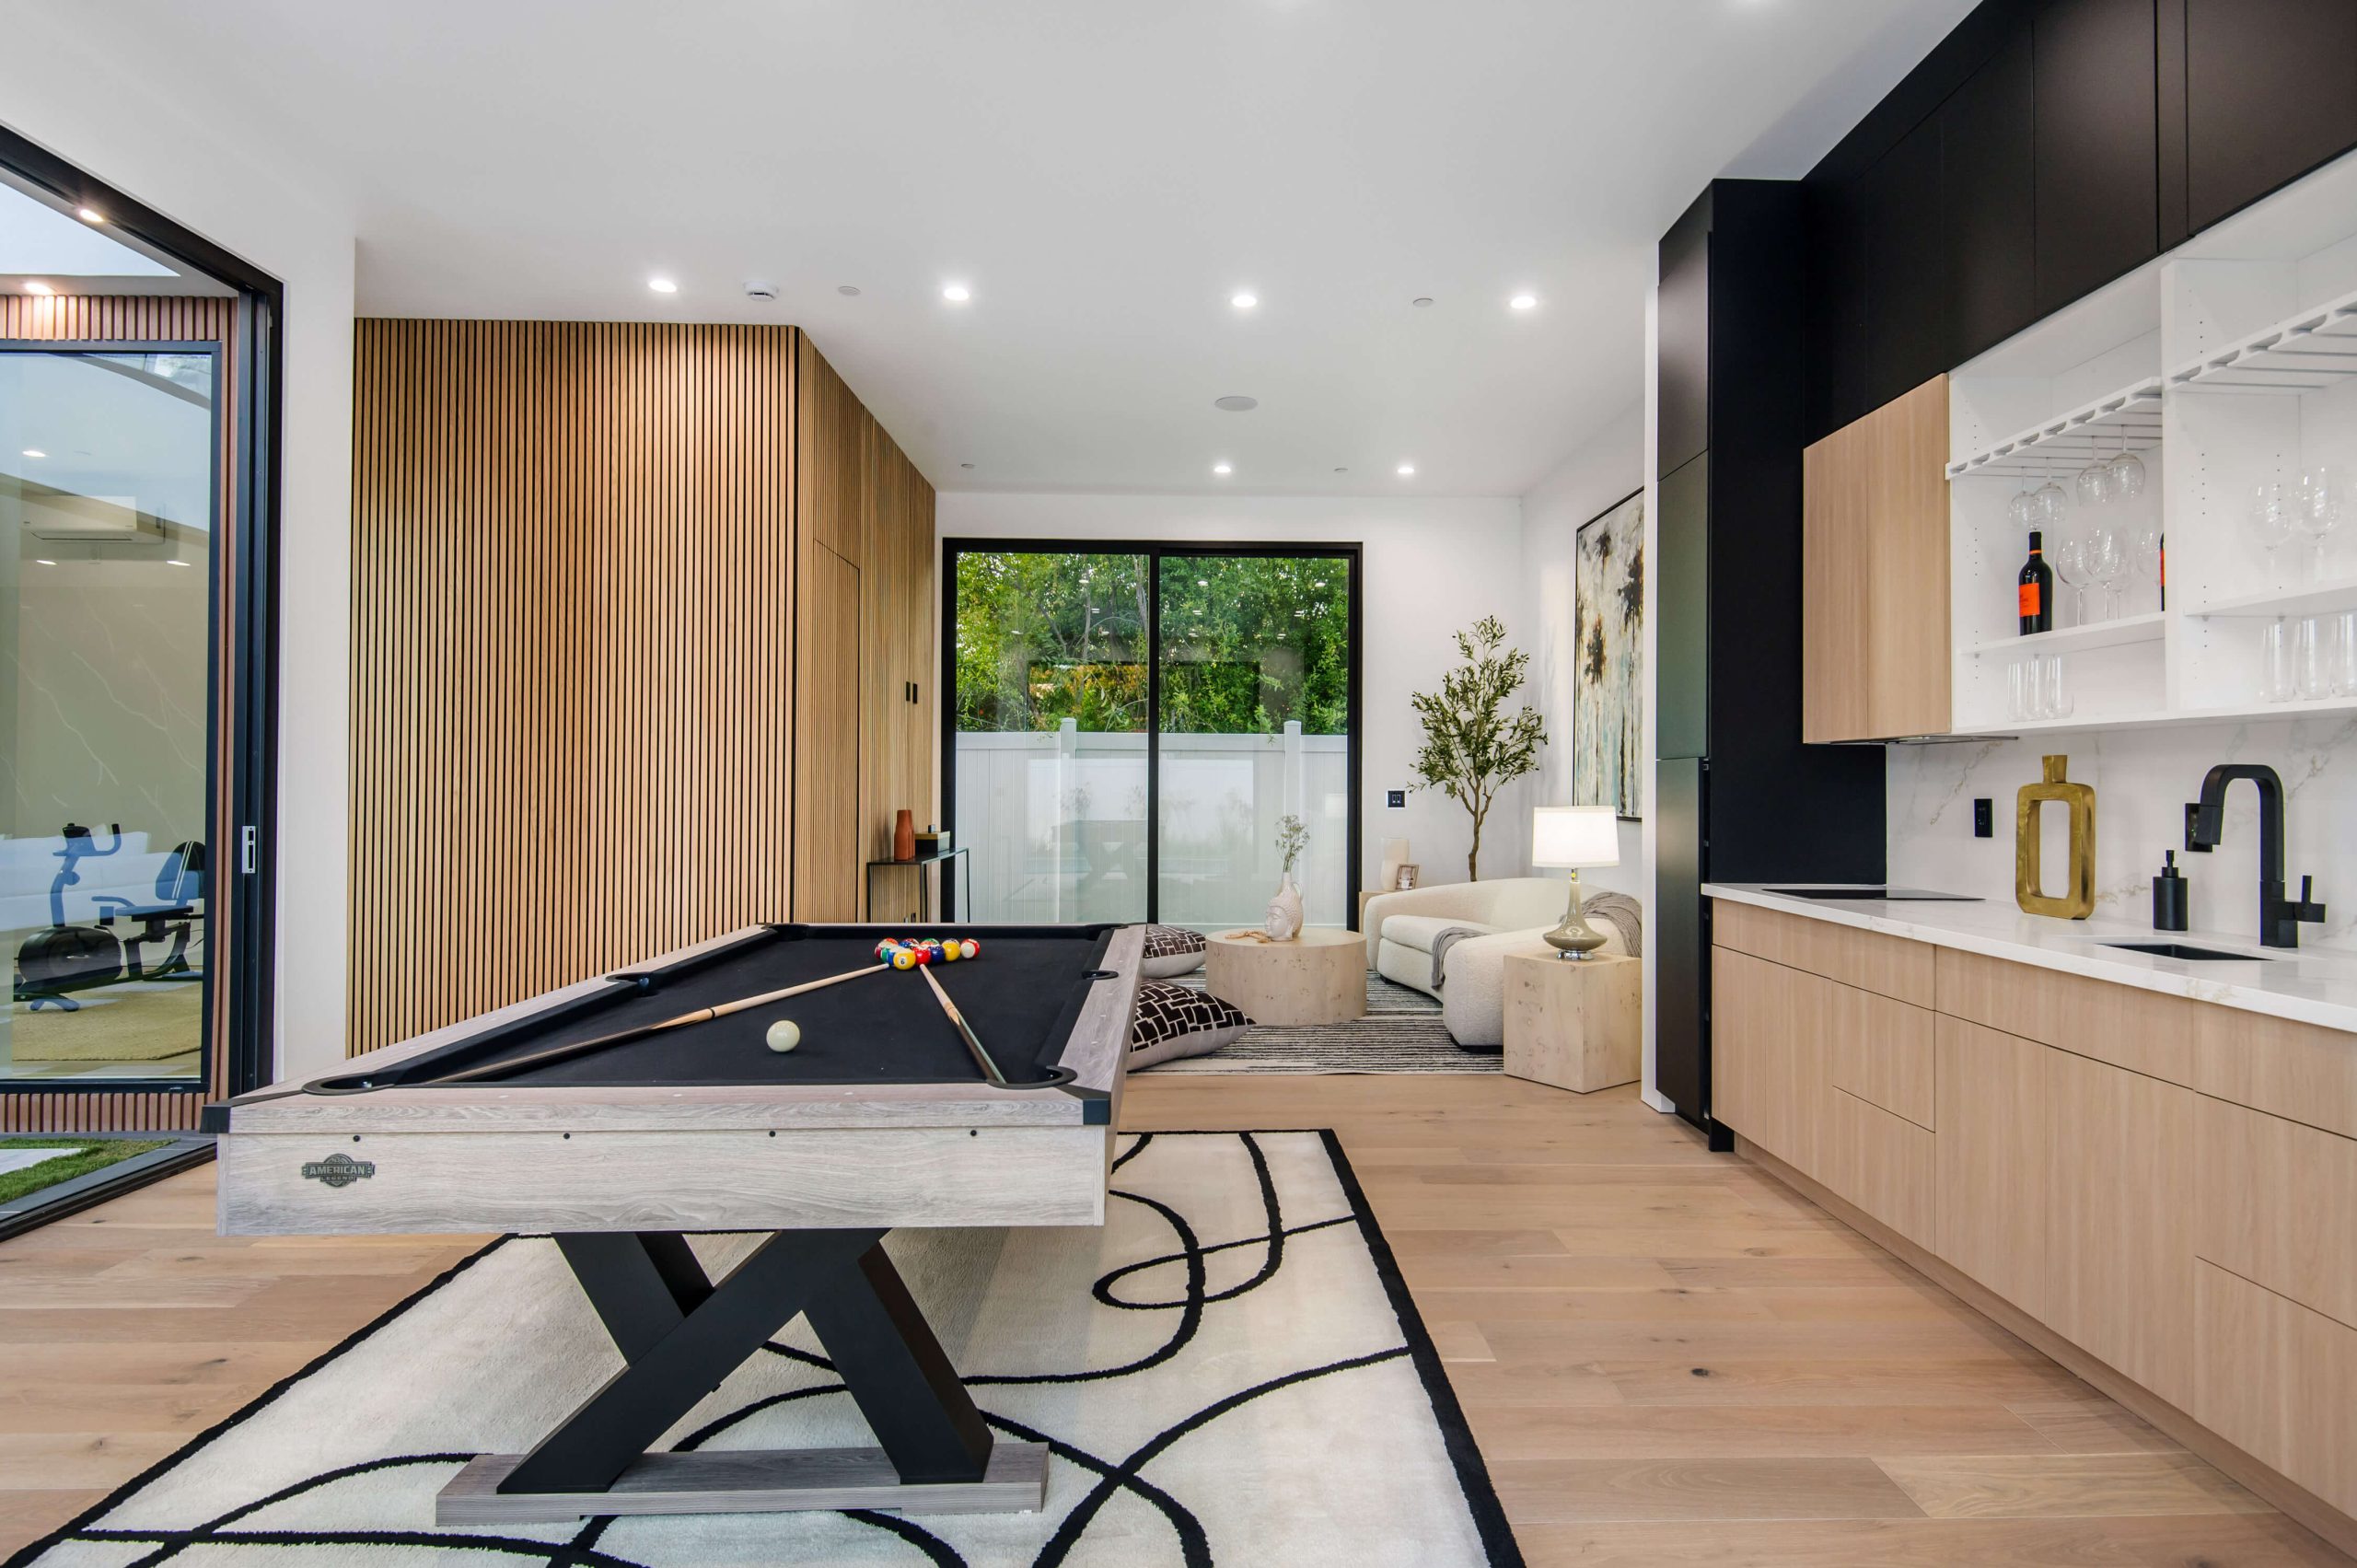
Installing wood wall panels is a fantastic way to add warmth, texture, and a timeless feel to any space. Whether you are looking to transform a living room, bedroom, or even a commercial setting, achieving a flawless wood wall panel installation can seem daunting. This guide will walk you through expert tips that ensure success in your wood paneling project. From preparing the walls to sealing the final product, these insights will help you achieve a professional finish.
Understanding the Types of Wood Wall Panels
Before diving into installation, it’s important to understand the various types of wood wall panels available. Each type serves a unique aesthetic and functional purpose, which can influence the overall installation process.
- Natural Oak Wood Wall Panels: These panels are made from high-quality oak, providing durability and a premium finish. Oak panels are commonly used for creating a rustic or classic look in residential and commercial settings.
- MDF (Medium-Density Fiberboard) Panels: MDF panels are made from compressed wood fibers and resin, making them more affordable and versatile. They are ideal for painted finishes, and their uniformity simplifies installation.
- WPC (Wood Plastic Composite) Panels: WPC panels are designed for outdoor use due to their resistance to weather elements. These panels combine wood fibers with plastic to create a sturdy, low-maintenance product.
Understanding the characteristics of each type will help you choose the right panel for your project and ensure a flawless wood wall panel installation.
Step-by-Step Guide to a Flawless Installation
Achieving a flawless wood wall panel installation requires careful planning and attention to detail. Here’s a step-by-step guide to help you through the process:
1. Preparation: The Key to Success
Before installing wood wall panels, preparing the wall surface is crucial for a smooth and durable finish.
- Clean the Surface: Start by cleaning the wall where the panels will be installed. Dust, dirt, and grease can prevent the panels from adhering properly.
- Level the Wall: Use a spirit level to check if your walls are even. If necessary, fill in any uneven areas with drywall compound and sand them smooth. Uneven walls can lead to gaps between panels, compromising the finished look.
- Mark Panel Placement: Measure the wall and mark where each panel will go. This step ensures that panels are installed in a straight, uniform pattern, reducing the risk of alignment issues.
2. Choosing the Right Adhesive or Fasteners
Depending on the type of wood wall panel and the surface you are attaching them to, you’ll need the right adhesive or fasteners.
- Adhesive: For lighter panels like MDF or smaller WPC panels, high-quality construction adhesive can work well. Apply the adhesive evenly across the back of each panel, ensuring full coverage to avoid air pockets.
- Nail or Screw Fasteners: Heavier panels, such as natural oak wood, may require nail or screw fasteners in addition to adhesive. Use finish nails or screws to secure the panels to the wall studs. Always ensure that nails or screws are countersunk to maintain a smooth surface.
3. Start from the Bottom and Work Upwards
Begin installing your panels from the bottom of the wall and work your way up. This allows gravity to work in your favor, ensuring each panel is properly aligned with the one beneath it.
- Dry Fit Panels: Before applying adhesive, dry fit each panel in place to confirm alignment.
- Use Spacers: For flawless wood wall panel installation, use spacers between panels to ensure consistent gaps, particularly for slat walls or modern designs where uniform spacing is essential.
4. Cut Panels to Fit Around Obstacles
Walls often have obstacles like outlets, windows, or doors. For a flawless installation, you’ll need to cut panels to fit these areas.
- Measure Twice, Cut Once: Always double-check your measurements before cutting panels. Use a jigsaw for irregular shapes like around electrical outlets, and a circular saw for straight cuts.
- Seal the Edges: After cutting, seal the edges of your panels to prevent moisture from seeping in, especially if installing in high-humidity areas such as bathrooms or kitchens.
5. Sealing and Finishing the Panels
After installation, proper sealing and finishing will protect your panels and enhance their longevity.
- Seal the Panels: Apply a wood sealer or polyurethane finish to protect the wood from moisture, stains, and scratches. Choose a finish that complements the natural grain of the wood to enhance its aesthetic appeal.
- Touch-Up: After sealing, touch up any visible nail holes with wood filler and paint or stain to match the surrounding panel. This step is essential for achieving a polished, flawless wood wall panel finish.
Common Installation Mistakes to Avoid
Even with careful planning, mistakes can happen. Here are some common pitfalls and how to avoid them:
- Skipping Wall Preparation: Failing to properly prepare the wall surface can lead to poor adhesion and uneven panels.
- Incorrect Adhesive Application: Applying too little adhesive can cause panels to fall off or create uneven surfaces.
- Improper Panel Alignment: Not using spacers or a level during installation can lead to misaligned panels, ruining the overall aesthetic.
- Overlooking Expansion Gaps: Wood expands and contracts with temperature and humidity changes. Be sure to leave expansion gaps at the edges of the wall to accommodate this.
Visual Aids for Understanding
To enhance understanding, here’s a table summarizing the key installation steps and tips:
| Step | Action | Key Tip |
|---|---|---|
| 1. Preparation | Clean and level the wall | Use a spirit level for accuracy |
| 2. Adhesive/Fasteners | Apply adhesive and fasten panels | Choose adhesive based on panel type |
| 3. Installation | Start from the bottom and use spacers | Dry fit panels before applying adhesive |
| 4. Cutting Panels | Cut panels to fit around obstacles | Measure twice, cut once |
| 5. Finishing | Seal and finish the panels | Use a wood sealer for protection |
FAQs on Wood Wall Panel Installation
Here are some frequently asked questions to further guide you in achieving a flawless wood wall panel installation:
-
What is the best adhesive for wood wall panels?
High-quality construction adhesive works well for most wood wall panels, but heavier panels may need additional fasteners.
-
Do I need to leave expansion gaps?
Yes, leaving expansion gaps at the edges is essential for wood panels as they expand and contract with humidity changes.
-
Can I install wood panels in a bathroom?
Yes, but make sure to seal the panels properly to protect them from moisture.
-
How do I avoid misalignment during installation?
Use a level and spacers between panels to ensure uniform gaps and straight alignment.
-
What type of finish should I use on wood panels?
Polyurethane or a wood sealer is ideal to protect the wood and enhance its natural beauty.
By following these tips and guidelines, you can ensure a flawless wood wall panel installation that elevates the style and functionality of your space.
This guide not only helps you install wood wall panels but also empowers you to avoid common mistakes, making the process smoother and more rewarding.


