Thinking of bringing peace and style into your space? You’re not alone. More and more Aussies are choosing to install acoustic wood panels at home to block out noise and give their walls a modern timber finish. It’s like giving your home a warm hug, one panel at a time. And the best part? You don’t need to be a tradie to pull it off.
Let’s walk you through how we’ve helped homeowners just like you get it done—easy, affordable, and no stress.
We once worked with a bloke in Brisbane who wanted to turn his spare room into a home studio. He was fed up with the echoes, especially when the footy was on in the living room. We guided him to install acoustic wood panels at home, and after a weekend of simple work, his studio became his quiet haven. His family reckons it’s the only room in the house where you can think straight!
So, how do you get started?
Planning Makes It Easy
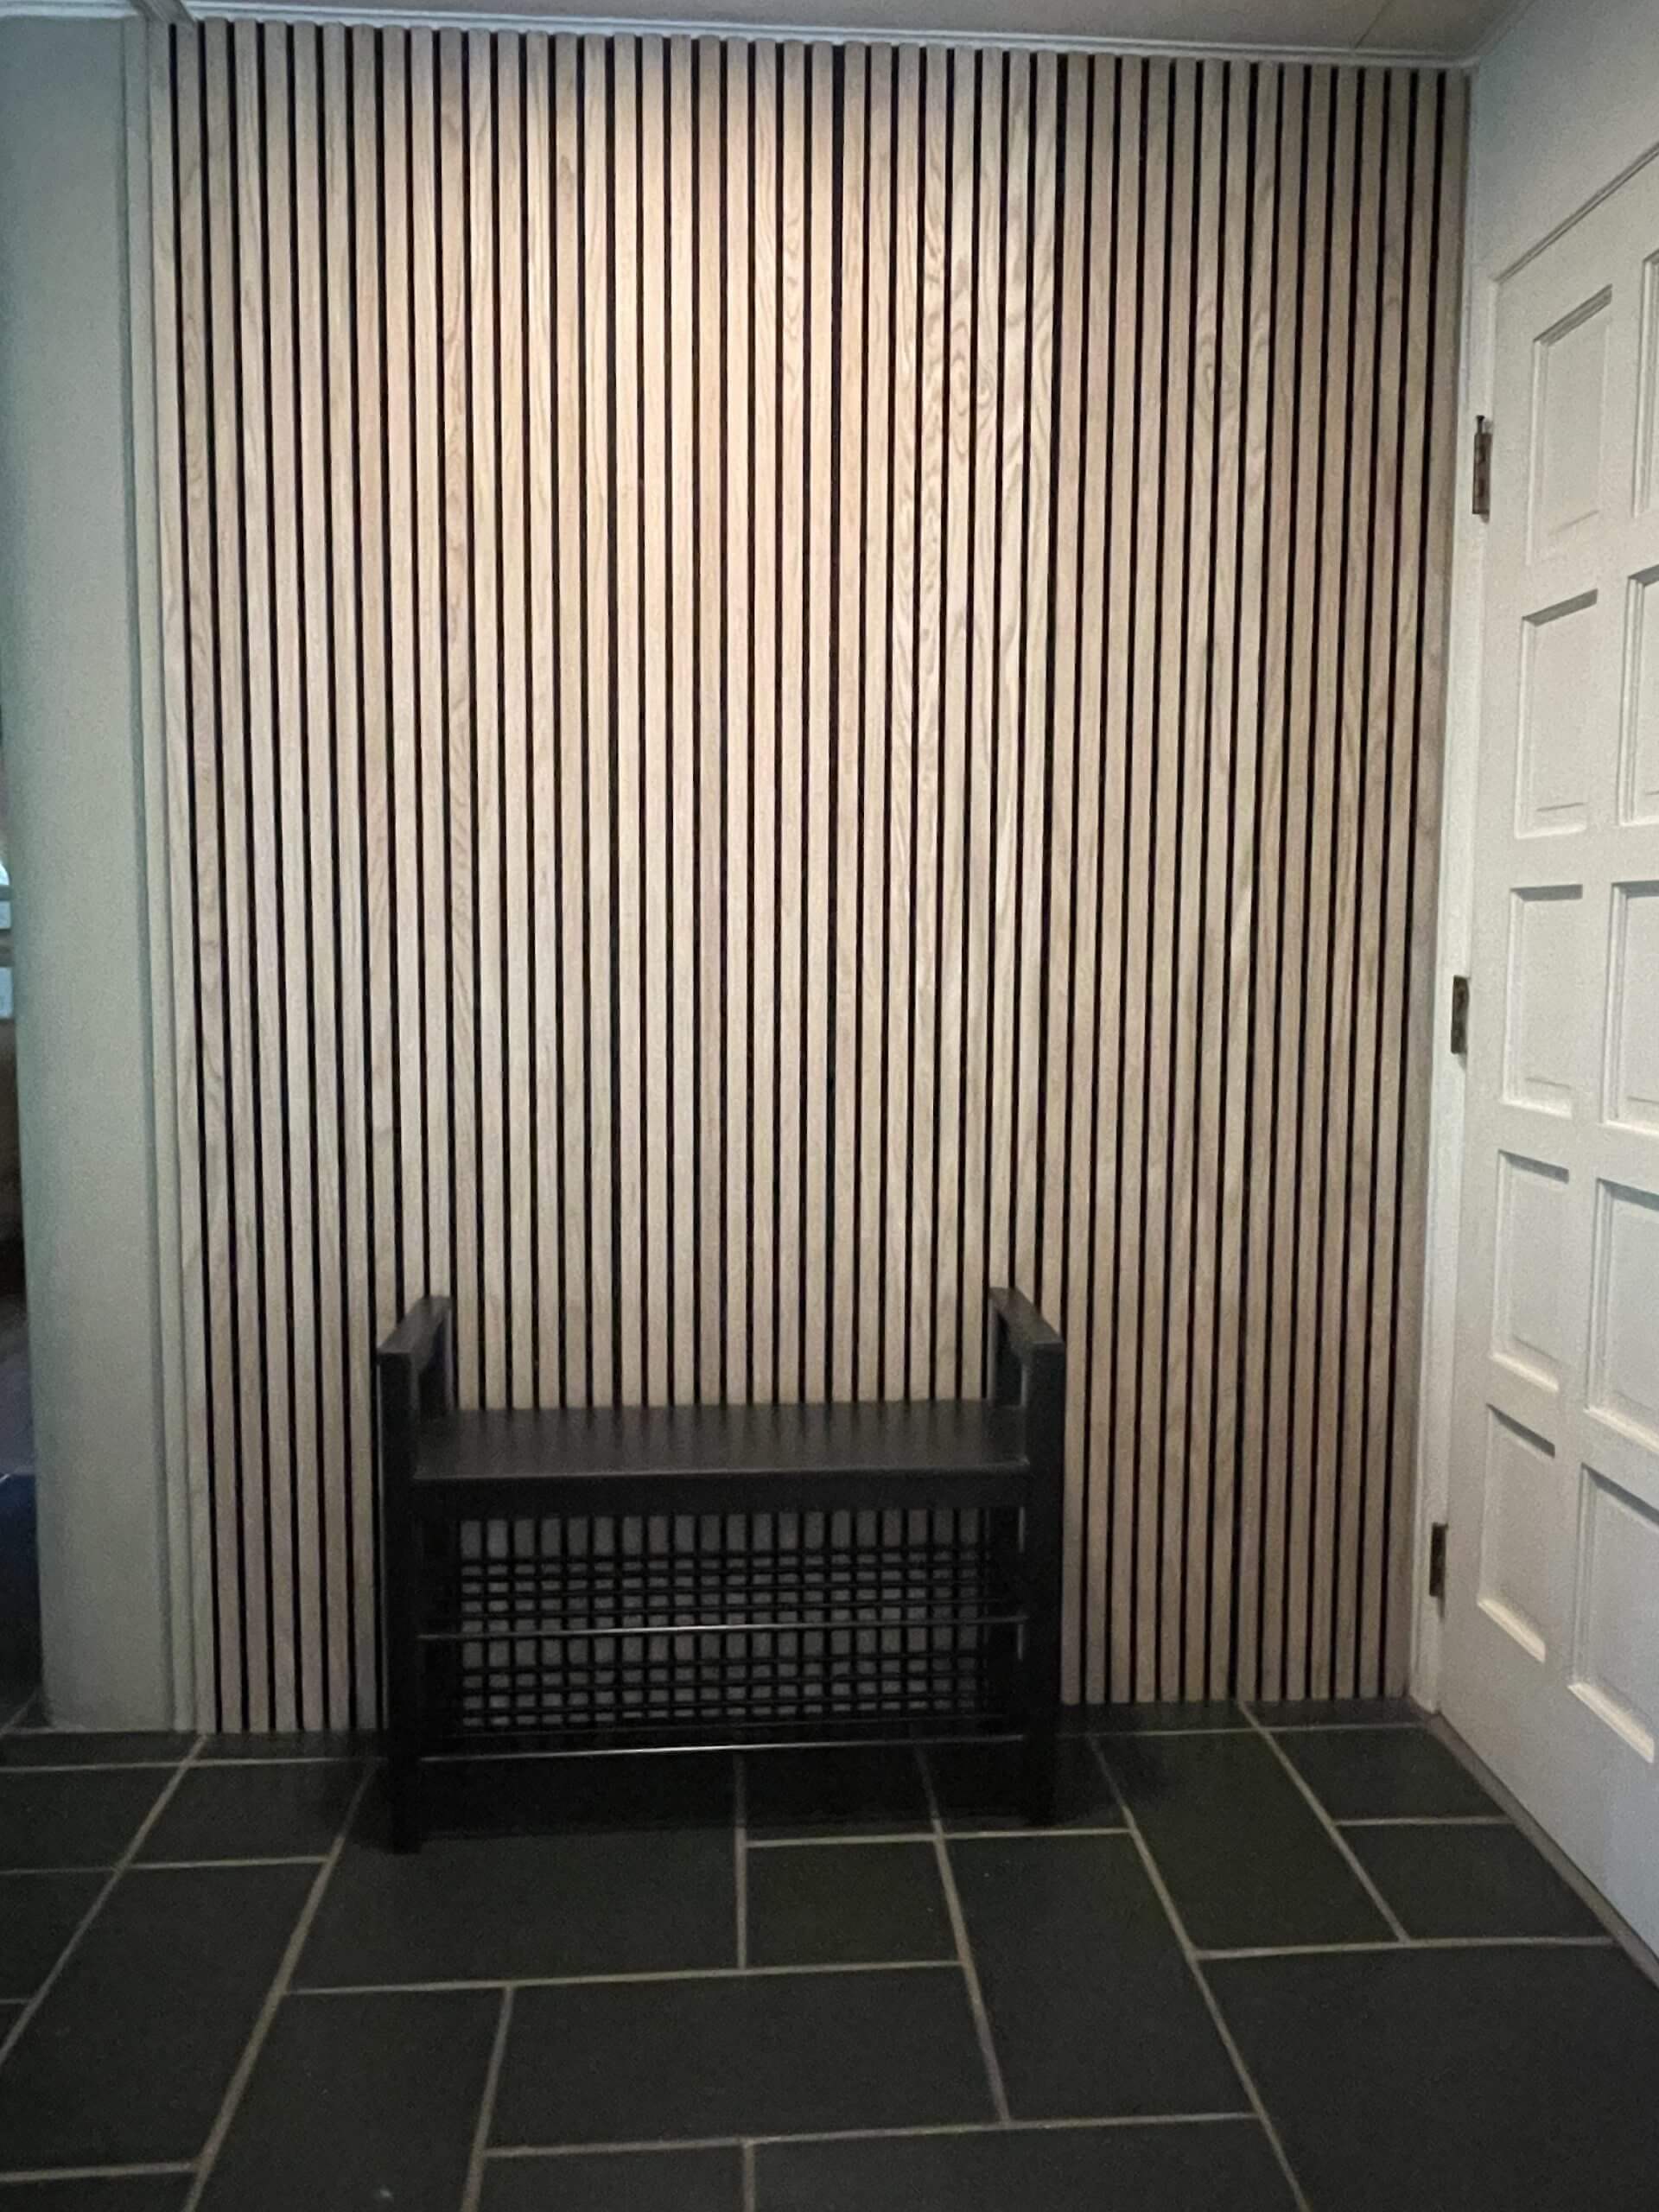
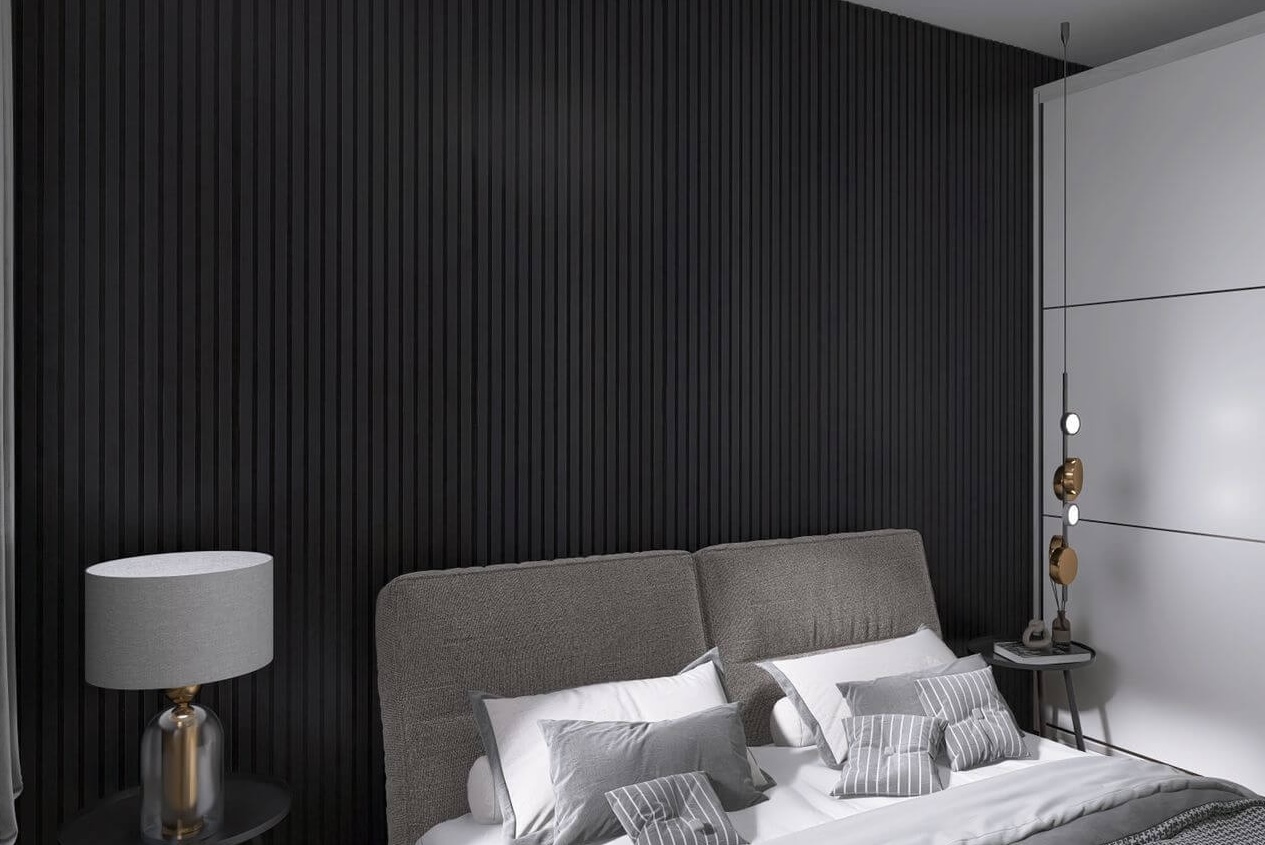
Before you buy anything, measure your space. Think about the vibe you’re going for. Want something natural and earthy? Go for timber with a light oak finish. Something bold? Try charcoal or walnut tones.
Here’s what you’ll need:
- Measuring tape
- Spirit level
- Pencil
- Stud finder (optional but helpful)
- Strong construction adhesive
- Screws and wall plugs (for extra grip)
- Utility knife or saw
- Ladder or stool
Don’t forget to count how many panels you’ll need. A good tip is to add one or two extras—mistakes happen, and you’ll thank yourself later.
Picking the Right Panel Type
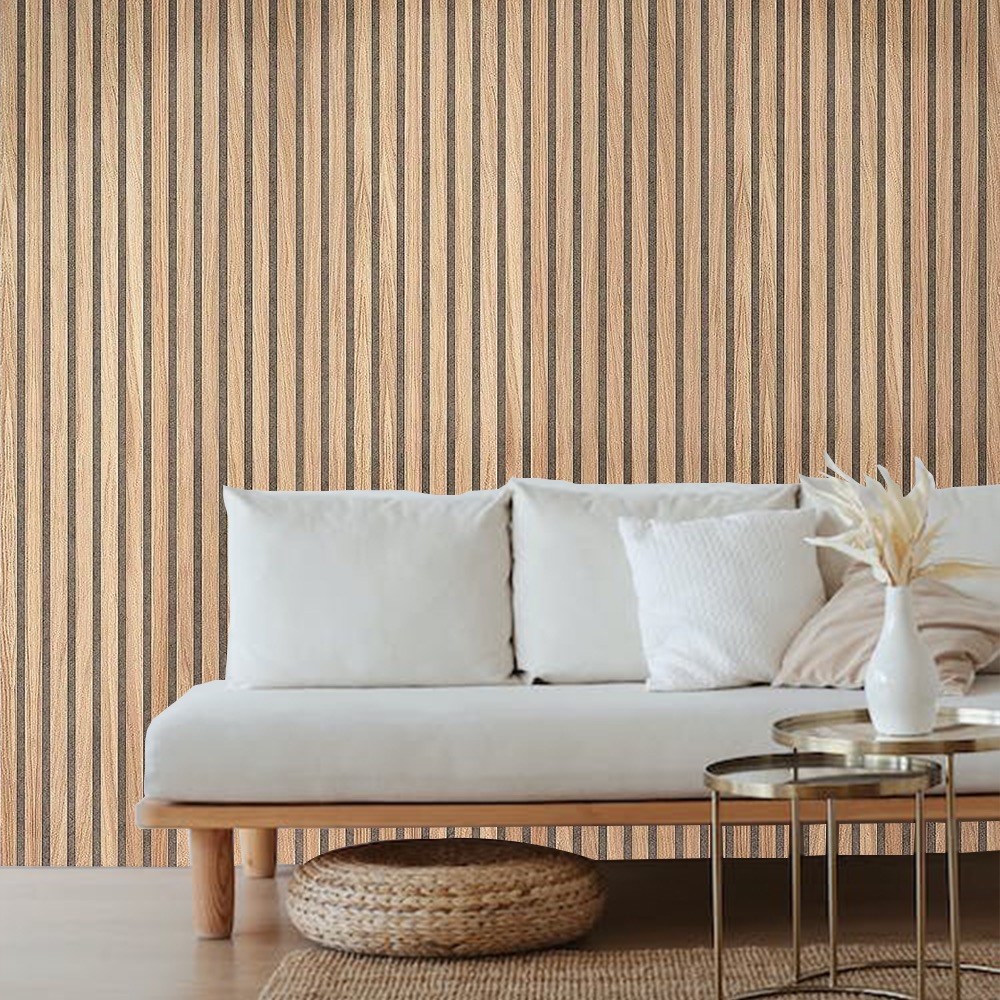
Not all acoustic wood panels are made the same. Some are better for sound absorption, others for decoration. If your goal is both, choose slatted acoustic panels that come with sound-dampening felt backings.
Here’s a quick breakdown of the most popular types:
| Panel Type | Description |
|---|---|
| Slatted Acoustic Panels | Timber strips on felt backing—blocks noise and looks top-notch |
| Grooved MDF Panels | More decorative than functional, but still helps reduce echo |
| Solid Wood Panels | Strong and stunning, but can be trickier to install |
We always suggest slatted styles if you’re going to install acoustic wood panels at home, especially when you’re after that sweet balance between style and silence.
Mark It Right, Fix It Tight
This part’s simple but super important. Once your panels arrive, let them sit in the room for 24 hours. Timber expands and contracts with the weather, so give it time to adjust.
Here’s what to do next:
- Hold a panel up on the wall where you want it.
- Use a pencil to lightly mark its top and bottom.
- Check it’s level using your spirit level.
- Apply adhesive on the back in a zig-zag pattern.
- Press it onto the wall and hold for 30 seconds.
- Use screws to secure the top and bottom if needed—especially if your wall is uneven.
We usually help our customers install acoustic wood panels at home with adhesive first, then reinforce with screws if they’re going up on plaster or concrete walls. No one wants panels peeling off after a few humid days.
Got Corners or Outlets? No Worries
Corners and power points can look tricky, but with a bit of patience, you’ll make it work. If your panels need trimming, use a fine-toothed saw or utility knife. Just mark your cuts clearly and go slow.
For power points:
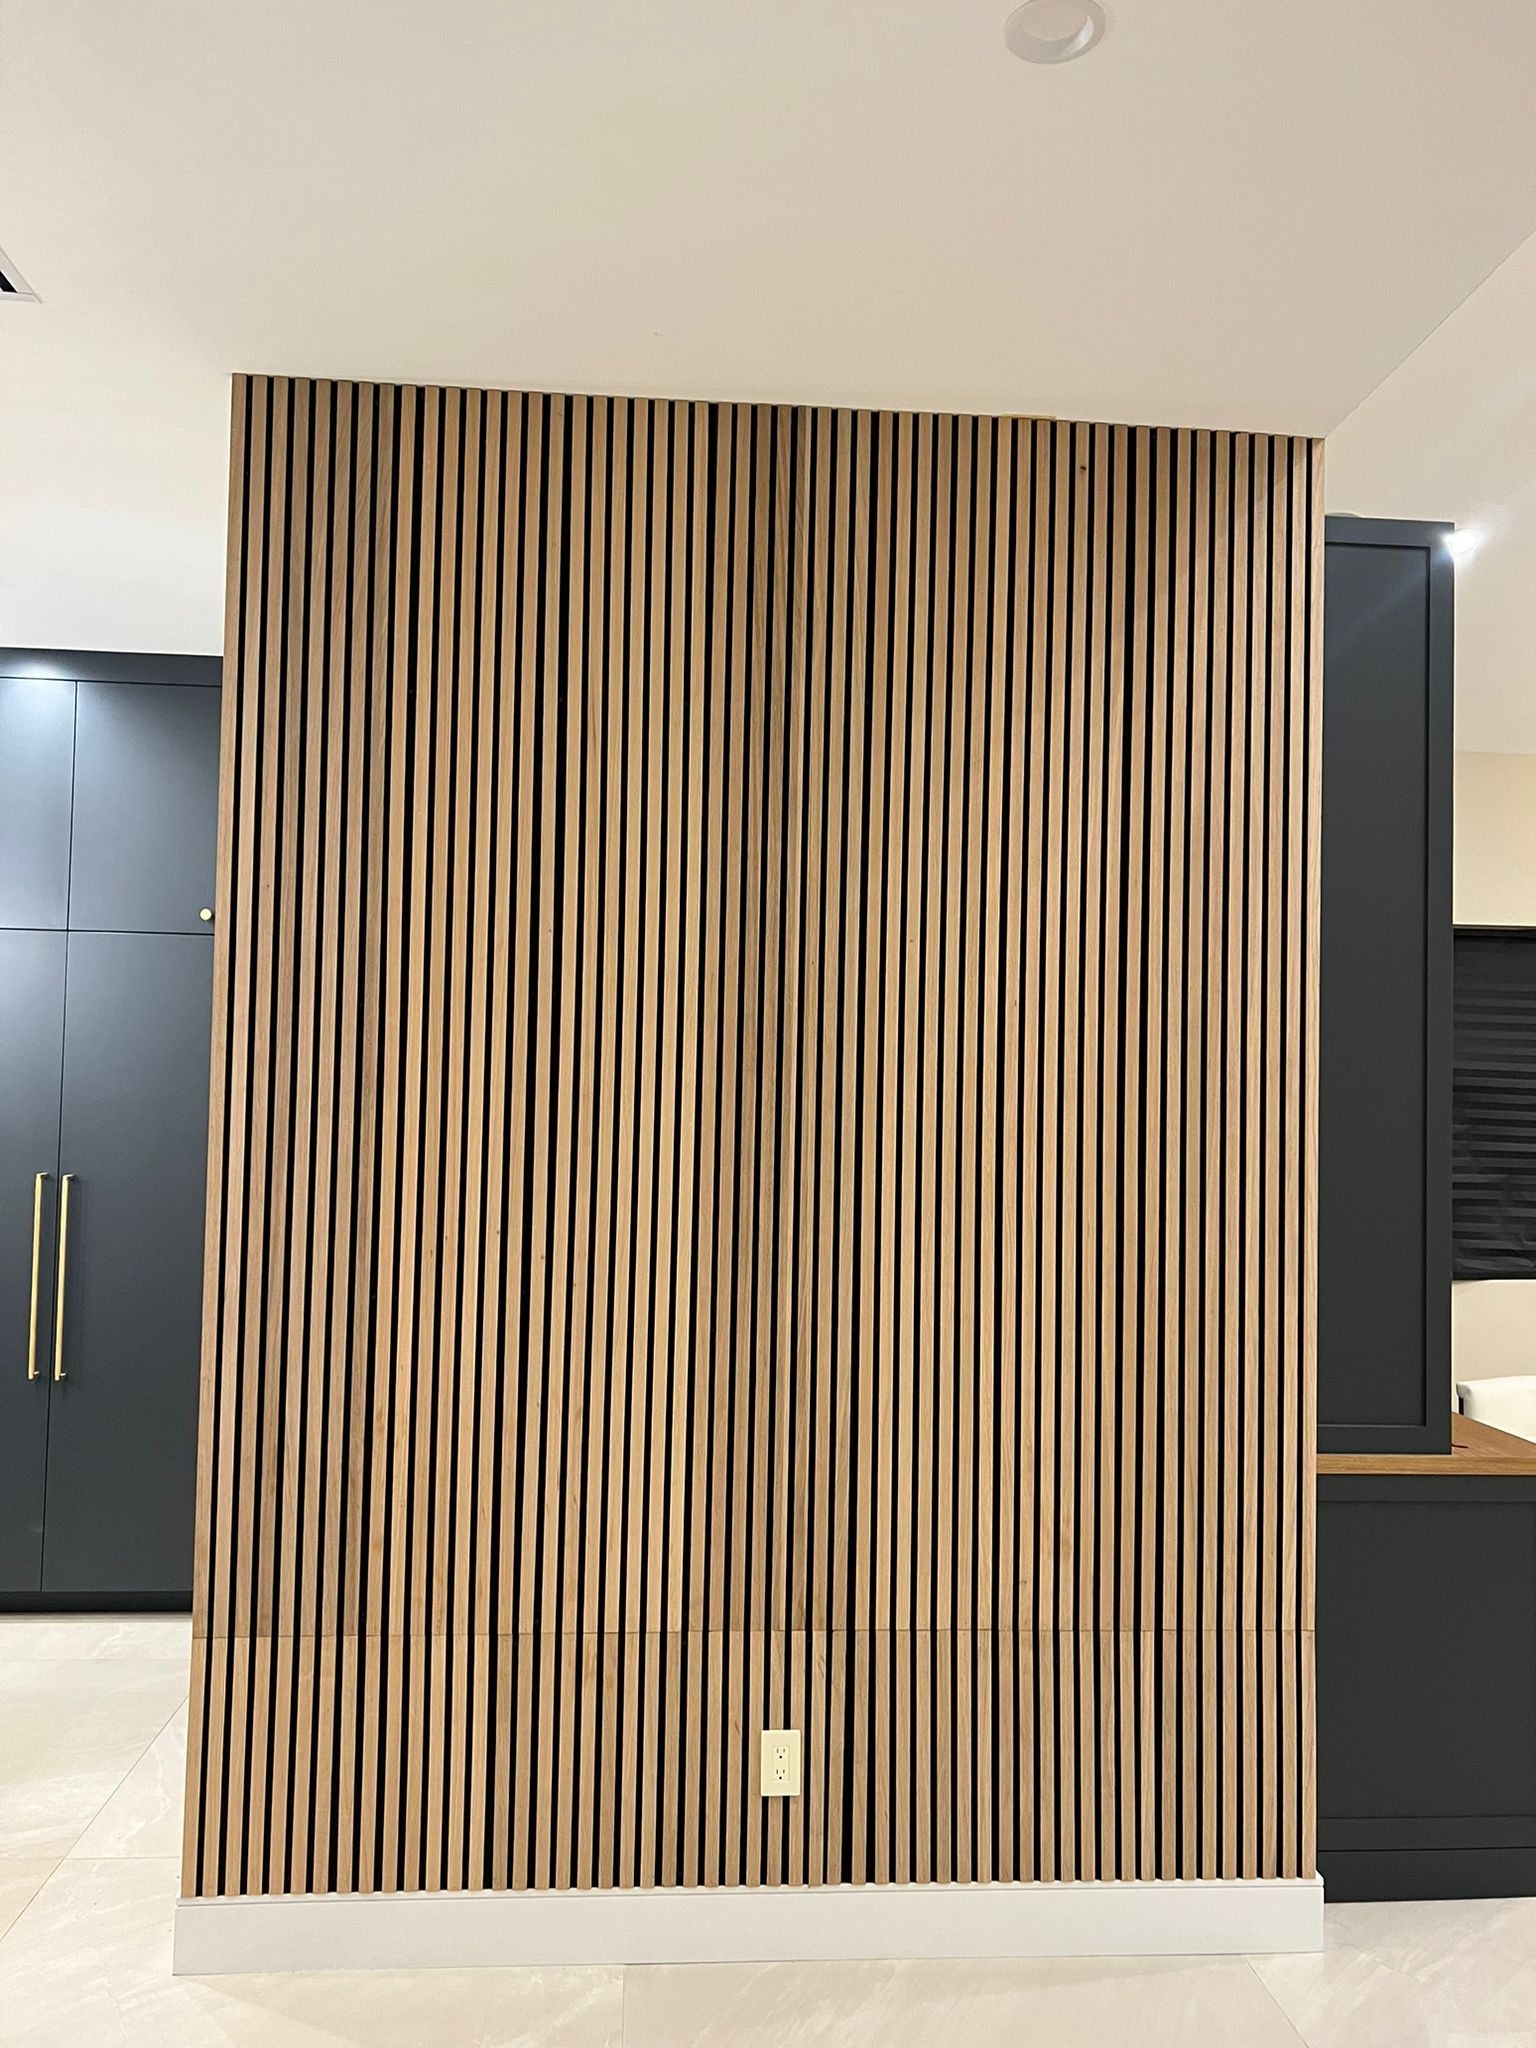
- Remove the panel section where the outlet goes.
- Reattach the outlet cover on top for a clean look.
Here’s a little trick we share with our mates: if you’re trimming more than two panels, keep the cutoffs. They might come in handy around windows or doors later on.
Maintenance Is a Breeze
Once installed, your panels don’t need much babysitting. Wipe them down now and then with a damp cloth. Avoid soaking them—timber doesn’t like too much moisture.
Want to change things up later? Panels can be removed without major wall damage if you used the right adhesive.
We’ve seen folks update a whole room in just a few hours. From plain plaster to textured timber, it’s a glow-up your house will thank you for.
Where It Really Shines
Still wondering if it’s worth it to install acoustic wood panels at home? Here’s where they make the biggest difference:
- Home theatres – Better sound and no echo
- Work-from-home spaces – Cuts out street and hallway noise
- Bedrooms – Makes bedtime quieter and cosier
- Living rooms – Adds warmth and depth to boring walls
If you want to see some stunning real-world examples, check out this inspiring collection of timber panels. You’ll see how versatile and stylish they really are.
Your Soundproofing Questions, Answered
Here’s a quick guide to questions we often get from folks ready to jump in:
-
Can I put these up without help?
Yes! If you can hang a picture frame, you can handle this job. It just takes a bit of planning.
-
Do I need to screw every panel into the wall?
Not always. Adhesive works great for most walls. Screws are backup if things feel wobbly.
-
Will they fully soundproof my room?
They’ll definitely help, but if you need deep soundproofing (like for a recording studio), check out these extra tips.
-
Are they safe to use around kids and pets?
Absolutely, as long as they’re installed properly. Go for eco-friendly options with no sharp edges.
Aussie Tip List for First-Time DIYers
- Let panels sit in the room before installing.
- Start in the centre of the wall and work outwards.
- Use masking tape to keep things level while adhesive dries.
- Always check twice before cutting anything.
If you’re ready to give your home a proper upgrade, we’ve got your back. You’ll find top-notch materials and handy guides at this trusted source for acoustic wall panels.
Once you install acoustic wood panels at home, you’ll notice the change right away—not just in sound, but in how your space feels. Cosier. Warmer. A place that truly feels yours.
And that’s something we reckon every home deserves.

