There’s something warm and classic about wood panel walls. They make a room feel cozy, stylish, and natural all at once. Many folks believe you need to call a contractor to get this kind of upgrade done. But guess what? You really don’t. You can install wood panel walls without a contractor, and we’re here to walk you through it, step by step, with the same care we’d give our own home.
Let’s kick things off with what you’ll need. Here’s a simple list to get you started:
- Wood panels (shiplap, tongue-and-groove, reclaimed, or slat-style)
- Measuring tape
- Stud finder
- Level
- Pencil
- Nail gun or construction adhesive
- Saw (hand saw or circular saw)
- Safety goggles and gloves
Once you gather these items, you’re halfway there.
What Kind of Wood Panels Should You Use?
Not all wood panels are the same. Before you install wood panel walls without a contractor, think about the look you’re going for. Here are some common types:
A. Shiplap
- Popular for farmhouse-style homes
- Easy to install with overlapping edges
B. Tongue-and-Groove
- Lock into each other like puzzle pieces
- Great for tight fits and clean lines
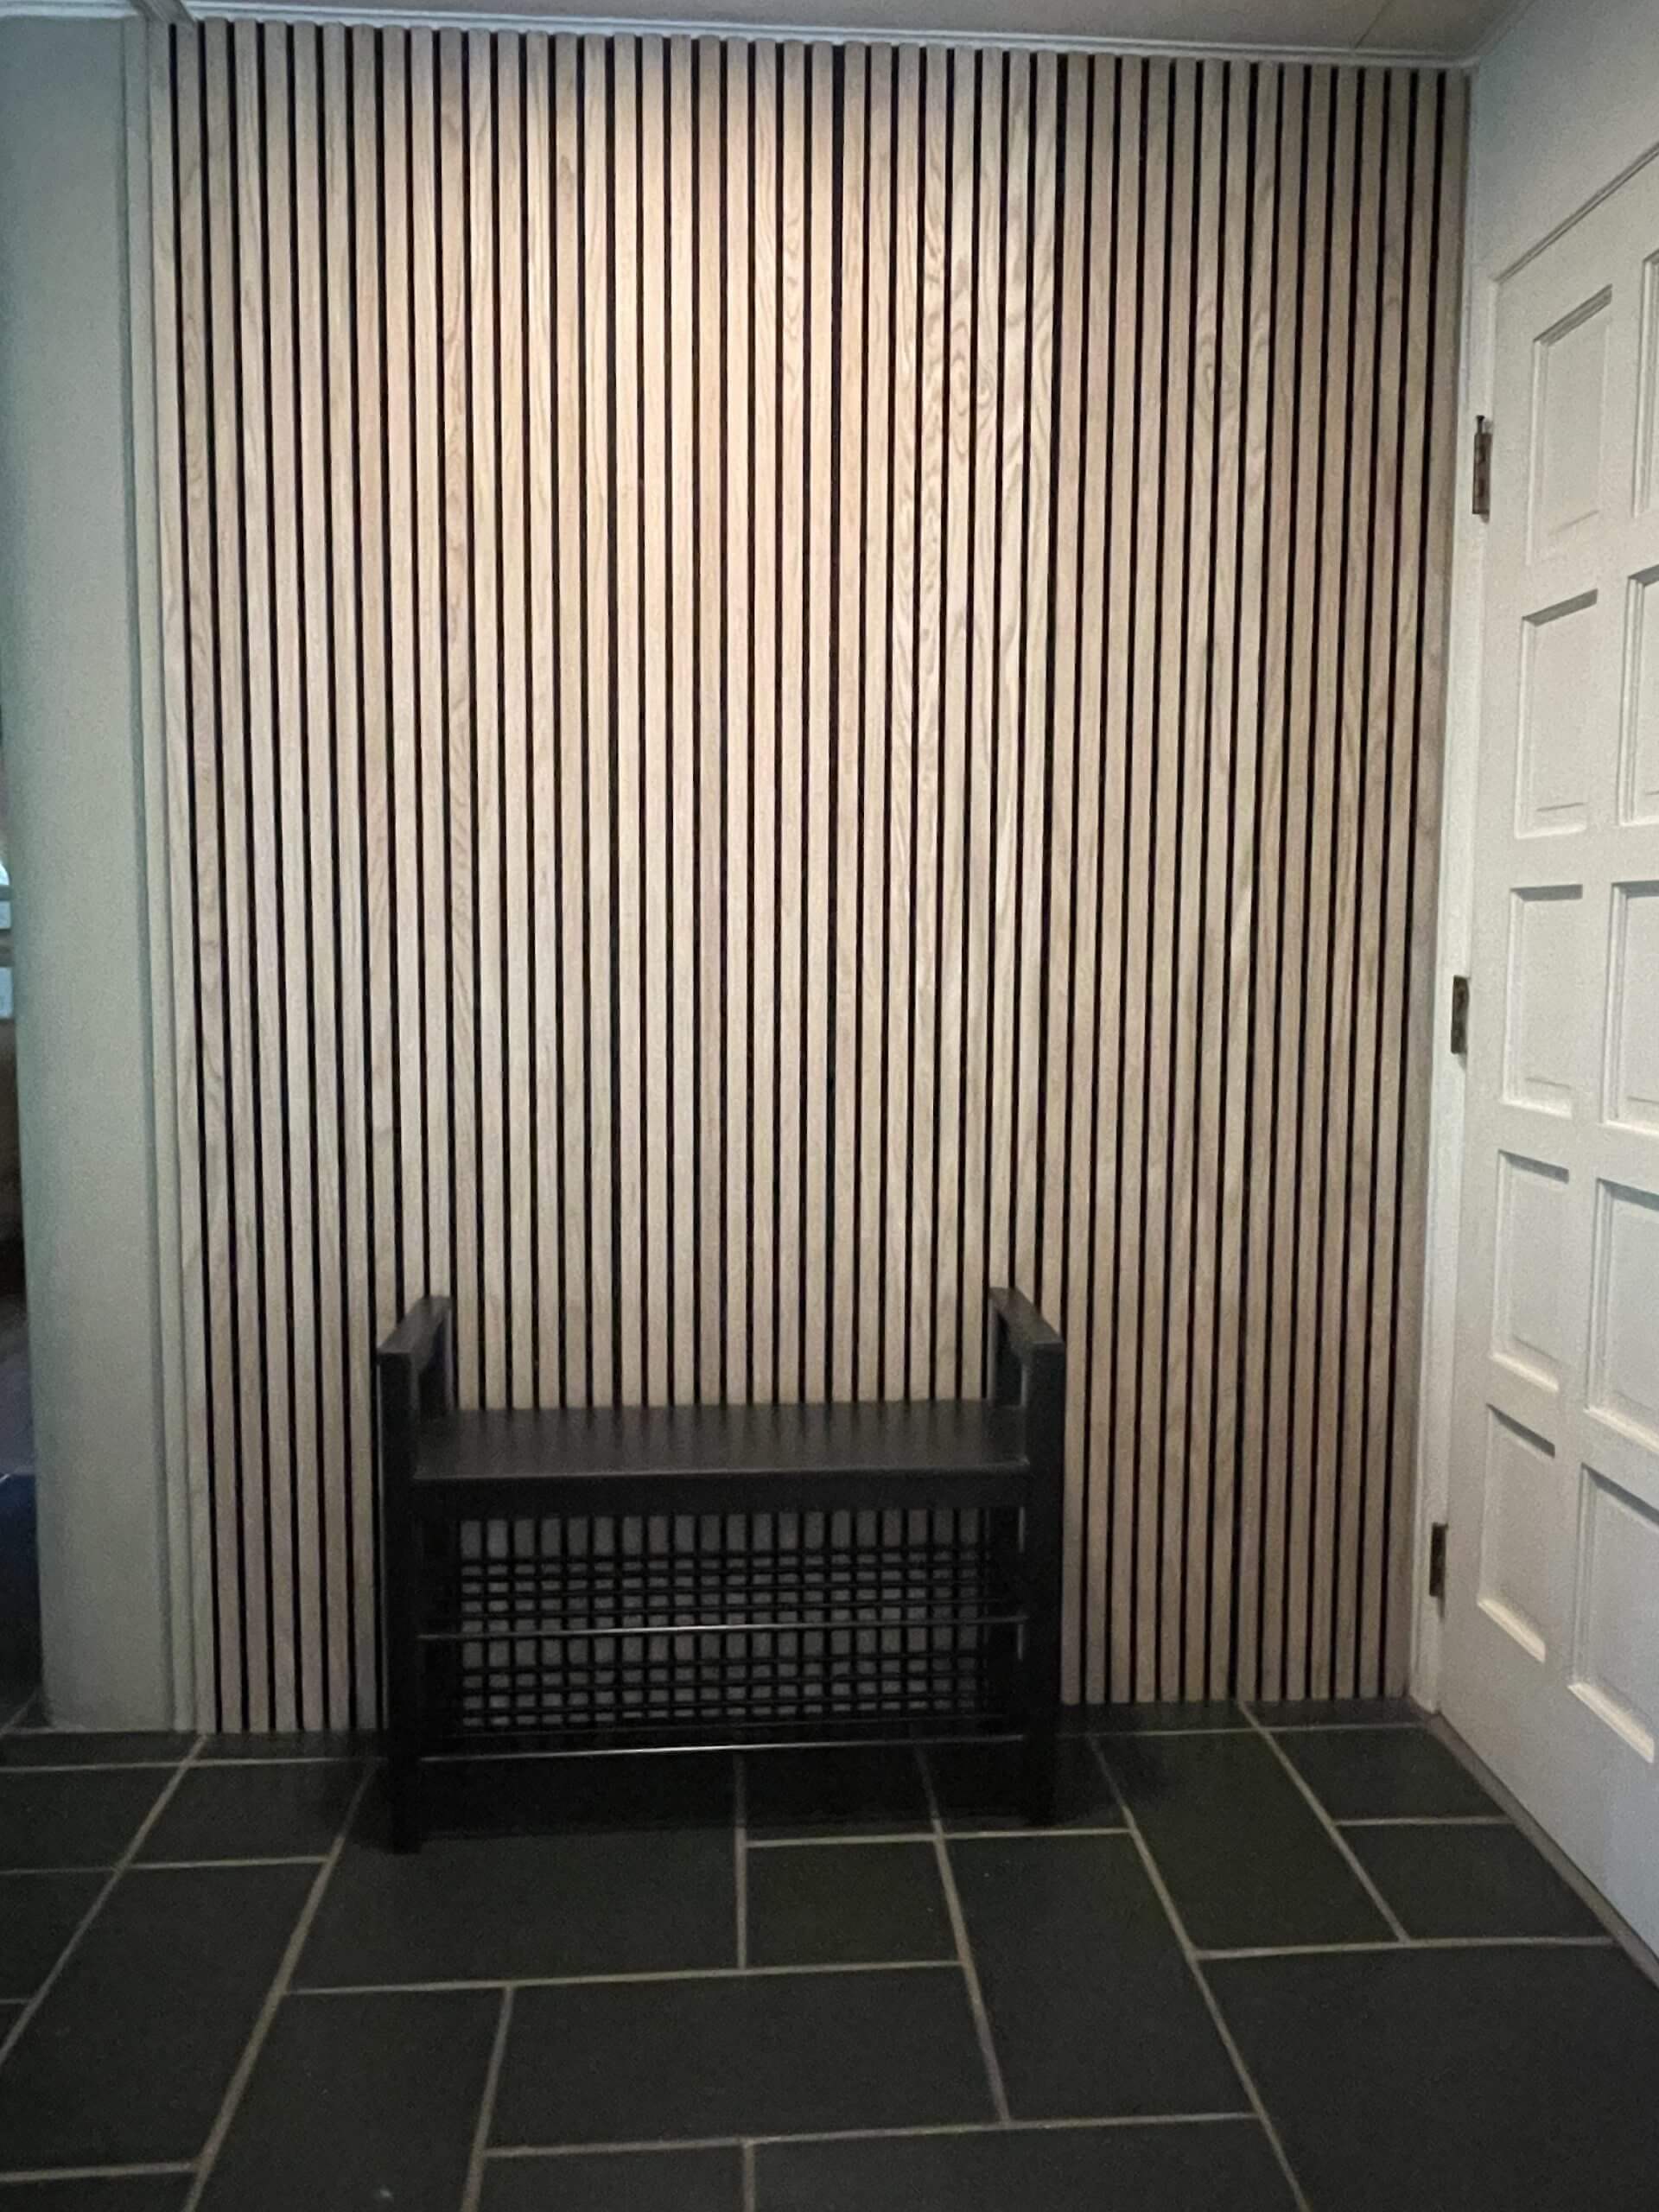
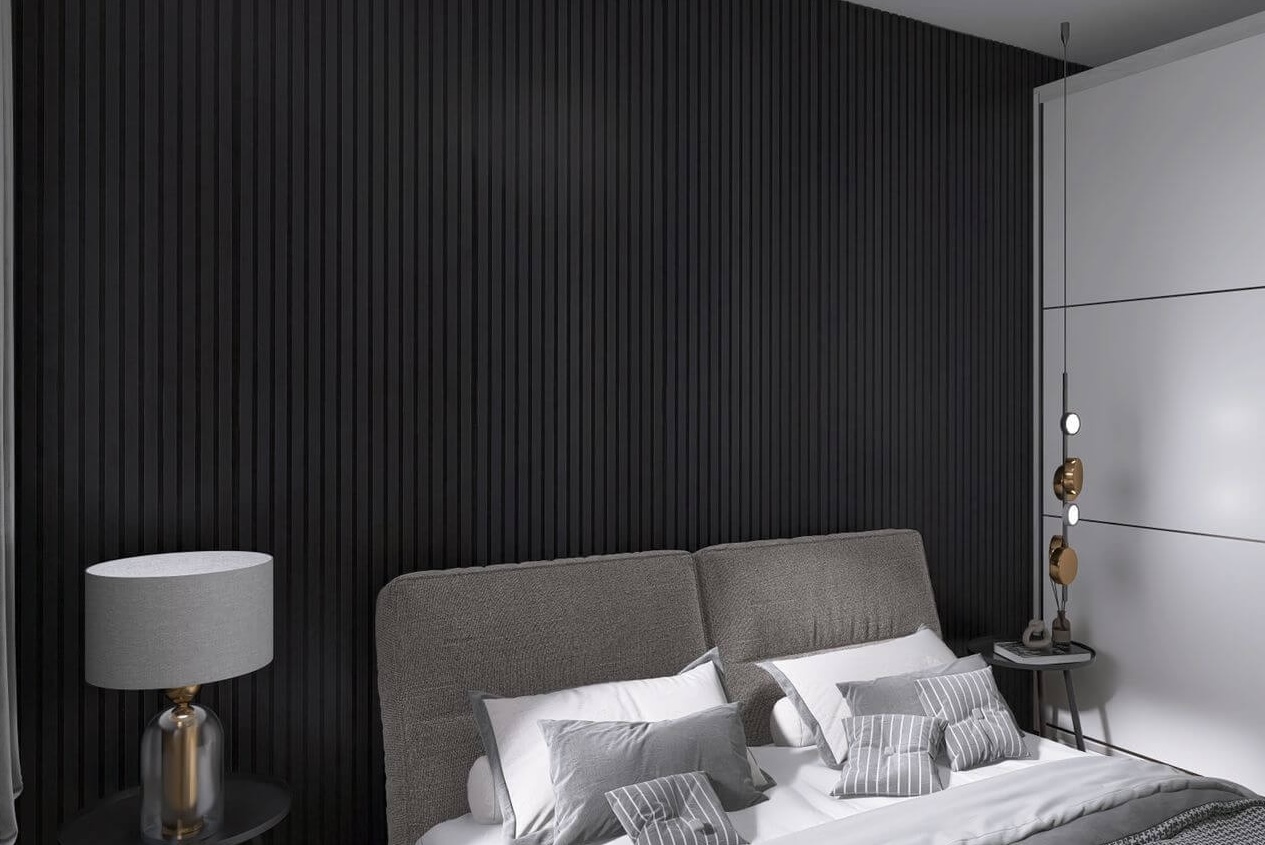
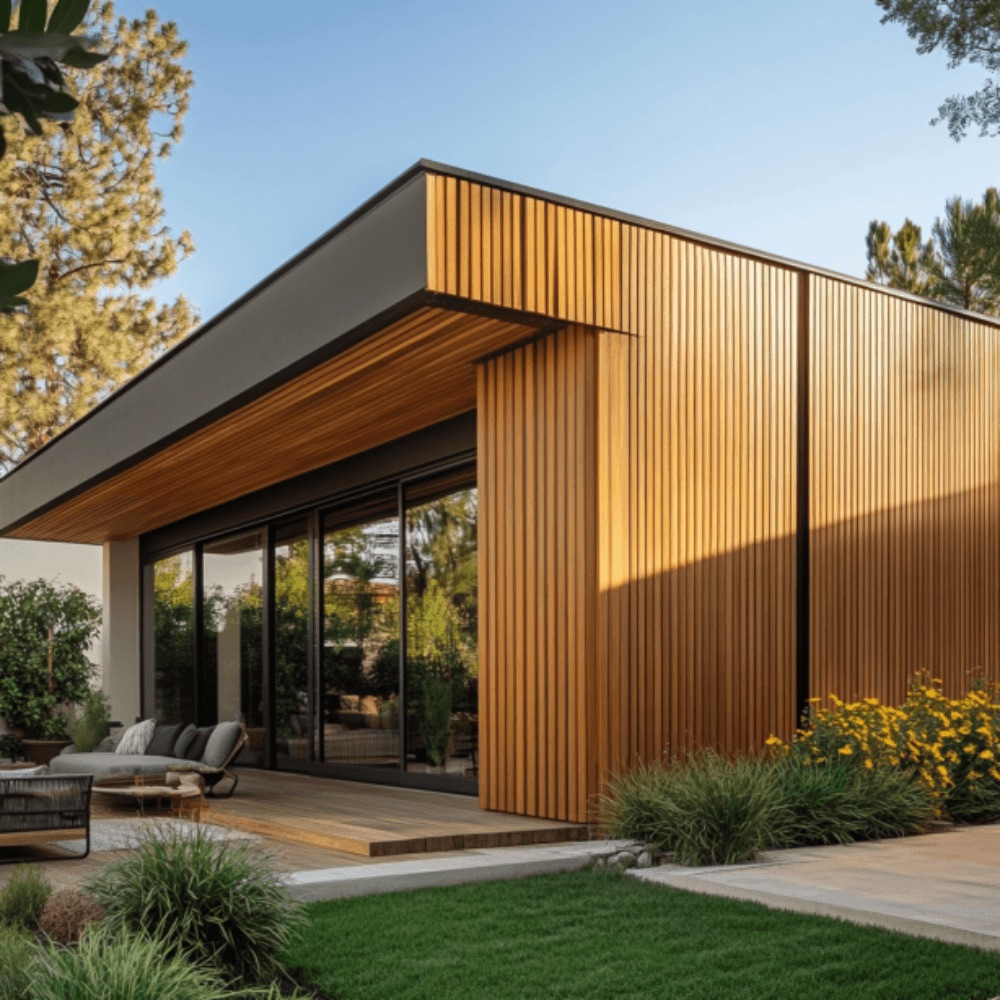
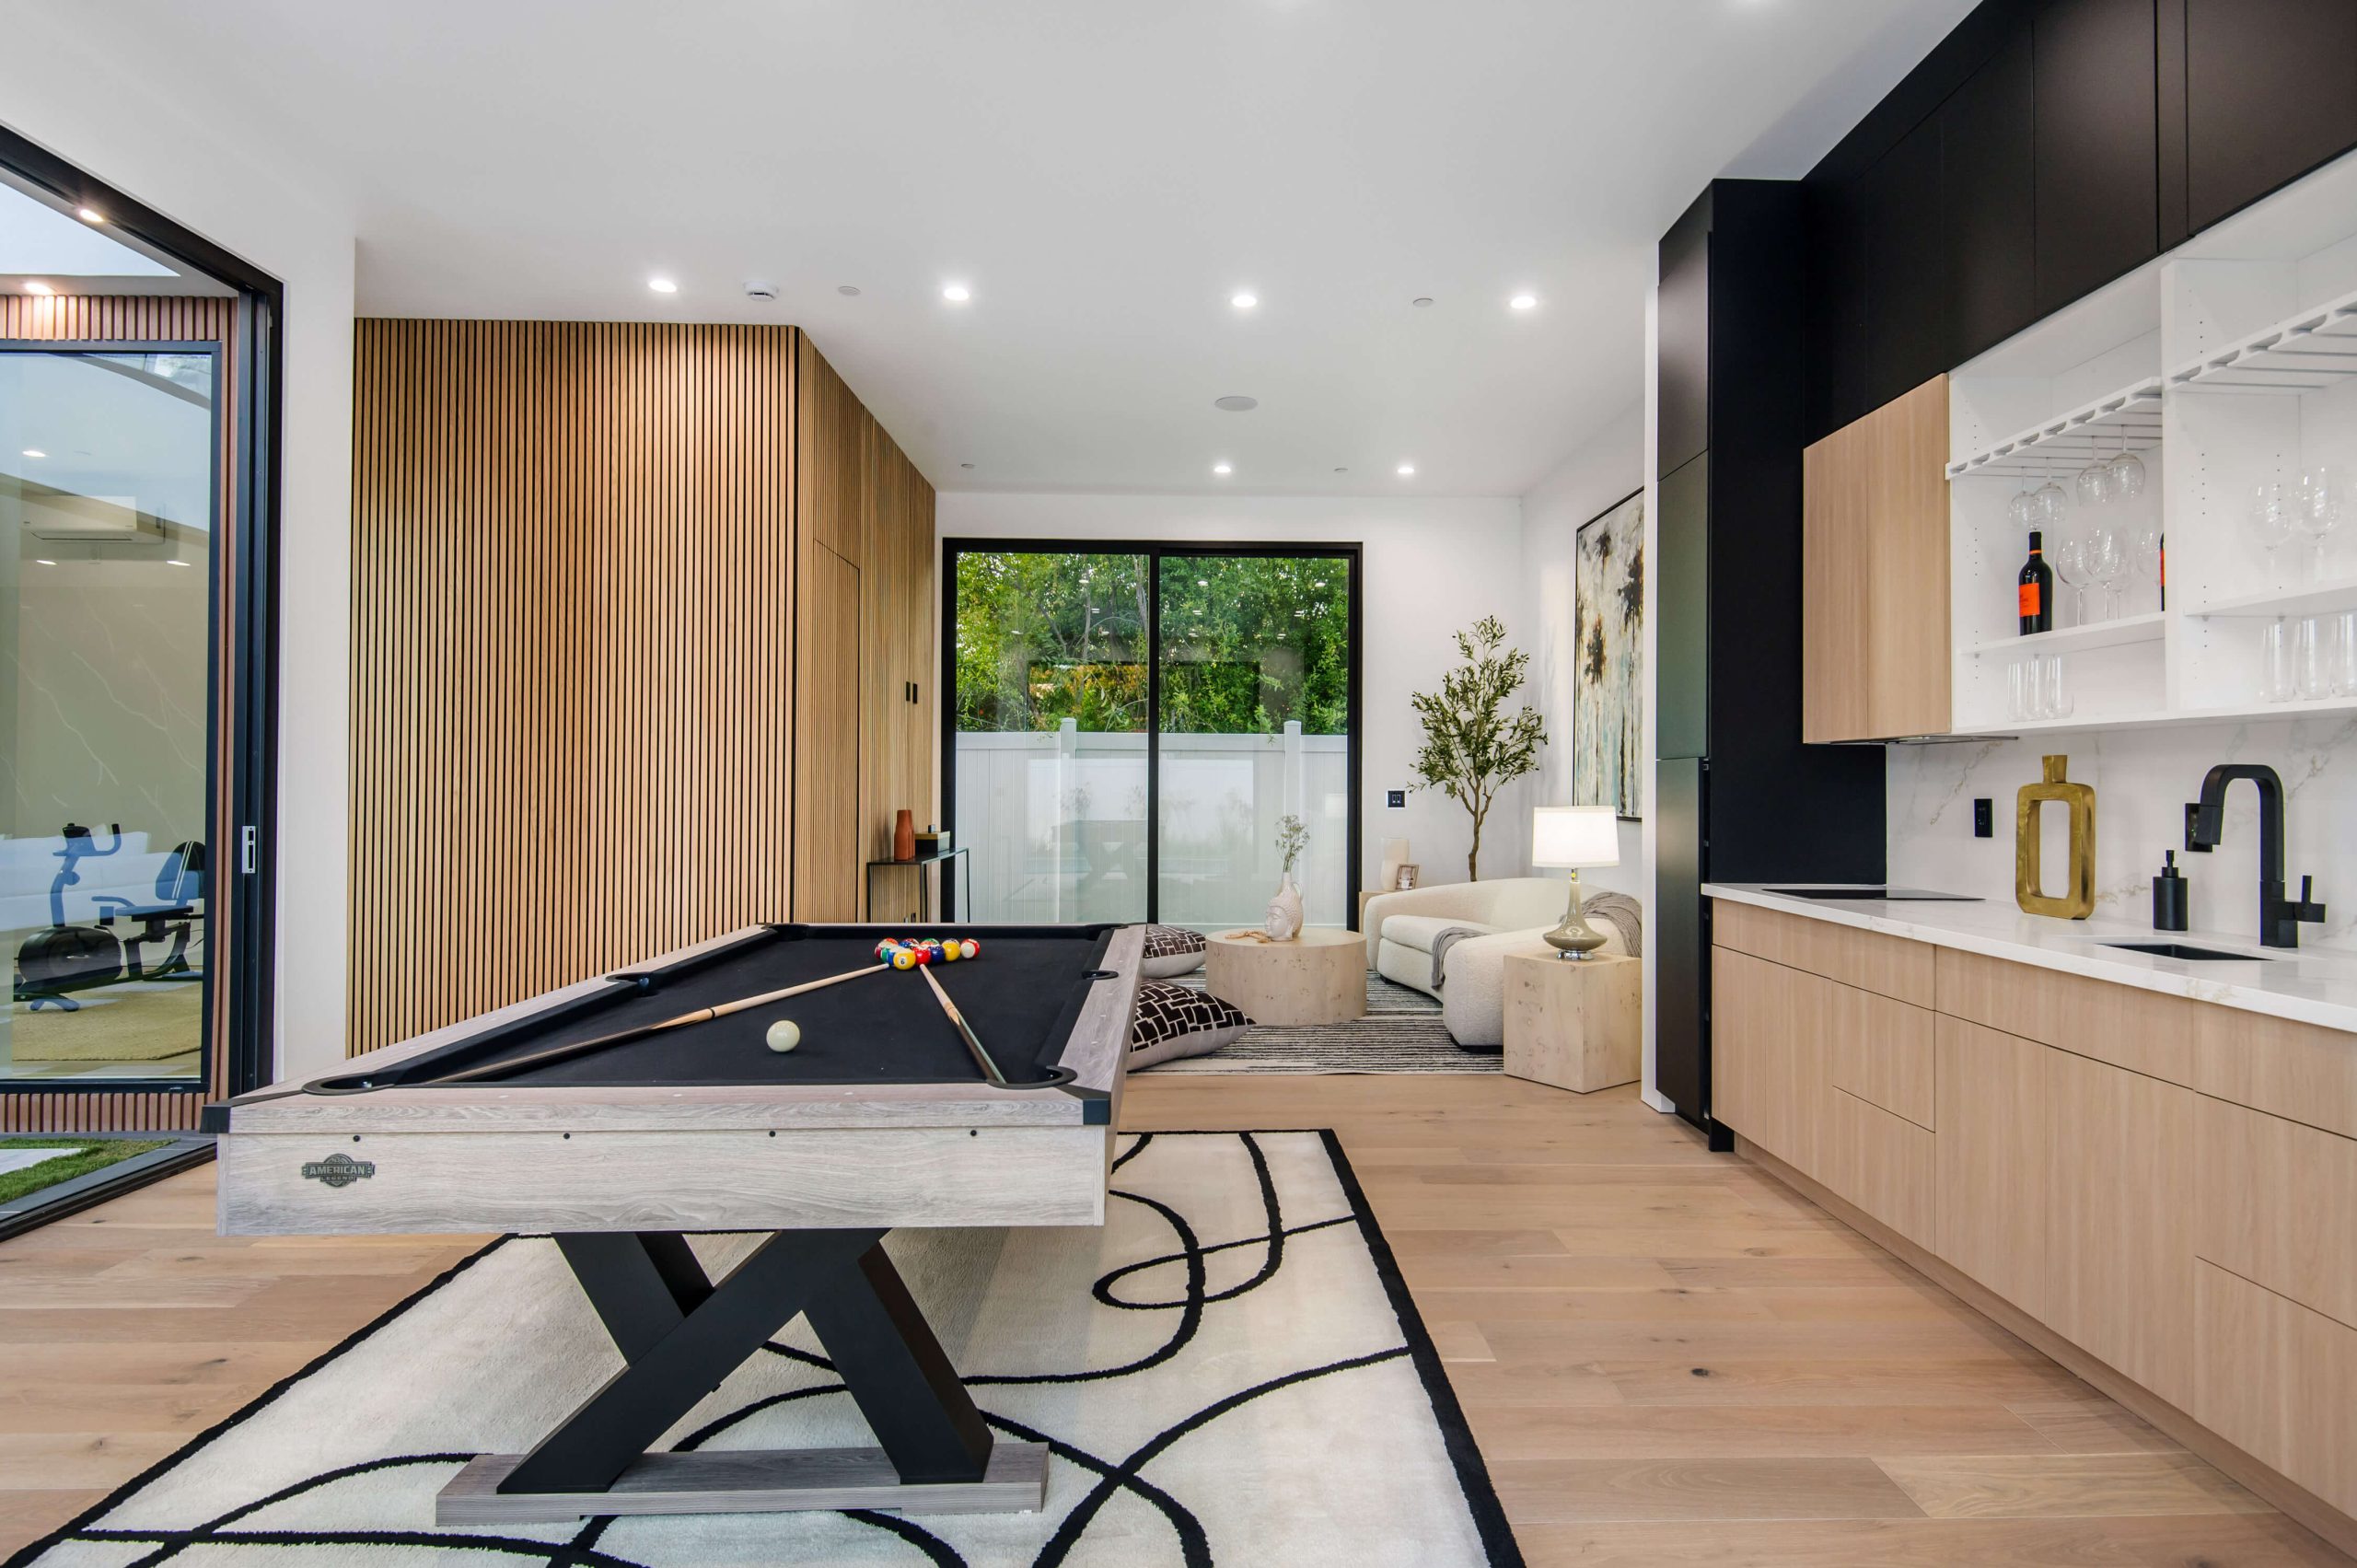
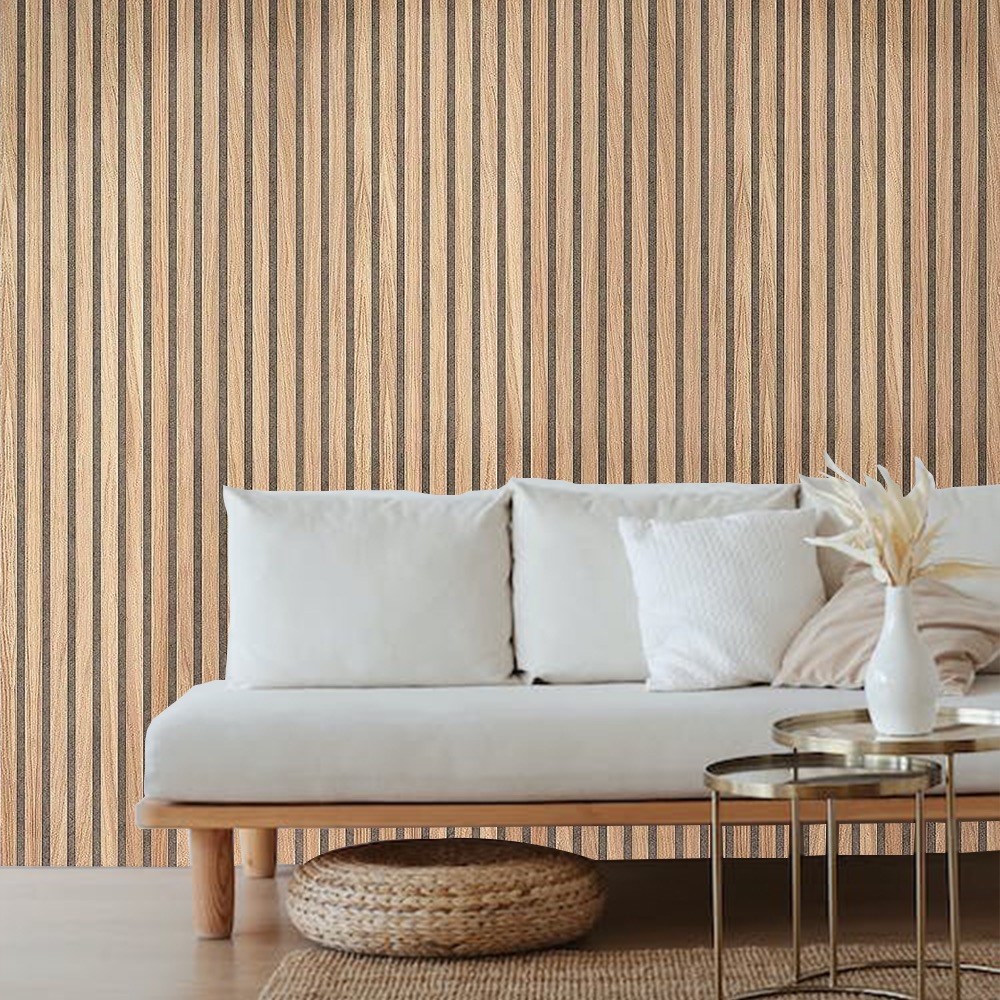
C. Slat Panels
- Modern, vertical strips that bring texture
- Often used for accent walls or ceilings
D. Reclaimed Wood Panels
- Made from old wood with unique textures
- Perfect for a rustic, eco-friendly vibe
If you’re looking for some bold ideas with wood slat paneling, take a look at our best inspiration guide here. It’s full of creative tips to help you visualize your wall before you pick up your tools.
Let’s Get Measuring
Measure twice, cut once. That rule’s golden. Start by finding the wall studs with a stud finder. Mark their positions lightly with a pencil. You’ll want to nail or glue your wood panels into these spots for the most secure hold.
Next, measure the height and width of your wall. Multiply those two numbers to find the square footage. This helps you buy the right amount of paneling. When you install wood panel walls without a contractor, having a little extra wood is better than running out mid-project.
Prepping Your Panels
Some panels need a little prep before they go up. If your panels are unfinished, now’s the time to sand and stain or paint them. It’s easier to do this before they’re on the wall. Let them dry completely. And don’t forget to lay them flat to avoid warping.
Installation: The Heart of the Process
You’re ready. Let’s install wood panel walls without a contractor in a way that feels like second nature. Choose whether you’re using a nail gun or adhesive. Nail guns give a strong hold but need access to studs. Adhesive is great for clean walls without studs, but make sure it’s a high-quality product.
Start from the bottom of the wall and work your way up. Check that your first panel is level—it sets the tone for everything above it.
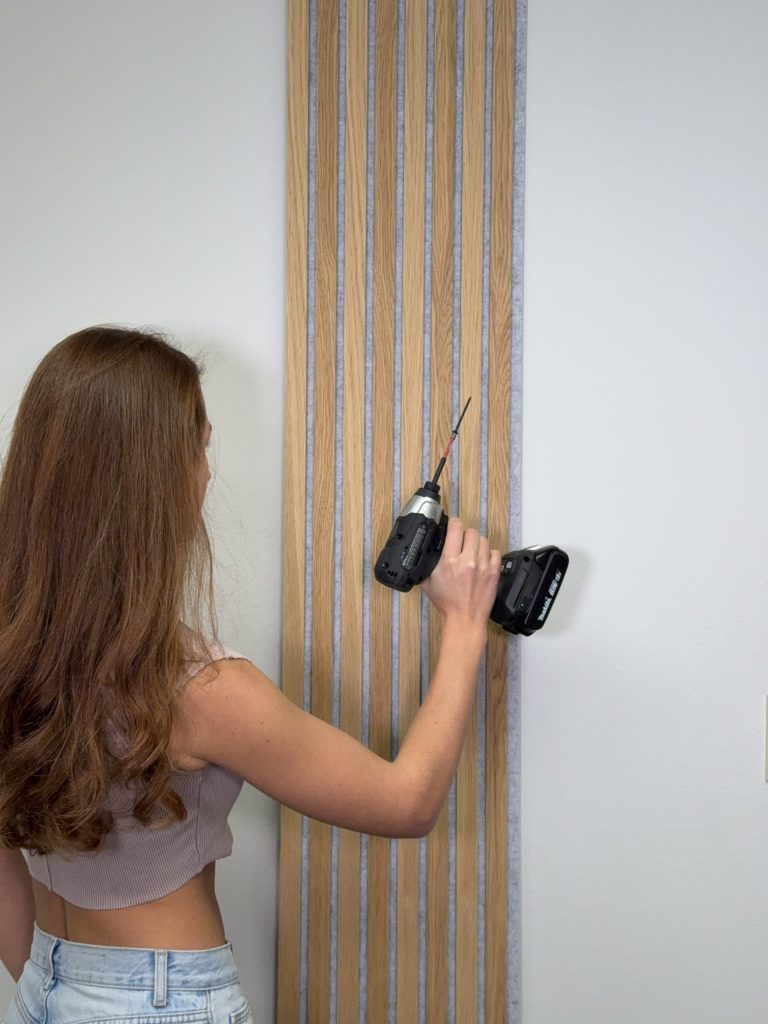
Here’s a quick install guide:
- Apply adhesive or line up the nail gun.
- Press the panel into place.
- Nail it into the stud or press until the glue bonds.
- Continue the next row, staggering any joints for a natural look.
- Trim any edges or cut around outlets as needed.
You’ll be amazed at how quickly a plain wall transforms when you install wood panel walls without a contractor using your own hands and style.
Pro Tips That Make a Big Difference
- Let wood panels acclimate to your room’s temp for 48 hours before installing.
- Use spacers if your panels need gaps between them.
- For vertical slats, draw a guideline to stay straight.
- Caulk small gaps or nail holes for a clean finish.
Troubleshooting Common Issues
Sometimes things don’t go as planned. Maybe your wall isn’t level, or a panel splinters while cutting. That’s okay. Take your time, and don’t rush. Adjustments are part of every DIY project. If a panel’s too long, measure again and trim. If glue doesn’t hold, switch to nails.
And remember—mistakes are part of the learning. That’s the beauty of choosing to install wood panel walls without a contractor. You get to make it your own.
Caring for Your New Wood Panel Walls
Once you’re done, take a moment to admire your work. Now it’s time to protect it. Here’s how:
- Dust weekly with a soft cloth.
- Wipe spills quickly to prevent stains.
- Avoid harsh cleaners. A damp cloth and mild soap work best.
- If painted, keep a small jar of touch-up paint handy.
Why More Homeowners Are Choosing DIY Wood Panel Walls
It’s not just about saving money. When you install wood panel walls without a contractor, you’re adding your personality to the space. You pick the style, the layout, the finish. That wall tells a story—and you’re the author.
We’ve seen people transform their living rooms, bedrooms, even kitchens with wood panels. It’s a powerful change that doesn’t require pro tools or a contractor’s schedule.
And if you want to explore even more panel styles, you’ll love what we’ve got over at Wood Panel Wall’s full product collection. It’s one of the easiest places to find your perfect fit.
Simple Mistakes to Avoid
Here’s a quick checklist of things to skip when you install wood panel walls without a contractor:
- Don’t skip wall prep. Clean, dry walls are key.
- Don’t forget to check for outlets and light switches.
- Don’t use the wrong glue—always get one meant for wood.
- Don’t rush. Even a fast project deserves your attention.
Top Questions We Often Hear
Q: Can I install panels over drywall?
A: Yes! As long as the wall is clean and dry, drywall is a great base.
Q: Do I need to seal my panels?
A: If you’re using natural wood, sealing helps protect against moisture and dust.
Q: What if I rent my place?
A: Try peel-and-stick wood panels. They go up easily and come off without damage.
Final Touches That Count
Once everything is up and looking great, consider adding light fixtures, floating shelves, or wall art. These details can highlight the texture and tone of your panels even more. It’s all about creating a space that feels like you.
When you choose to install wood panel walls without a contractor, you’re taking on something that’s both rewarding and long-lasting. You get a beautiful wall, a big sense of pride, and maybe even the itch to take on your next DIY project.
And if you’re looking for reliable sources or more how-to guides, check out our go-to site for wood wall panel help—it’s packed with resources and trusted by thousands of DIYers just like you.
Now it’s your turn. Grab your tools, find your style, and start transforming that wall. Let’s make your space feel more like home.
FAQs
1. Can I really install wood panel walls without any professional help?
Yes, you can! As long as you follow basic safety steps and use the right tools, it’s totally possible to install wood panel walls without a contractor. Many of us start with no experience and still get beautiful results. The key is taking your time, measuring carefully, and prepping your materials the right way.
2. What kind of wood panels should I choose for my space?
That depends on the style you’re going for. If you want a clean, modern look, slat panels are a great option. For a cozy farmhouse feel, shiplap works wonders. Reclaimed wood adds a rustic charm, while tongue-and-groove panels give a polished, fitted appearance. Look at your room’s vibe and match it with a panel that fits.
3. What’s the best way to attach wood panels to my wall?
You’ve got two main options—nail gun or adhesive. If your wall has wooden studs, a nail gun gives a strong hold. If it’s drywall or you prefer less mess, use a high-quality construction adhesive. Just make sure your surface is clean and dry before starting.
4. How do I make sure the panels stay straight while I’m installing them?
Always start from the bottom and use a level to check each panel. Mark guidelines with a pencil before you begin, especially for vertical panels. If you’re unsure, place a temporary spacer or level board along the bottom as a base to keep things lined up.
5. I’m renting—can I still install wood panel walls without damaging anything?
Definitely! Peel-and-stick wood panels are perfect for renters. They don’t require nails or glue, and they’re easy to remove when it’s time to move out. Just be sure to follow the product instructions for clean removal.