Installing 3D wall panels can transform a plain room into a dynamic space with depth and character. This guide provides a step-by-step approach to the installation of 3D wall panels, ensuring a professional finish that enhances your home’s aesthetic appeal.
Understanding 3D Wall Panels
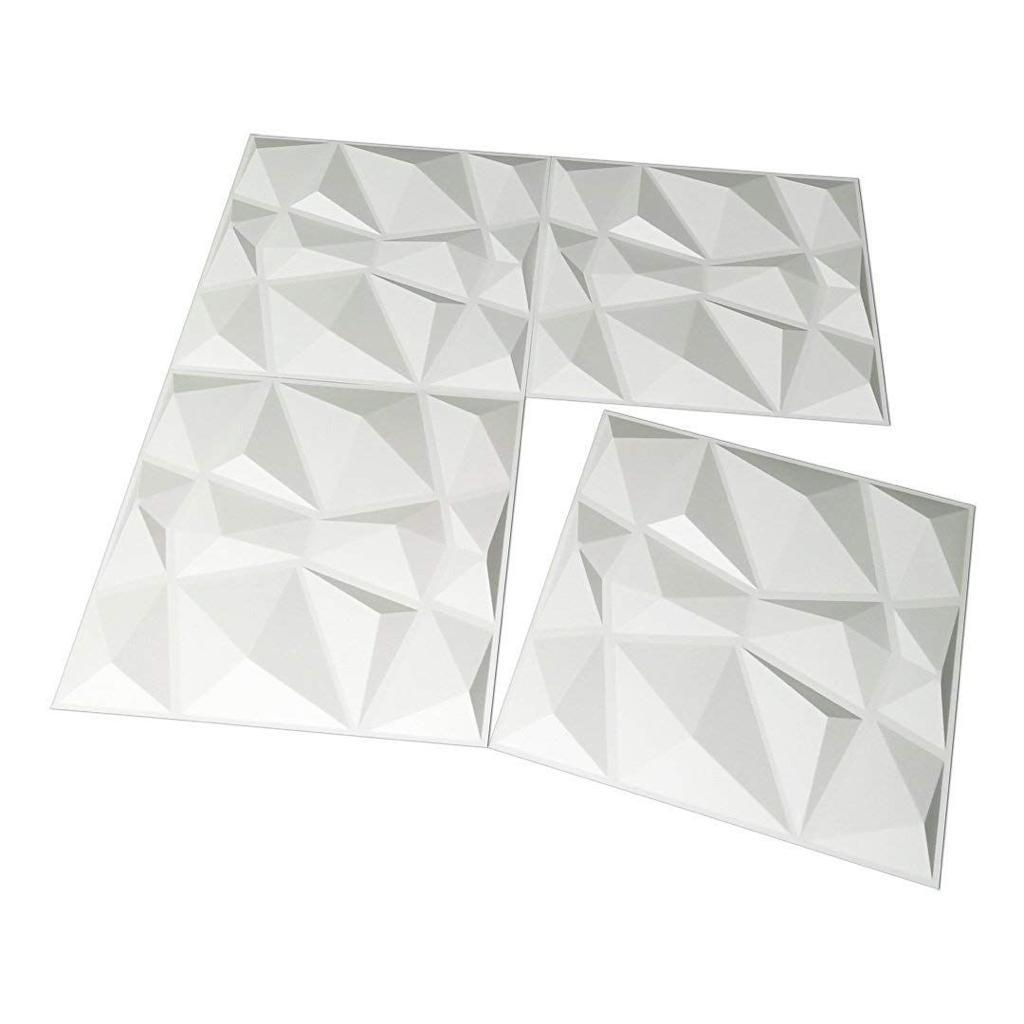
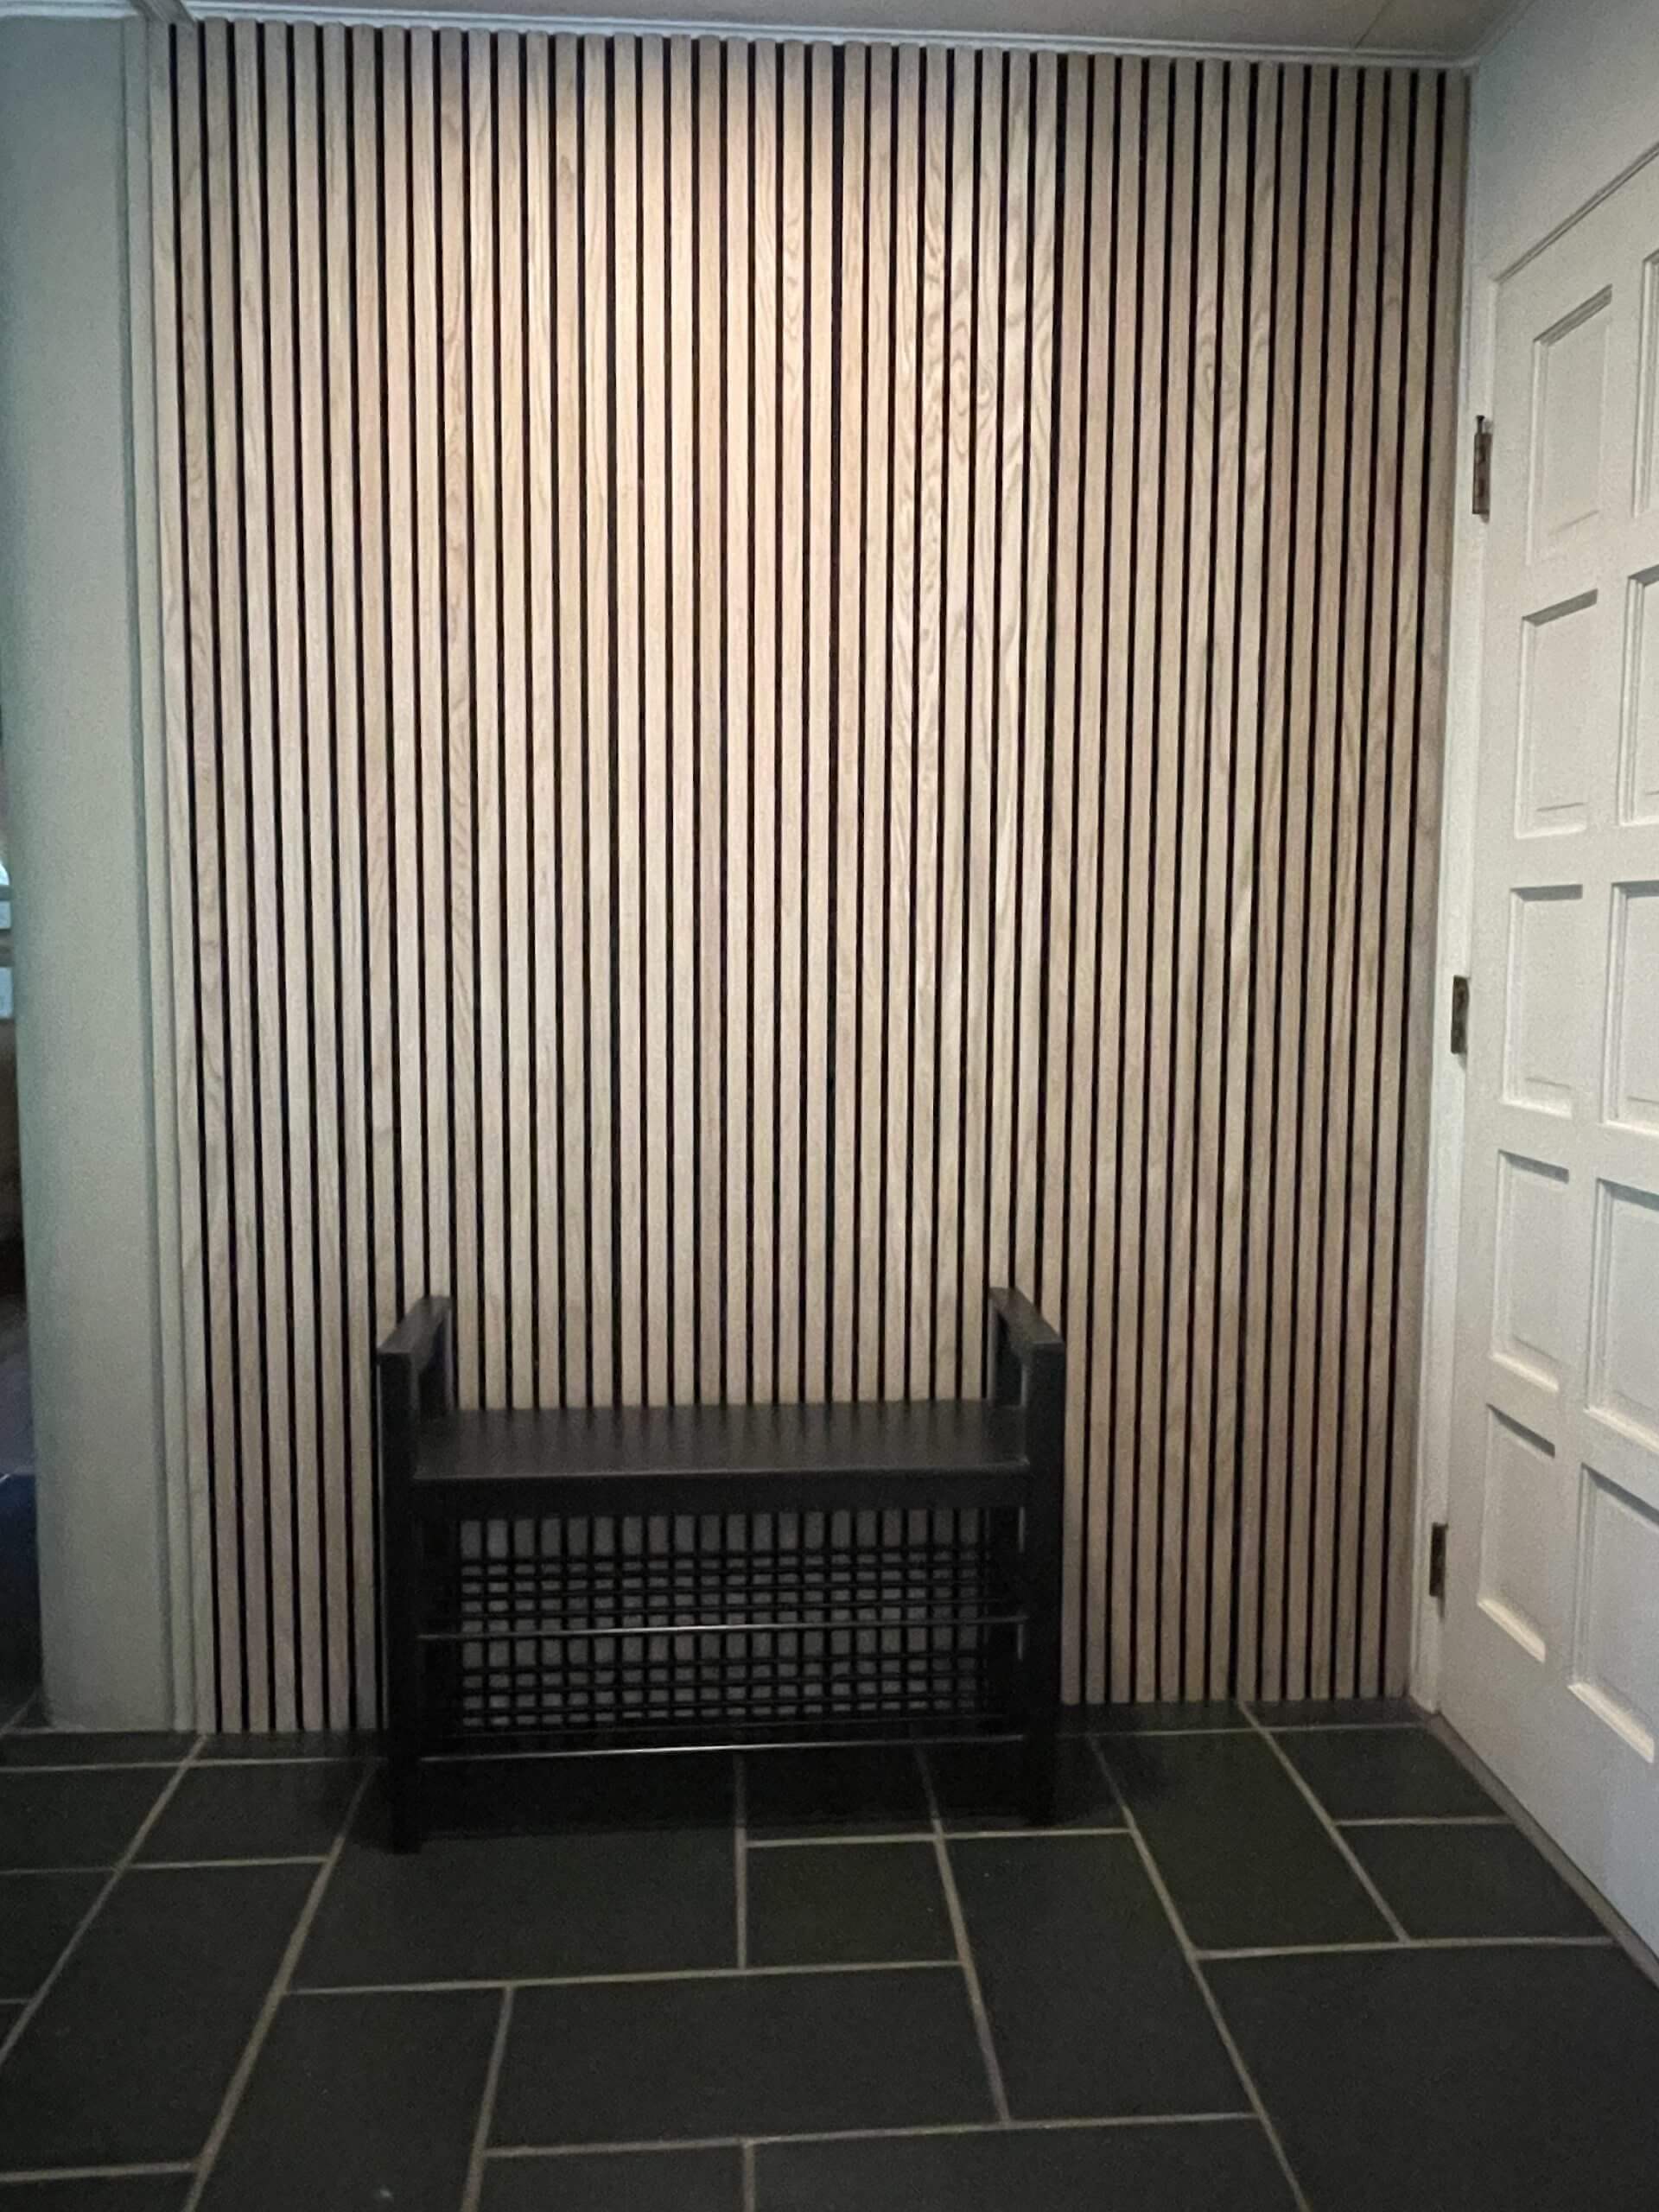
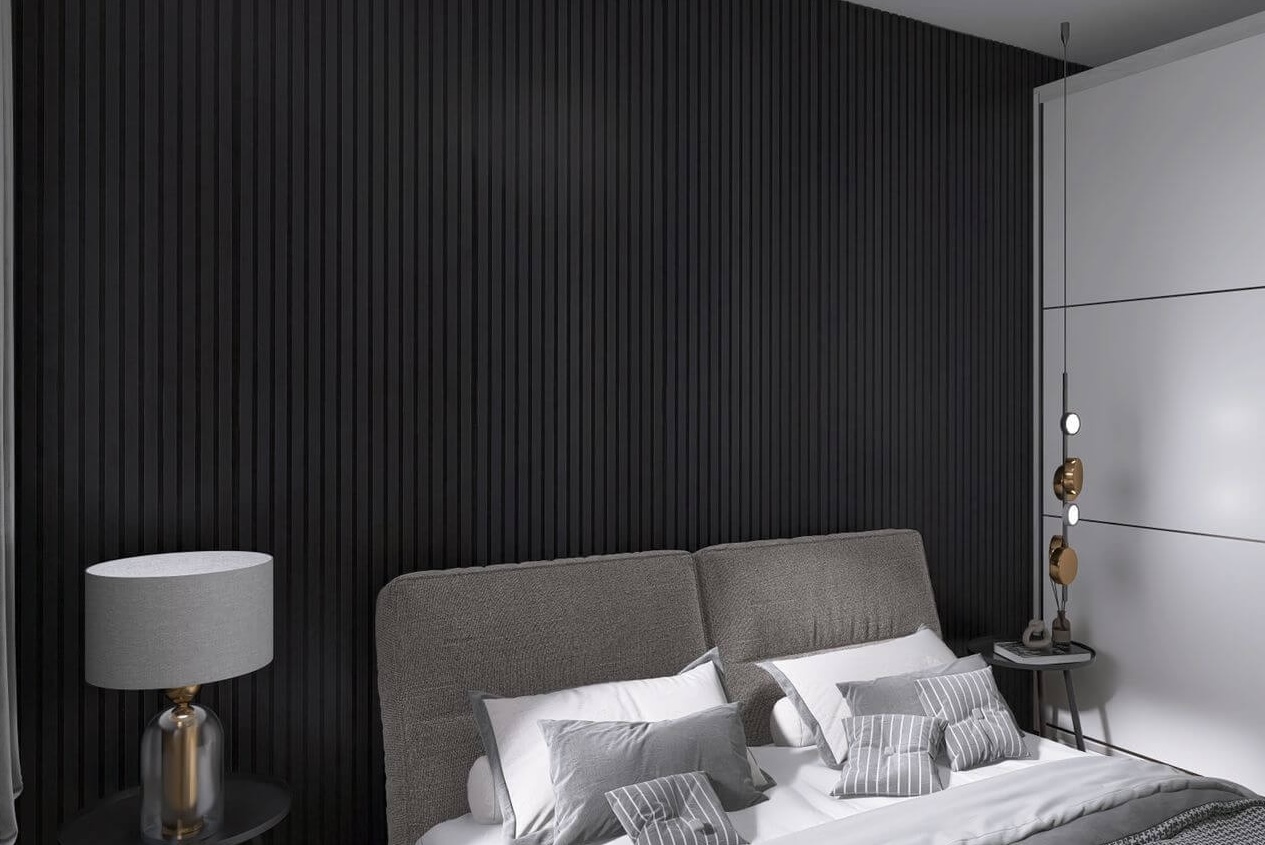
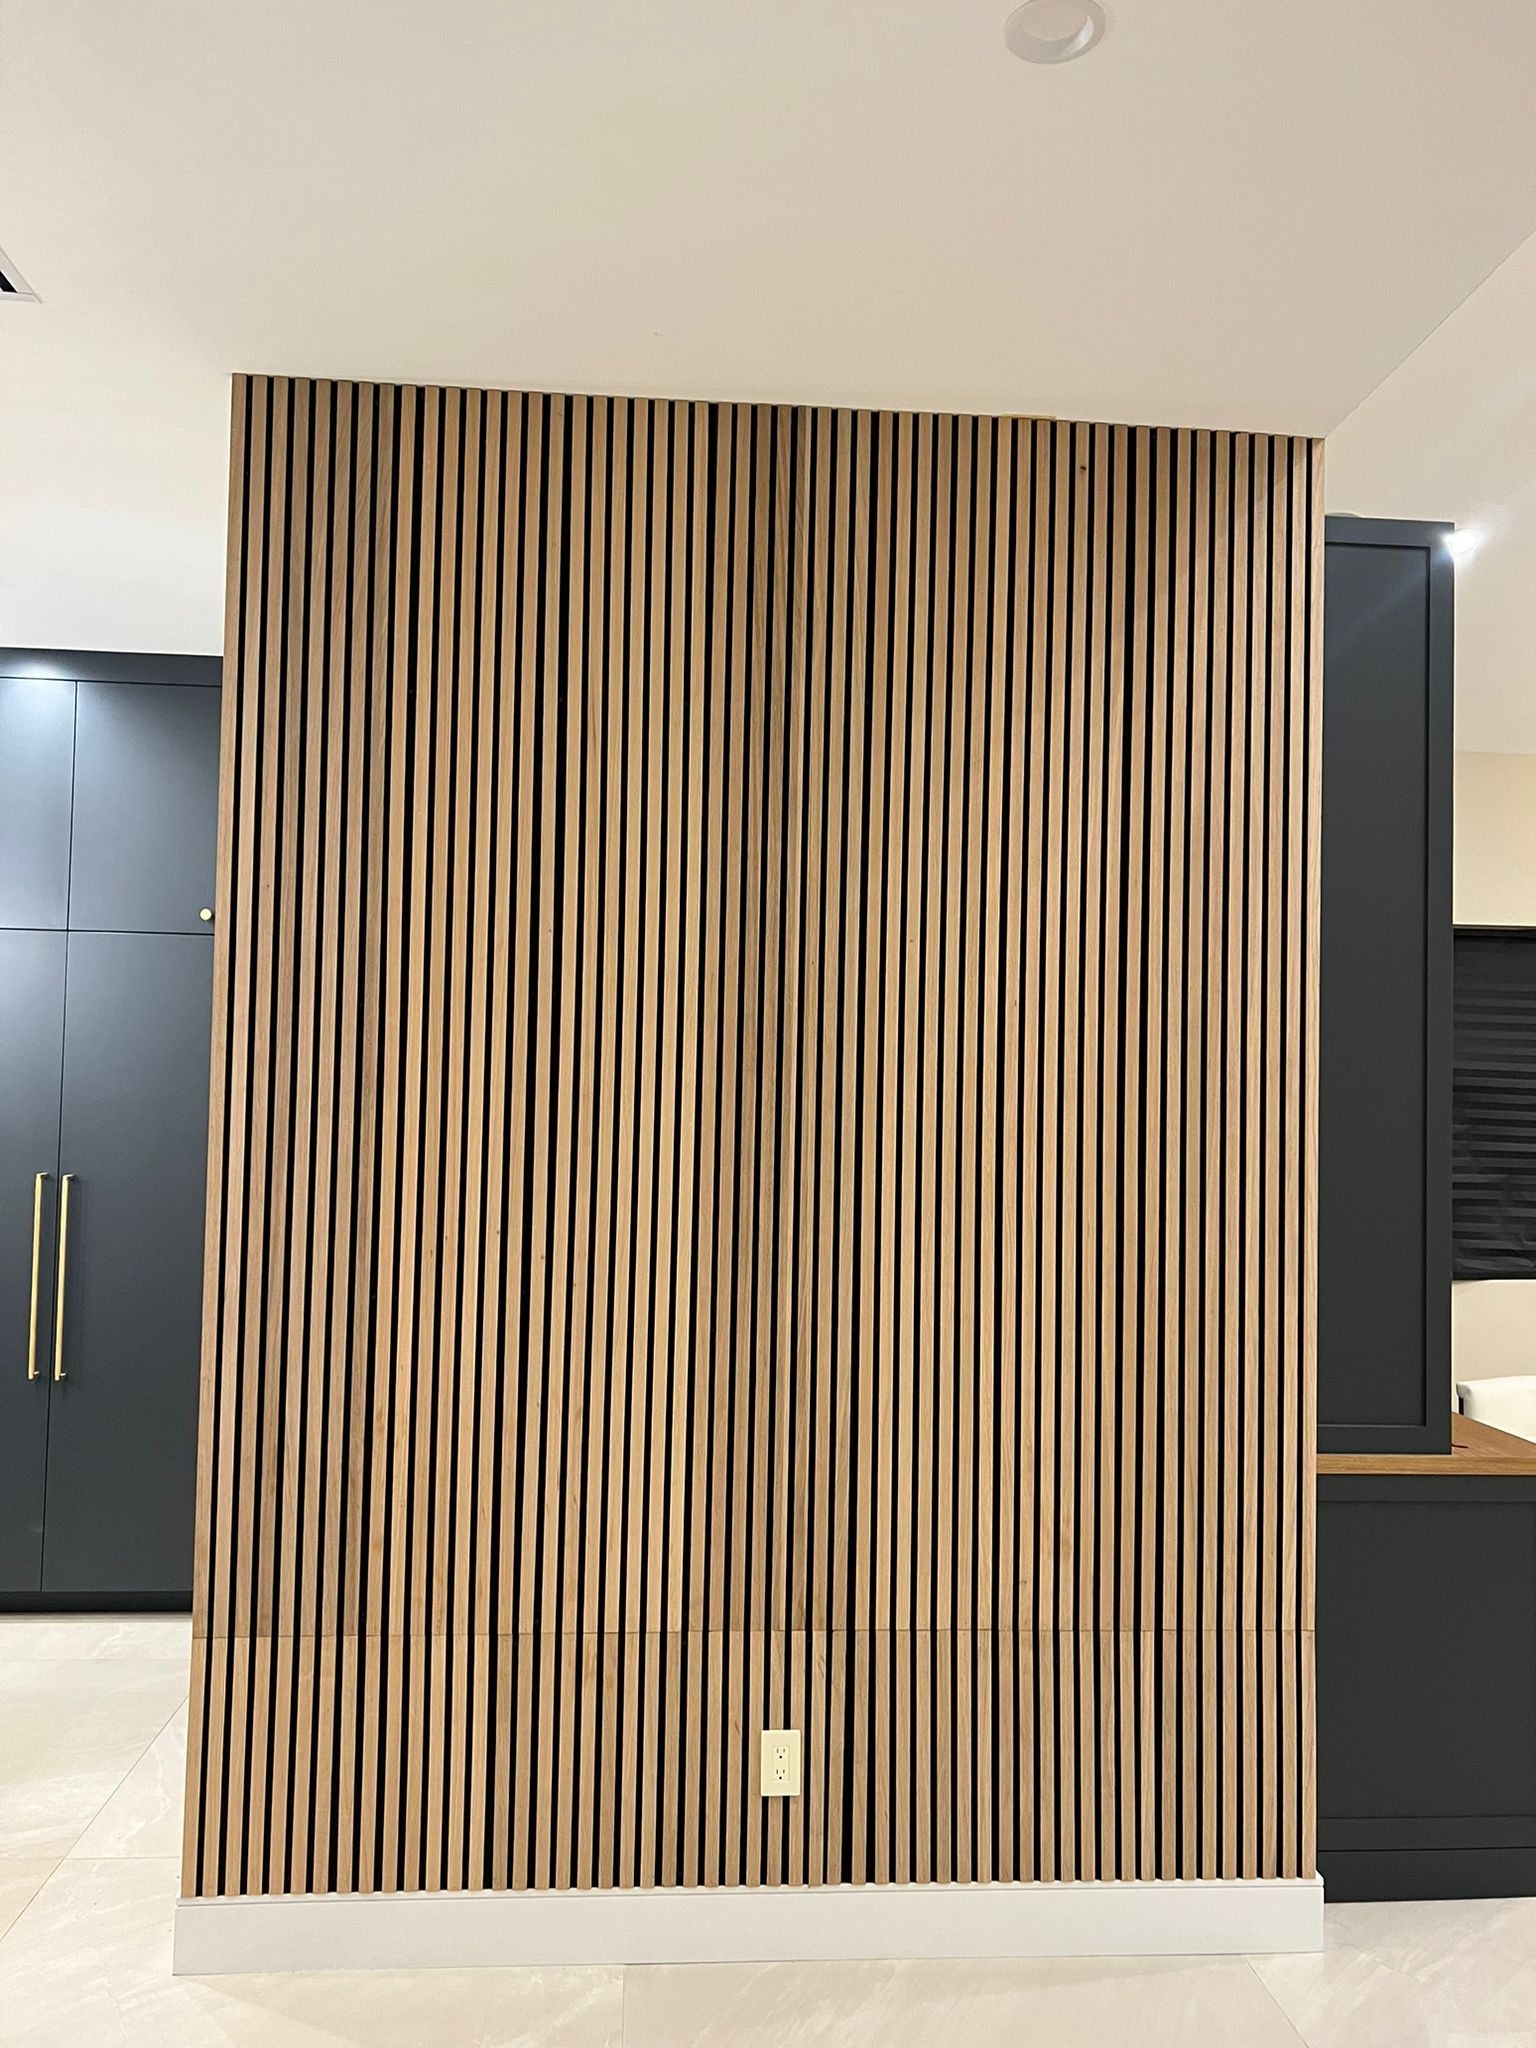
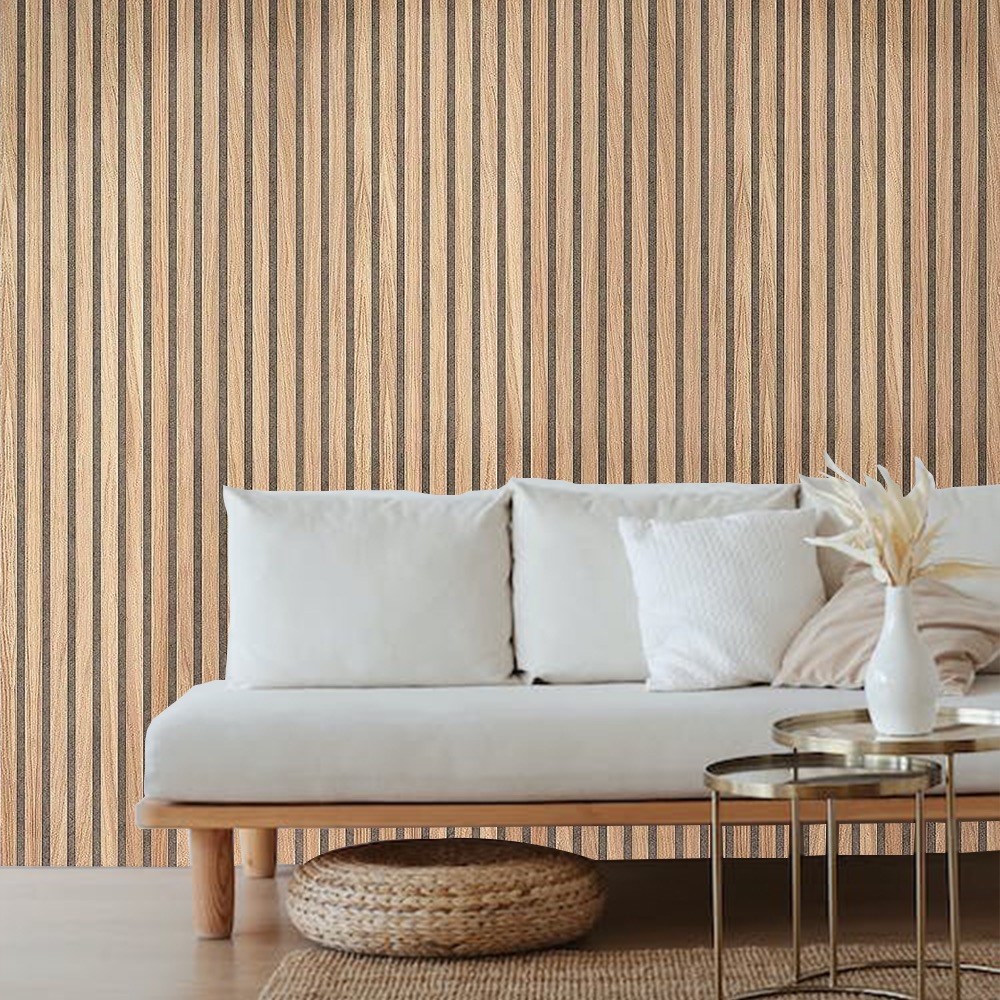
3D wall panels are decorative elements that add texture and dimension to walls. They come in various materials, including PVC, wood, and MDF, each offering unique visual effects. Before beginning the installation of 3D wall panels, it’s essential to choose a style that complements your interior design.
Materials and Tools You’ll Need
- 3D Wall Panels: Select panels that suit your design preferences and are appropriate for the room’s environment.
- Adhesive: Use a high-quality construction adhesive suitable for the panel material.
- Measuring Tape: For accurate measurements of your wall space.
- Level: Ensures panels are installed straight.
- Saw: To cut panels to the desired size.
- Sandpaper: For smoothing cut edges.
- Pencil and Chalk Line: For marking guidelines on the wall.
- Protective Gear: Safety glasses and gloves.
Preparing Your Wall
- Clean the Surface: Remove any dust, dirt, or grease to ensure the adhesive bonds properly.
- Repair Imperfections: Fill holes or cracks with spackle and sand smooth.
- Prime the Wall: Apply a primer suitable for your wall type to promote adhesion.
- Mark Guidelines: Use a level and chalk line to draw horizontal and vertical lines, creating a grid that aligns with the size of your panels. This ensures precise placement during the installation of 3D wall panels.
Installing the 3D Wall Panels
- Plan Your Layout: Arrange the panels on the floor to determine the best fit and minimize cutting.
- Apply Adhesive: Following the manufacturer’s instructions, apply adhesive to the back of the first panel.
- Position the Panel: Align the panel with your guidelines and press it firmly onto the wall.
- Secure the Panel: Depending on the panel material, you may need to use finishing nails or screws in addition to adhesive for extra support.
- Continue Installation: Repeat the process for each panel, ensuring they fit tightly together without gaps.
- Cut Panels as Needed: For edges and corners, measure and cut panels to fit, sanding any rough edges for a clean finish.
Finishing Touches
- Seal Joints: Use caulk to fill any visible seams or gaps between panels.
- Paint or Finish: If desired, paint the panels to match your décor, using a paint suitable for the panel material.
- Clean Up: Remove any adhesive residue and ensure the area is tidy.
Maintenance Tips
- Regular Cleaning: Dust panels regularly with a soft cloth. For deeper cleaning, use a damp cloth and mild detergent, avoiding abrasive cleaners that could damage the surface.
- Inspect for Damage: Periodically check for loose panels or damage, addressing issues promptly to maintain the integrity of the installation.
Common Mistakes to Avoid
- Skipping Wall Preparation: Failing to properly clean and prime the wall can lead to poor adhesion and panel failure.
- Incorrect Adhesive Application: Using too much or too little adhesive can cause panels to warp or not adhere properly.
- Ignoring Alignment: Not using a level can result in crooked panels, detracting from the overall appearance.
FAQs
-
Can I install 3D wall panels in a bathroom?
Yes, but ensure the panels are made from moisture-resistant materials like PVC to prevent warping.
-
Do I need to hire a professional for installation?
Not necessarily. With the right tools and careful planning, DIY installation is achievable.
-
How do I choose the right adhesive?
Consult the panel manufacturer’s recommendations to select an adhesive compatible with both the panel material and wall surface.
-
Can 3D wall panels be painted?
Yes, many panels can be painted. Use a primer and paint suitable for the panel material.
-
How do I handle obstacles like outlets and switches?
Measure and cut panels to fit around obstacles, ensuring openings are precise for a seamless look.
By following this guide, you can successfully complete the installation of 3D wall panels, adding a stylish and modern touch to your living space.

