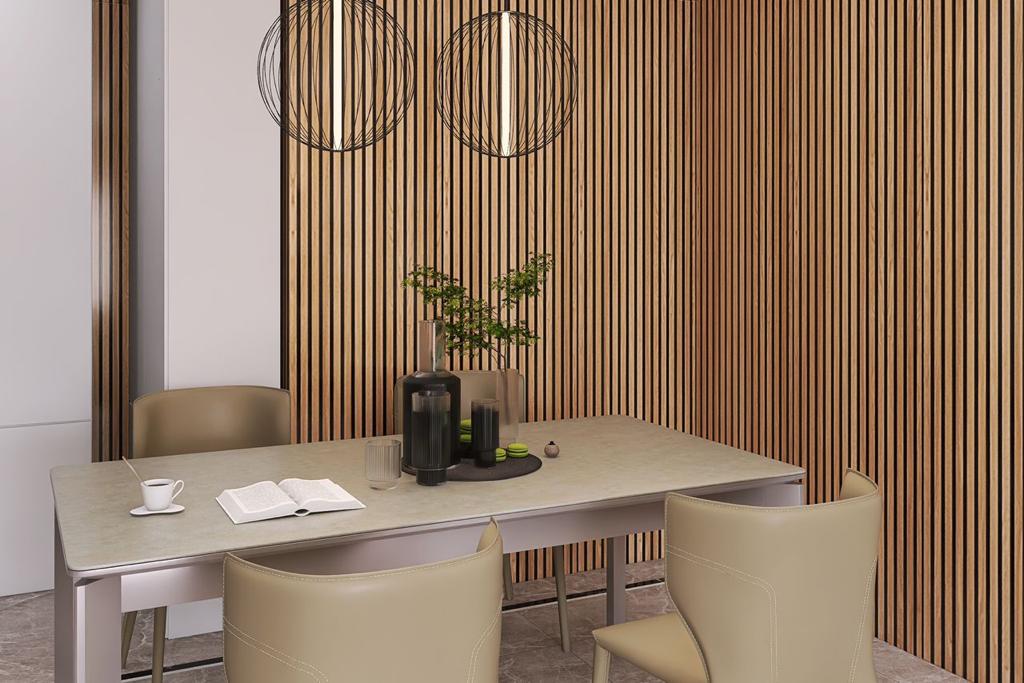
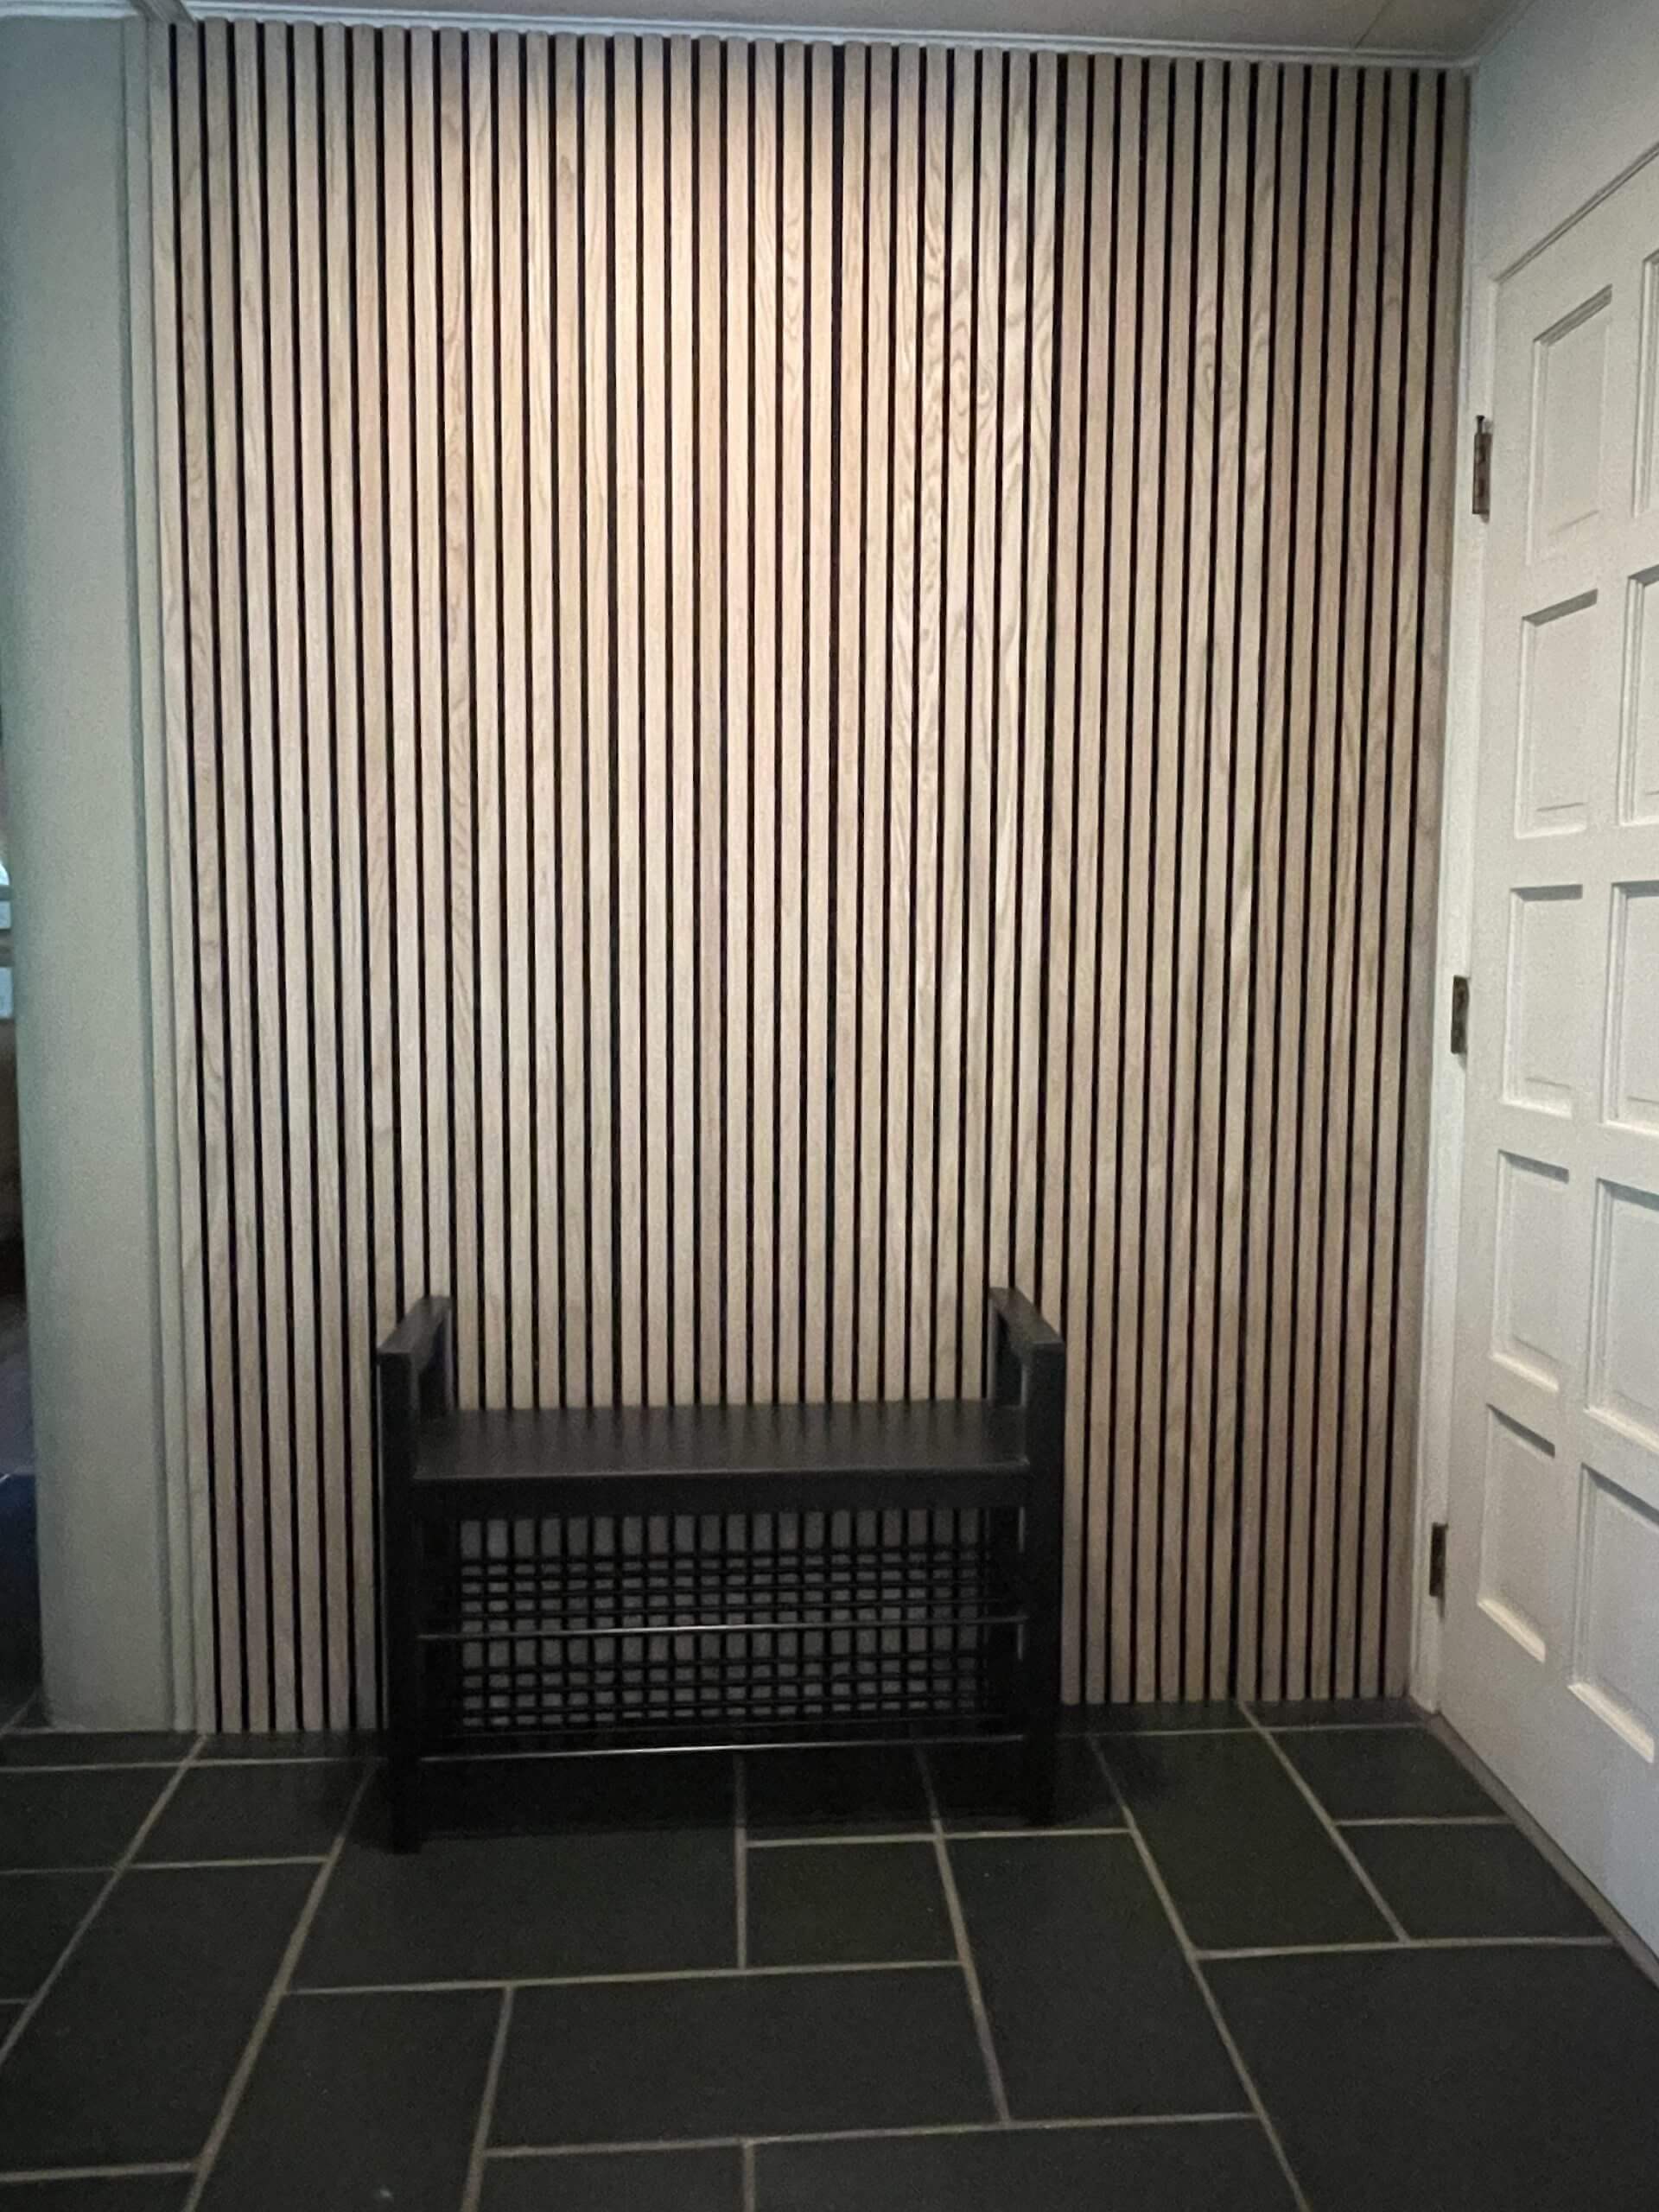
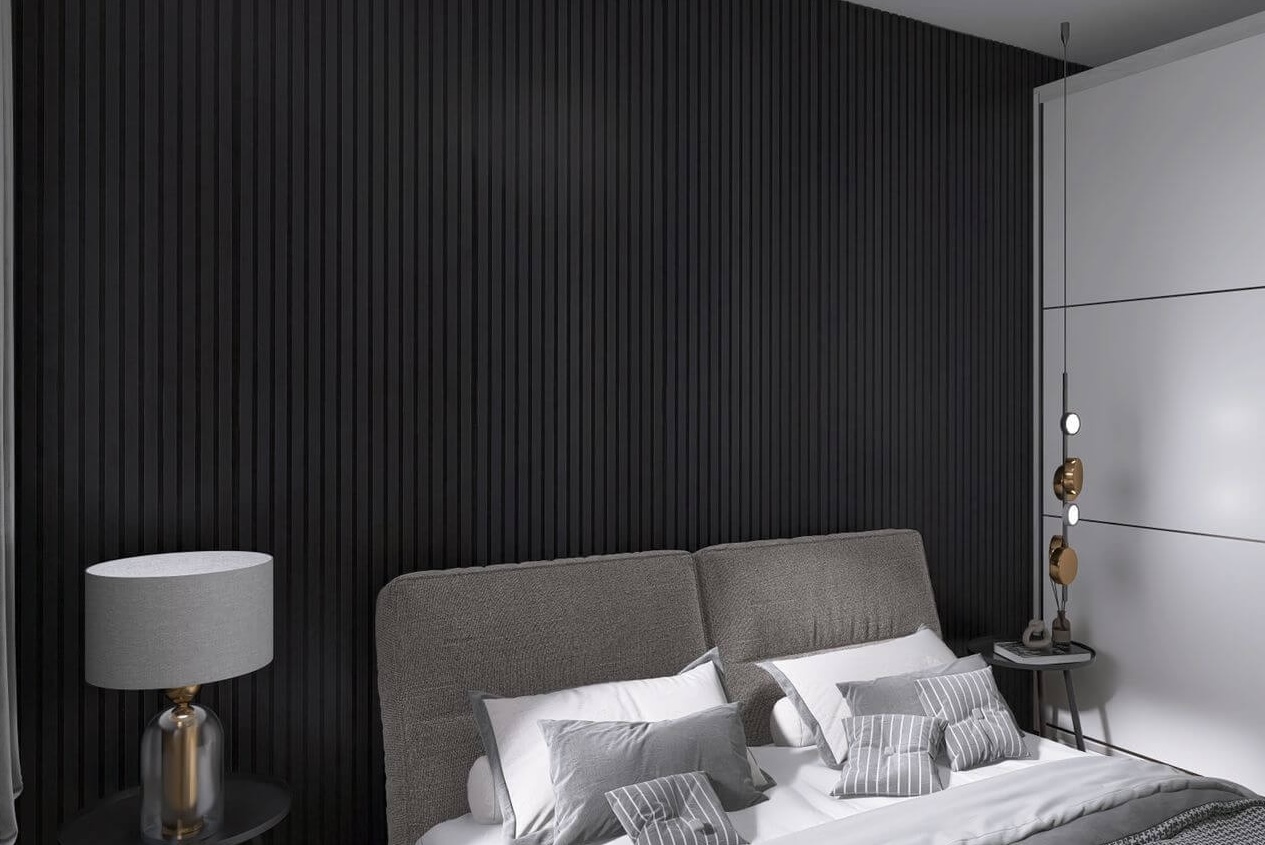
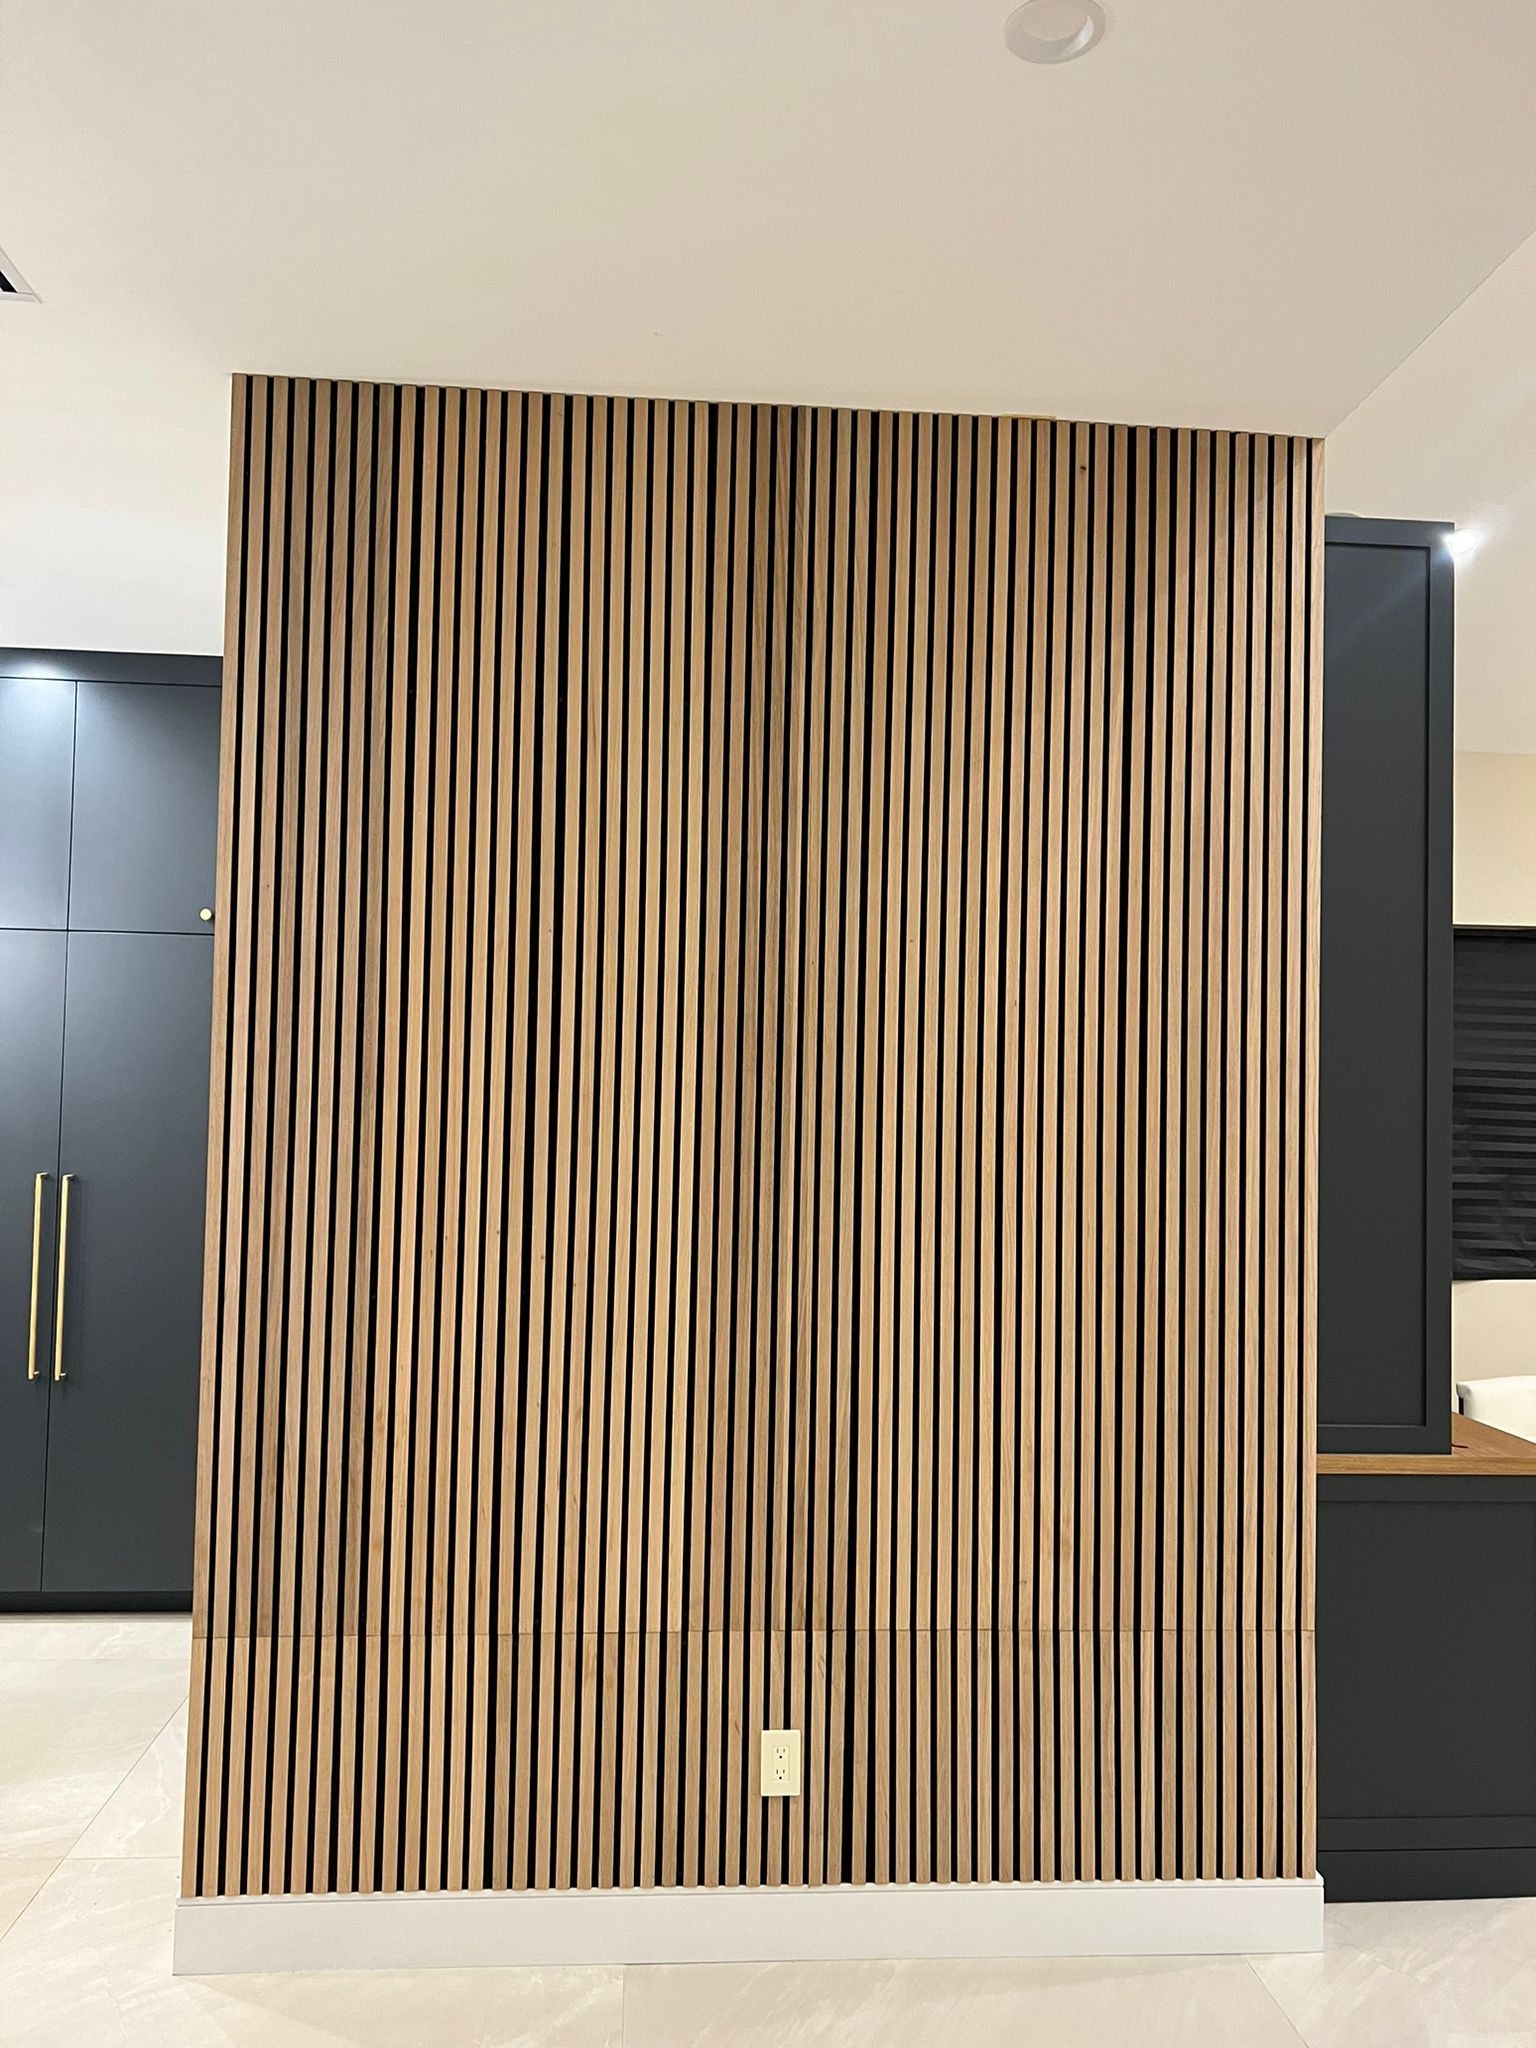
Wood wall panels have become increasingly popular due to their ability to transform ordinary spaces into visually appealing and acoustically functional environments. Whether you’re a DIY enthusiast or a seasoned contractor, knowing the right tools and materials is essential for successfully installing wood wall panels. This comprehensive guide will walk you through the necessary tools, best materials, and expert tips to ensure a smooth installation process.
Why Choose Wood Wall Panels?
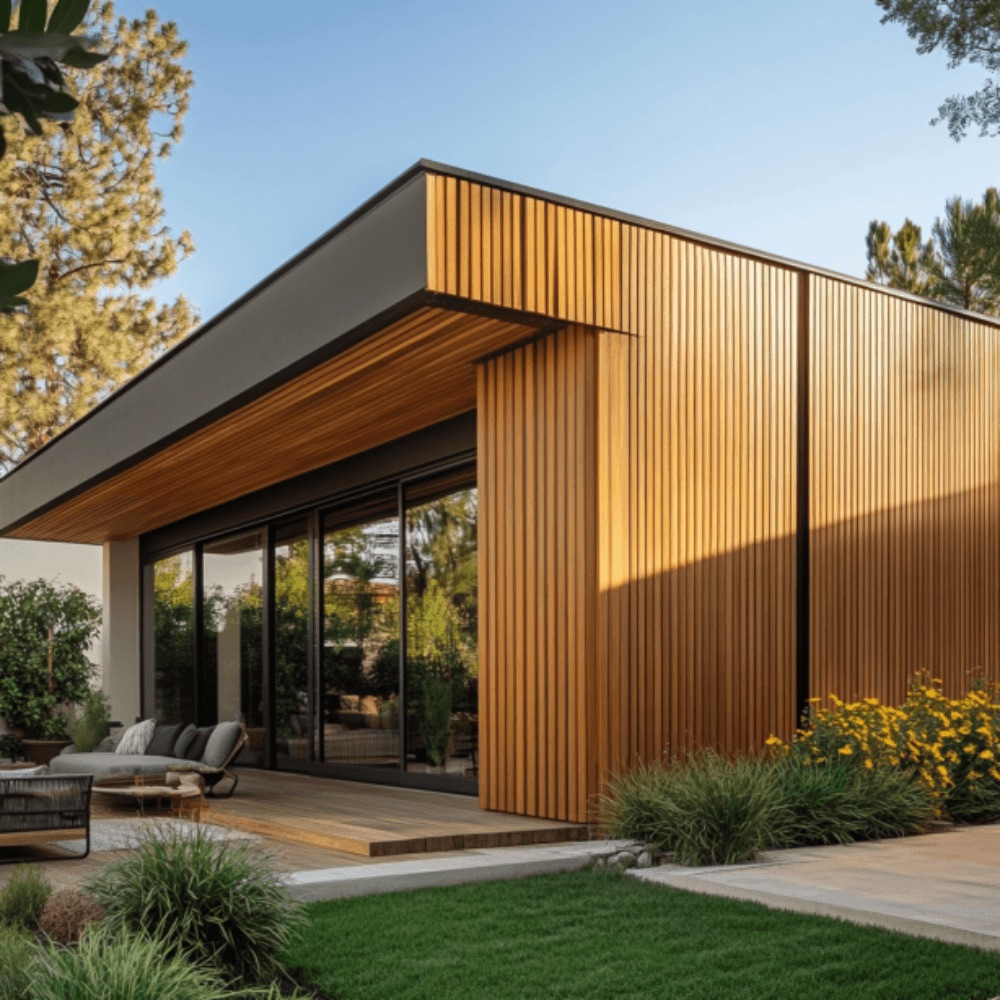
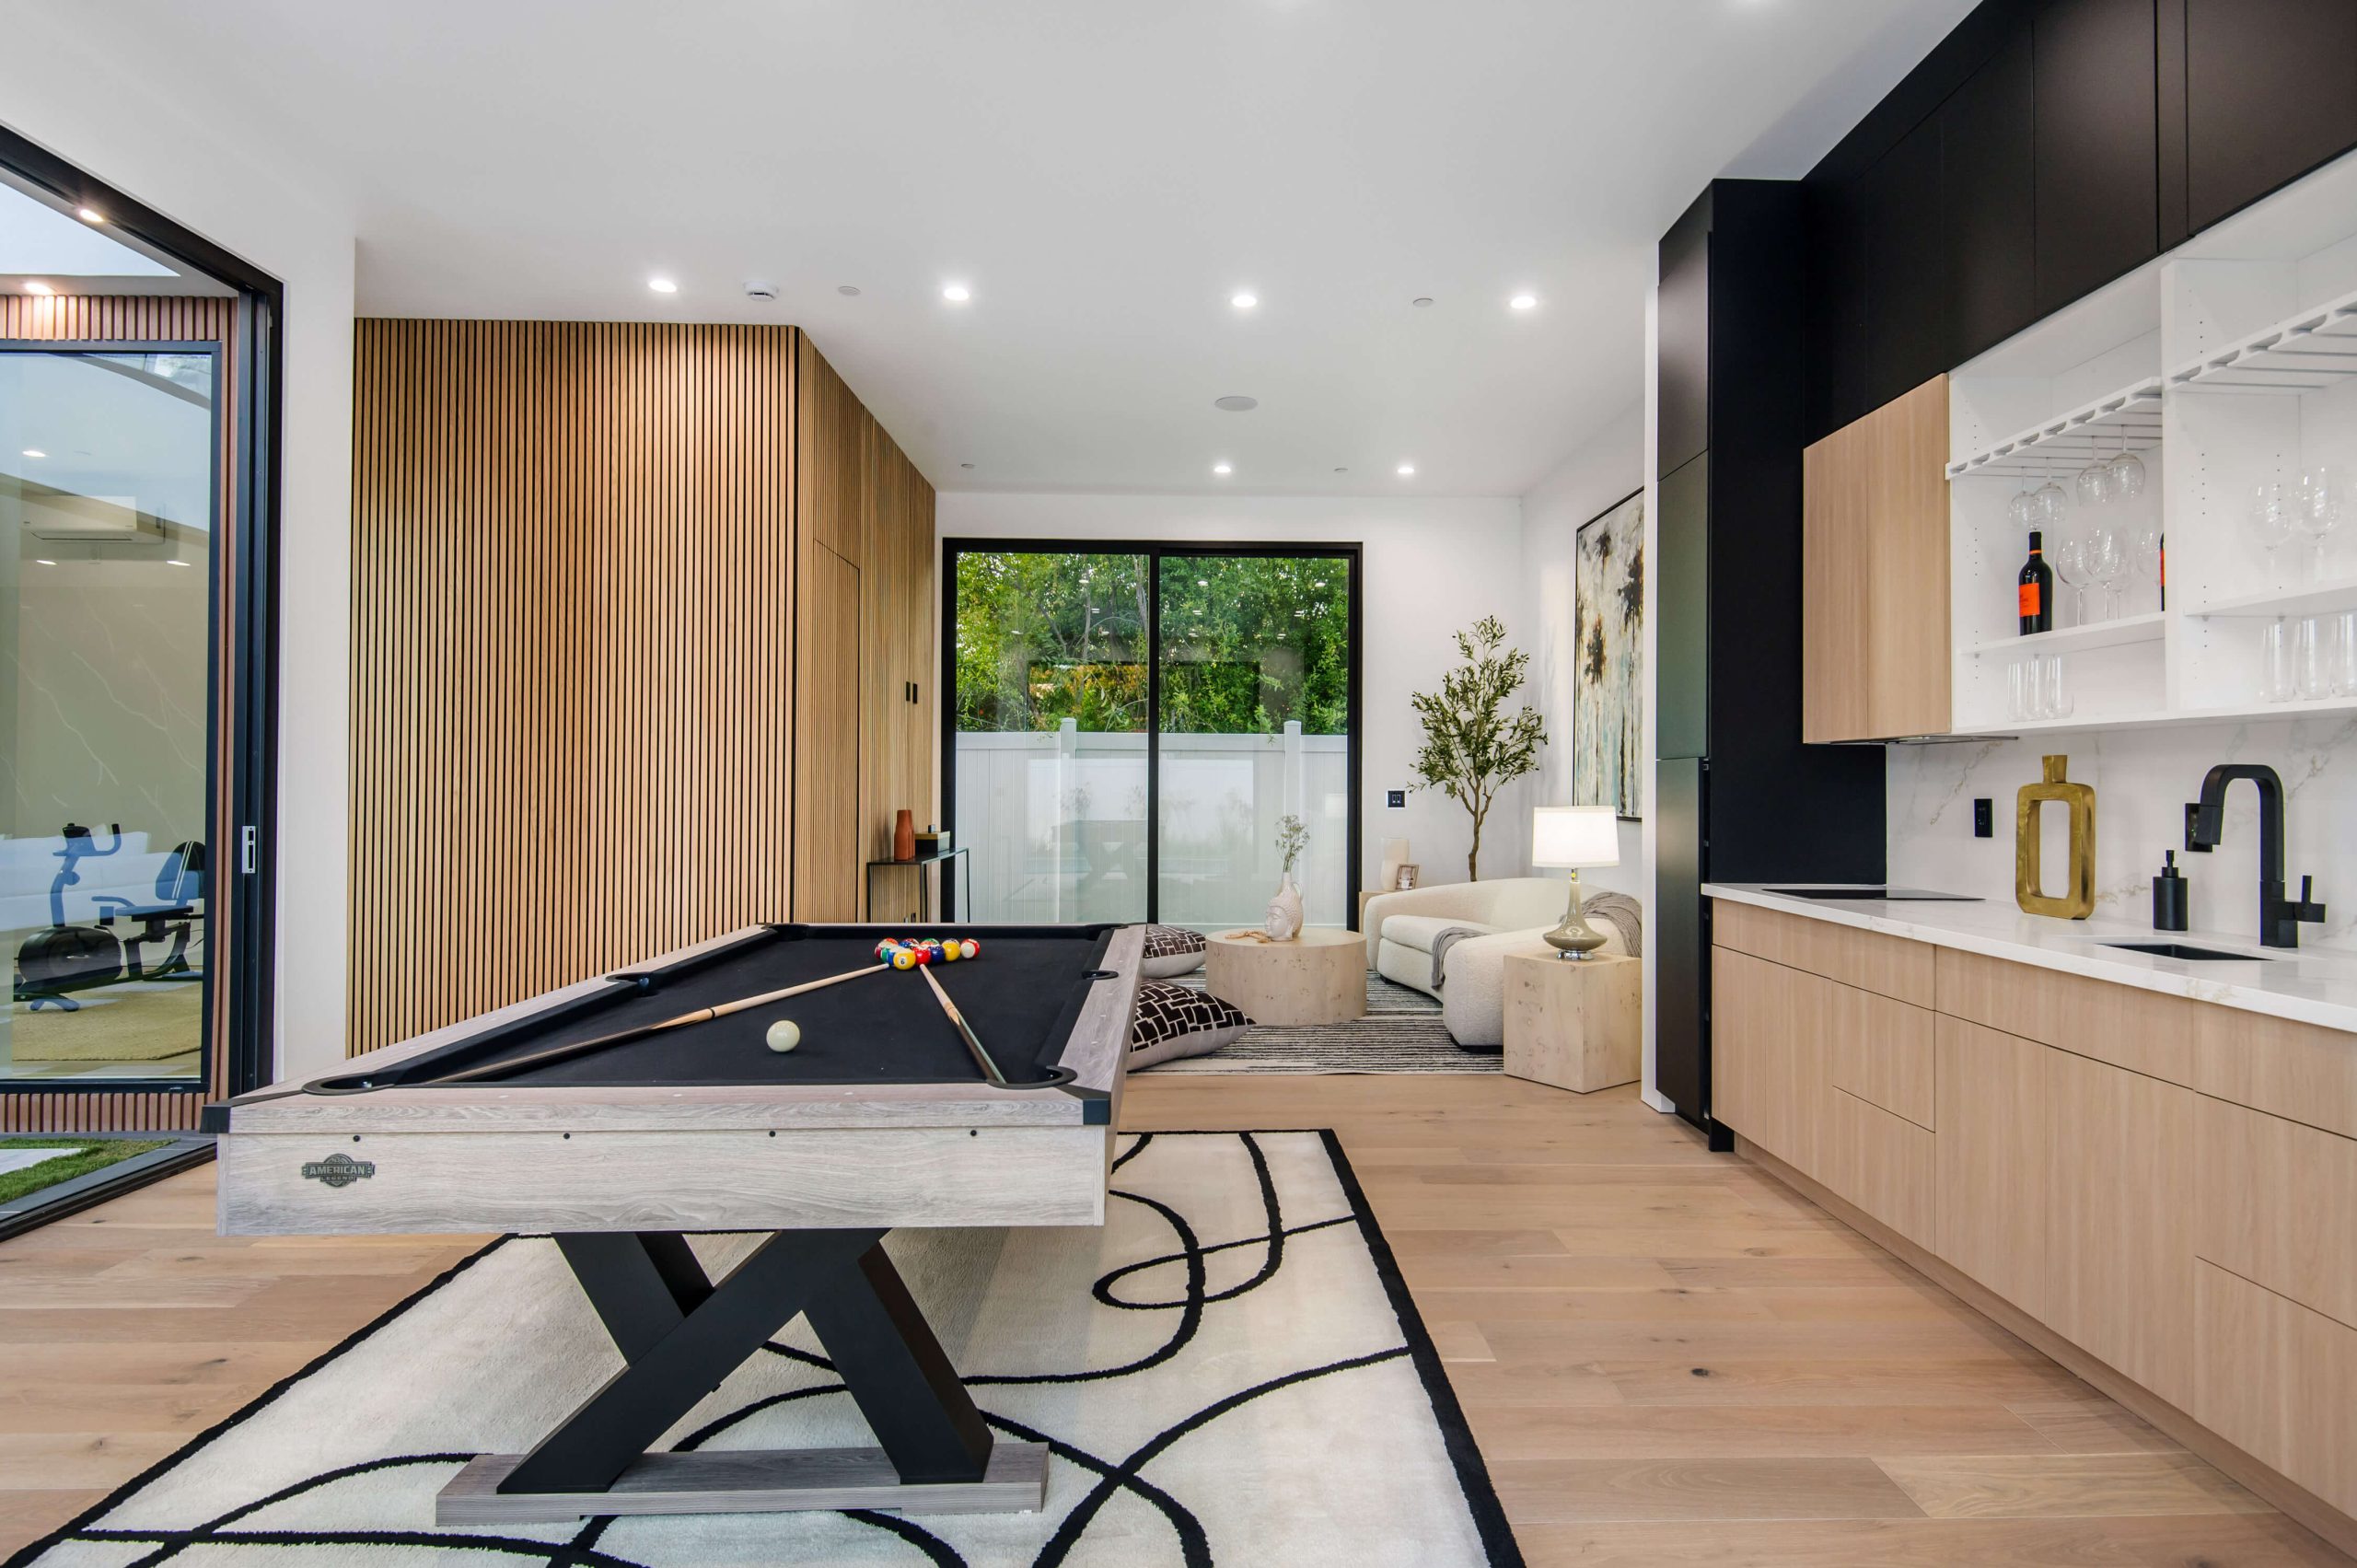
Before diving into the installation process, it’s crucial to understand why wood wall panels are a great choice. These panels not only add elegance and warmth to any room but also improve sound insulation and provide durability. Materials like Natural Oak Wood Panels offer a sophisticated aesthetic and long-lasting quality. Additionally, wood panels are available in various finishes such as MDF veneer and WPC (Wood-Plastic Composite) siding, which are ideal for both indoor and outdoor applications.
Tools You Need for Installing Wood Wall Panels
To achieve professional results, it’s essential to have the right tools on hand. Here’s a list of the must-have tools for a successful wood panel installation:
1. Measuring Tools
- Tape Measure: Precise measurements are the foundation of any successful installation. Use a high-quality tape measure to ensure each panel fits perfectly.
- Level: A level will help you make sure that your panels are aligned evenly on the wall.
- T-Square: Ideal for measuring perfect angles, especially when cutting panels for corner spaces.
2. Cutting Tools
- Miter Saw: The miter saw is indispensable for making accurate cuts, especially if you’re installing panels around obstacles such as windows or doors.
- Jigsaw: A jigsaw allows you to make intricate cuts, ideal for custom panel designs.
- Utility Knife: Handy for trimming lightweight panels or adjusting fit around outlets.
3. Fastening Tools
- Nail Gun: A nail gun speeds up the installation process, ensuring your wood panels are securely attached to the wall.
- Hammer and Nails: For those who prefer a more traditional approach, a hammer and nails can also be used, though it takes more time.
- Adhesive: High-quality wood adhesive is essential for bonding panels to the wall, especially in areas where nails aren’t practical.
4. Finishing Tools
- Sandpaper: Sandpaper helps smooth out edges or rough patches after cutting the wood panels.
- Paint Brushes or Rollers: If you’re planning to paint or stain the panels, make sure you have a high-quality paintbrush or roller for even application.
Step-by-Step Installation Process
Now that you’ve gathered your tools, here’s a simplified process to follow when installing wood wall panels:
- Prepare the Wall
- Clean the surface and remove any obstructions such as electrical plates.
- If necessary, apply primer or paint to the wall to create a clean base for the panels.
- Measure and Mark
- Use a tape measure to determine the area you’re covering with the panels.
- Mark the layout using a pencil and a level to ensure straight lines.
- Cut the Panels
- Use a miter saw or jigsaw to cut the panels according to the measurements. Always measure twice and cut once to avoid mistakes.
- Apply Adhesive
- Apply wood adhesive to the back of each panel. Make sure to spread it evenly for proper bonding.
- Nail the Panels
- Use a nail gun or hammer to attach the panels to the wall. Start from the bottom and work your way up, ensuring each panel is level before attaching.
- Finish the Installation
- Once all panels are in place, sand the edges if needed, and apply any finishing touches like stain or paint.
Materials for Wood Wall Panel Installation
Choosing the right materials is just as important as using the right tools. Depending on your aesthetic preferences and the environment where the panels will be installed, there are several options available.
1. Natural Oak Wood Panels
- Best for: Interior spaces
- Features: Natural Oak Wood Panels provide a timeless and elegant look, and their durability makes them suitable for high-traffic areas.
- Advantages: Easy to install, durable, and enhances acoustics in the room.
2. MDF Wood Veneer Panels
- Best for: Indoor residential spaces
- Features: MDF veneer panels are made from compressed wood fibers, offering a smooth surface that’s ideal for painting or staining.
- Advantages: Cost-effective and versatile, MDF panels are easy to cut and shape.
3. WPC Outdoor Siding Panels
- Best for: Outdoor use
- Features: WPC (Wood-Plastic Composite) panels are designed to withstand harsh outdoor elements, making them perfect for exterior walls.
- Advantages: Weather-resistant, durable, and requires minimal maintenance.
Benefits of Wood Wall Panels
Wood panels go beyond just aesthetics—they offer practical advantages that make them an ideal choice for both residential and commercial spaces.
- Sound Absorption: Certain wood panels, such as those made with acoustic felt, can enhance sound insulation, making them perfect for home theaters or music studios.
- Durability: High-quality wood panels are designed to last, ensuring you get long-term value from your investment.
- Eco-Friendly Options: Many wood panels are made from sustainably sourced materials, allowing you to beautify your space without compromising environmental responsibility.
FAQs About Installing Wood Wall Panels
1. What is the easiest way to install wood wall panels?
The easiest method is using adhesive and a nail gun for a quick and secure installation. Make sure to measure and cut carefully for a precise fit.
2. Can I install wood panels in a bathroom or kitchen?
Yes, but you’ll need to choose moisture-resistant panels like WPC siding for such areas. Ensure proper ventilation to prevent moisture buildup.
3. What kind of wood panels should I use for outdoor installations?
WPC (Wood-Plastic Composite) panels are ideal for outdoor use as they are weather-resistant and durable.
4. Do I need to treat the panels after installation?
It depends on the material. Natural wood panels may benefit from sealing or staining, while MDF and WPC panels often require little to no post-installation treatment.
5. How do I maintain wood wall panels?
For natural wood, regular dusting and occasional polishing will keep them looking fresh. WPC panels require minimal maintenance, needing only occasional cleaning with mild soap and water.
Conclusion
Installing wood wall panels can dramatically enhance the look and feel of any space. With the right tools and materials, the process becomes much more straightforward, and the results are nothing short of spectacular. Whether you’re a DIY enthusiast or working with professionals, installing wood wall panels adds value, beauty, and functionality to your home or commercial space. From sound insulation to a variety of stylish finishes, wood wall panels are a versatile and rewarding choice for interior and exterior design.

