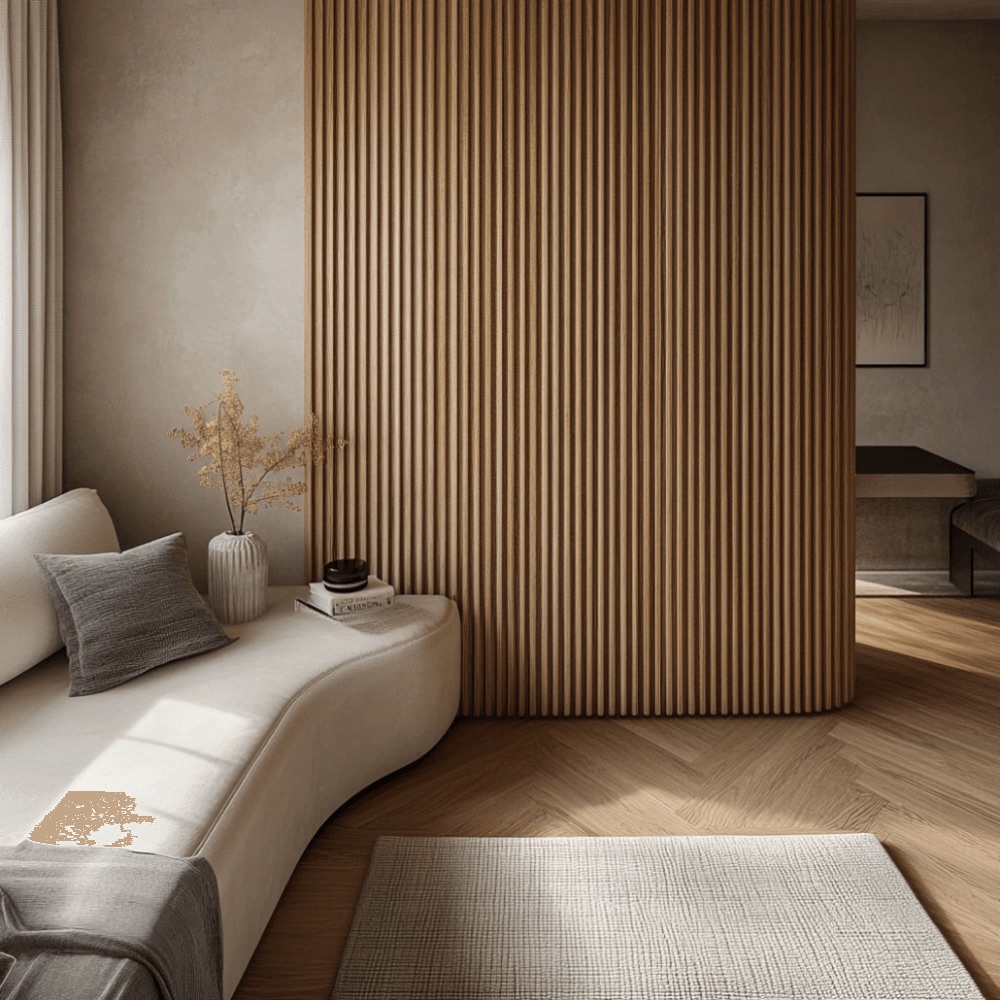
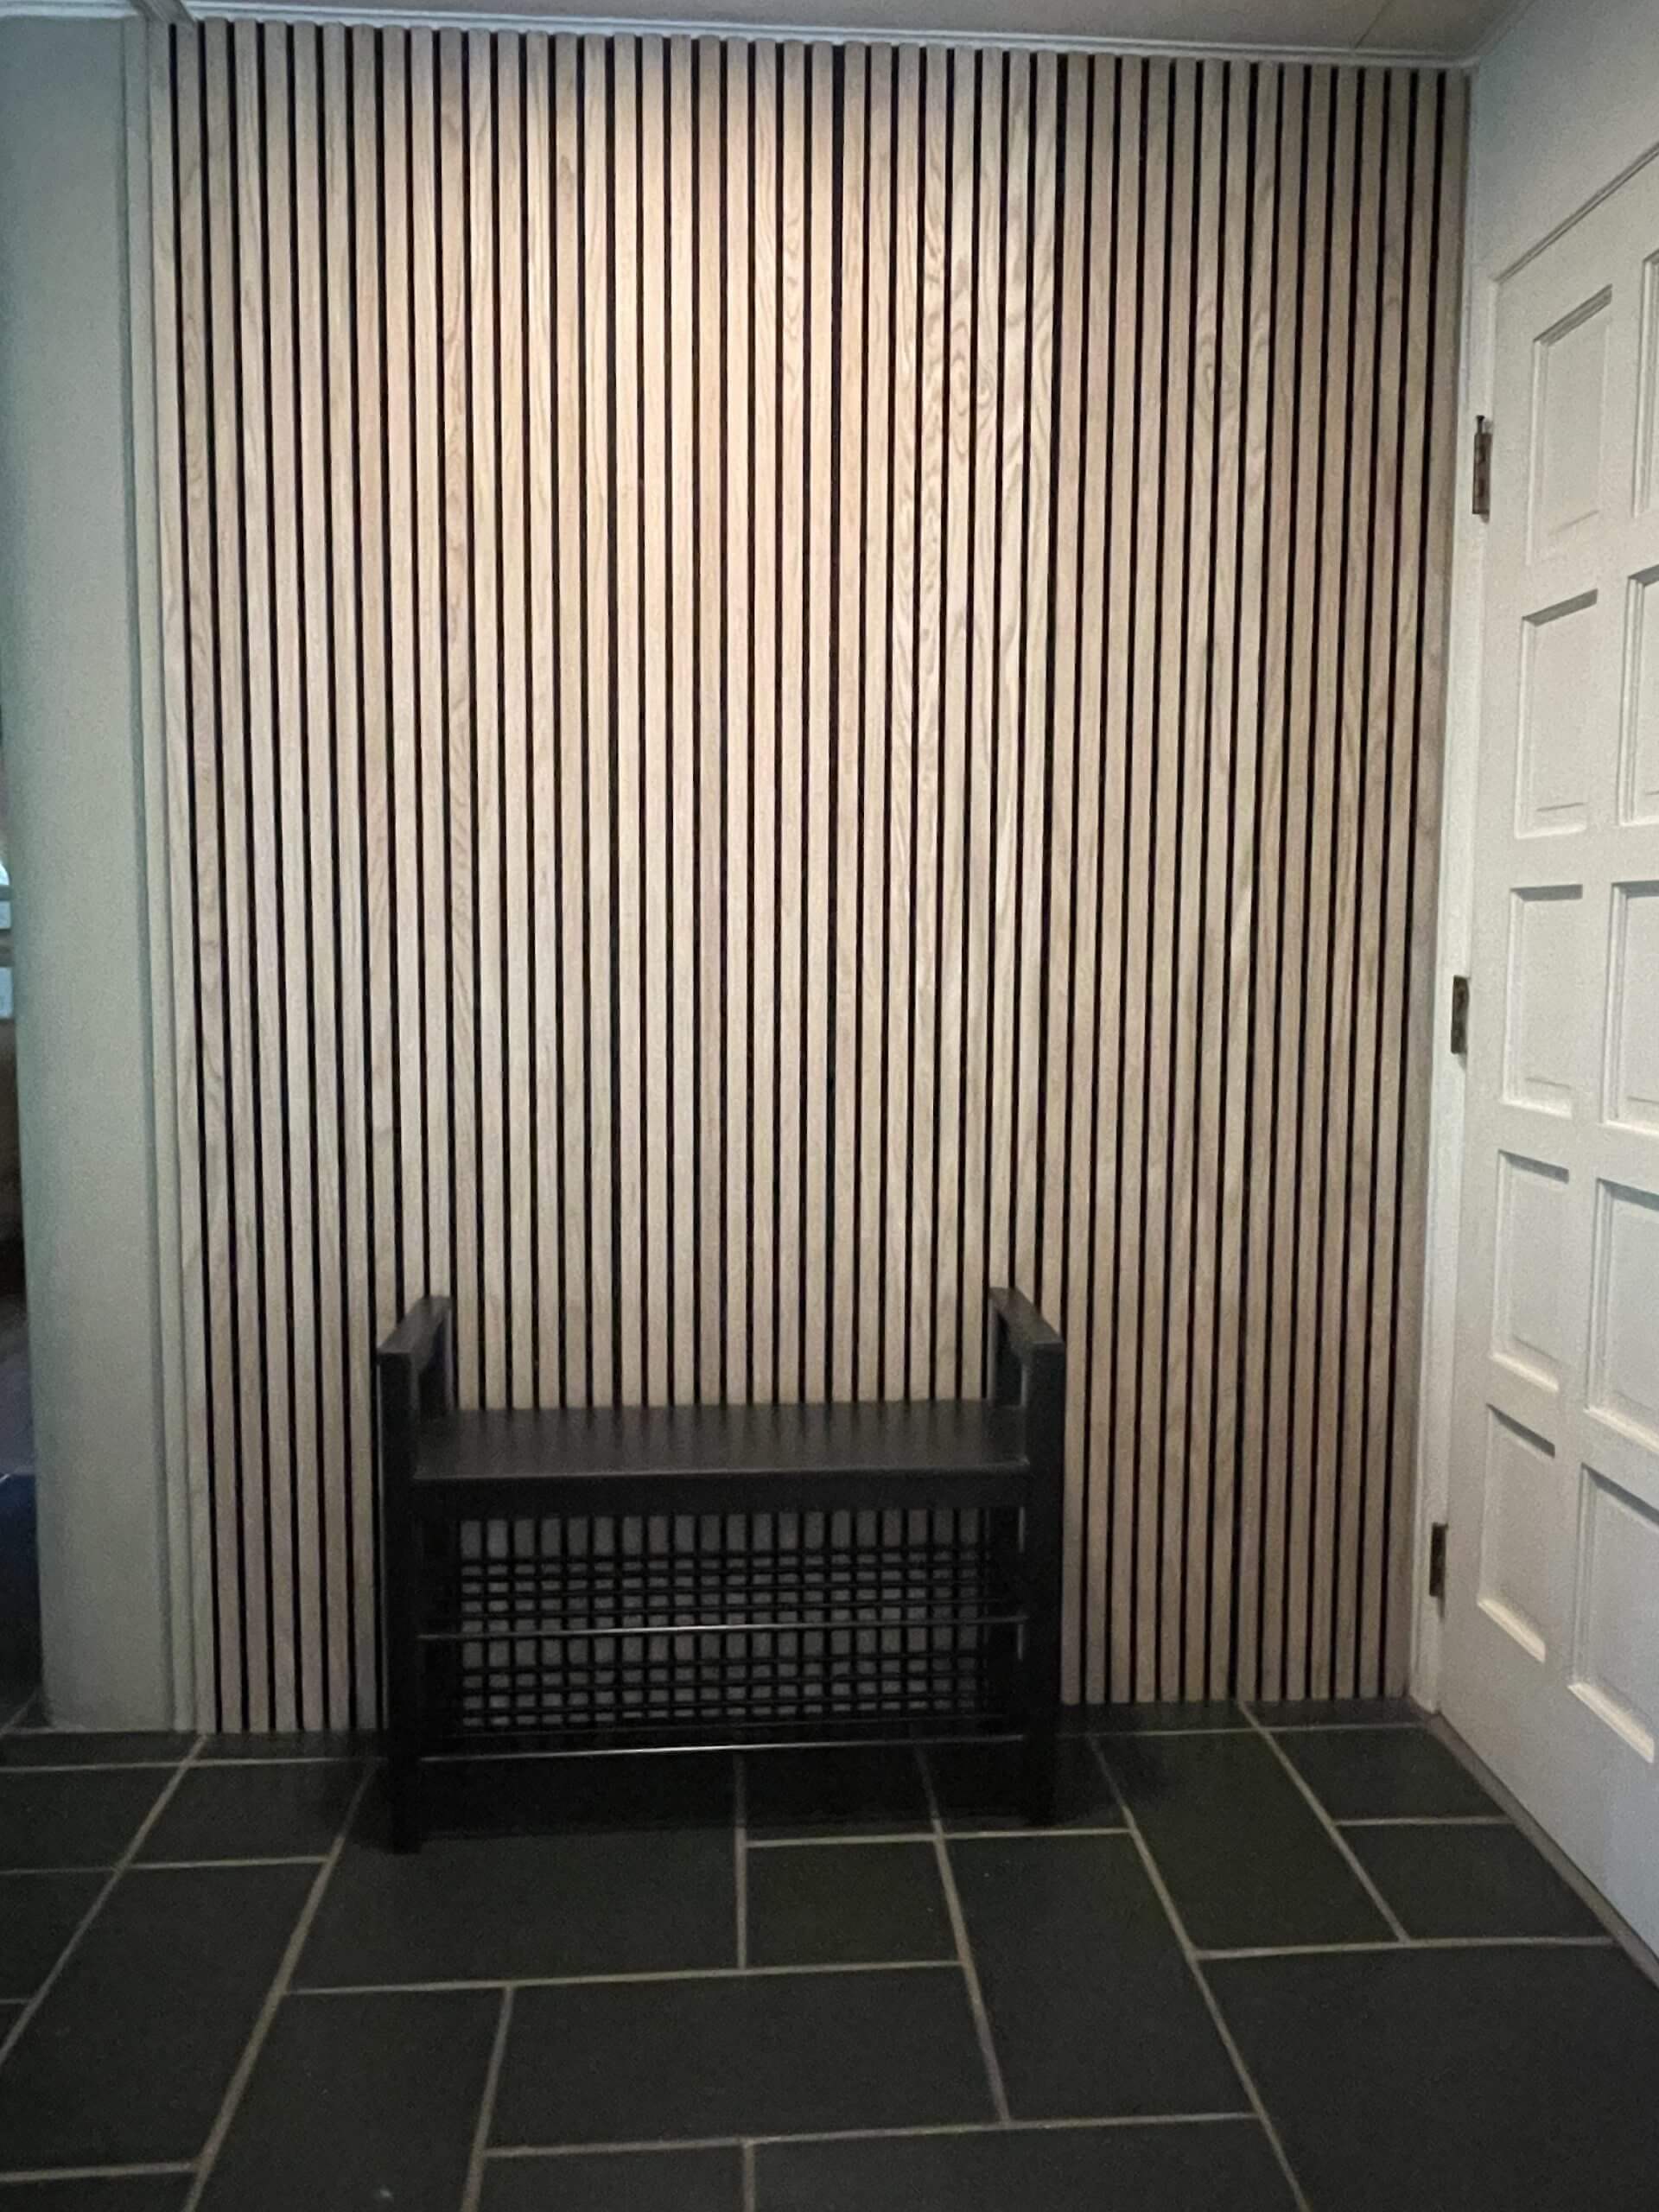
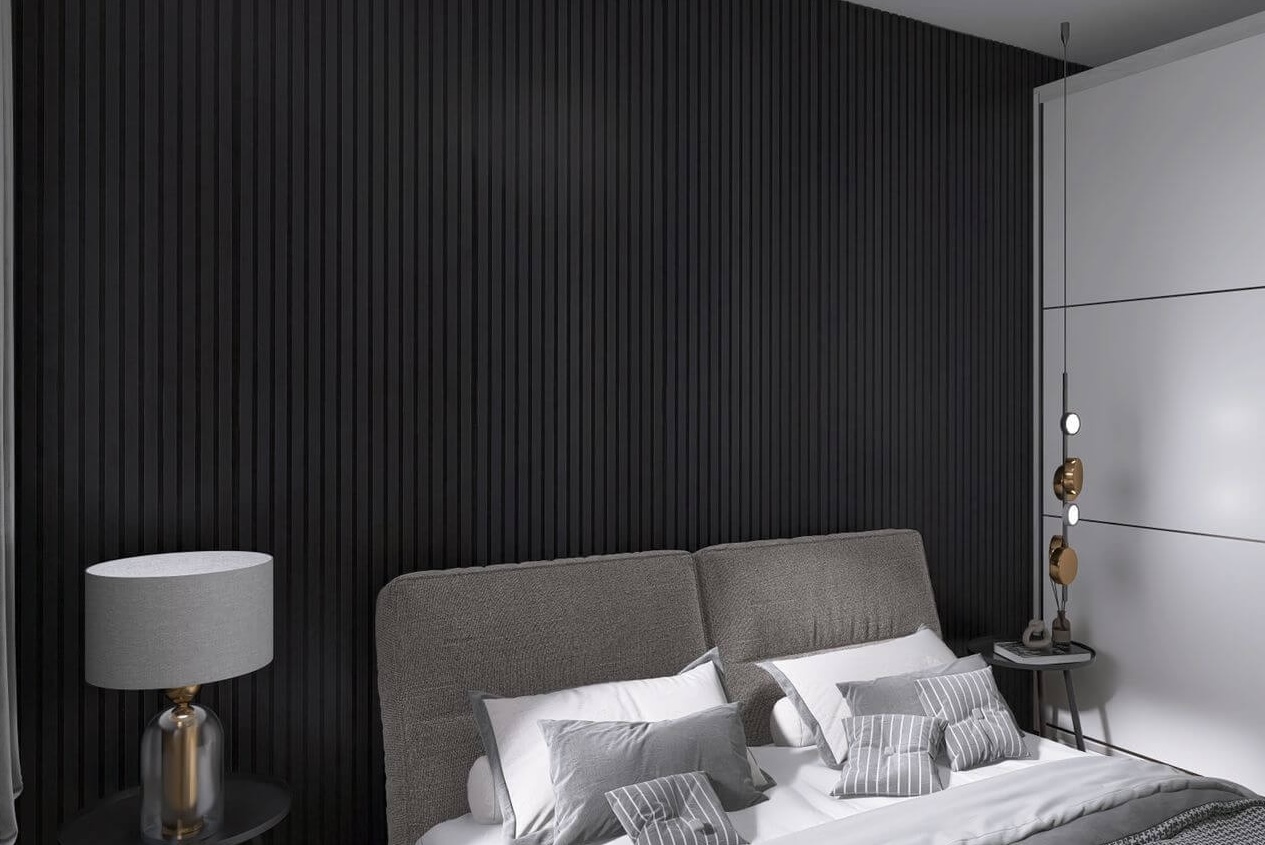
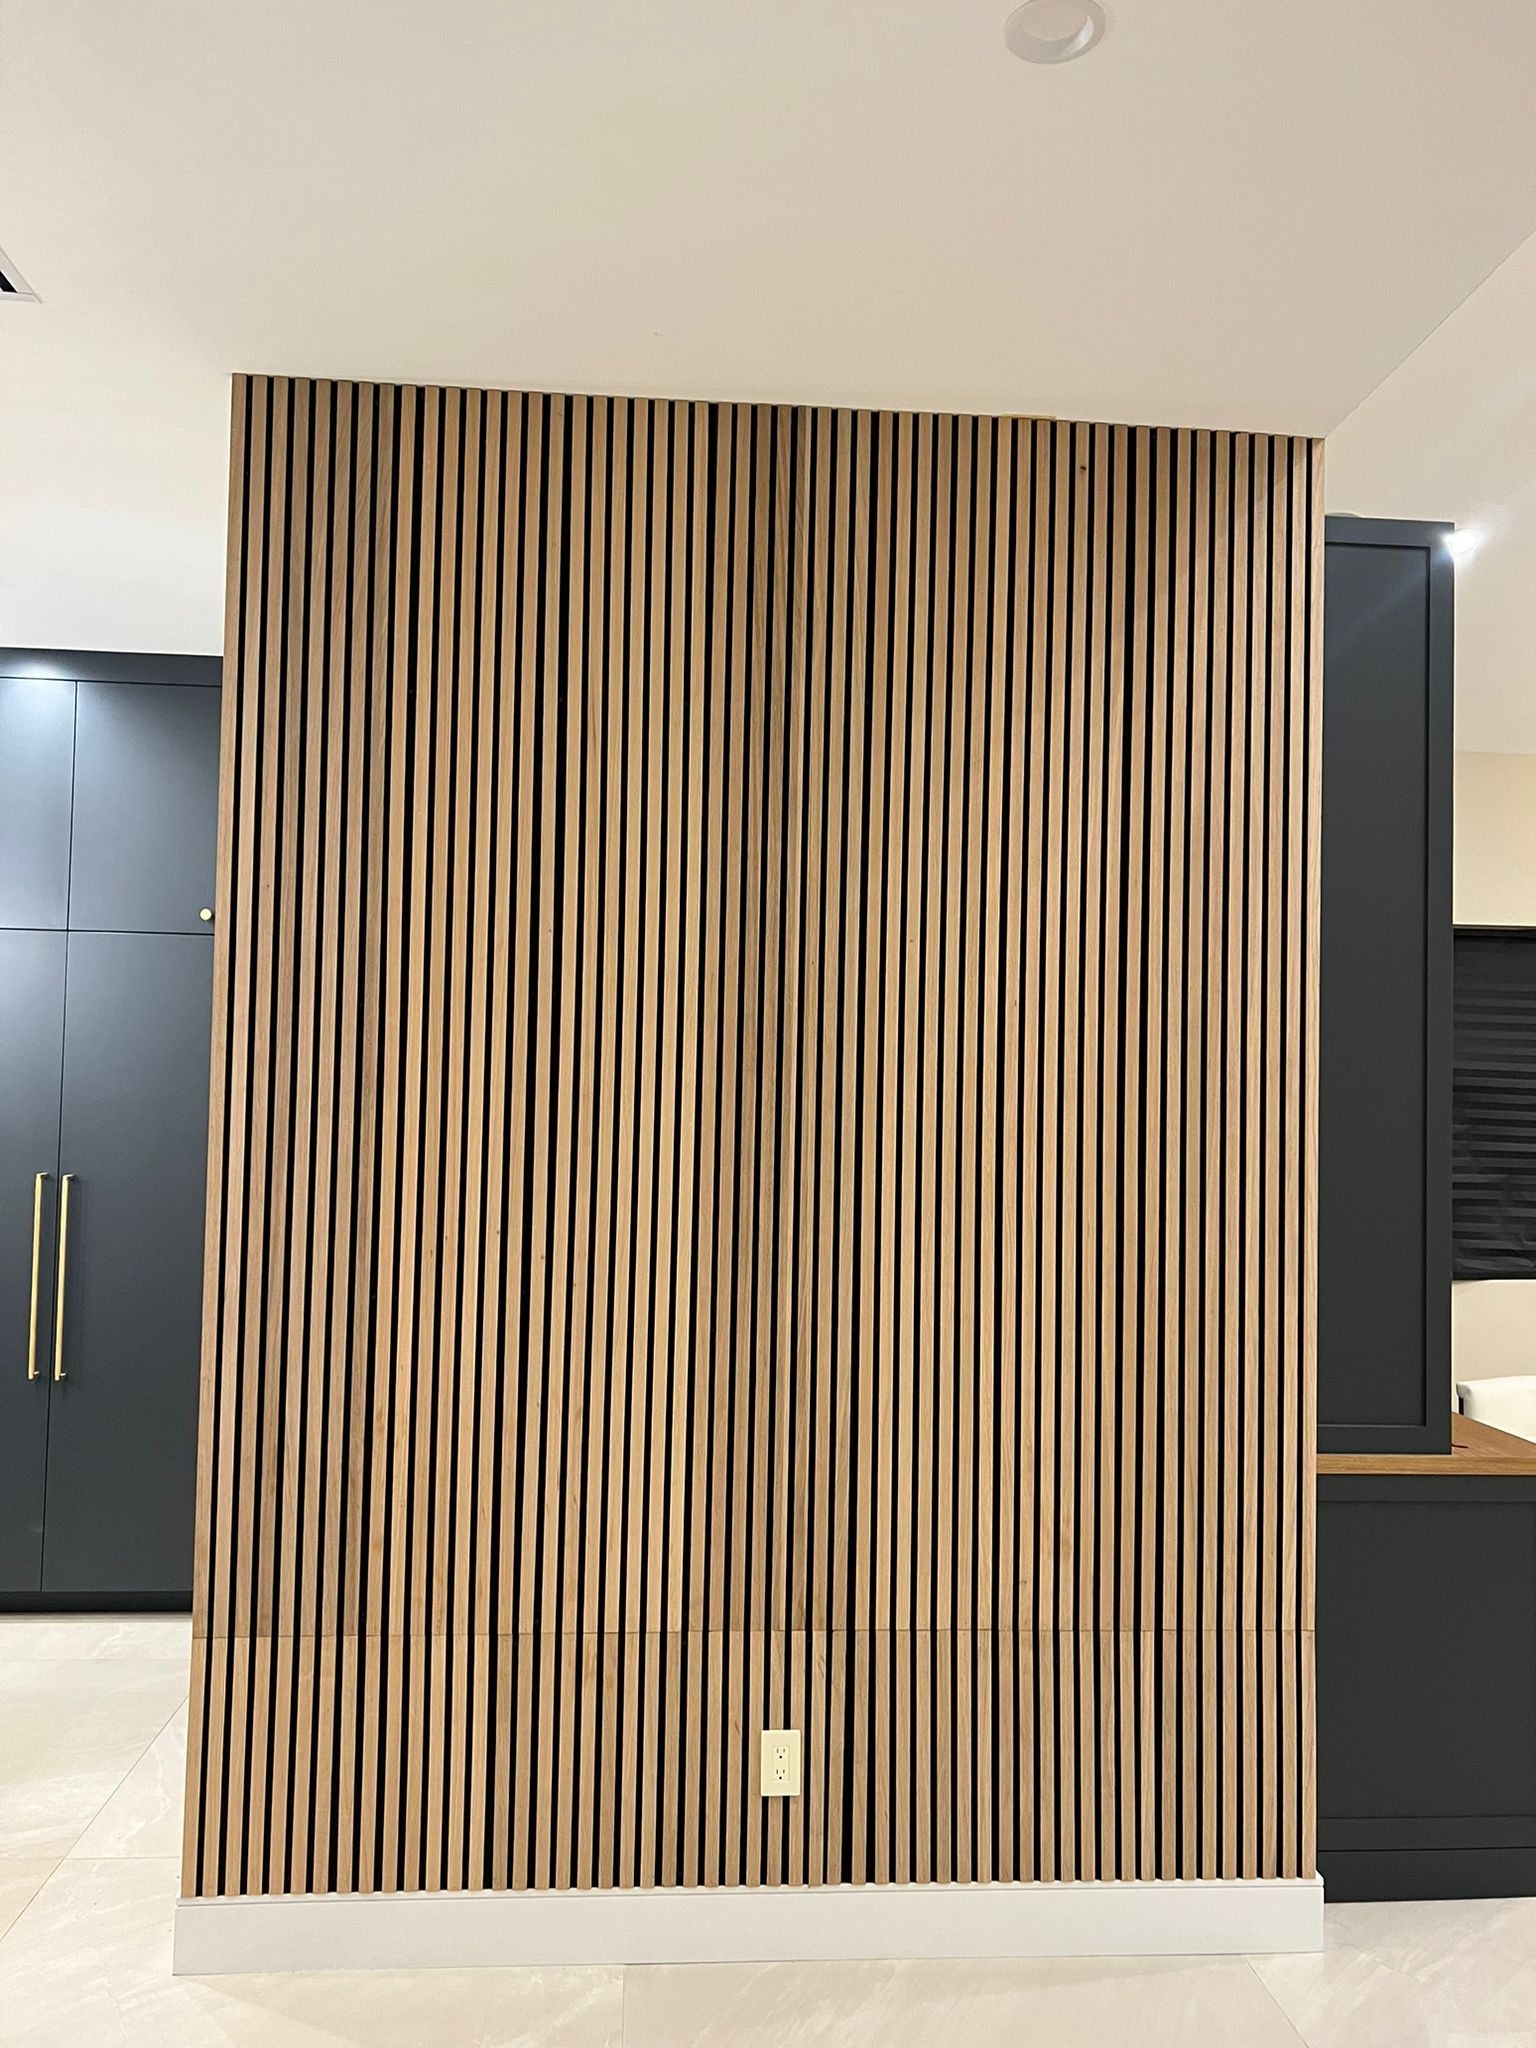
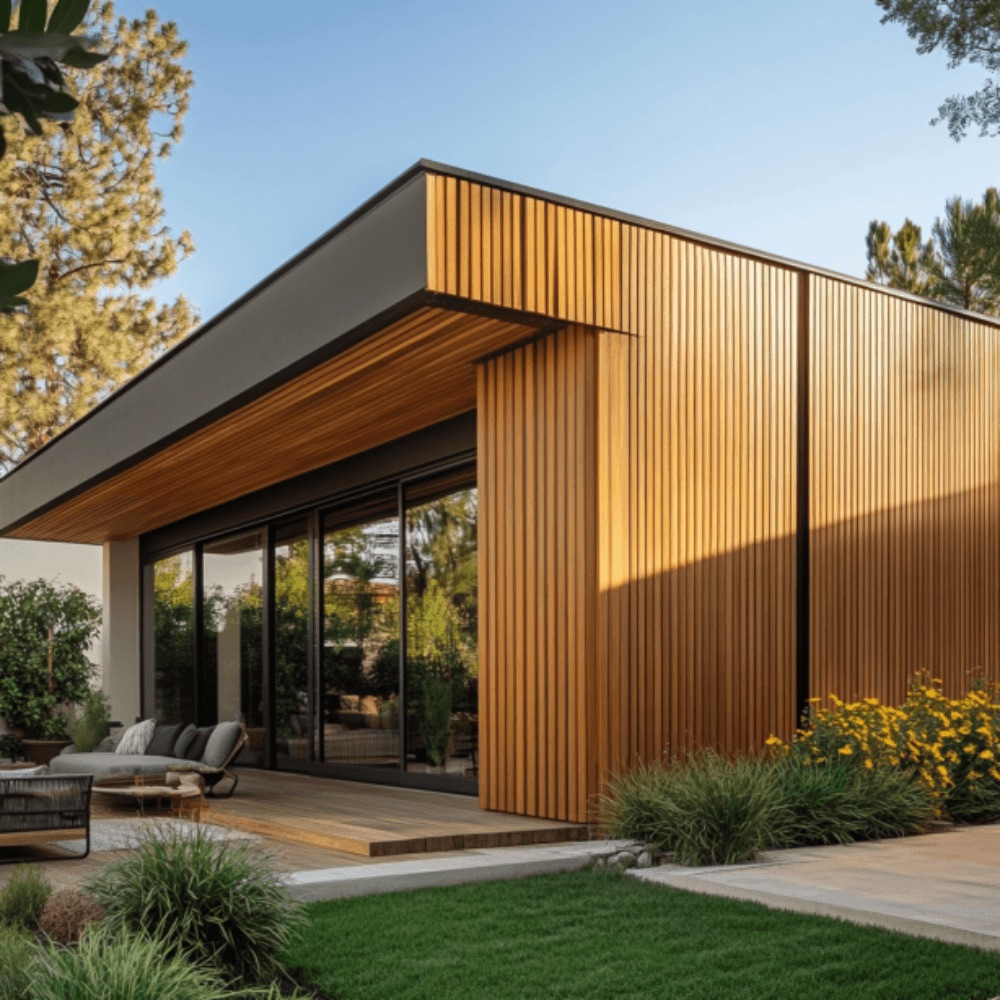
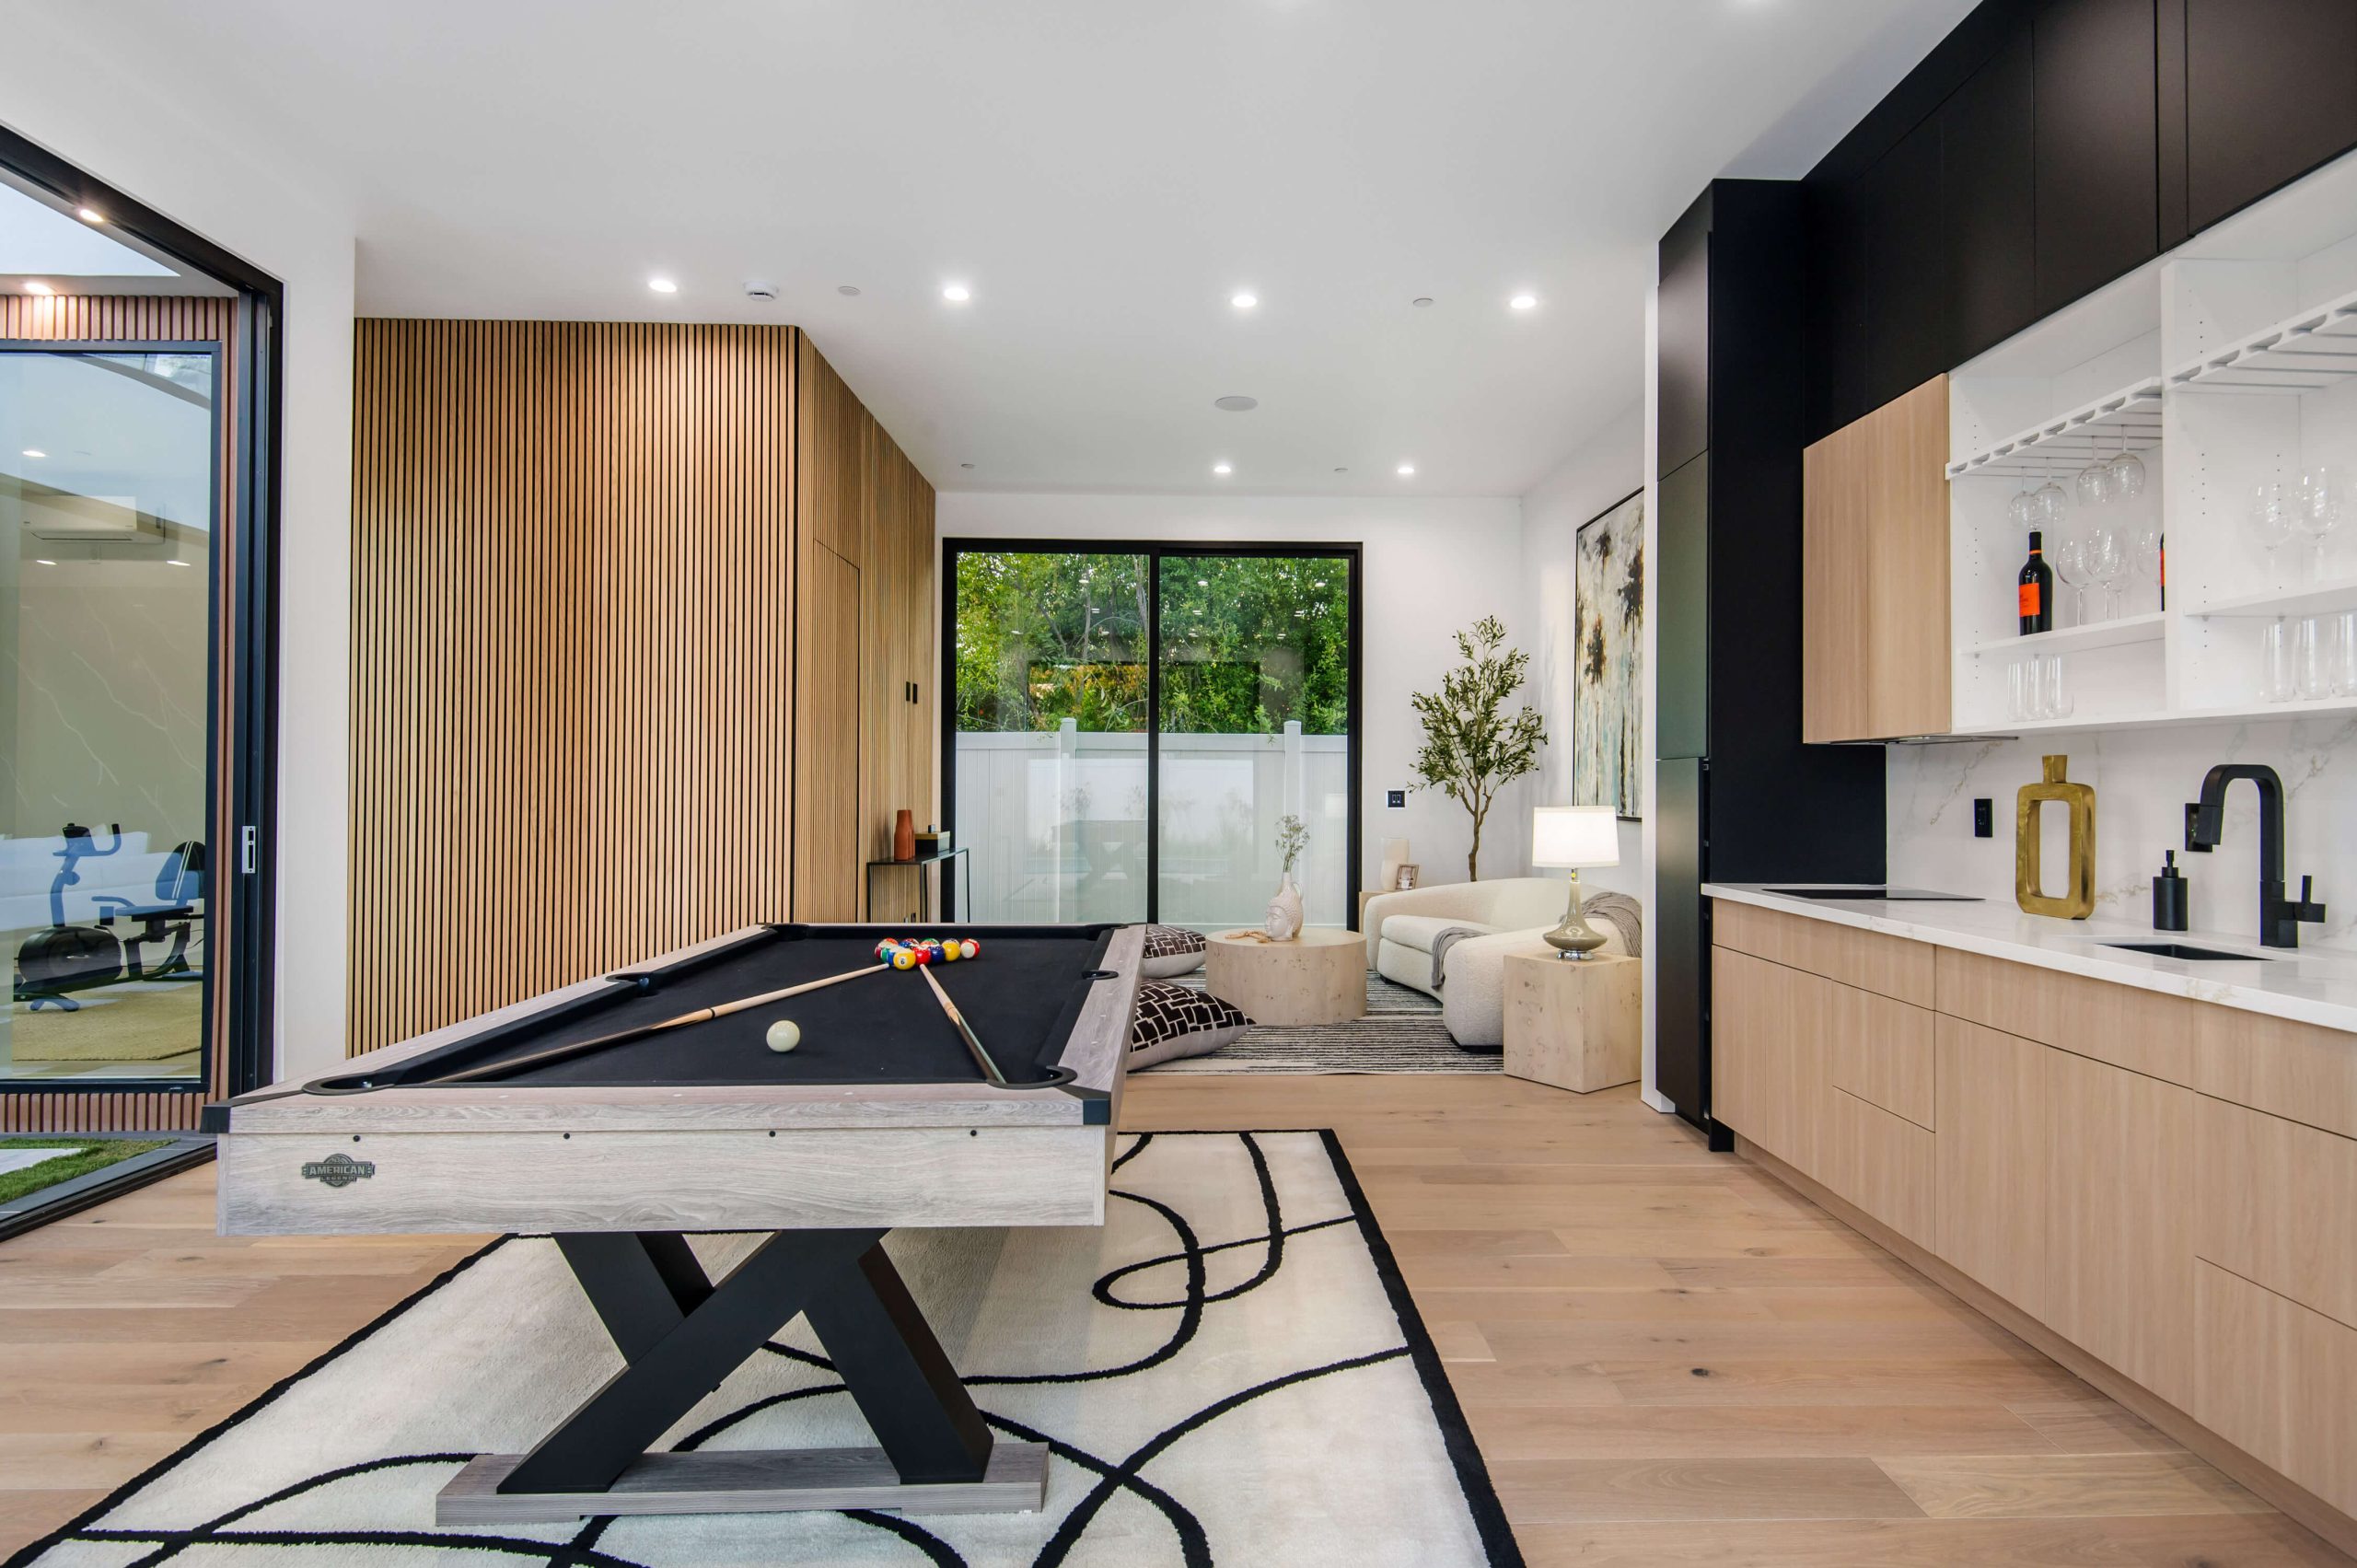
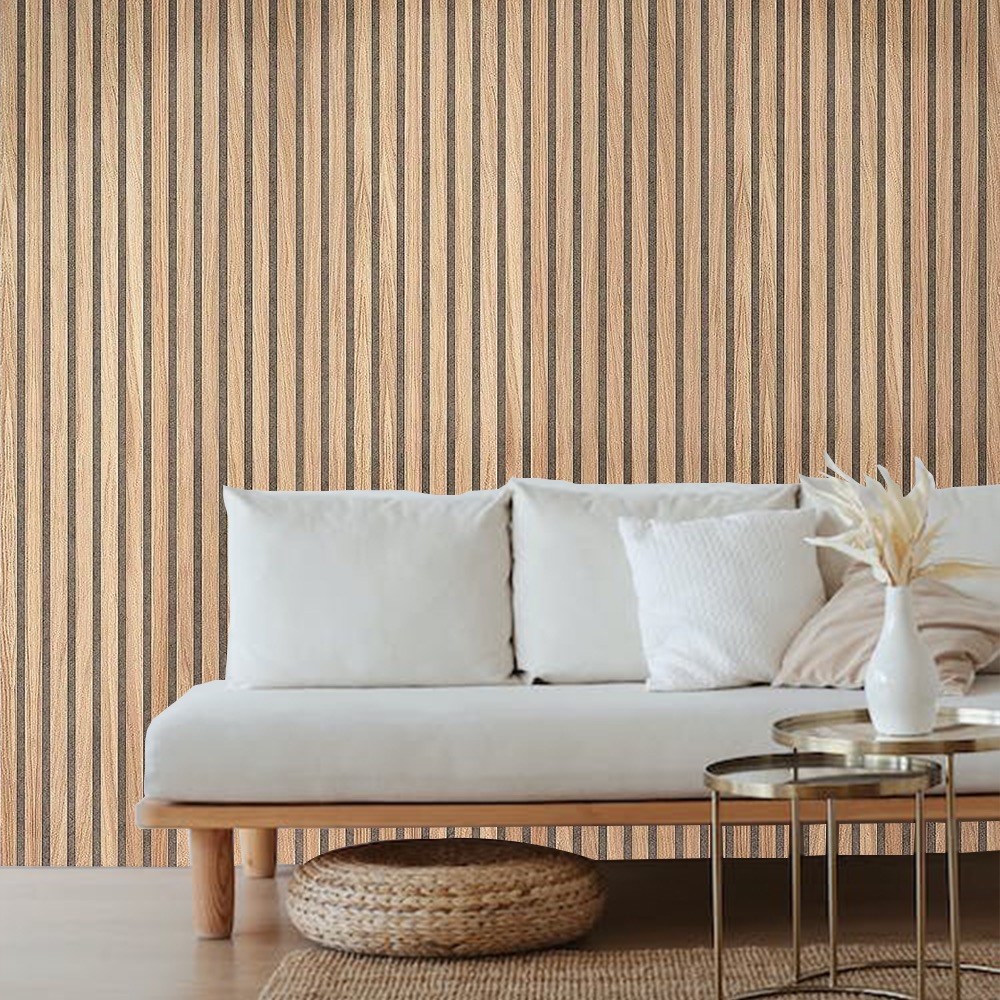
When it comes to home improvement projects, painting slat wall panels is an excellent way to refresh your space while adding a personal touch. Whether you’re aiming for a bold accent wall, a soft, muted look, or something entirely unique, painting slat wall panels offers endless possibilities. This guide will walk you through everything you need to know to make your project a success, from preparation to execution.
Why Paint Slat Wall Panels?
Slat wall panels are a versatile and stylish choice for interiors. While their natural wooden look is often enough to make a statement, painting them allows for customization that aligns with your personal taste or décor theme. Here’s why painting slat wall panels is worth considering:
- Customization: Choose colors that match or contrast with your furniture or wall art.
- Revitalization: Refresh older or faded panels for a brand-new appearance.
- Adaptability: Painted panels can suit various styles, from modern to rustic.
Tools and Materials You’ll Need
Before starting, gather the necessary tools and materials:
- Sandpaper (medium and fine grit)
- Primer suitable for wood
- Paint (latex or oil-based, depending on your preference)
- Paintbrushes (angled and flat)
- Roller and tray
- Painter’s tape
- Drop cloths or plastic sheeting
- A clean cloth or tack cloth
- Wood filler (if repairs are needed)
Step-by-Step Process for Painting Slat Wall Panels
1. Preparation is Key
Proper preparation ensures a smooth and long-lasting finish. Follow these steps:
- Clean the Panels: Dust and debris can ruin your paint job. Use a damp cloth to wipe the panels clean and allow them to dry completely.
- Fill Imperfections: Use wood filler to address any cracks, dents, or holes in the panels. Once the filler dries, sand it smooth.
- Sand the Surface: Lightly sand the panels to create a surface the primer and paint can adhere to. Start with medium-grit sandpaper and finish with fine-grit for a smooth result.
- Protect Surrounding Areas: Use painter’s tape to cover edges and corners. Lay down drop cloths to protect floors and furniture.
2. Apply Primer
Primer is crucial for an even and durable finish:
- Choose a primer designed for wood surfaces.
- Apply an even coat with a roller, using a brush for tight corners or grooves.
- Allow the primer to dry completely before moving on to the paint.
3. Painting the Slat Wall Panels
Now it’s time for the fun part:
- Choose Your Paint: Opt for latex paint for easier application and cleanup, or oil-based paint for a more durable finish.
- First Coat: Start with a thin, even layer. Use a roller for the broader areas and a brush for the slats.
- Dry and Inspect: Let the first coat dry completely, then check for streaks or missed spots.
- Second Coat: Apply a second coat for richer, more even color. Repeat as necessary for full coverage.
4. Finishing Touches
- Remove Tape Carefully: Peel off the painter’s tape while the paint is still slightly wet to prevent chipping.
- Allow Ample Drying Time: Let the panels dry for at least 24 hours before touching or decorating.
- Seal the Paint (Optional): For extra durability, apply a clear topcoat or sealant.
Pro Tips for Success
- Test Colors First: Paint a small section or use sample boards to ensure you love the color in your lighting conditions.
- Use Quality Tools: Invest in good brushes and rollers to avoid uneven application and brush marks.
- Work in Sections: If the panels are extensive, divide the work into sections for easier handling.
Visual Elements
- Step-by-Step Checklist
- Clean and sand the panels.
- Apply wood filler to imperfections.
- Tape off edges and protect floors.
- Apply primer and allow it to dry.
- Paint in thin, even coats, letting each coat dry fully.
- Color Inspiration Table
| Color Palette | Style | Suggested Use |
|---|---|---|
| Neutral Tones | Minimalist | Living rooms, bedrooms |
| Bold Colors | Modern/Contemporary | Accent walls, offices |
| Earthy Greens | Rustic/Bohemian | Kitchens, bathrooms |
- Simple Painting Flow Diagram
Prep → Prime → Paint (Coat 1) → Dry → Paint (Coat 2) → Finish
FAQ: Common Questions About Painting Slat Wall Panels
1. Can I skip the primer step?
While it’s possible, primer ensures better adhesion and a smoother finish, especially on porous or stained wood.
2. What type of paint is best for slat wall panels?
Latex paint is user-friendly and versatile, but oil-based paint offers more durability for high-traffic areas.
3. How do I avoid brush marks?
Use high-quality brushes and apply paint in thin, even strokes. A foam roller can also help minimize brush marks.
4. How long does the paint need to dry?
Drying time depends on the paint type and room conditions. Allow 24 hours for full drying and curing.
5. Can I repaint already-painted panels?
Yes, but you’ll need to sand and prime the surface first to ensure the new paint adheres properly.
Final Thoughts
Painting slat wall panels is a rewarding project that transforms your space with a personal touch. By following the steps outlined in this guide, you’ll achieve a professional-looking finish that enhances your home’s style and character. Whether you’re a seasoned DIYer or a first-time painter, this process is approachable and satisfying. Happy painting!

