If you’re tired of staring at those old bathroom or kitchen tiles and want a fresh, cozy look without tearing everything out, you’re in the right place. Paneling over tile walls is one of the easiest and smartest ways to upgrade your space. No demolition, no mess—just a stylish transformation that feels like a brand-new room. We’ve broken it down into simple, clear steps to help you do it right and love the results.
Why Paneling Over Tile Walls Is a Game Changer
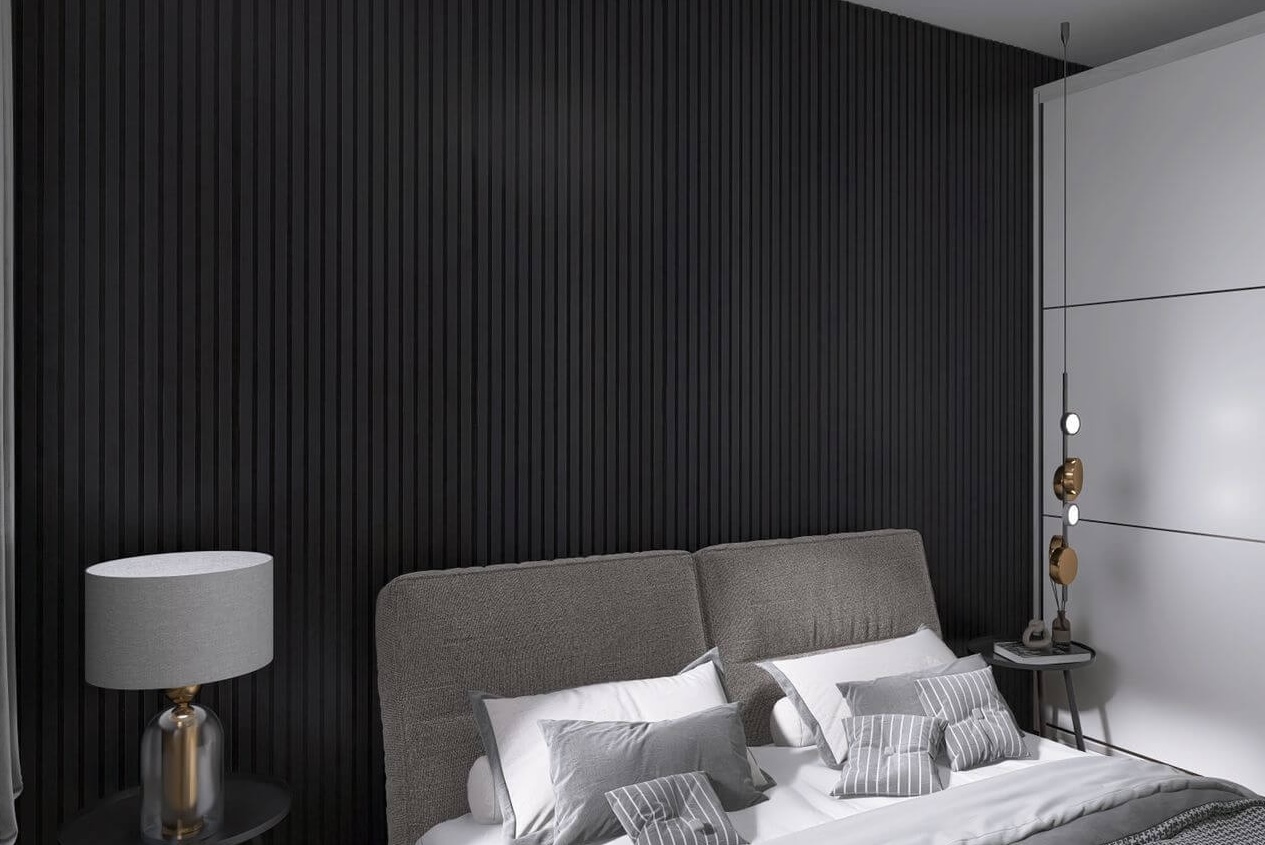
Let’s be honest—tiles can feel cold and outdated. But ripping them off isn’t exactly easy or cheap. That’s where paneling over tile walls comes in. It’s faster, cleaner, and gives you endless design choices. From rustic shiplap to smooth MDF panels, you get to pick a look that matches your vibe.
Here’s why so many people are choosing to cover up instead of tearing down:
- Cost-effective: Save money by skipping the demolition.
- Time-saving: You can panel over tile walls in a weekend.
- Design-flexible: Go modern, farmhouse, or classic—whatever you like.
- Damage-free: No need to damage walls or risk plumbing problems.
If you’re looking for beautiful options, check out these stylish wood paneling ideas for interiors to help inspire your project.
What You’ll Need Before You Begin Paneling Over Tile Walls
Before you jump in, gather all your tools and materials. Preparation is key when you’re paneling over tile walls. You want the panels to stick, stay, and look good for years.
Here’s a basic checklist:
- Measuring tape
- Pencil or chalk line
- Construction adhesive (strong and waterproof)
- Nails or brad nailer
- Wood or MDF panels
- Caulking gun
- Wood filler or caulk
- Level tool
- Sandpaper
- Primer and paint (if you’re painting the panels)
Tip: Always make sure your tile surface is dry, clean, and grease-free. Wipe down with a degreasing cleaner before starting.
How to Prep the Surface When Paneling Over Tile Walls
We know tile isn’t the easiest surface to stick stuff on. That’s why proper prep is crucial. If you skip this part, your panels might not hold well.
- Clean the tiles: Use a strong tile cleaner or degreaser.
- Scuff the surface: Lightly sand the tiles to help the adhesive grip better.
- Fill grout lines: Use filler or spackle to even out the surface.
- Prime the area: Use a bonding primer to help everything stick.
If you’re using thin panels, a smoother surface helps them sit flush. You don’t want bumps or gaps showing through.
Let’s Get to It: Installing Panels Over Tiles
Now the fun begins! Paneling over tile walls can actually be satisfying. Watching the room change as you work makes all the effort worth it.
Follow these steps carefully:
- Measure your space: Know the height and width of each wall.
- Cut your panels: Use a circular saw or hand saw for clean edges.
- Dry fit first: Place the panels against the wall to make sure they fit.
- Apply adhesive: Use construction adhesive in a zig-zag pattern.
- Press panel firmly: Start from the bottom and move up.
- Secure with nails: Especially around the edges.
- Repeat: Continue paneling over tile walls section by section.
Use a level often to make sure each panel stays straight. Even a slight slant can throw off the whole wall.
Panel Types You Can Use for Covering Tile Walls
One of the most exciting parts is choosing the right paneling style. Different panels give different moods and textures. Here’s a quick breakdown:
Description List of Panel Types:
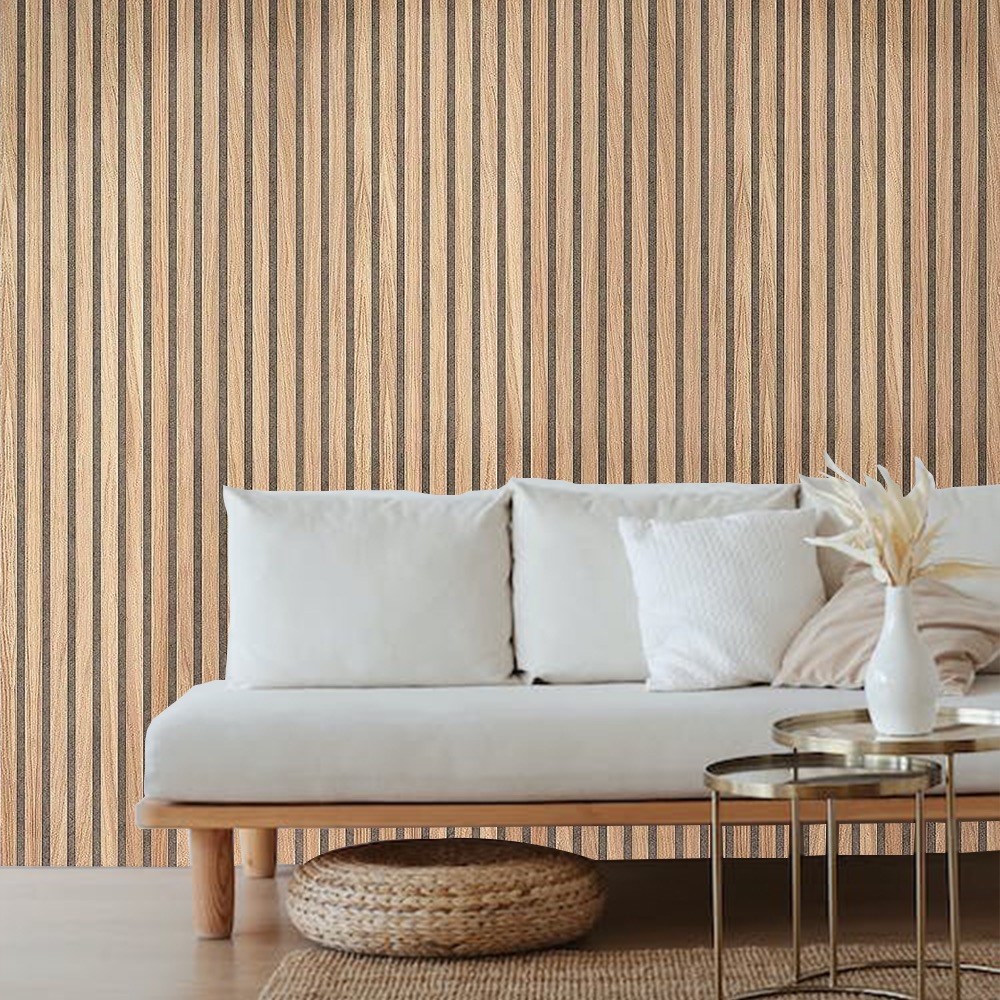
- Shiplap: Overlapping boards for a farmhouse or beachy feel.
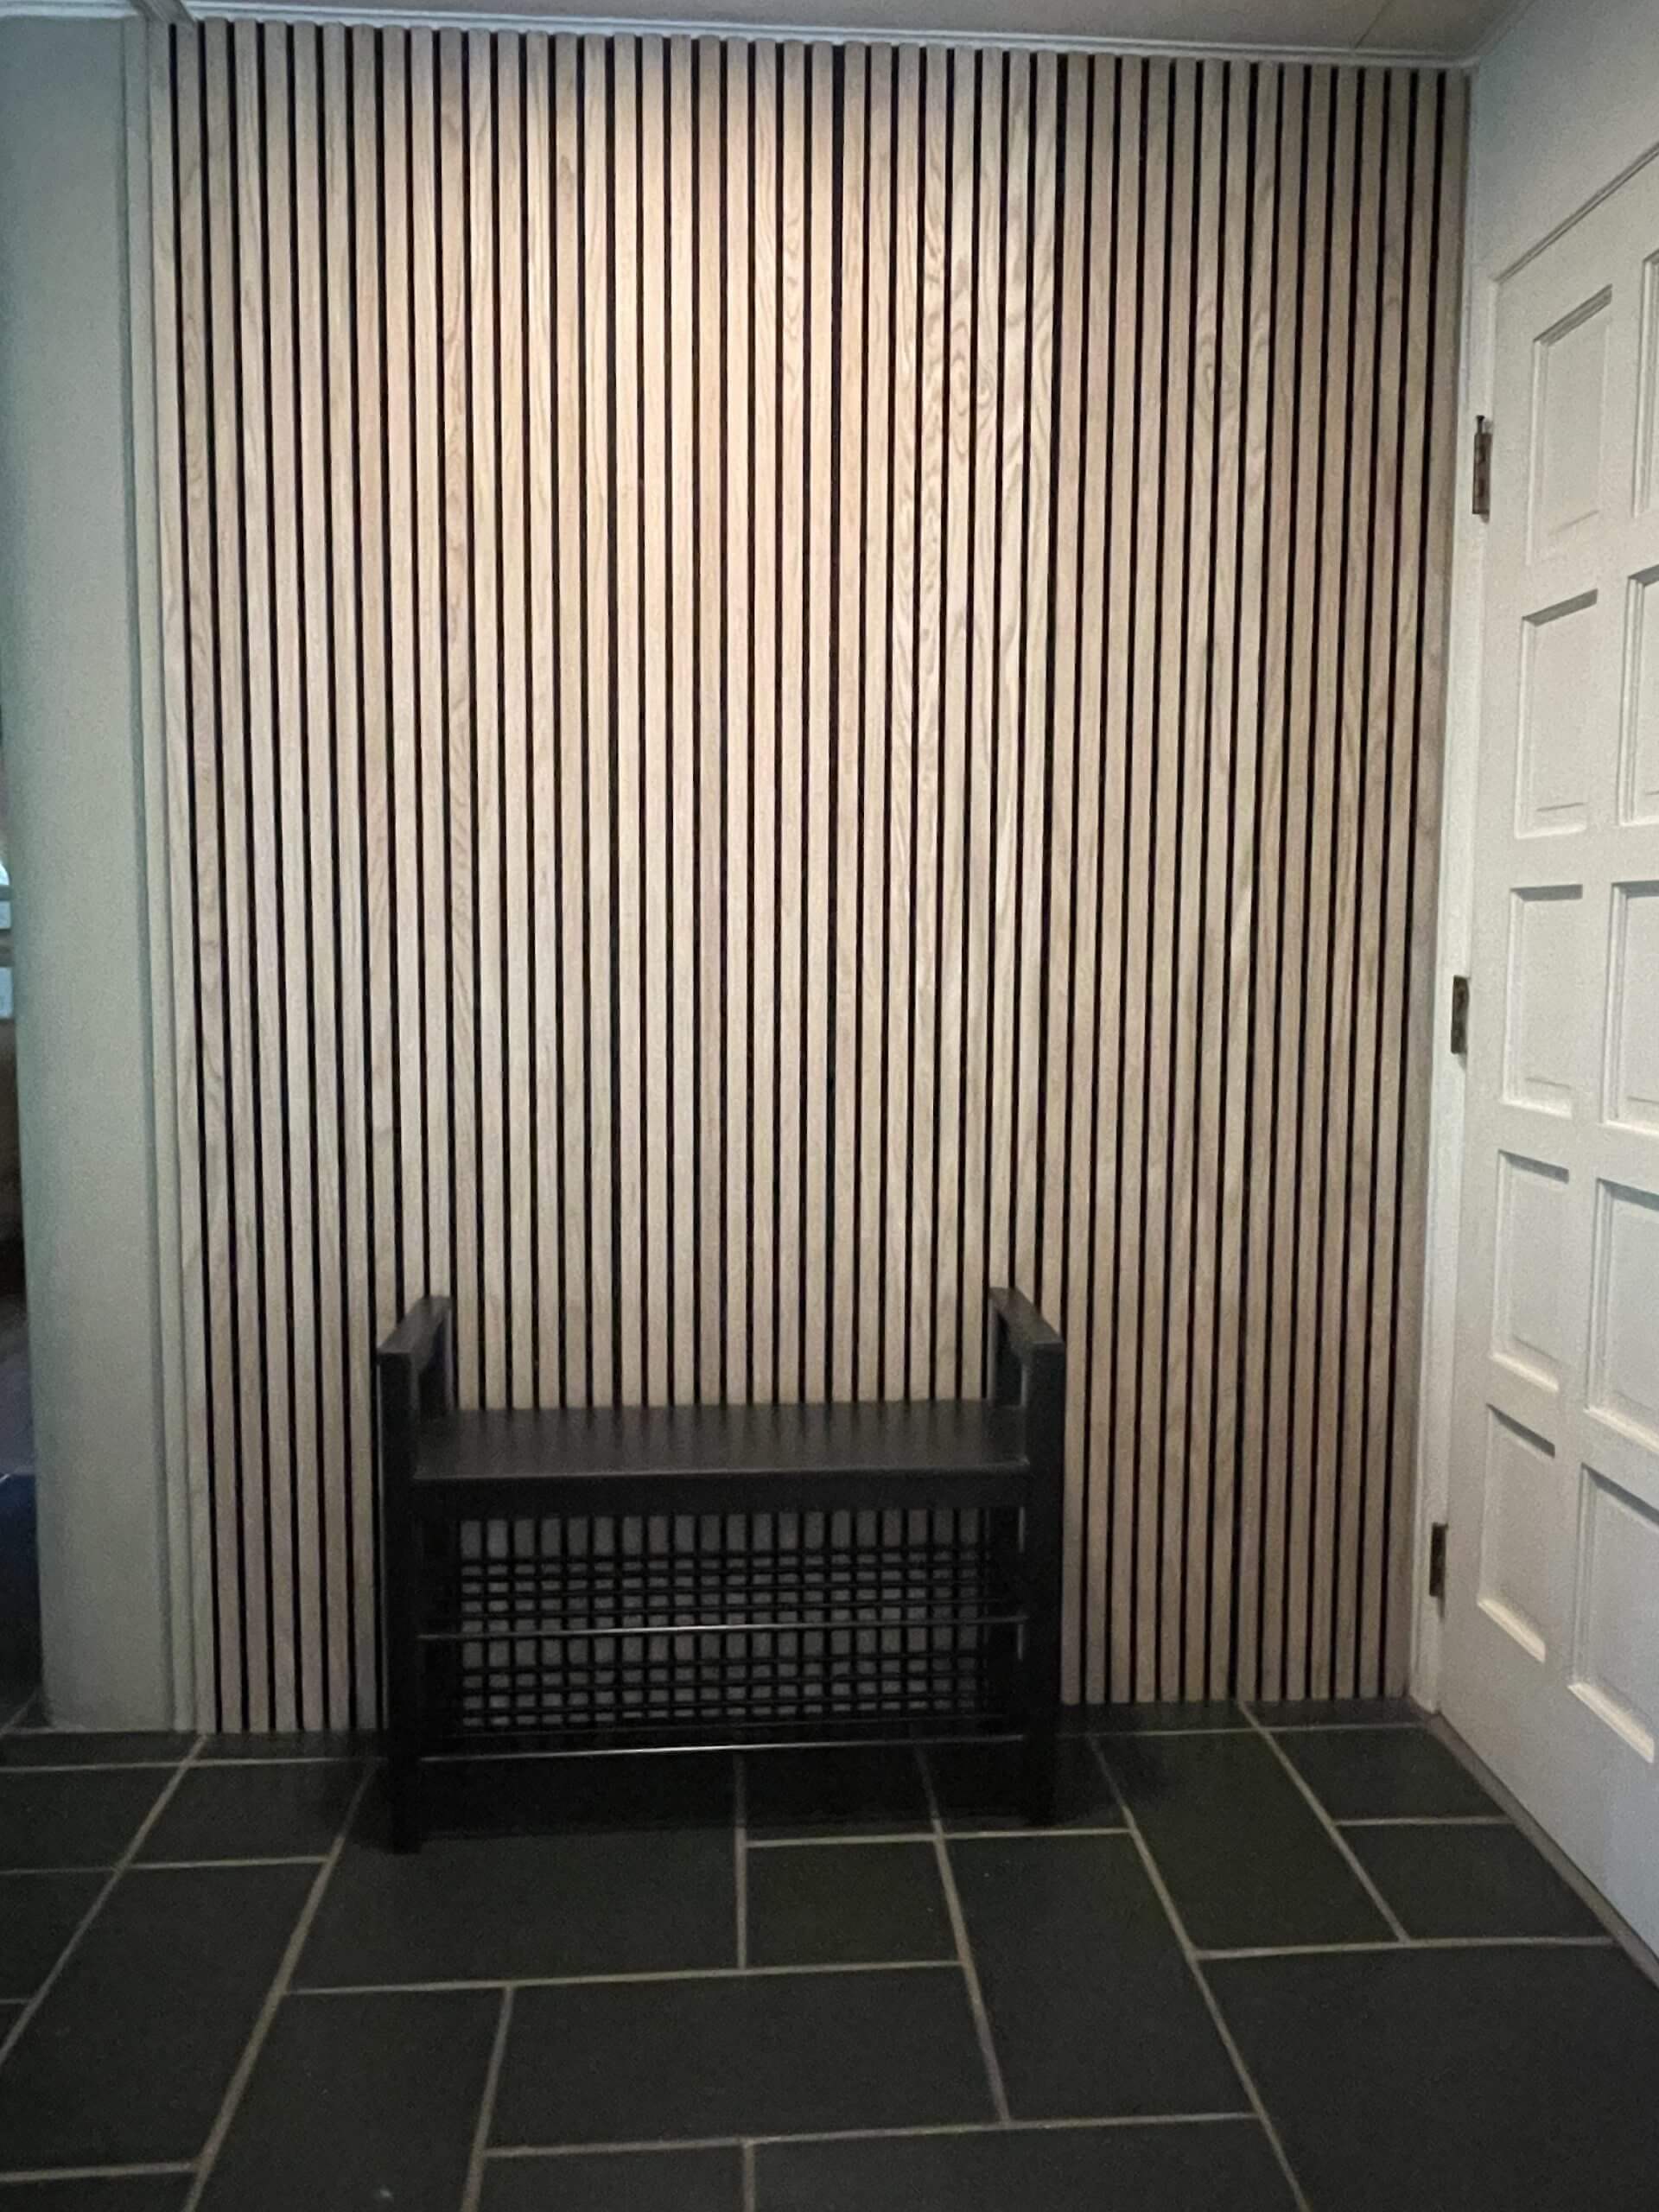
- Beadboard: Thin panels with vertical grooves—great for bathrooms.
- MDF Panels: Smooth and paintable, perfect for a clean, modern look.
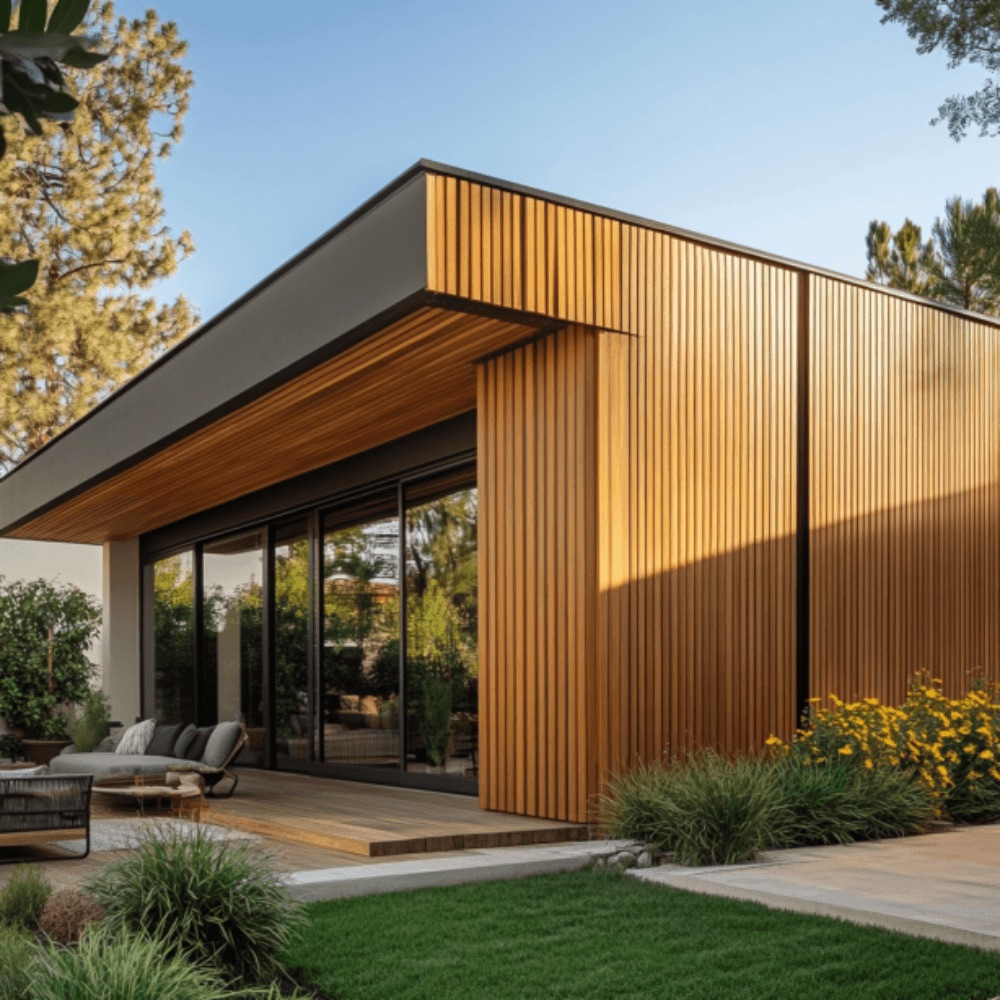
- Reclaimed Wood: Brings warmth and character, ideal for feature walls.
- PVC Panels: Water-resistant, excellent for wet areas like bathrooms.
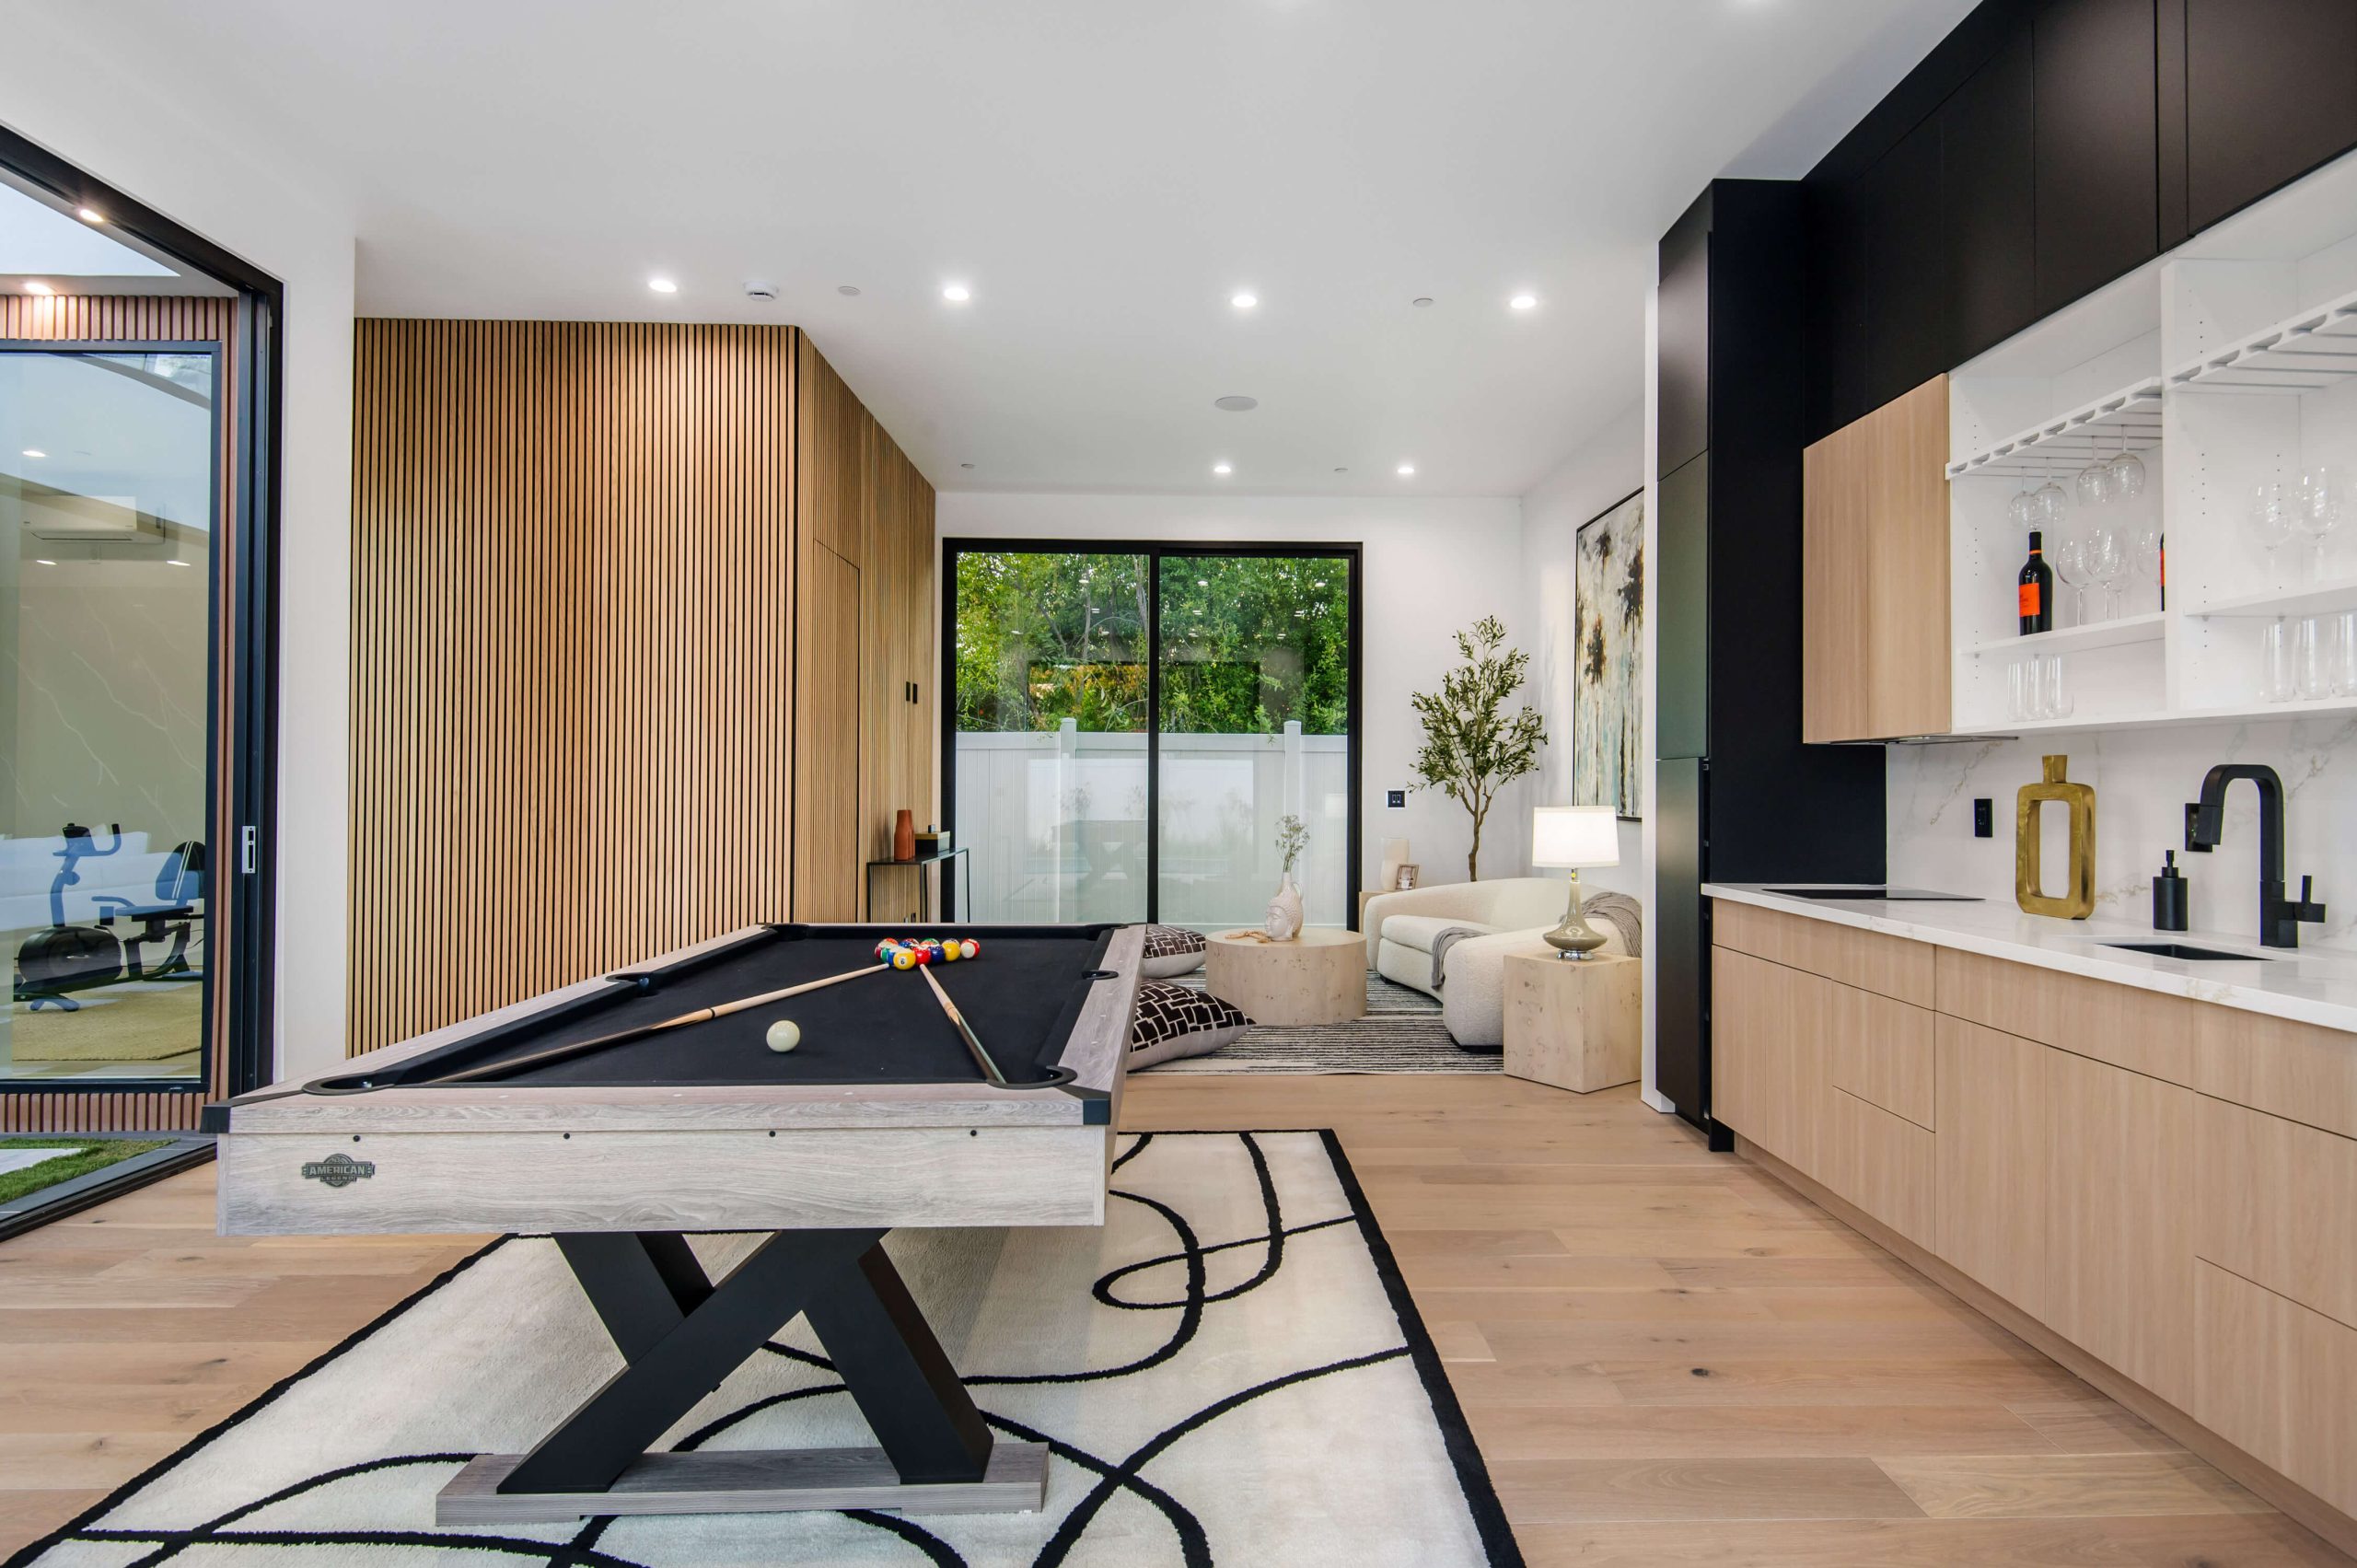
These styles offer both form and function. If you’re unsure which to pick, you’ll love exploring these wall panel collections that redefine any space with rich colors and textures.
Common Mistakes to Avoid When Paneling Over Tile Walls
Even though this project seems simple, a few slip-ups can lead to trouble. To keep things smooth, avoid these mistakes:
- Skipping surface prep: Tiles need scuffing and priming.
- Using weak adhesive: Make sure it’s made for tile and wood.
- Not checking level: Crooked panels are hard to fix once glued.
- Poor cutting: Uneven edges stand out once painted.
- Ignoring moisture: Use water-resistant panels in wet rooms.
Take your time and double-check each step. A little patience goes a long way.
How to Finish Your Panels Like a Pro
Once the panels are up, the details matter. You want it to look polished, not rushed. These finishing touches make all the difference:
- Fill nail holes with wood filler.
- Caulk the seams for a clean look.
- Sand any rough spots.
- Prime and paint if needed.
- Add trim or molding to edges.
Want to take it a step further? Browse premium wood paneling solutions that blend style and durability for any home upgrade.
Paneling Over Tile Walls Adds Value and Style
The best part? You’ll end up with walls that feel fresh, warm, and welcoming. Whether you’re sprucing up your bathroom, kitchen, or laundry room, paneling over tile walls is a DIY trick that really pays off.
It’s not just about covering up old tiles—it’s about creating a brand-new vibe. With so many design options and a little effort, you’ll transform your space without tearing it apart.
If you’re ready to say goodbye to outdated tiles and hello to walls that wow, now’s the time. Get your materials, pick your panel, and let your creativity lead the way. For inspiration, tools, and tips, visit our collection of modern wall panels that fit every style today.
Let’s build something beautiful together.
FAQs
1. Can I panel over tile walls without removing the tiles first?
Yes, you can! That’s one of the biggest advantages. As long as the tiles are clean, dry, and in good condition, you can apply panels right over them using adhesive and nails. Just make sure to prep the surface properly by cleaning, sanding, and priming.
2. Do I need special tools or skills to panel over tile walls?
Nope! You don’t need to be a pro. If you have basic tools like a saw, level, adhesive, and a nail gun (or hammer), you’re good to go. It’s a great DIY project for beginners with just a little patience and planning.
3. Will paneling over tile work in a bathroom or kitchen with moisture?
Absolutely—but it’s important to use water-resistant panels like PVC or sealed wood in areas with high humidity. Also, be sure to seal the seams and edges with caulk to prevent moisture from getting behind the panels.
4. What kind of panels are best for covering tile walls?
It depends on your style and room. Shiplap adds a farmhouse feel, beadboard works great in bathrooms, and MDF is perfect if you want a smooth surface to paint. PVC panels are ideal for wet spaces. You can explore many design options to match your taste.
5. How long does it take to panel over tile walls?
Most people can complete a small room in a weekend. Prepping and cutting might take a few hours, but once you get going, the installation moves quickly—especially if you’ve pre-measured and dry-fitted your panels.