Ever walk into a room and feel like something’s missing? Maybe it’s the walls. If they feel plain or outdated, peel-and-stick wood wall panels can totally change the vibe—and the best part? You don’t need to be a pro to pull it off. With a little time and care, you can turn any room into a cozy, stylish space that makes people say, “Wow.”
Peel-and-stick wood wall panels are perfect for anyone looking to add natural texture without dealing with messy glue or power tools. These panels come with a self-adhesive backing, so you just peel the paper off and stick them to the wall. It’s kind of like applying a giant wooden sticker—but way cooler.
Let’s walk through everything you need to know before starting, so your wall turns out just right.
Gather What You’ll Need
Before you start sticking anything, make sure you’ve got the right tools. Here’s what you’ll need:
- Tape measure
- Pencil
- Level
- Utility knife or handsaw
- Straightedge or ruler
- Cleaning cloth
- Ladder or step stool (depending on the wall height)
Optional, but helpful:
- Rubber roller (for pressing panels firmly)
- Heat gun (to help edges stick in cooler rooms)
Taking a few minutes to prepare your tools and your space can make the job smoother and your results cleaner.
Get to Know Your Surface
Peel-and-stick wood wall panels stick best to clean, dry, and smooth surfaces. Think painted drywall, tile, or even sealed concrete. But if your wall is textured or dusty, you’ll run into problems.
Wipe down the wall with a dry cloth or lightly damp sponge. Let it dry completely. If your wall has bumps or rough spots, give it a quick sanding so the panels sit flat. And always check for moisture. Wood and water don’t get along.
For freshly painted walls, wait at least 3-4 weeks before applying panels. The paint needs time to cure, or the adhesive might not hold.
Plan Your Layout First
Jumping in without a plan might lead to uneven edges or weird gaps. It’s smart to lay out the first few rows on the floor so you can see how they’ll fit.
Use a pencil and level to mark a starting line across the wall. This helps keep things straight. Trust us—if the first row is off, everything after it will be too.
Start from the bottom if you’re going floor to ceiling, or from the center outward if you’re doing an accent section. Either way, measure twice before you make your first cut.
Start Sticking
Now the fun part—installation. Peel off the backing paper, line up the panel with your pencil line, and press it onto the wall.
Press firmly from the middle outward to remove air bubbles. Use a rubber roller or your hands to make sure it sticks tight.
Peel-and-stick wood wall panels are easy to cut. Use a utility knife for thinner panels or a handsaw for thicker ones. Measure and cut each piece as you go to fit around outlets, corners, or windows.
Keep the Pattern Natural
Don’t place panels in the same direction row after row. This makes the wall look fake or too perfect. Just like real hardwood floors, you want to stagger the seams for a natural look.
Here’s a simple stagger pattern you can try:
- Start with a full-length panel
- Cut the next row’s first panel in half
- Use a 3/4 piece for the third row
- Then go back to a full panel for the fourth
Mix the colors and grains randomly for a more organic style.
Fixing Mistakes Without Stress
Messed up a panel? It happens. If you catch it early, gently heat the back with a hair dryer or heat gun to loosen the adhesive, then peel it off slowly.
If a panel won’t stick, check if the wall is dusty or cold. A bit of extra pressure or light heat usually solves the problem. Always work slowly and carefully—it’s not a race.
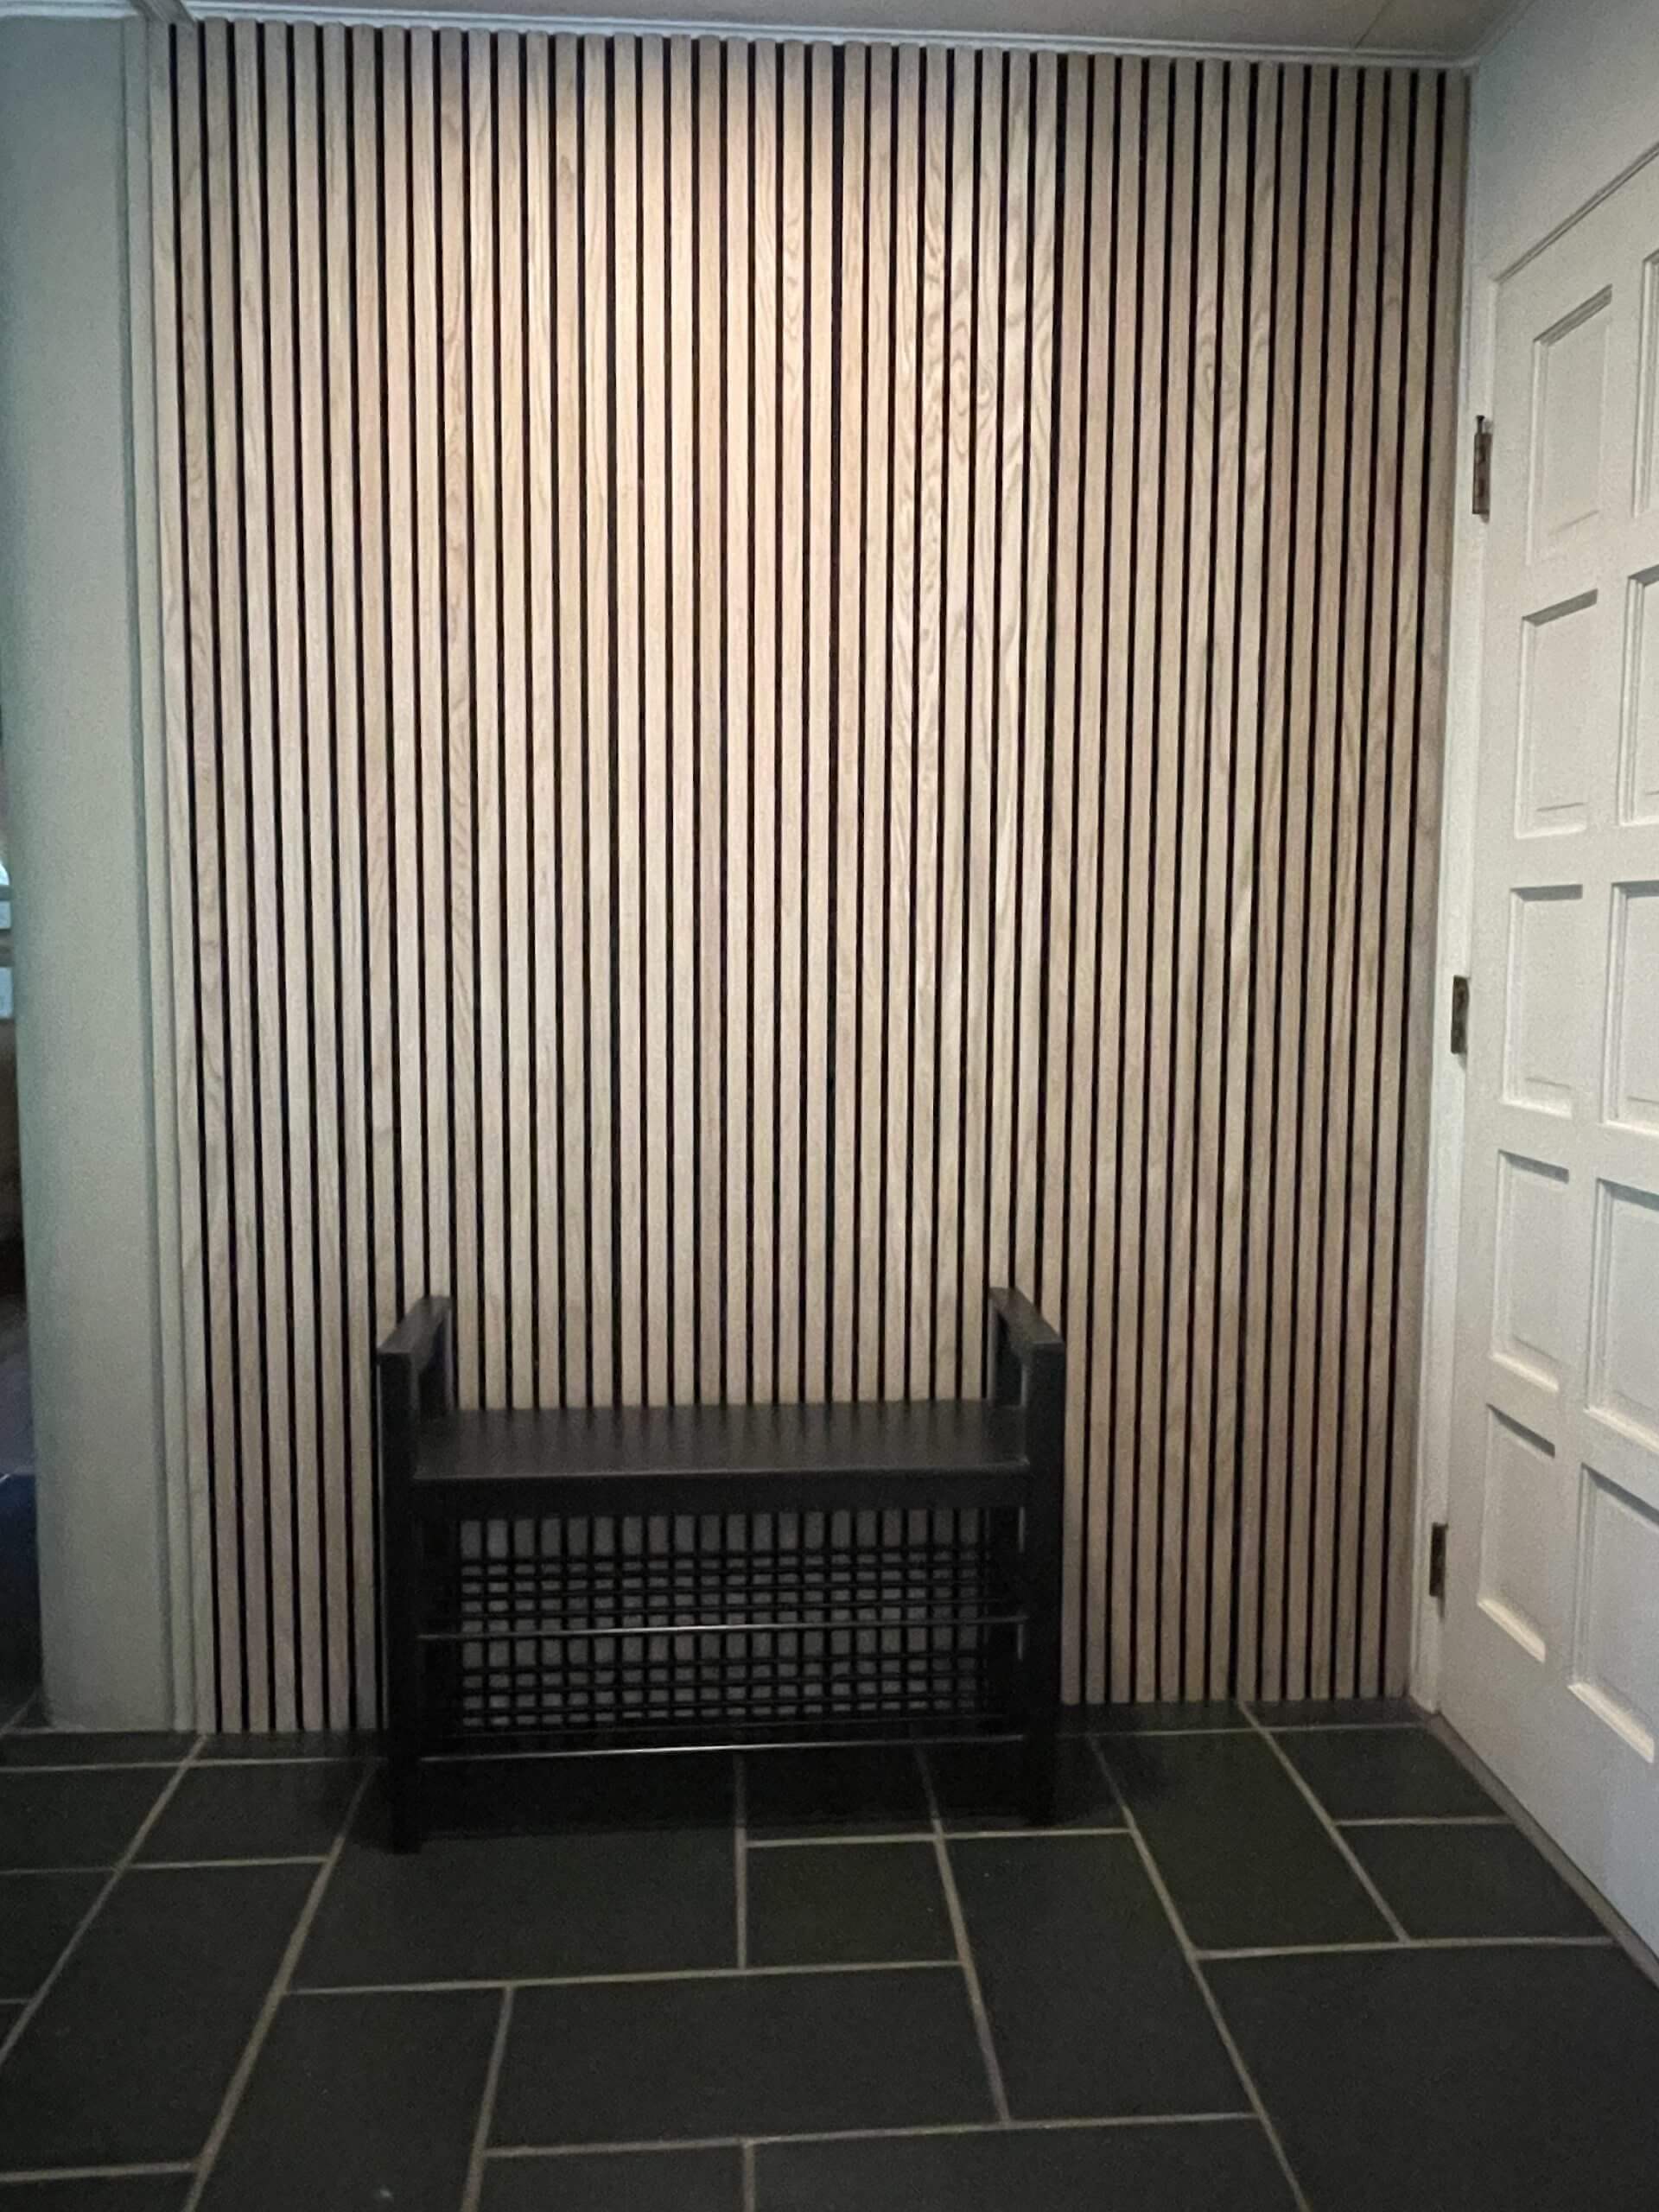
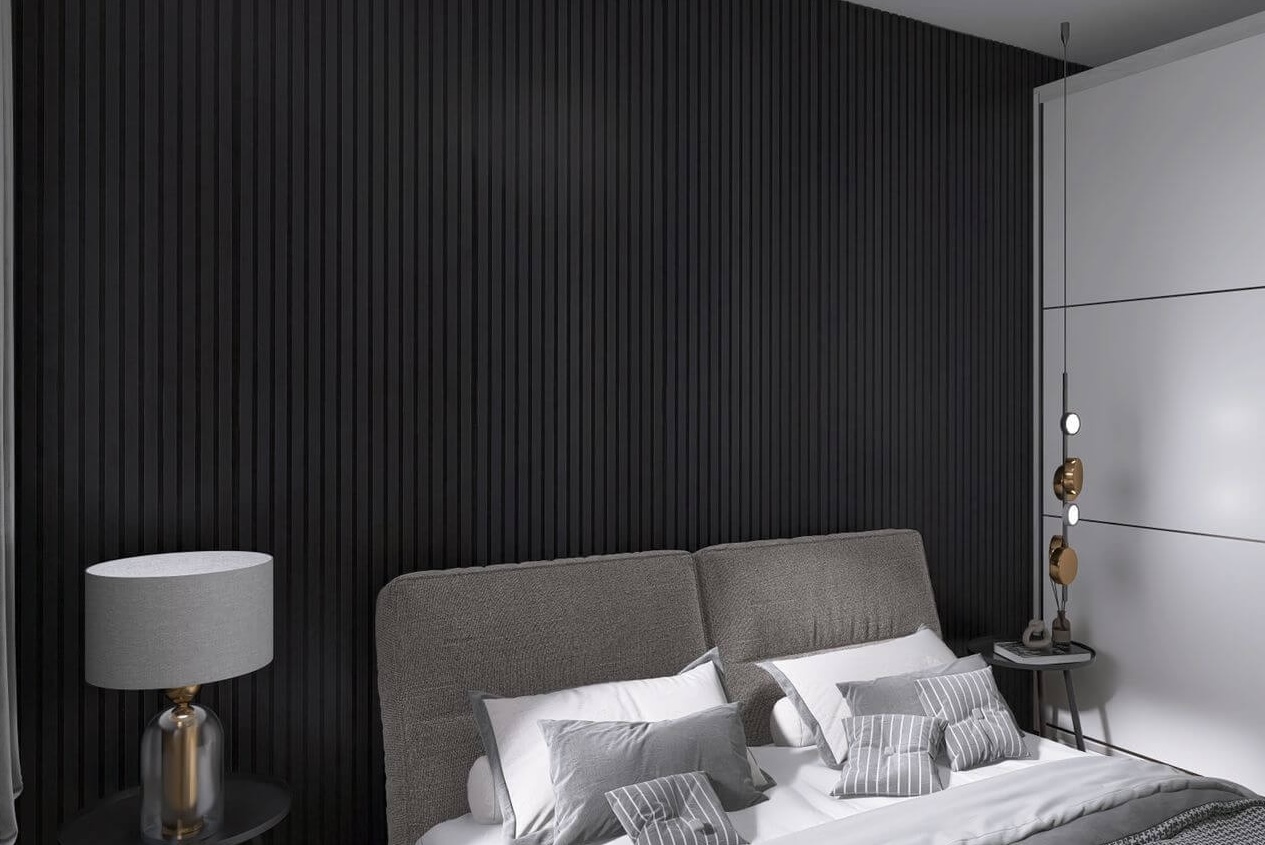
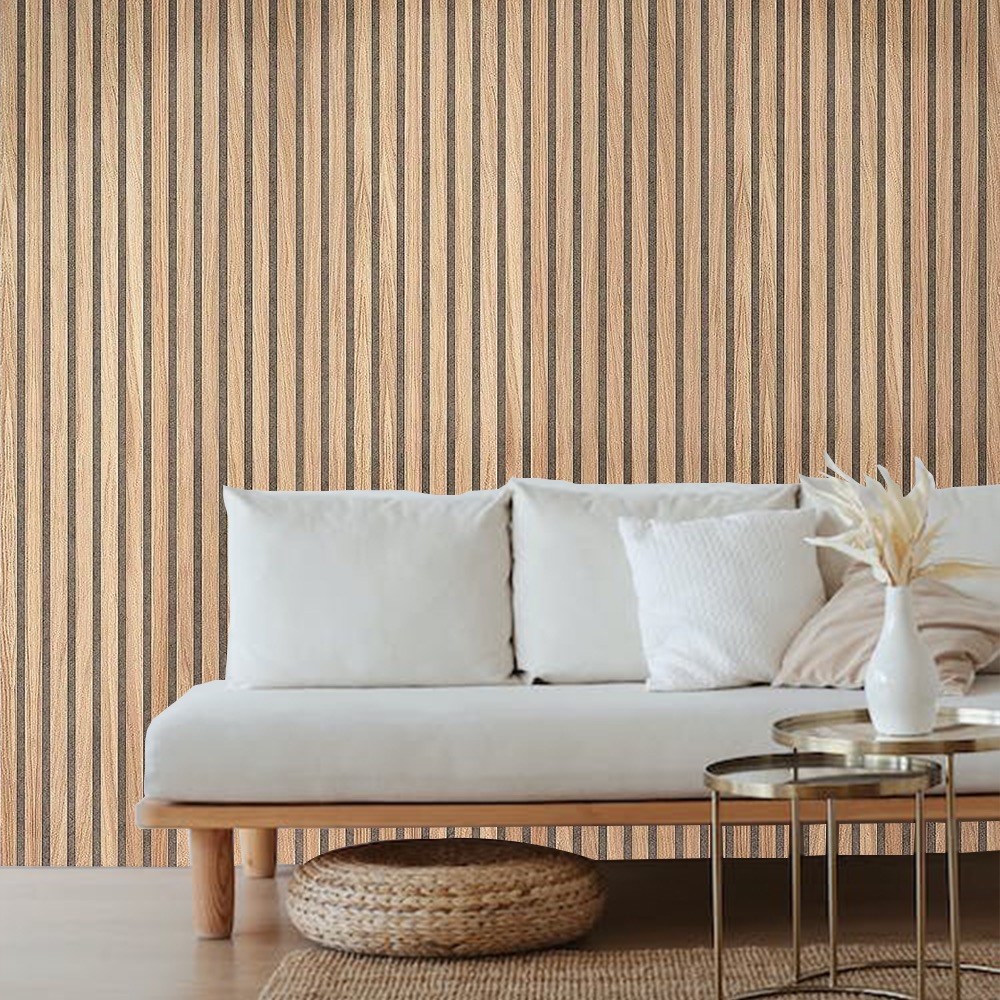
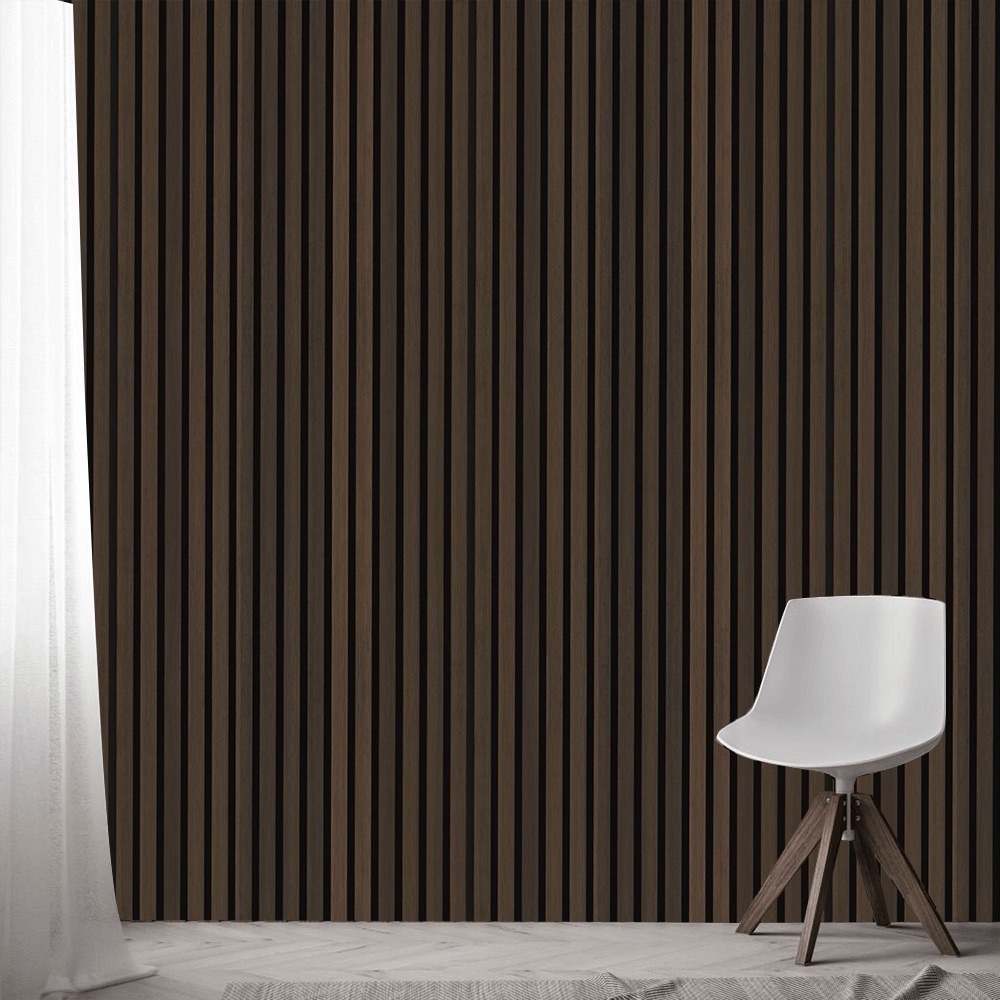
Explore Different Panel Styles
Not all peel-and-stick wood wall panels look the same. You can find options that are smooth, rough-cut, painted, natural, wide, narrow—you name it.
Here’s a quick breakdown of popular types:
| Panel Style | Description |
|---|---|
| Reclaimed Wood | Rustic, vintage look with lots of character |
| Acoustic Slat | Modern and helps with soundproofing |
| Whitewashed | Light, airy look for coastal styles |
| Natural Oak | Classic finish that works in any space |
| Charcoal or Gray Tones | Great for industrial or dramatic designs |
Looking for a clean, premium finish that also helps with sound? Check out this natural oak acoustic slat wall panel—a favorite choice for modern rooms.
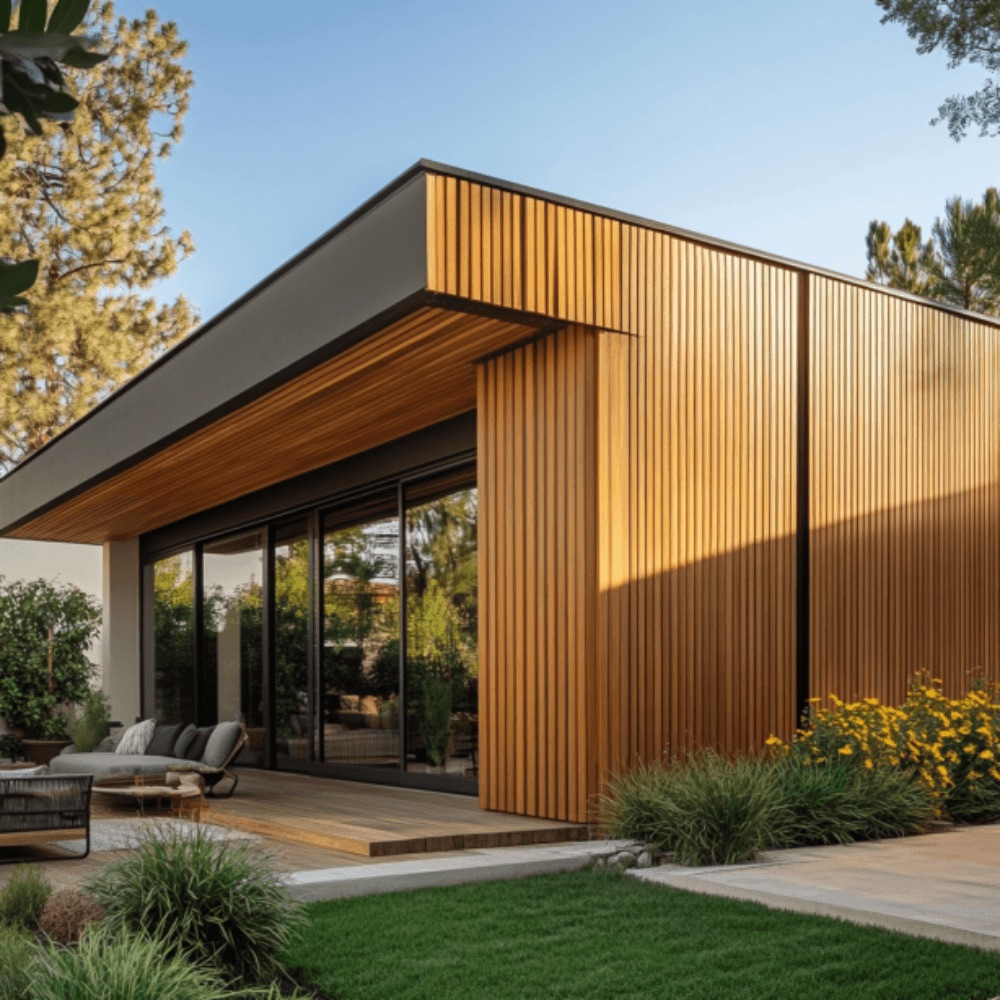
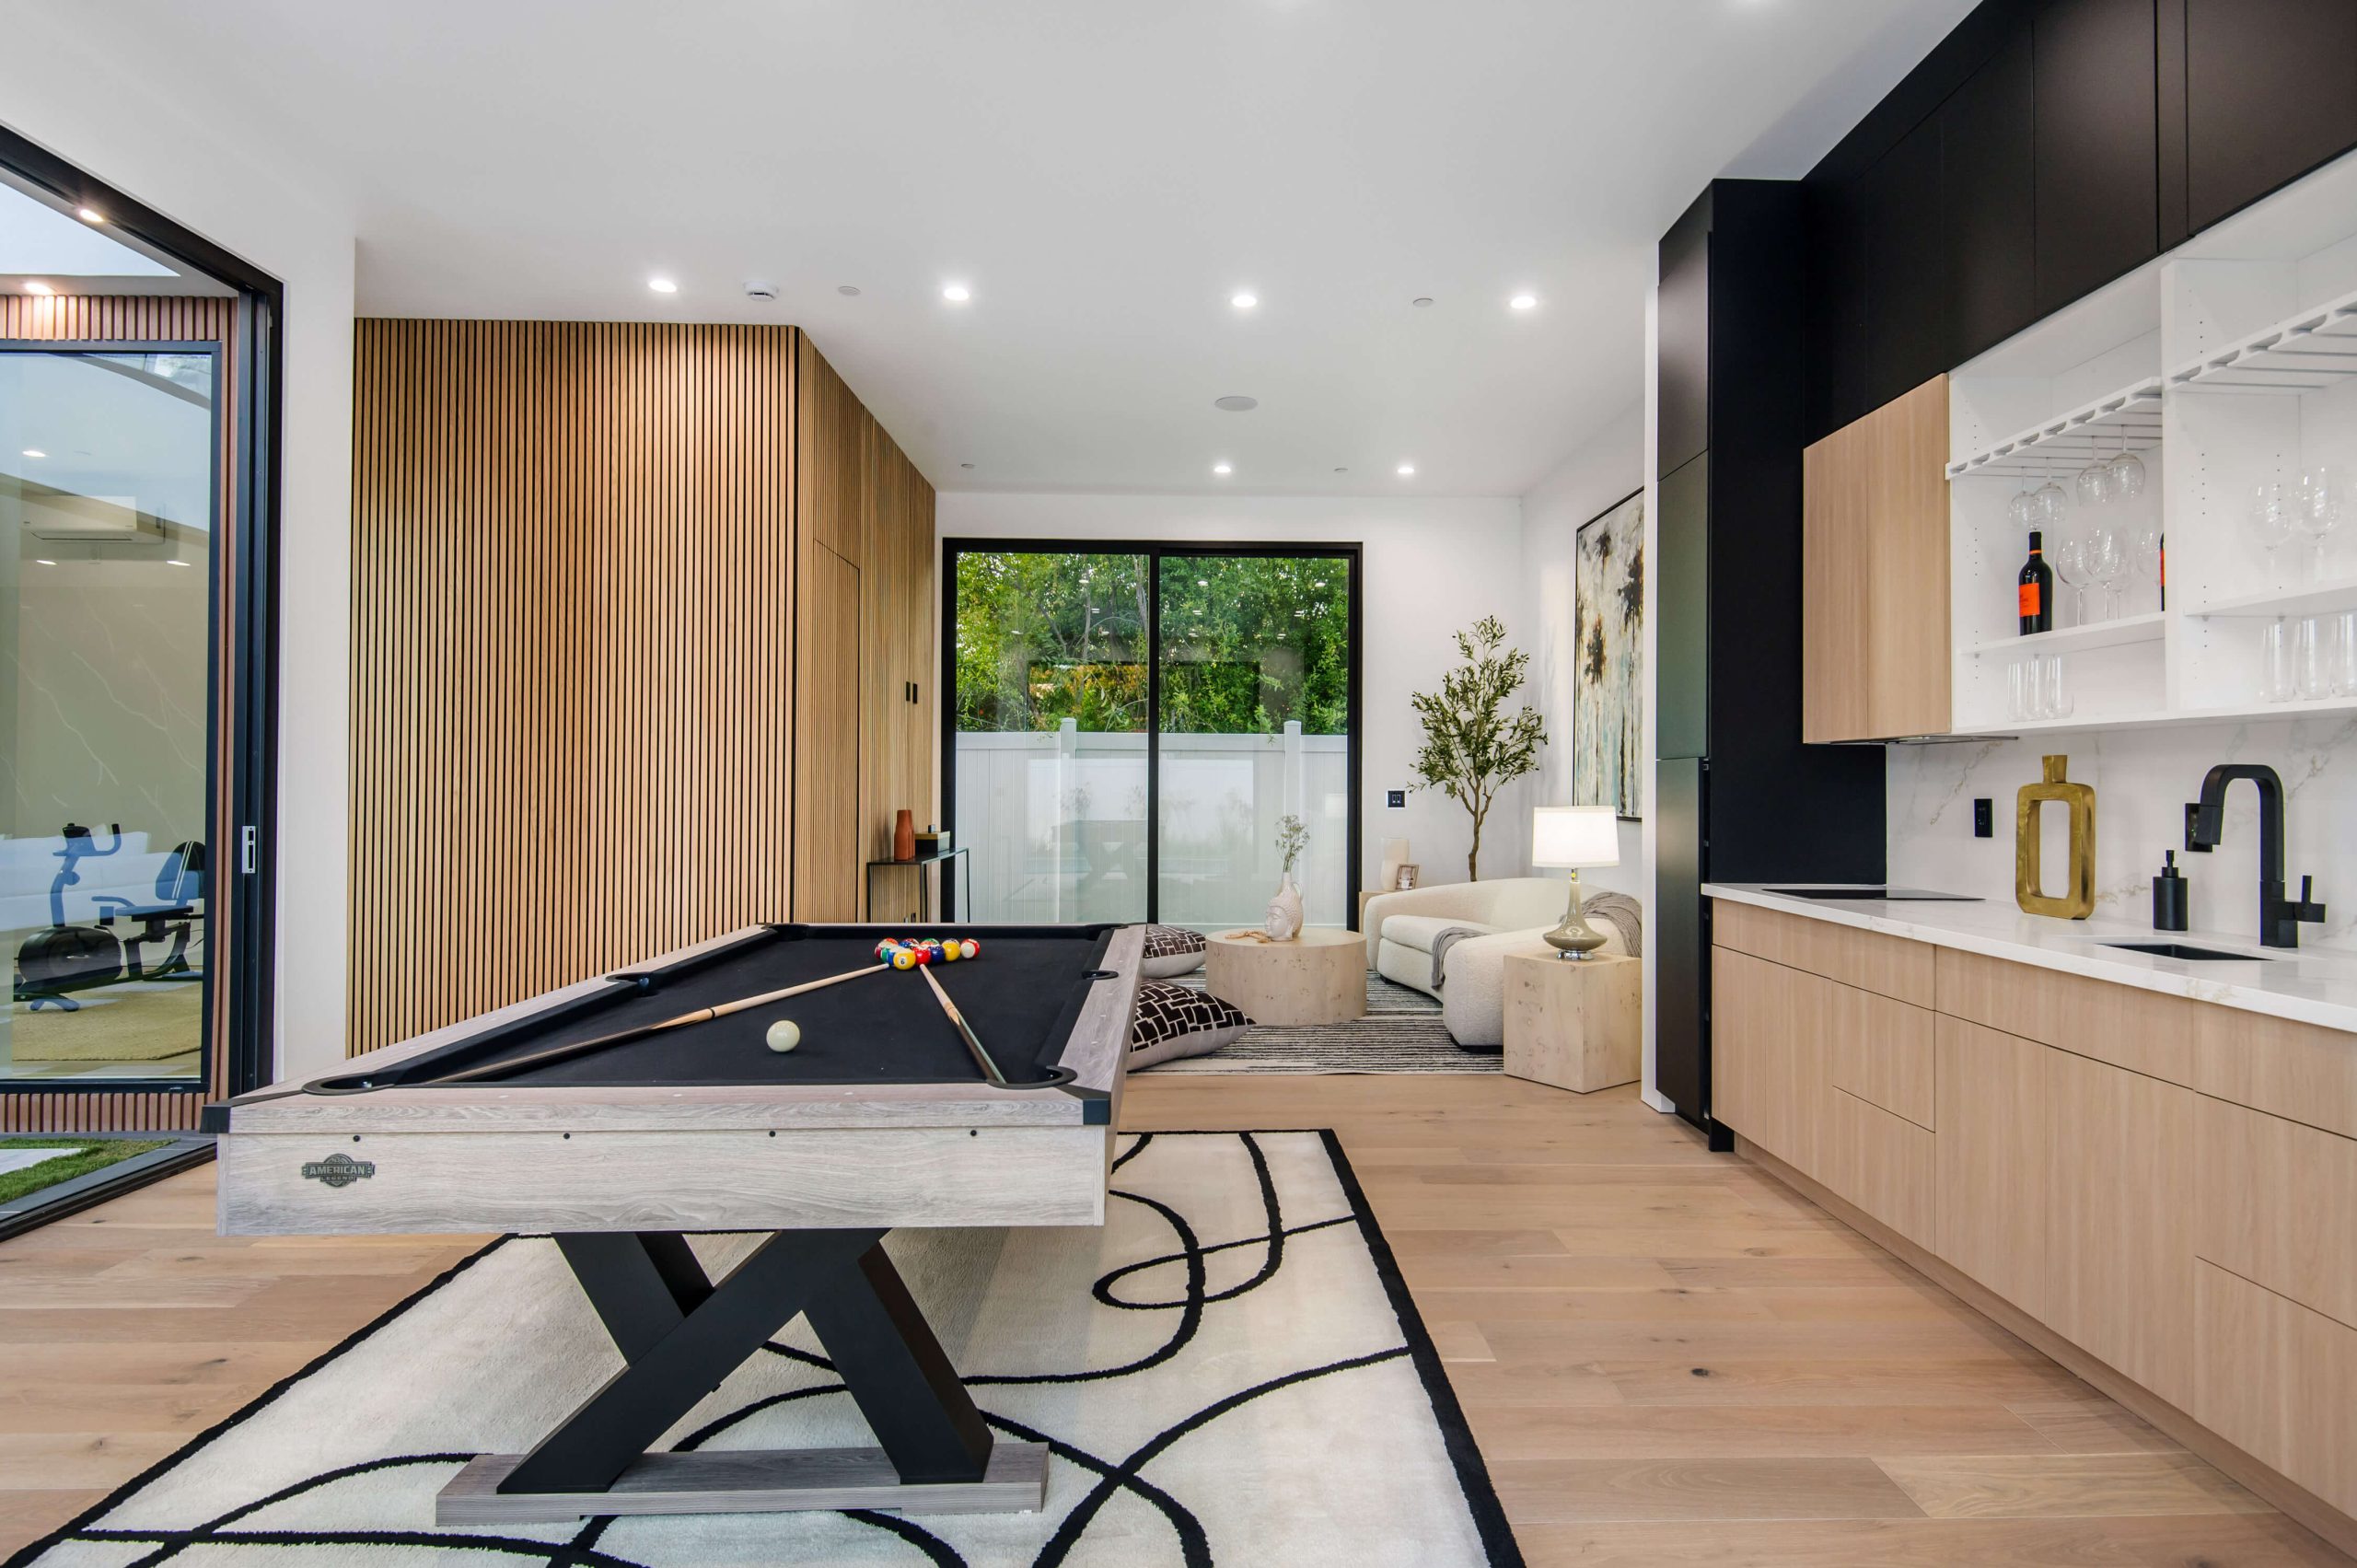
Where to Use Them
Peel-and-stick wood wall panels work just about anywhere indoors:
- Living room accent walls
- Behind the TV
- Bedroom headboards
- Home office backdrops
- Hallways or entryways
- Kitchen backsplashes (dry areas only)
You can even use them on ceilings or furniture if you’re feeling creative.
They’re also renter-friendly. Just remember that removing them might take some wall paint with it—so test in a small spot first.
Tips for Long-Lasting Results
To help your new wall look great for years:
- Don’t install in steamy or wet areas (like behind stoves or in bathrooms without good ventilation)
- Avoid direct sunlight on the panels for long periods
- Dust or clean with a soft, dry cloth
- Use extra adhesive if panels start peeling over time
If you’re not sure what style fits your space best, take a look at our top wood panel picks and design tips to spark ideas.
Still Wondering if They’re Worth It?
Some folks wonder if wall panels are still in style. And the answer? Totally. Designers love them for their texture, warmth, and how easy they are to install.
Whether you’re redoing one wall or a whole room, here’s what’s trending in wood wall paneling now—you might find the exact look you’ve been dreaming of.
Ready to Try It Yourself?
Adding peel-and-stick wood wall panels is one of those simple upgrades that makes a big impact. It’s an easy weekend project with lasting results. And the best part? You did it yourself.
So grab your tools, plan your wall, and start sticking. You’ll be amazed how different your space can look with just a few panels—and a bit of creativity.
Give your walls a new story to tell. We’re here to help you build it.
FAQs
1. Can I install peel-and-stick wood wall panels by myself, or do I need a professional?
Absolutely! These panels are made for easy DIY installation. As long as your wall is clean and smooth, you can handle it on your own with basic tools like a tape measure, level, and utility knife. No nails, glue, or professional help needed.
2. Will peel-and-stick wood wall panels damage my walls if I remove them later?
It depends on your wall’s surface and how long the panels have been in place. While they’re generally renter-friendly, some paint may peel off during removal—especially if the wall wasn’t properly prepped or the panels have been up for a long time. Testing a small area first is a smart move.
3. Do these panels really stick well on textured or rough walls?
Not really. For the best results, apply the panels to smooth, dry surfaces like painted drywall, tile, or sealed concrete. If your wall is rough or bumpy, a quick sanding can help improve adhesion.
4. How long do peel-and-stick wood wall panels last once installed?
With proper care, they can last for many years. Just avoid high-moisture areas, wipe them down gently when needed, and keep them out of direct sunlight to prevent fading or warping over time.
5. Can I use peel-and-stick wood panels in a bathroom or kitchen?
Yes, but only in areas that stay dry. These panels aren’t waterproof, so avoid placing them near showers, sinks, or stovetops. Good ventilation is key if you’re using them in more humid spaces.