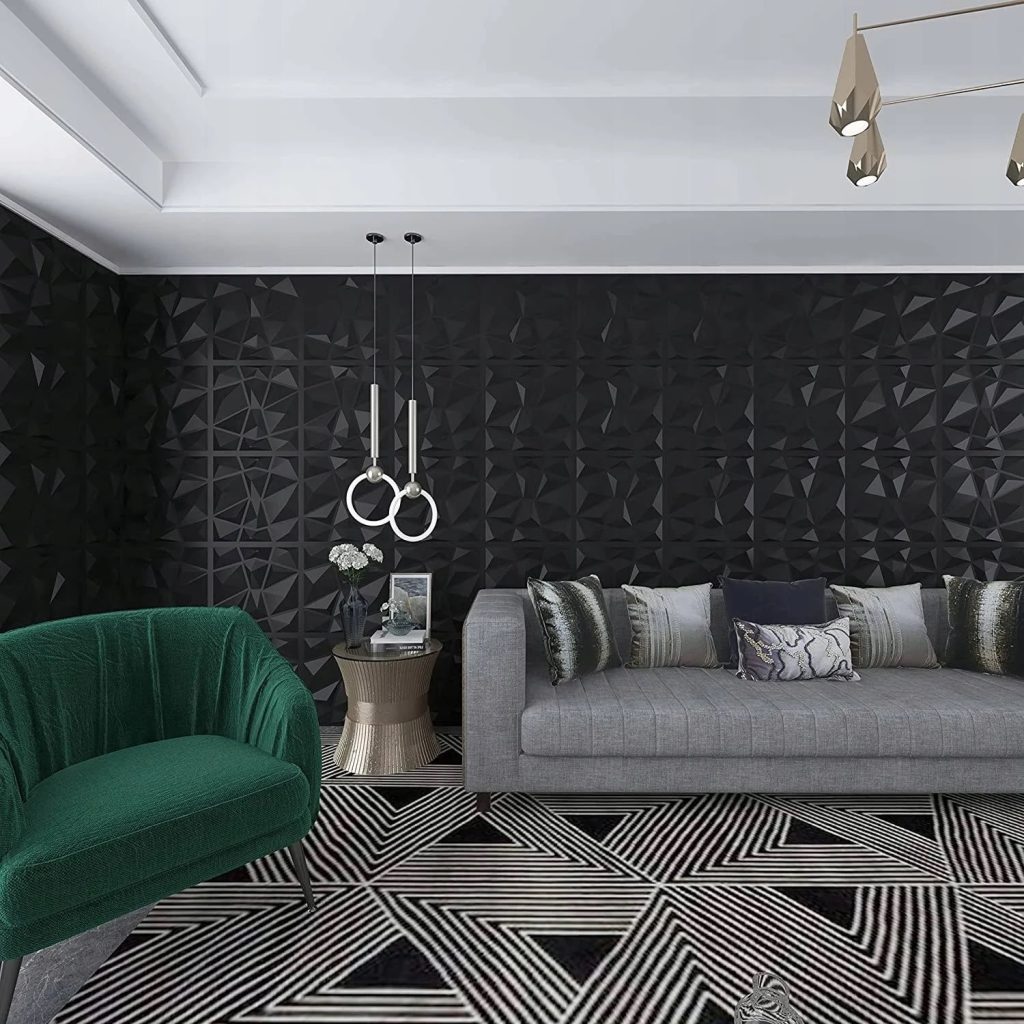
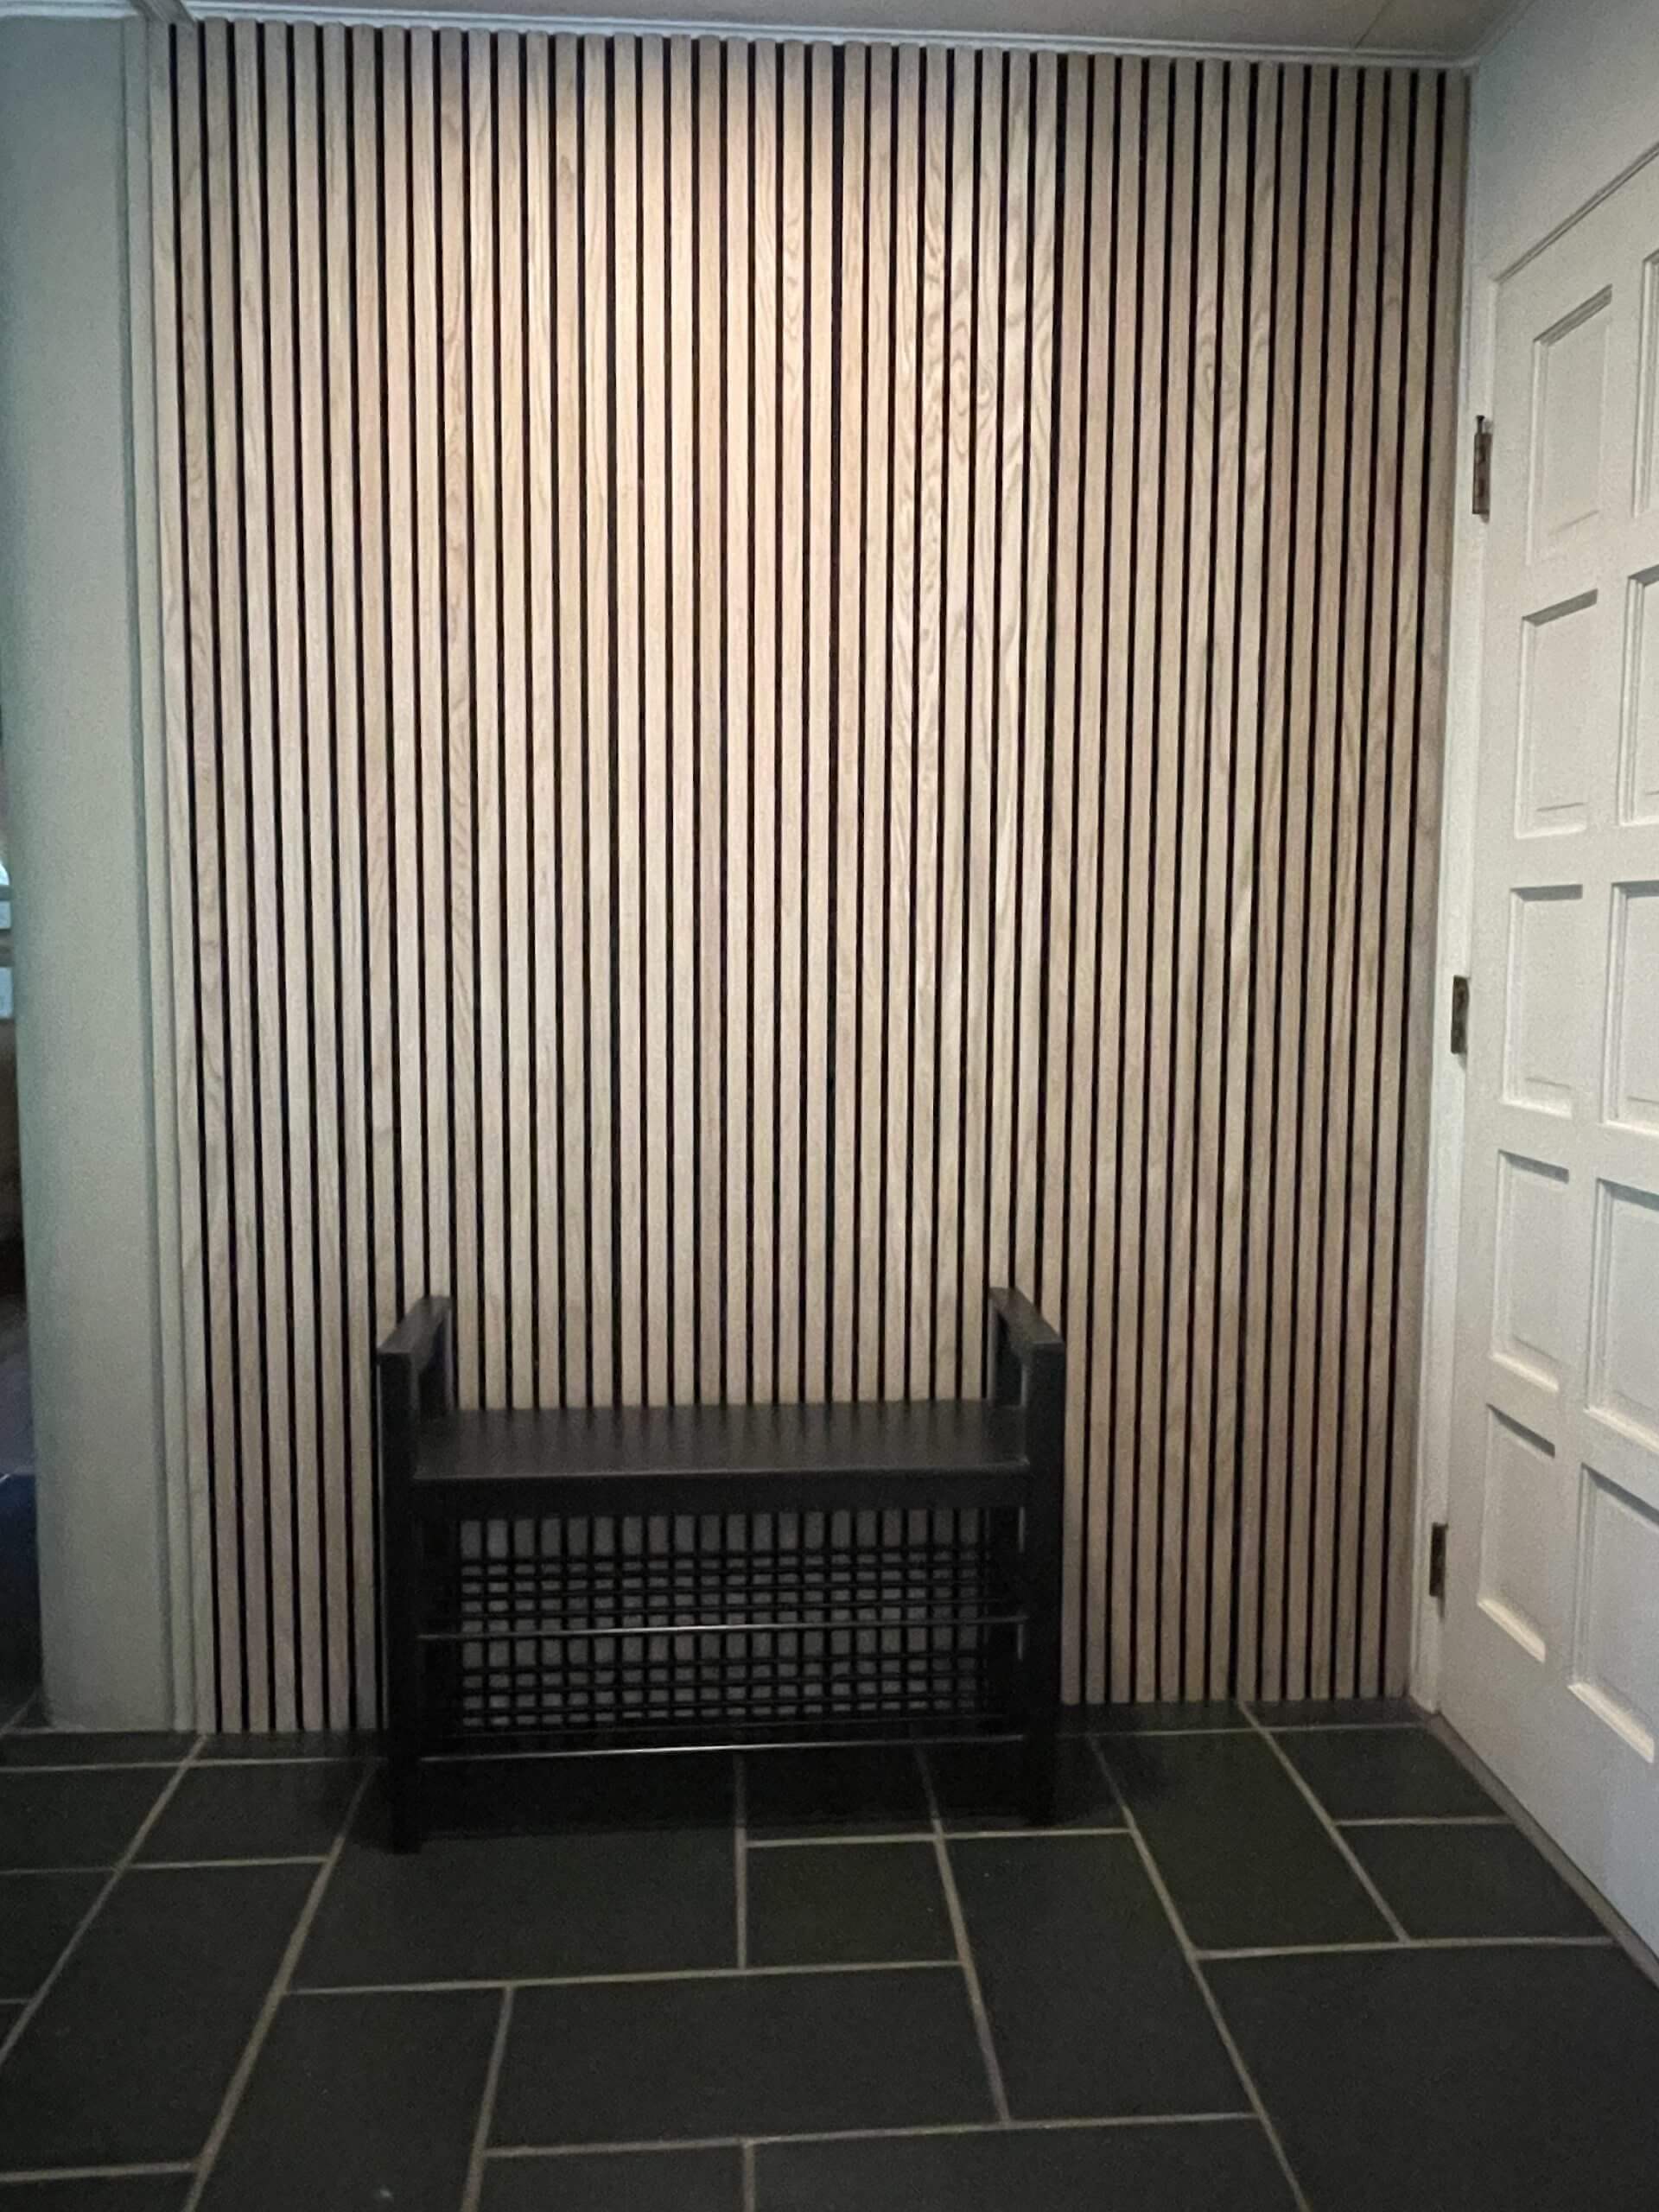
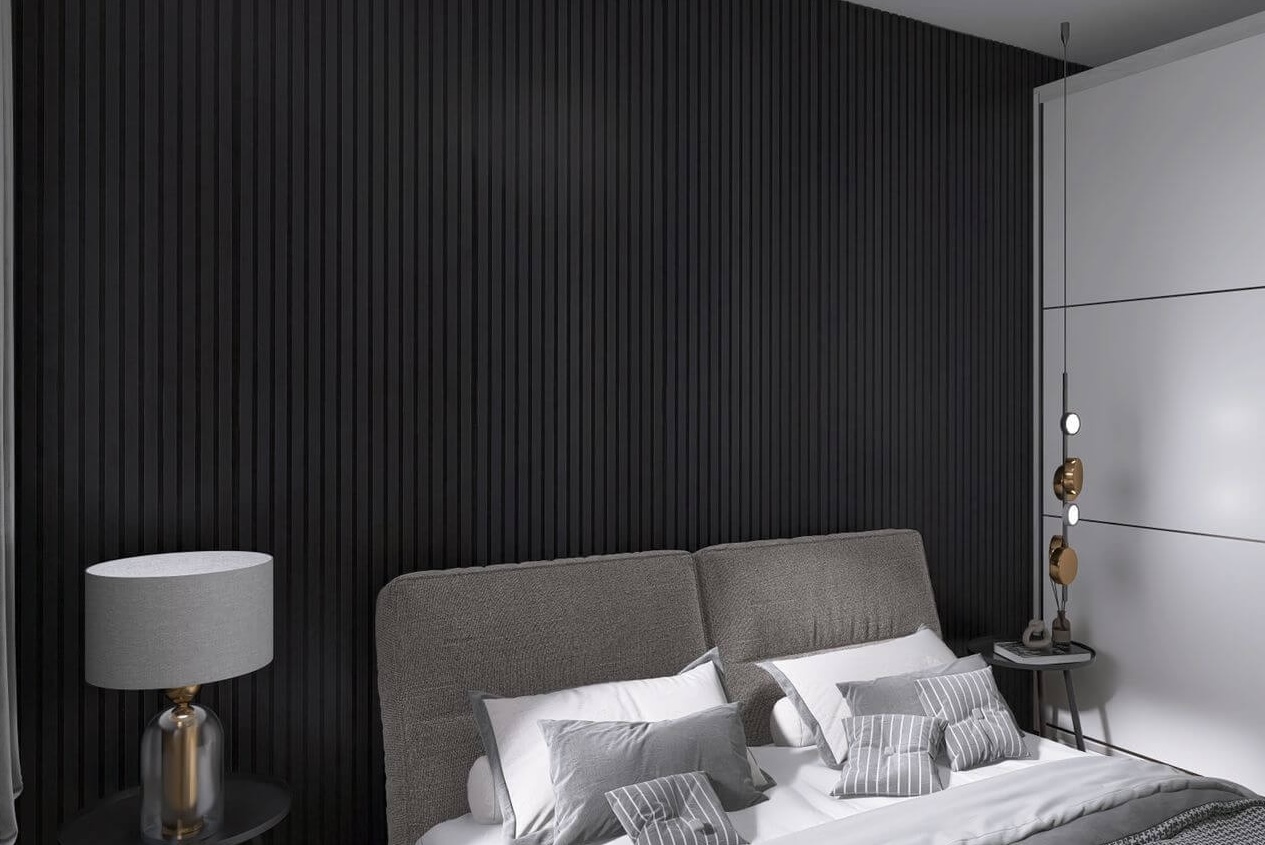
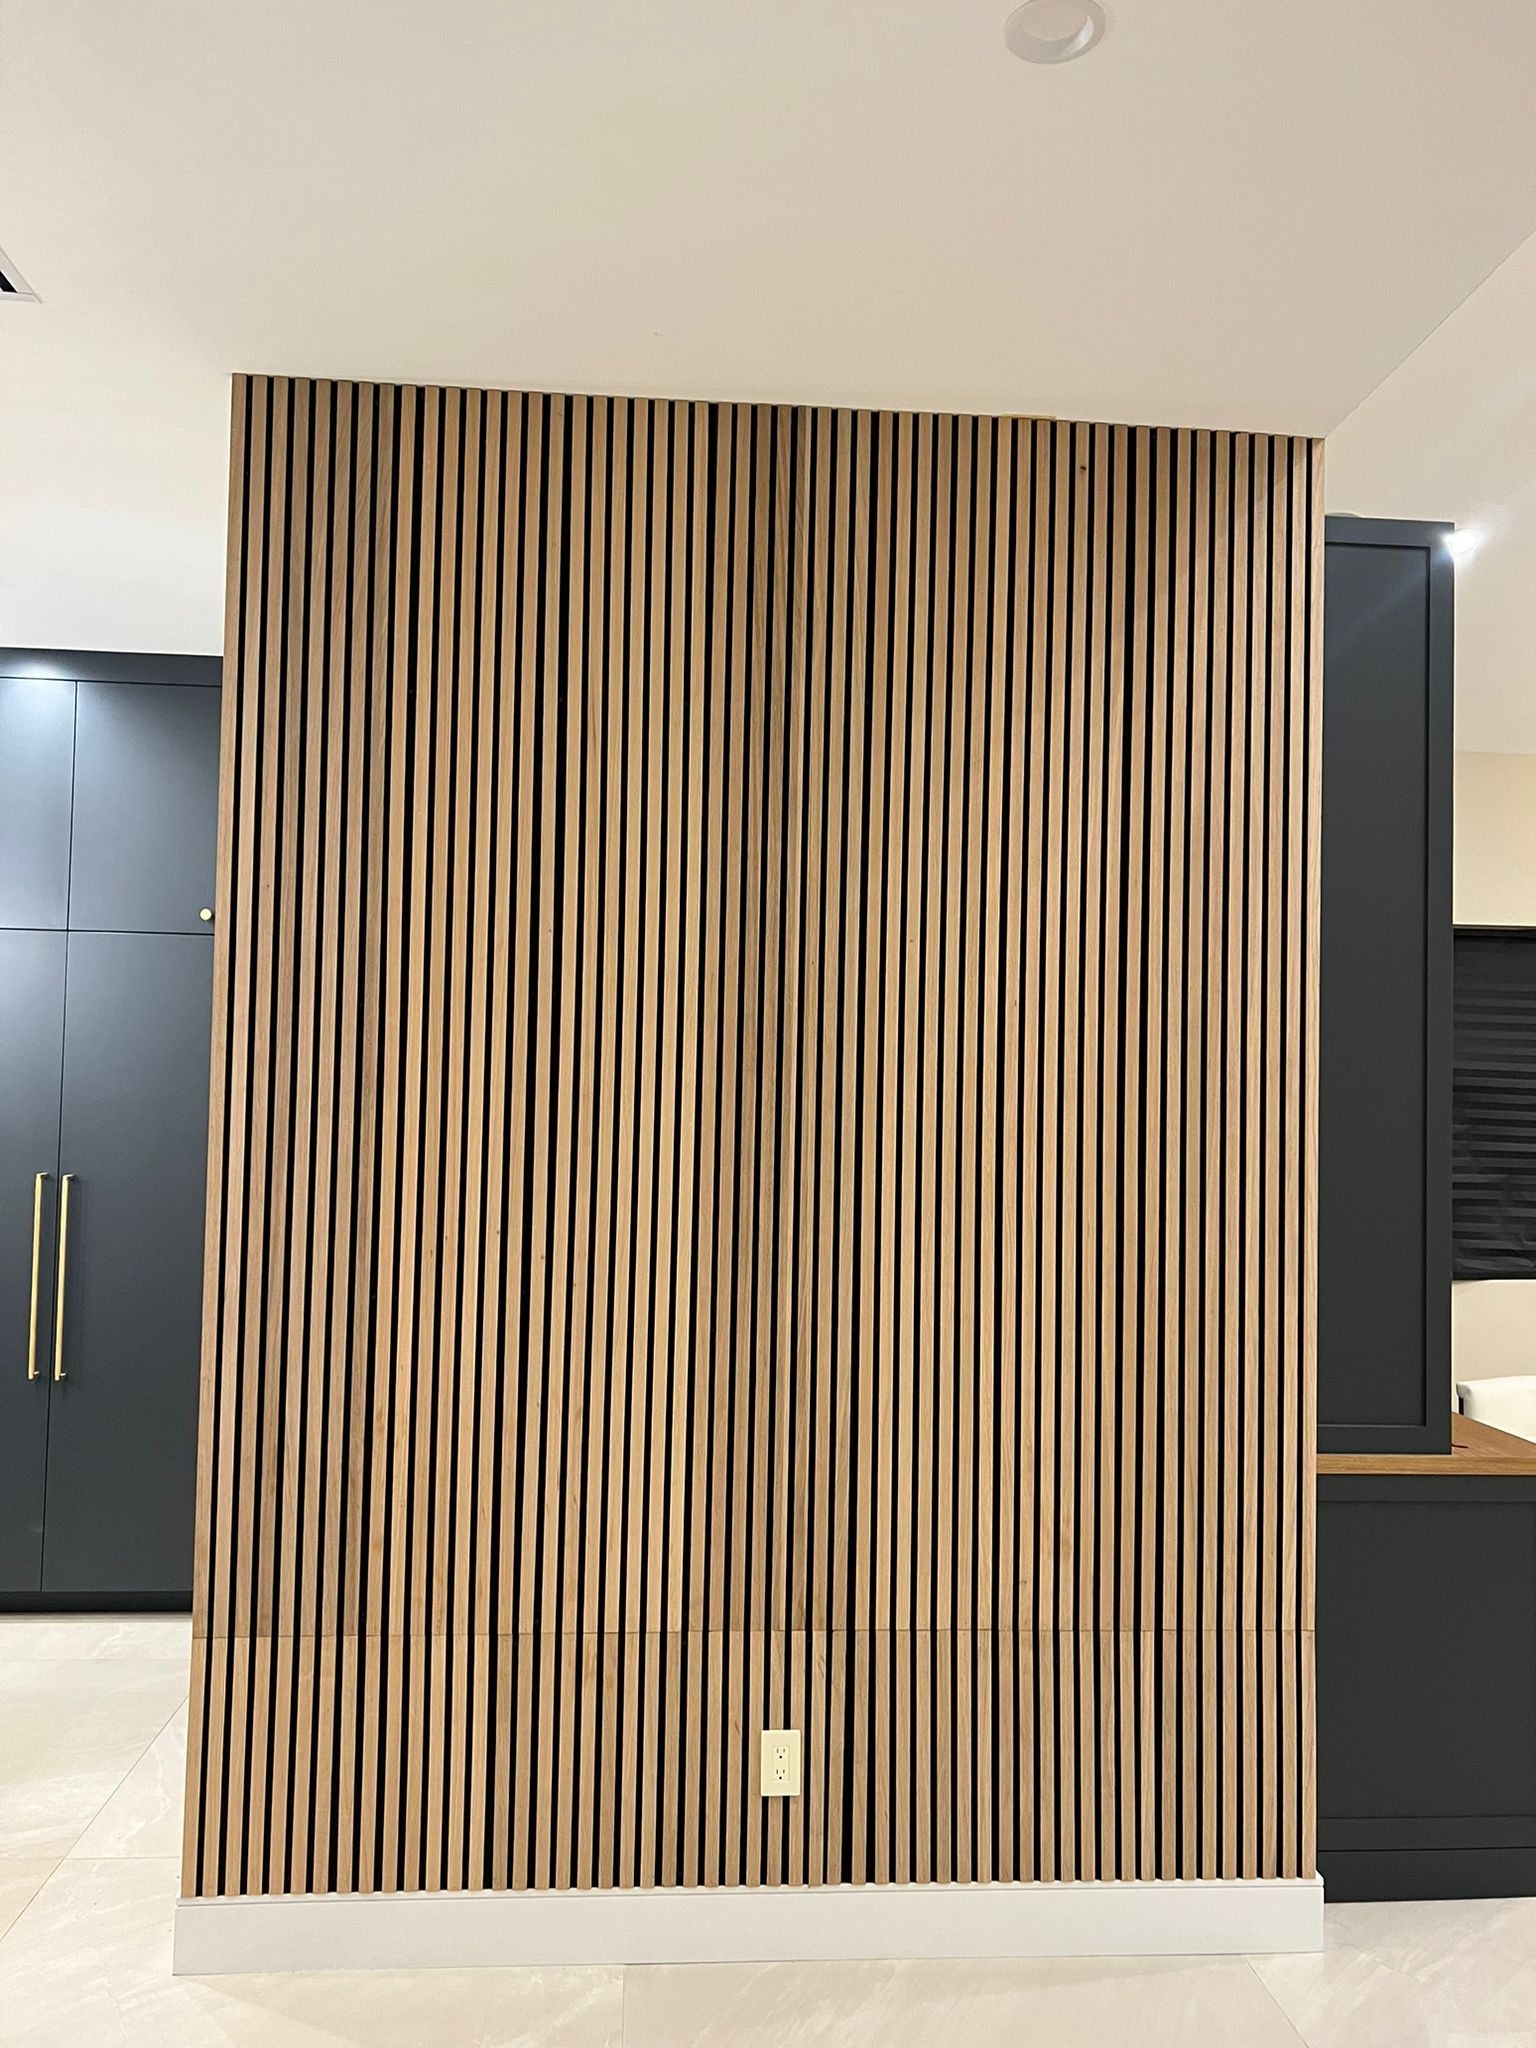
When it comes to achieving the stunning look of perfect 3D wall panels, precise measuring is the cornerstone of success. These innovative wall designs can transform any space into a sophisticated haven, but even the most exquisite panels can fall short if measurements are off. Whether you’re a DIY enthusiast or a professional contractor, understanding how to measure accurately ensures seamless installation and visually striking results. Here’s a comprehensive guide to measuring for perfect 3D wall panels that guarantees satisfaction every time.
Why Accurate Measurements Matter
Accurate measurements are critical in any home improvement project, and perfect 3D wall panels are no exception. These panels rely on precise alignment to create the dimensional effect that makes them so popular. Miscalculations can lead to mismatched edges, wasted material, and unnecessary frustration. By starting with exact measurements, you can avoid costly mistakes and achieve a flawless finish.
Tools You’ll Need for Measuring
Before diving into the measuring process, gather these essential tools to ensure accuracy:
- Measuring Tape: A high-quality tape measure with clear markings.
- Laser Measure: Ideal for large walls or hard-to-reach spaces.
- Spirit Level: Ensures your measurements are perfectly horizontal or vertical.
- Pencil and Notepad: For recording your dimensions.
- Straight Edge or Ruler: Helps maintain straight lines for measurements.
Having the right tools makes the process smoother and minimizes errors, laying the groundwork for a successful installation of perfect 3D wall panels.
Step-by-Step Guide to Measuring for Perfect 3D Wall Panels
1. Measure Wall Dimensions
Start by measuring the total height and width of the wall where you plan to install the panels:
- Height: Measure the wall’s height from floor to ceiling at multiple points. Walls can sometimes be uneven, so take three measurements—left, center, and right—and use the smallest value.
- Width: Measure the width of the wall from one end to the other. Again, take multiple measurements—top, middle, and bottom—and record the smallest value.
Accurate dimensions ensure you account for any irregularities in the wall and prevent gaps or overlaps when installing the panels.
2. Identify Obstacles and Adjust Measurements
Many walls have features like outlets, light switches, or windows. To account for these:
- Measure the dimensions of each obstacle (height, width) and their distance from the nearest edge.
- Subtract these measurements from your total wall dimensions to calculate the actual surface area available for the panels.
Using a detailed sketch can help you visualize these adjustments and avoid surprises during installation.
3. Calculate the Number of Panels Needed
To determine how many perfect 3D wall panels you’ll need:
- Find the total wall area by multiplying the wall’s height by its width.
- Check the dimensions of the panels you’ve chosen (e.g., 2 feet by 2 feet).
- Divide the total wall area by the area of a single panel to get the quantity required.
Round up to the nearest whole number to ensure you have enough panels, allowing for potential cutting or trimming.
Tips for Measuring Irregular Walls
Walls in older homes or uniquely shaped spaces can present measurement challenges. Follow these tips:
- Use a laser measure for slanted ceilings or curved walls to get precise dimensions.
- For uneven surfaces, measure multiple points and use the smallest dimensions for better alignment.
- If possible, create a cardboard template of the panel dimensions to test the layout on the wall.
These strategies can help you achieve the perfect fit, even in unconventional spaces.
Common Mistakes to Avoid
Accurate measuring isn’t just about the tools; it’s also about technique. Here are common pitfalls to watch out for:
- Not Accounting for Wall Texture: Textured walls may require slightly larger panels or additional adhesive.
- Ignoring Small Irregularities: Overlooking minor wall imperfections can lead to misaligned panels.
- Forgetting the Panel Pattern: Some perfect 3D wall panels have repeating patterns that require careful alignment. Always consider the design when measuring.
By avoiding these mistakes, you can save time and frustration while achieving professional-looking results.
Visualizing Your Measurements
To simplify the process, use visual aids to map out your project:
- Table Example: Organize your wall dimensions and panel calculations in a table to keep everything clear.Measurement PointHeight (inches)Width (inches)Left96144Center95.5144Right96144
- Flow Diagram: Create a flow diagram to outline the steps from measuring to cutting and installing panels.
- Sketch the Layout: Draw the wall and map out the panel arrangement, including any cuts or adjustments for obstacles.
These visualizations make it easier to spot potential issues and refine your plan before installation begins.
Installation Preparation
Once your measurements are complete, the next step is to prepare for installation:
- Clean and smooth the wall surface to ensure the panels adhere properly.
- Mark the wall with guidelines based on your measurements to serve as a reference.
- Double-check your calculations before cutting any panels to avoid waste.
Taking the time to prepare ensures a smoother process and maximizes the aesthetic impact of your perfect 3D wall panels.
FAQs About Perfect 3D Wall Panels
1. How do I ensure my panels align perfectly?
Use a spirit level and pre-drawn guidelines to maintain straight lines during installation.
2. Can I install 3D wall panels on textured walls?
Yes, but you may need additional adhesive or a mounting board for a secure fit.
3. What’s the best way to cut panels for obstacles like outlets?
Use a utility knife or jigsaw, and measure carefully before cutting to avoid mistakes.
4. How do I calculate adhesive requirements?
Refer to the manufacturer’s guidelines, which usually specify adhesive coverage per panel.
5. Can I install 3D wall panels myself, or do I need a professional?
Most DIY enthusiasts can install panels with accurate measurements and proper tools, but a professional is recommended for complex designs or large projects.
Final Thoughts
Achieving perfect 3D wall panels starts with accurate measurements. This attention to detail ensures a seamless installation, enhances the visual appeal of your space, and saves you from unnecessary headaches. By following these guidelines, you’ll be well-equipped to transform any wall into a stunning feature that stands out for all the right reasons. Whether you’re tackling the project yourself or working with a professional, precision is your best ally in creating a truly remarkable result.

