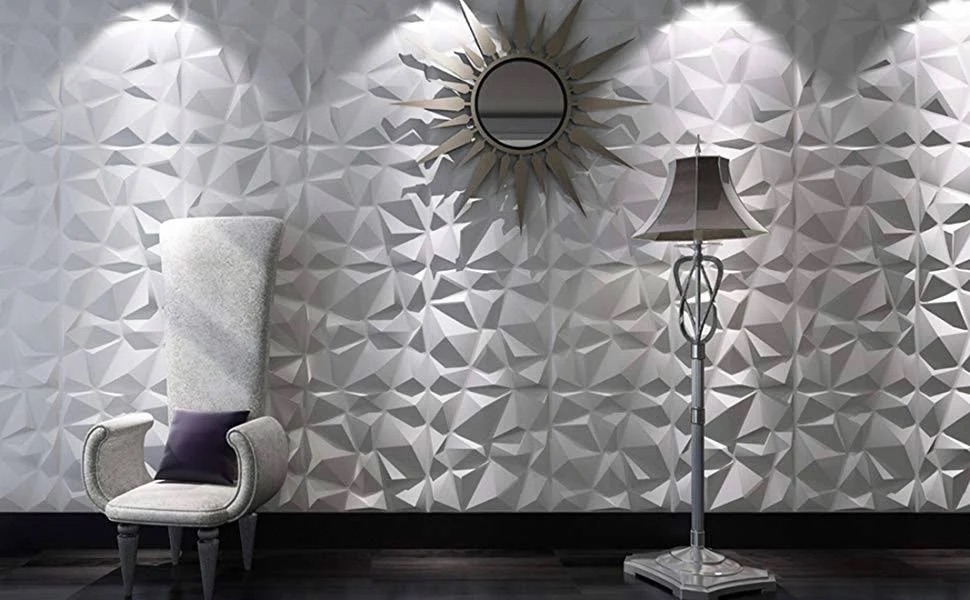
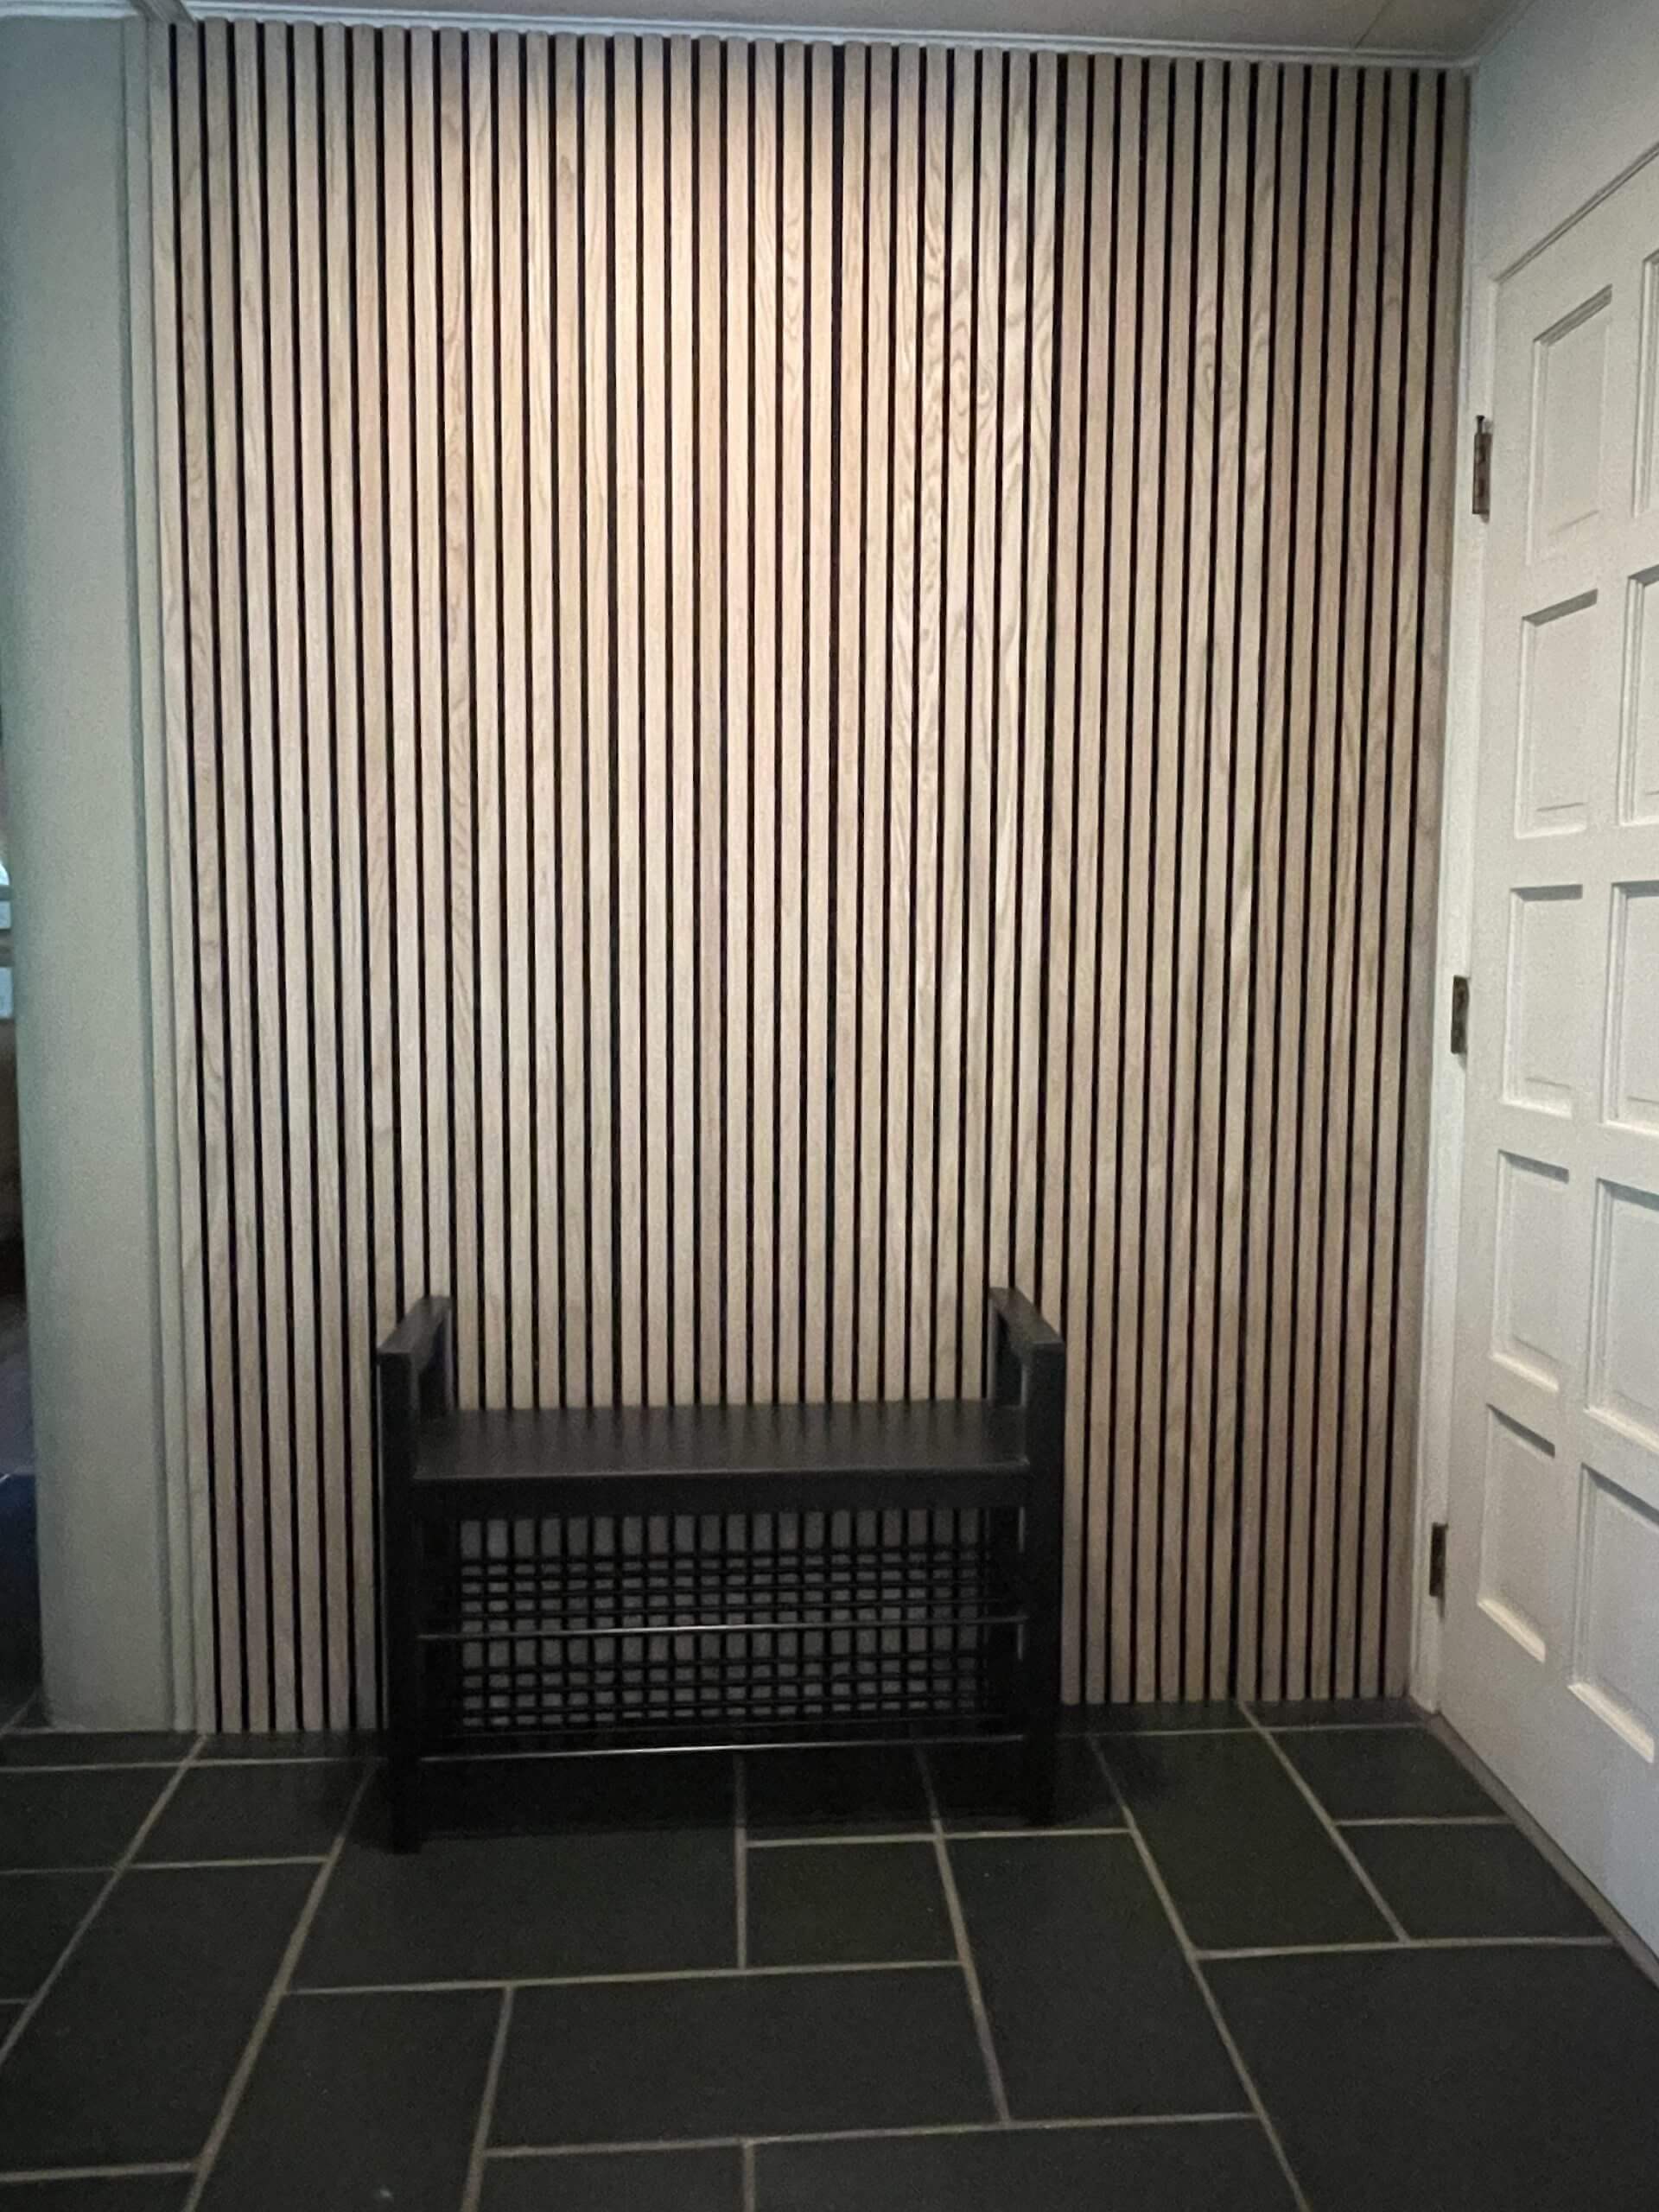
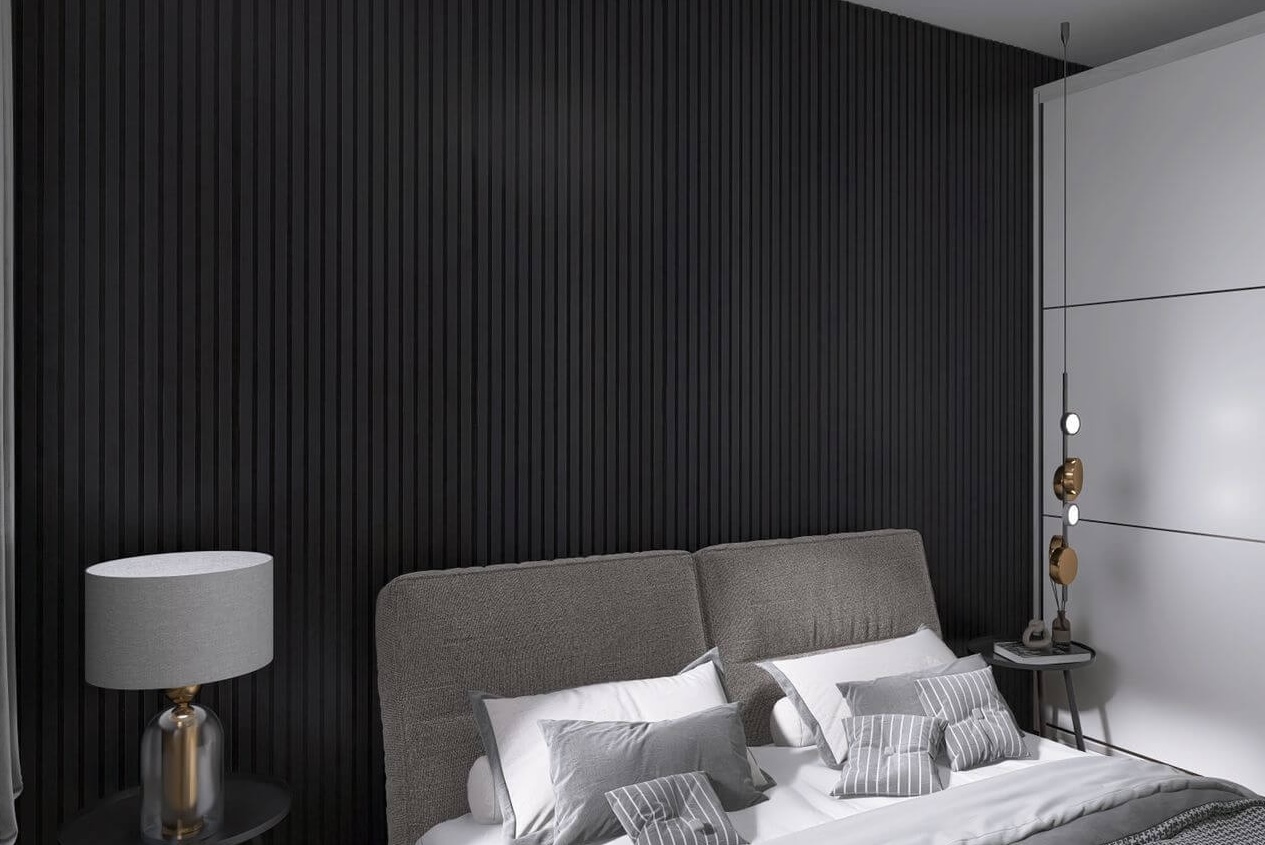
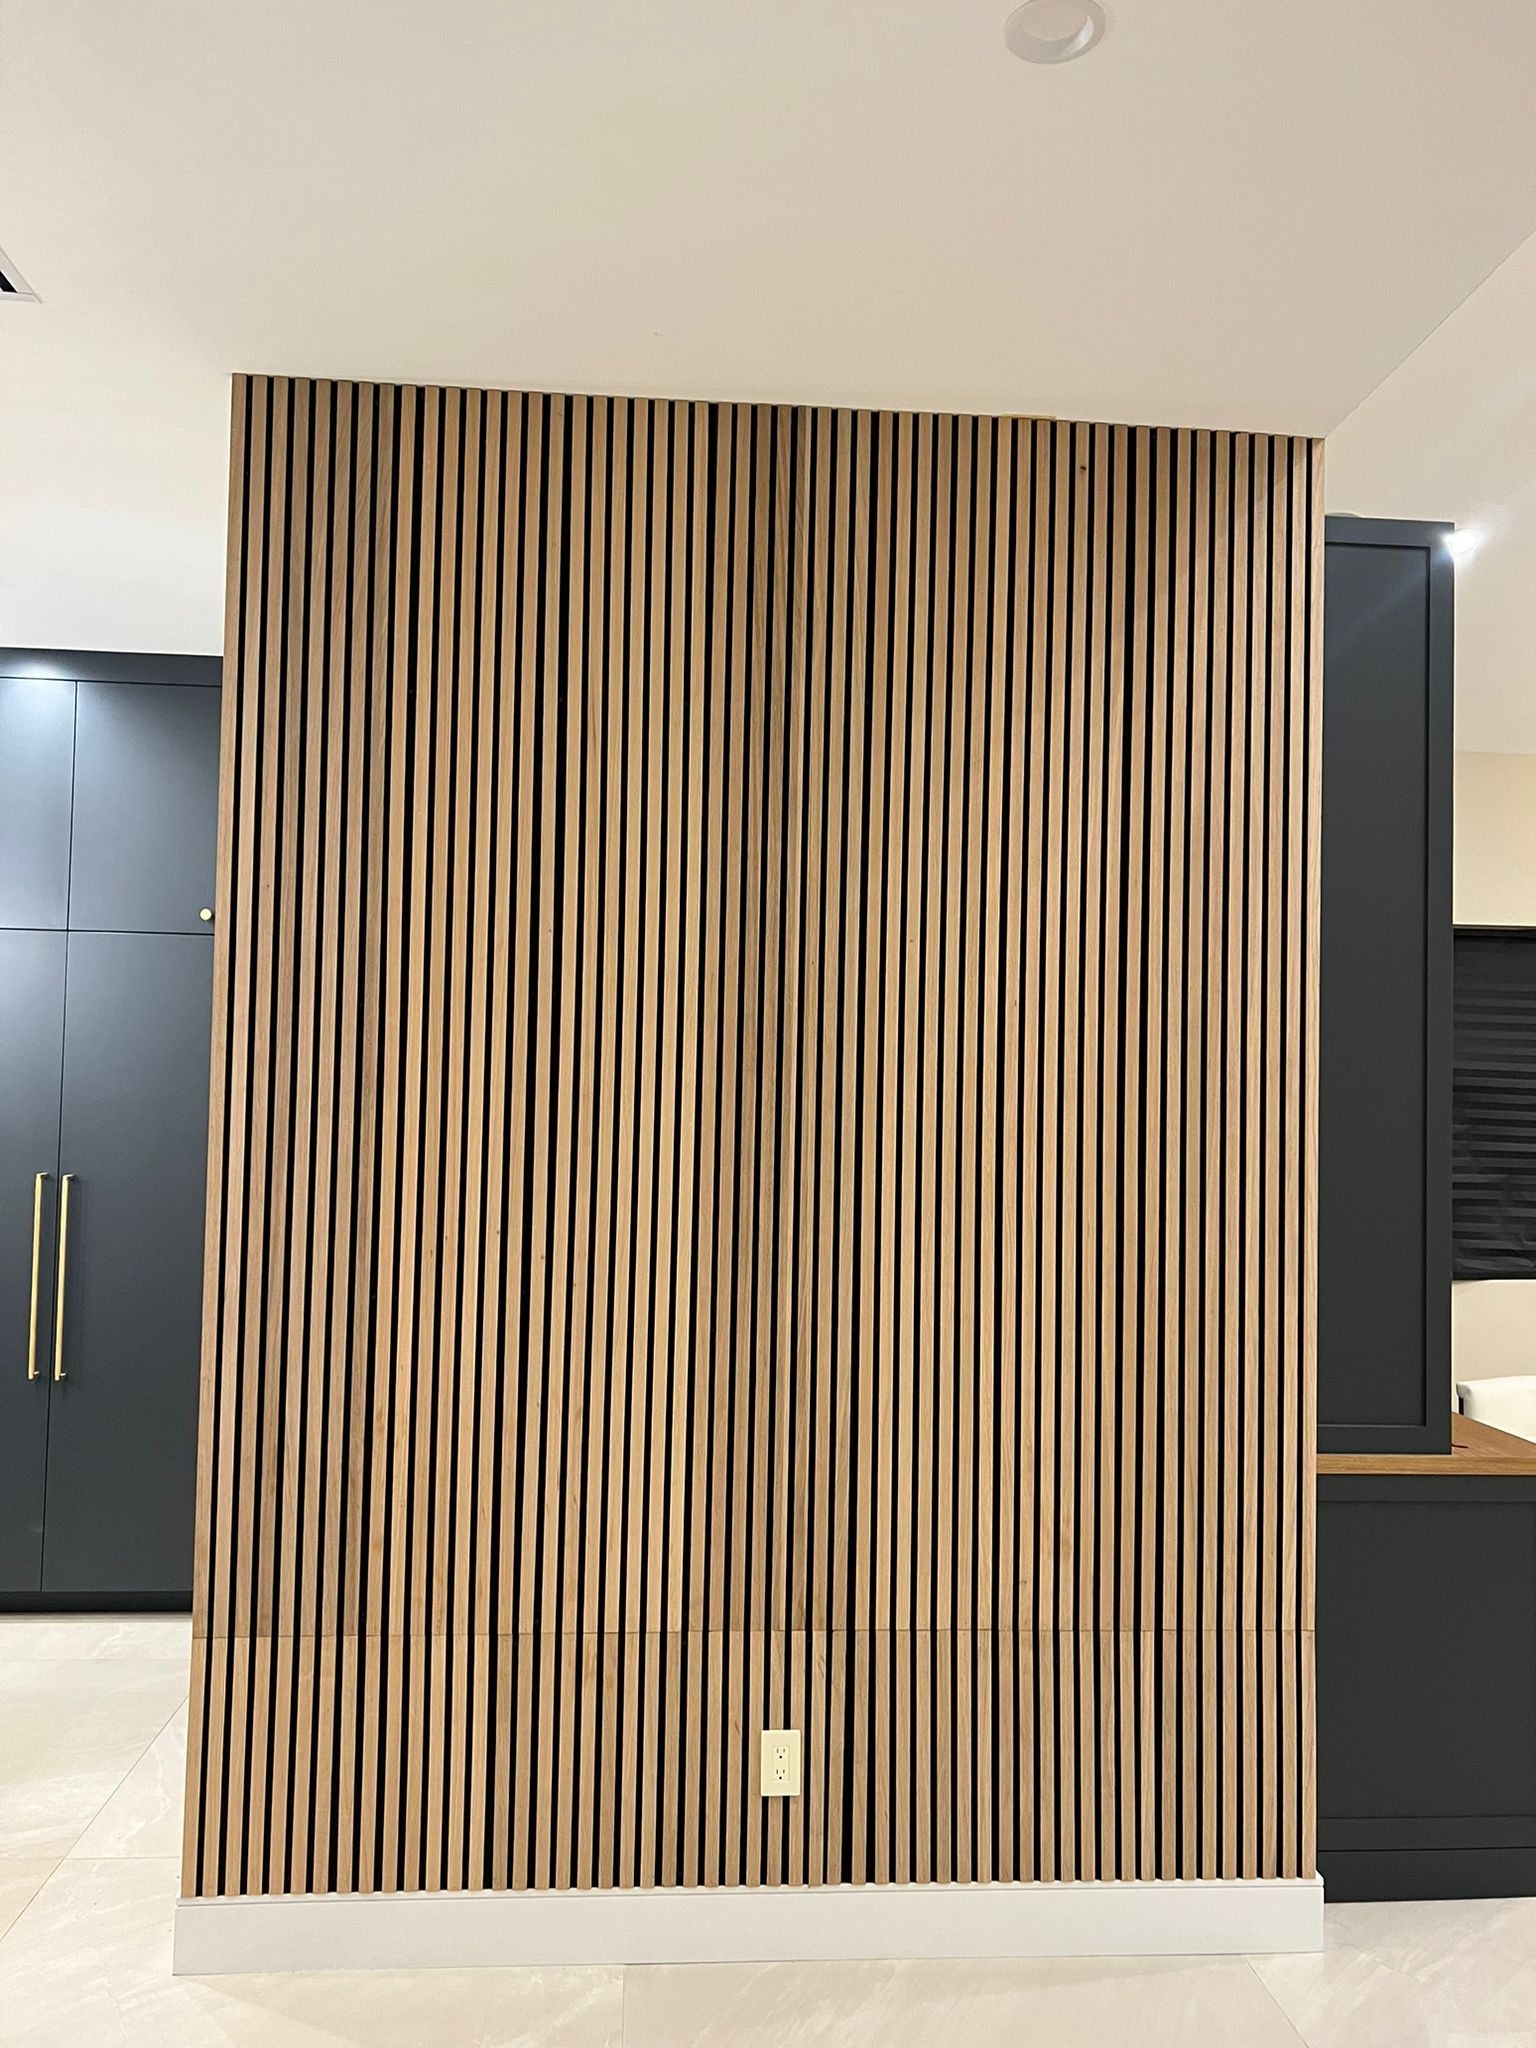
Decorating your home with art, photos, or other wall-mounted pieces is an essential part of personalizing your space. However, when your walls feature 3D wall panels, the process of hanging pictures can seem a little tricky. These textured, dynamic surfaces add a modern and luxurious feel to your space, but they also require specific methods to maintain their integrity while securely mounting your favorite decorations. In this guide, we’ll walk you through everything you need to know about hanging pictures on 3D wall panels safely and effectively.
Why 3D Wall Panels Are Unique
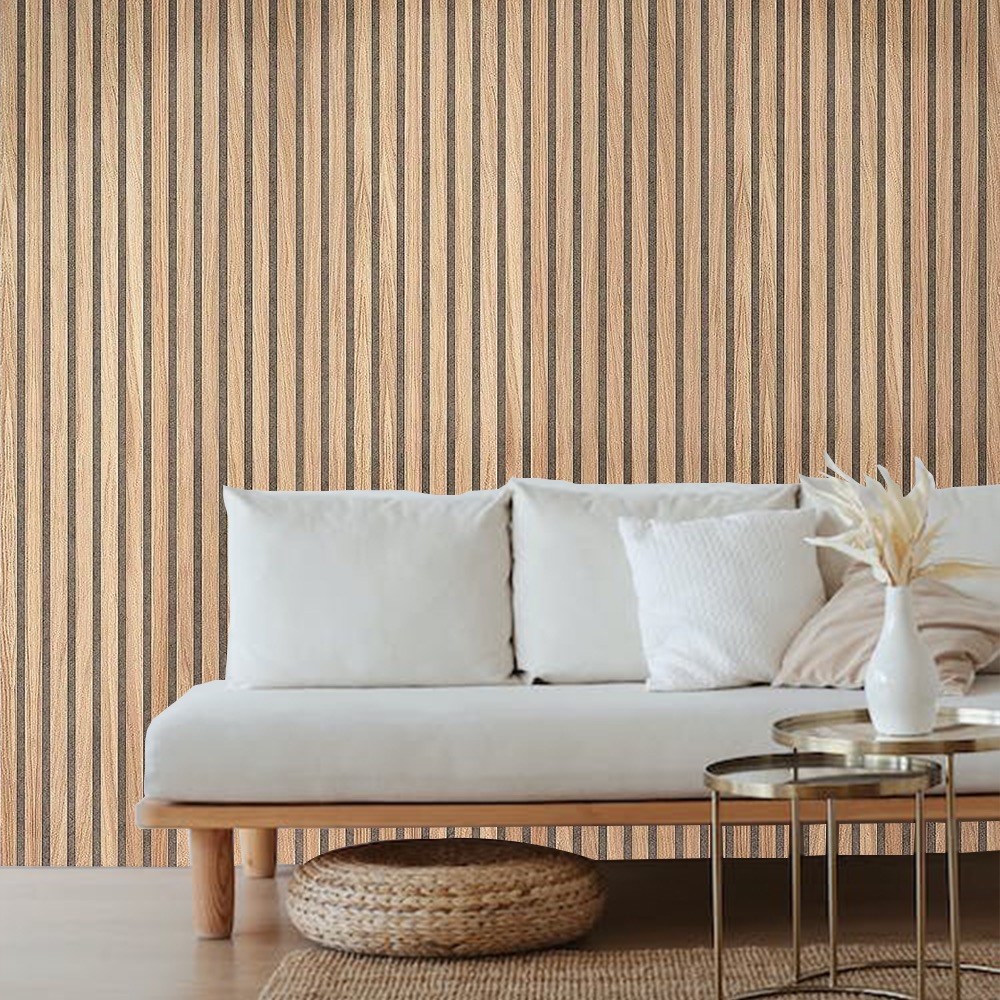
3D wall panels, are not your average flat surfaces. Their textured designs create depth and interest, making them a standout choice for home interiors. These panels are available in materials like wood, MDF, and PVC, each offering unique advantages in durability, aesthetics, and versatility. However, the raised surfaces and varying textures mean traditional hanging methods may not always work.
Key characteristics of 3D wall panels that affect picture hanging:
- Textured Surfaces: Unlike flat walls, 3D wall panels have grooves, ridges, or raised elements.
- Weight Support: Depending on the material, 3D wall panels may require special fasteners to ensure stability.
- Material-Specific Needs: Wood panels may accommodate nails better than PVC or MDF, which might need adhesive solutions.
Tools and Materials You’ll Need
To hang pictures on 3D wall panels, gather the following tools and materials to ensure a seamless and secure installation:
- Adhesive Strips or Hooks: Perfect for lightweight frames and avoiding damage to panels.
- Wall Anchors: Essential for heavier pictures to provide extra support.
- Measuring Tape: Ensures precise alignment and spacing.
- Level Tool: Guarantees that your pictures are straight.
- Drill or Screwdriver: For drilling into wood panels or inserting screws into anchors.
- Painter’s Tape: Helps with positioning without leaving marks.
Step-by-Step Guide for Hanging Pictures on 3D Wall Panels
Follow these detailed steps to ensure your pictures are securely and attractively mounted on 3D wall panels.
- Plan the Layout
Decide where each picture will go. Use painter’s tape to outline the position on your wall. This visual aid ensures balance and helps avoid unnecessary adjustments later. - Choose the Hanging Method
- For lightweight frames, use adhesive hooks or strips. These are ideal for panels that may not accommodate nails or screws without damage.
- For heavier pieces, opt for wall anchors or screws, which can bear more weight and offer greater stability.
- Mark the Placement
Use a pencil or masking tape to mark the exact spots for hooks or screws. Ensure these marks align with the texture or grooves of the 3D wall panels. - Install the Hooks or Anchors
- If using adhesive hooks, clean the panel surface thoroughly to ensure a strong bond.
- For screws, drill a pilot hole if necessary, then insert the wall anchor and screw to secure it in place.
- Hang the Picture
Once the hooks or anchors are installed, carefully hang your picture. Use a level to make sure it’s straight, adjusting as needed. - Check Stability
Gently tug on the frame to ensure it’s securely attached to the panel. If it wobbles, reassess your hanging method or reinforce the fastener.
Tips for Protecting Your 3D Wall Panels
Hanging pictures on 3D wall panels requires care to maintain the panels’ integrity. Here are some tips to protect your investment:
- Use Non-Damaging Adhesives: Opt for removable adhesives that won’t leave residue or damage the panels when removed.
- Avoid Overloading: Do not exceed the weight limit of the fasteners you’re using.
- Distribute Weight Evenly: When hanging multiple pictures, ensure the weight is evenly distributed across the panel surface to prevent stress on any one area.
Common Mistakes to Avoid
- Ignoring Weight Limits: Using insufficient fasteners for heavy pictures can lead to accidents or damage.
- Improper Alignment: Failing to use a level can make your pictures look uneven on textured walls.
- Skipping Surface Preparation: Adhesives may fail if the panel surface is dusty or greasy.
Visualizing the Process
To simplify the process, consider these visual aids:
- Checklist for Tools and Materials:
- Measuring tape
- Level tool
- Adhesive hooks or screws
- Painter’s tape
- Suitable Hanging Methods by Panel Material:
| Panel Material | Best Hanging Method | Weight Limit | Notes |
|---|---|---|---|
| Wood | Screws, nails | High | Secure and versatile |
| MDF | Adhesive strips | Low | Avoid heavy items |
| PVC | Adhesive hooks | Medium | Lightweight decorations |
FAQ: Hanging Pictures on 3D Wall Panels
1. Can I use nails to hang pictures on 3D wall panels?
Yes, but this works best for wooden panels. For MDF or PVC, adhesive hooks or strips are preferable.
2. How do I remove adhesive hooks without damaging the panels?
Gently pull the adhesive strip straight down to release it without leaving marks.
3. What’s the maximum weight I can hang on 3D wall panels?
It depends on the panel material and fasteners used. Always check the manufacturer’s recommendations for weight limits.
4. Are there specific adhesives for textured surfaces?
Yes, heavy-duty adhesive strips designed for uneven surfaces work best for 3D wall panels.
5. How can I ensure my pictures stay level on textured walls?
Use a level tool during installation and adjust the positioning if needed.
This guide should provide you with the confidence and tools to beautifully decorate your 3D wall panels with pictures. By following these steps and tips, you can ensure your panels remain undamaged while creating a visually appealing space.

