Plywood is a versatile and cost-effective material, making it an excellent choice for creating slats in various DIY projects. Whether you’re aiming to enhance your home’s aesthetic with a modern slat wall or seeking functional solutions like bed support, plywood slats offer both durability and flexibility.
Why Choose Plywood for Slats?
Plywood consists of multiple layers of wood veneer, bonded together to form a strong and stable sheet. This layered construction provides several advantages:
- Strength and Stability: The cross-grain arrangement of layers minimizes warping and splitting, ensuring longevity.
- Affordability: Compared to solid wood, plywood is more budget-friendly without compromising quality.
- Ease of Workability: Plywood can be easily cut into slats of various sizes, accommodating different project requirements.
Applications of Plywood Slats
Plywood slats can be utilized in numerous projects, including:
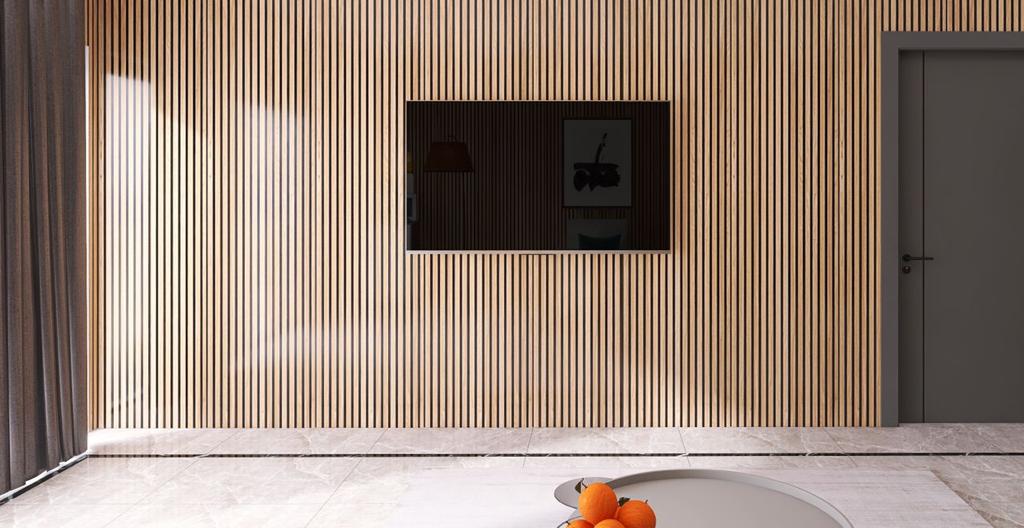
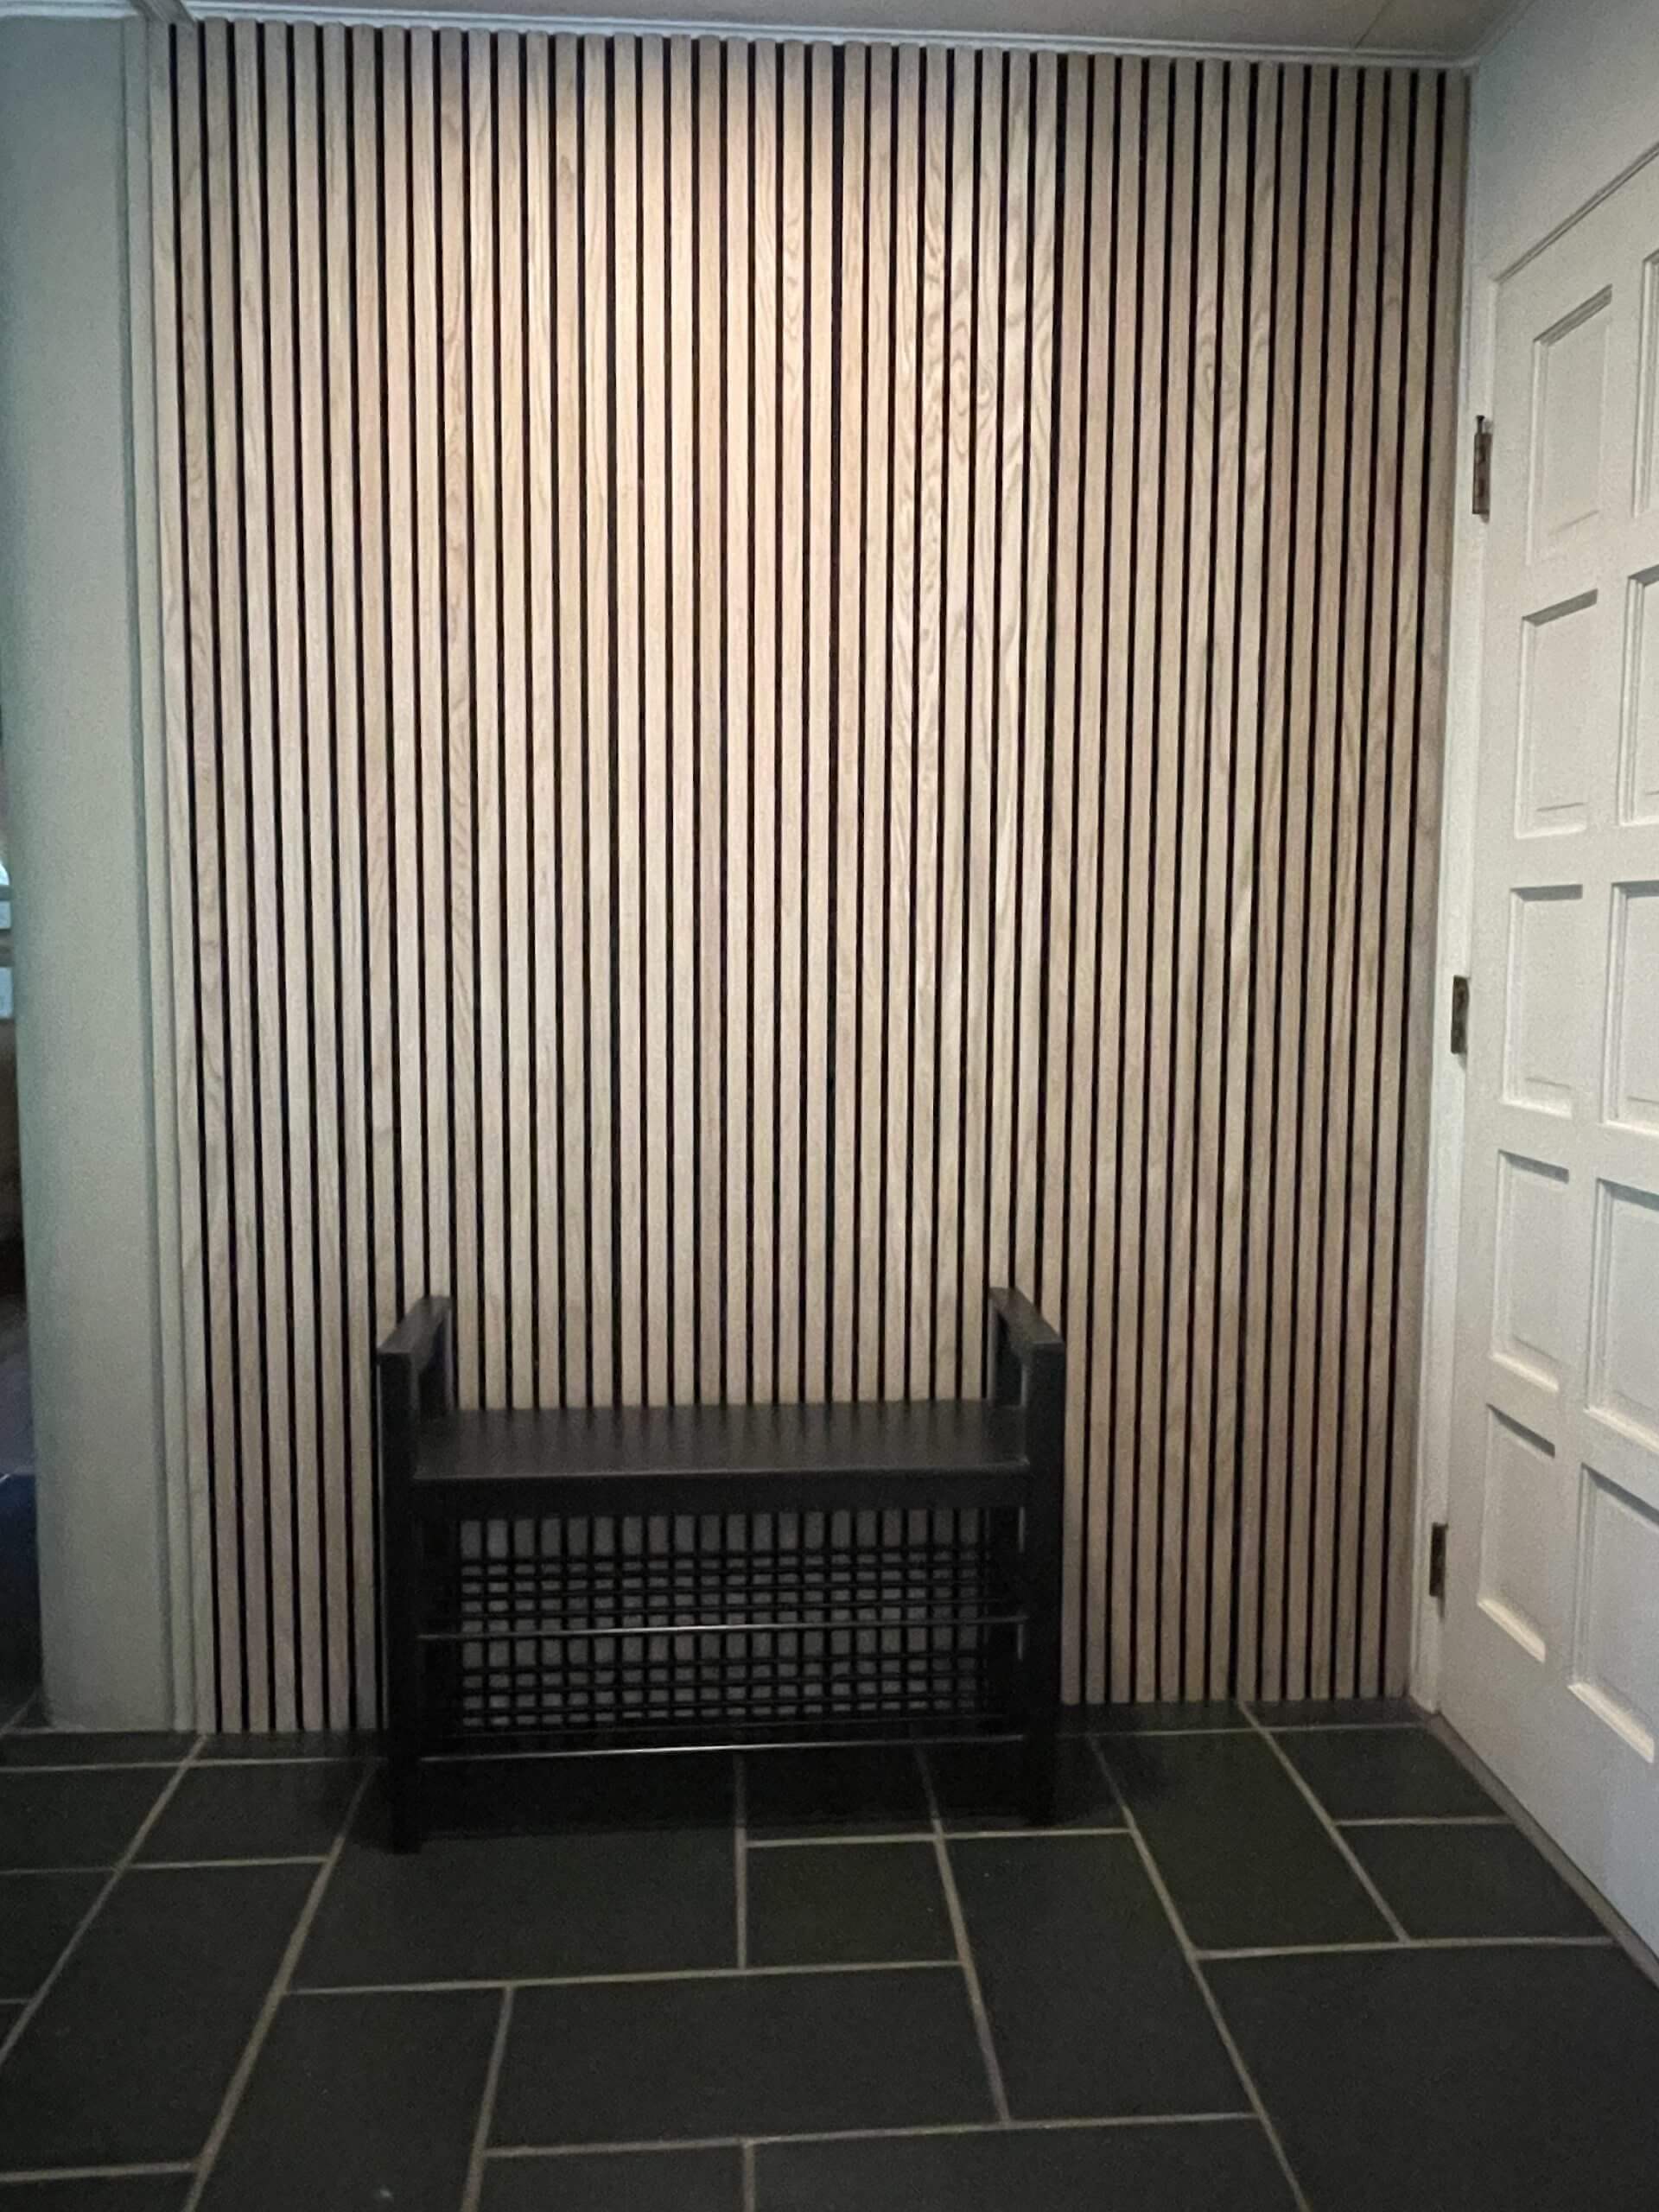
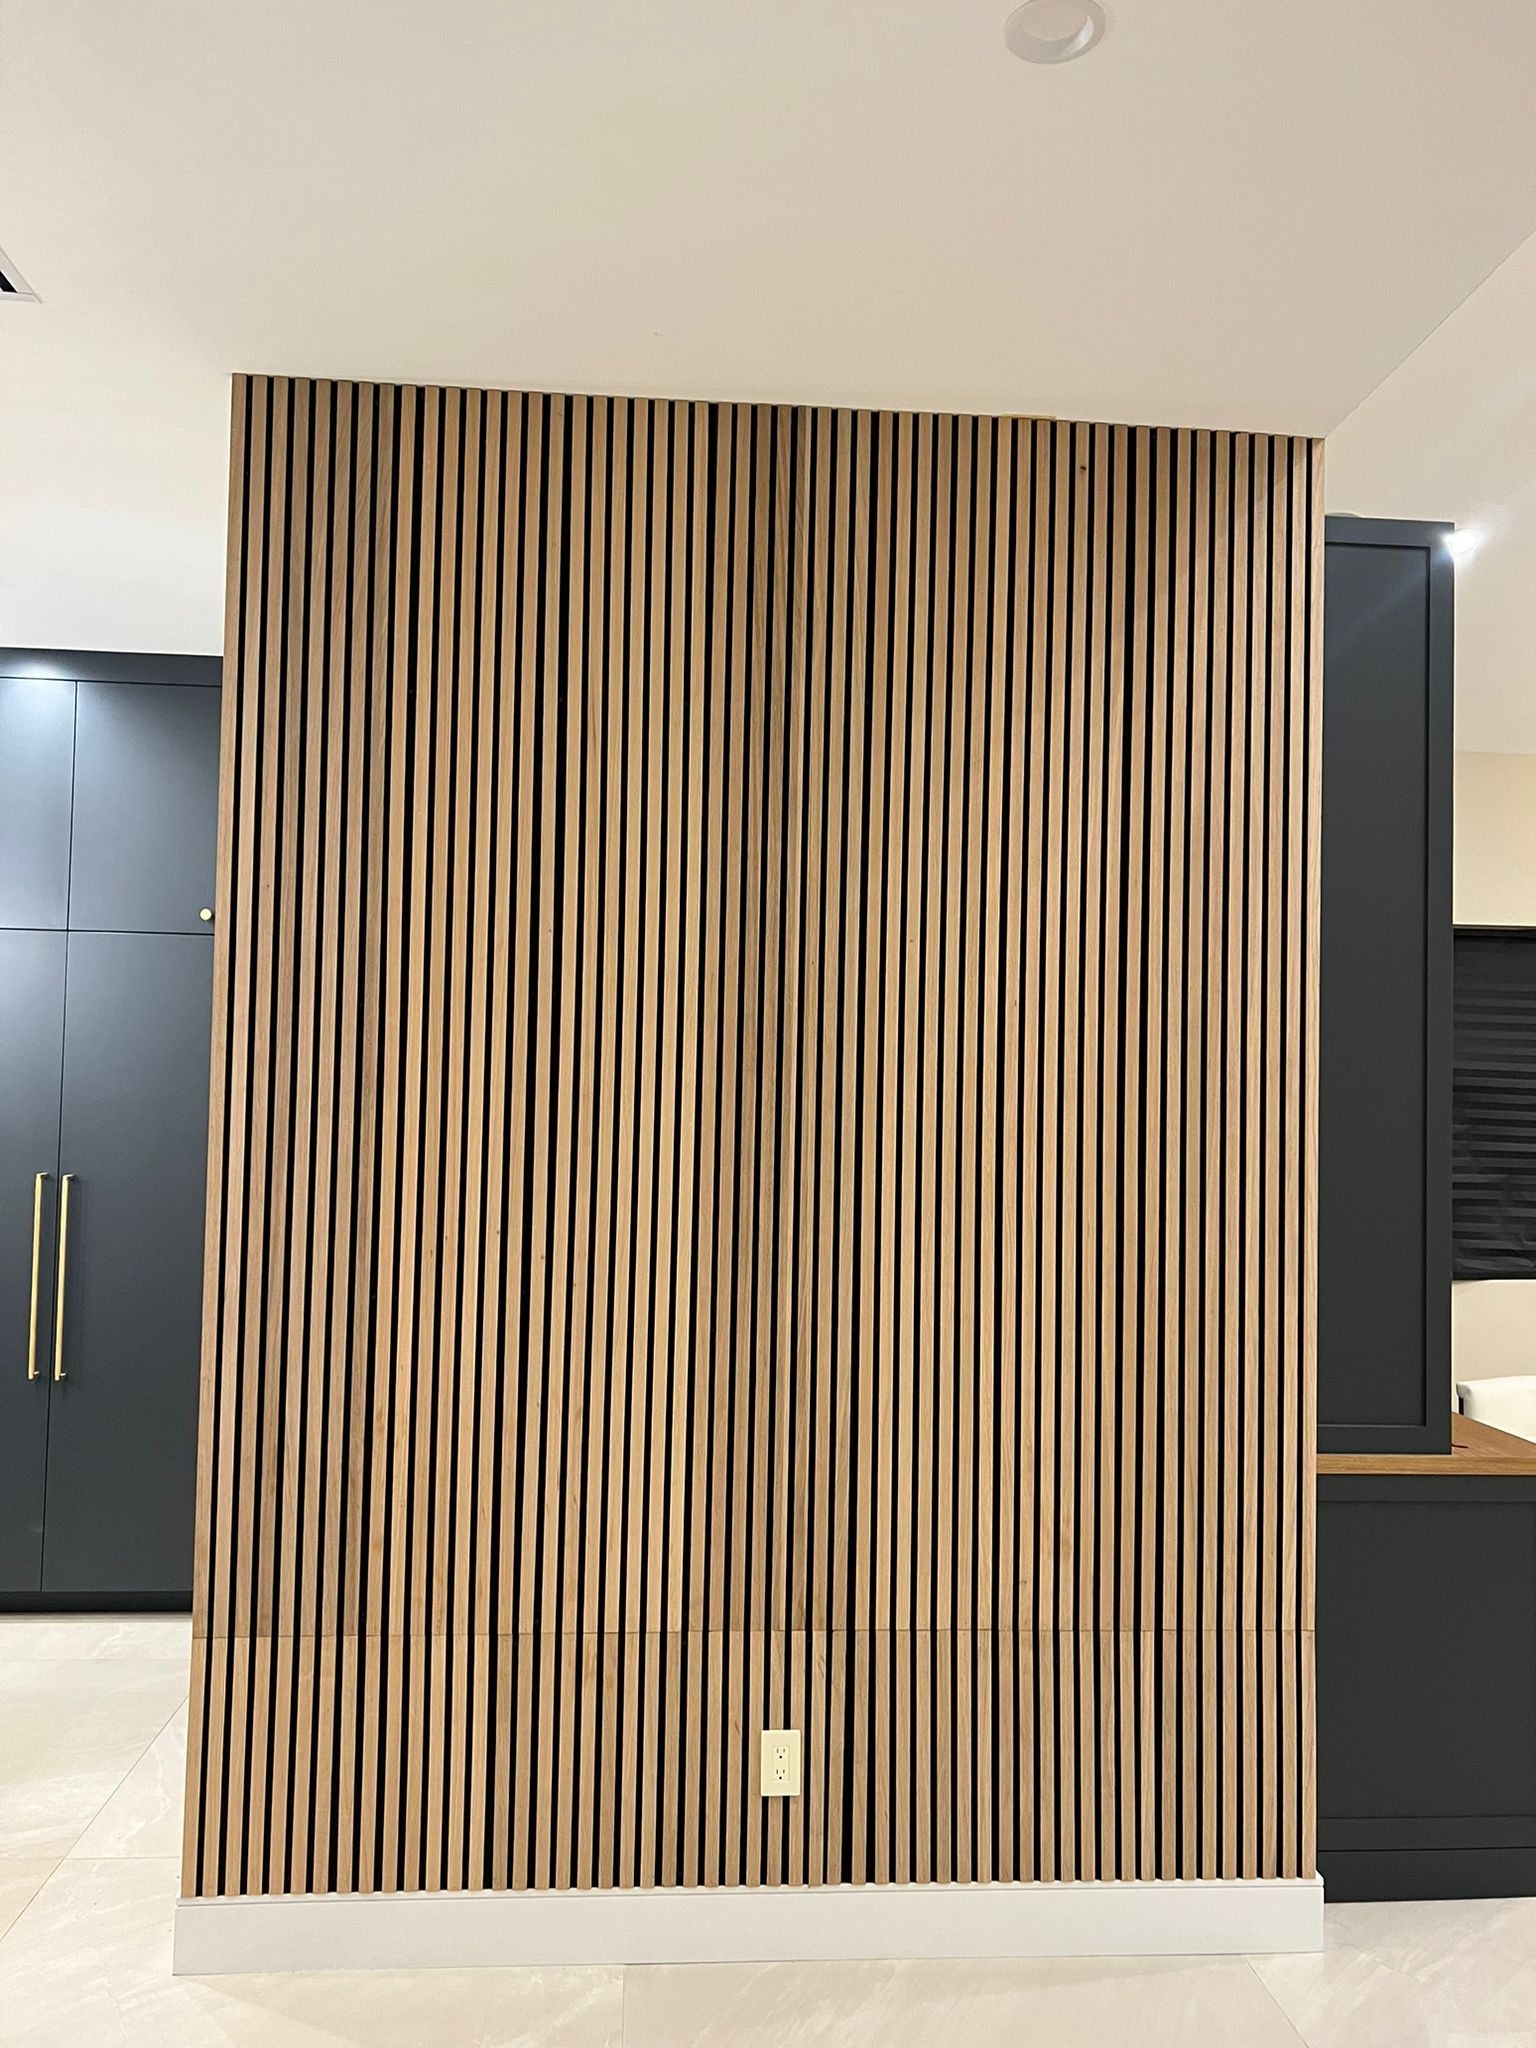
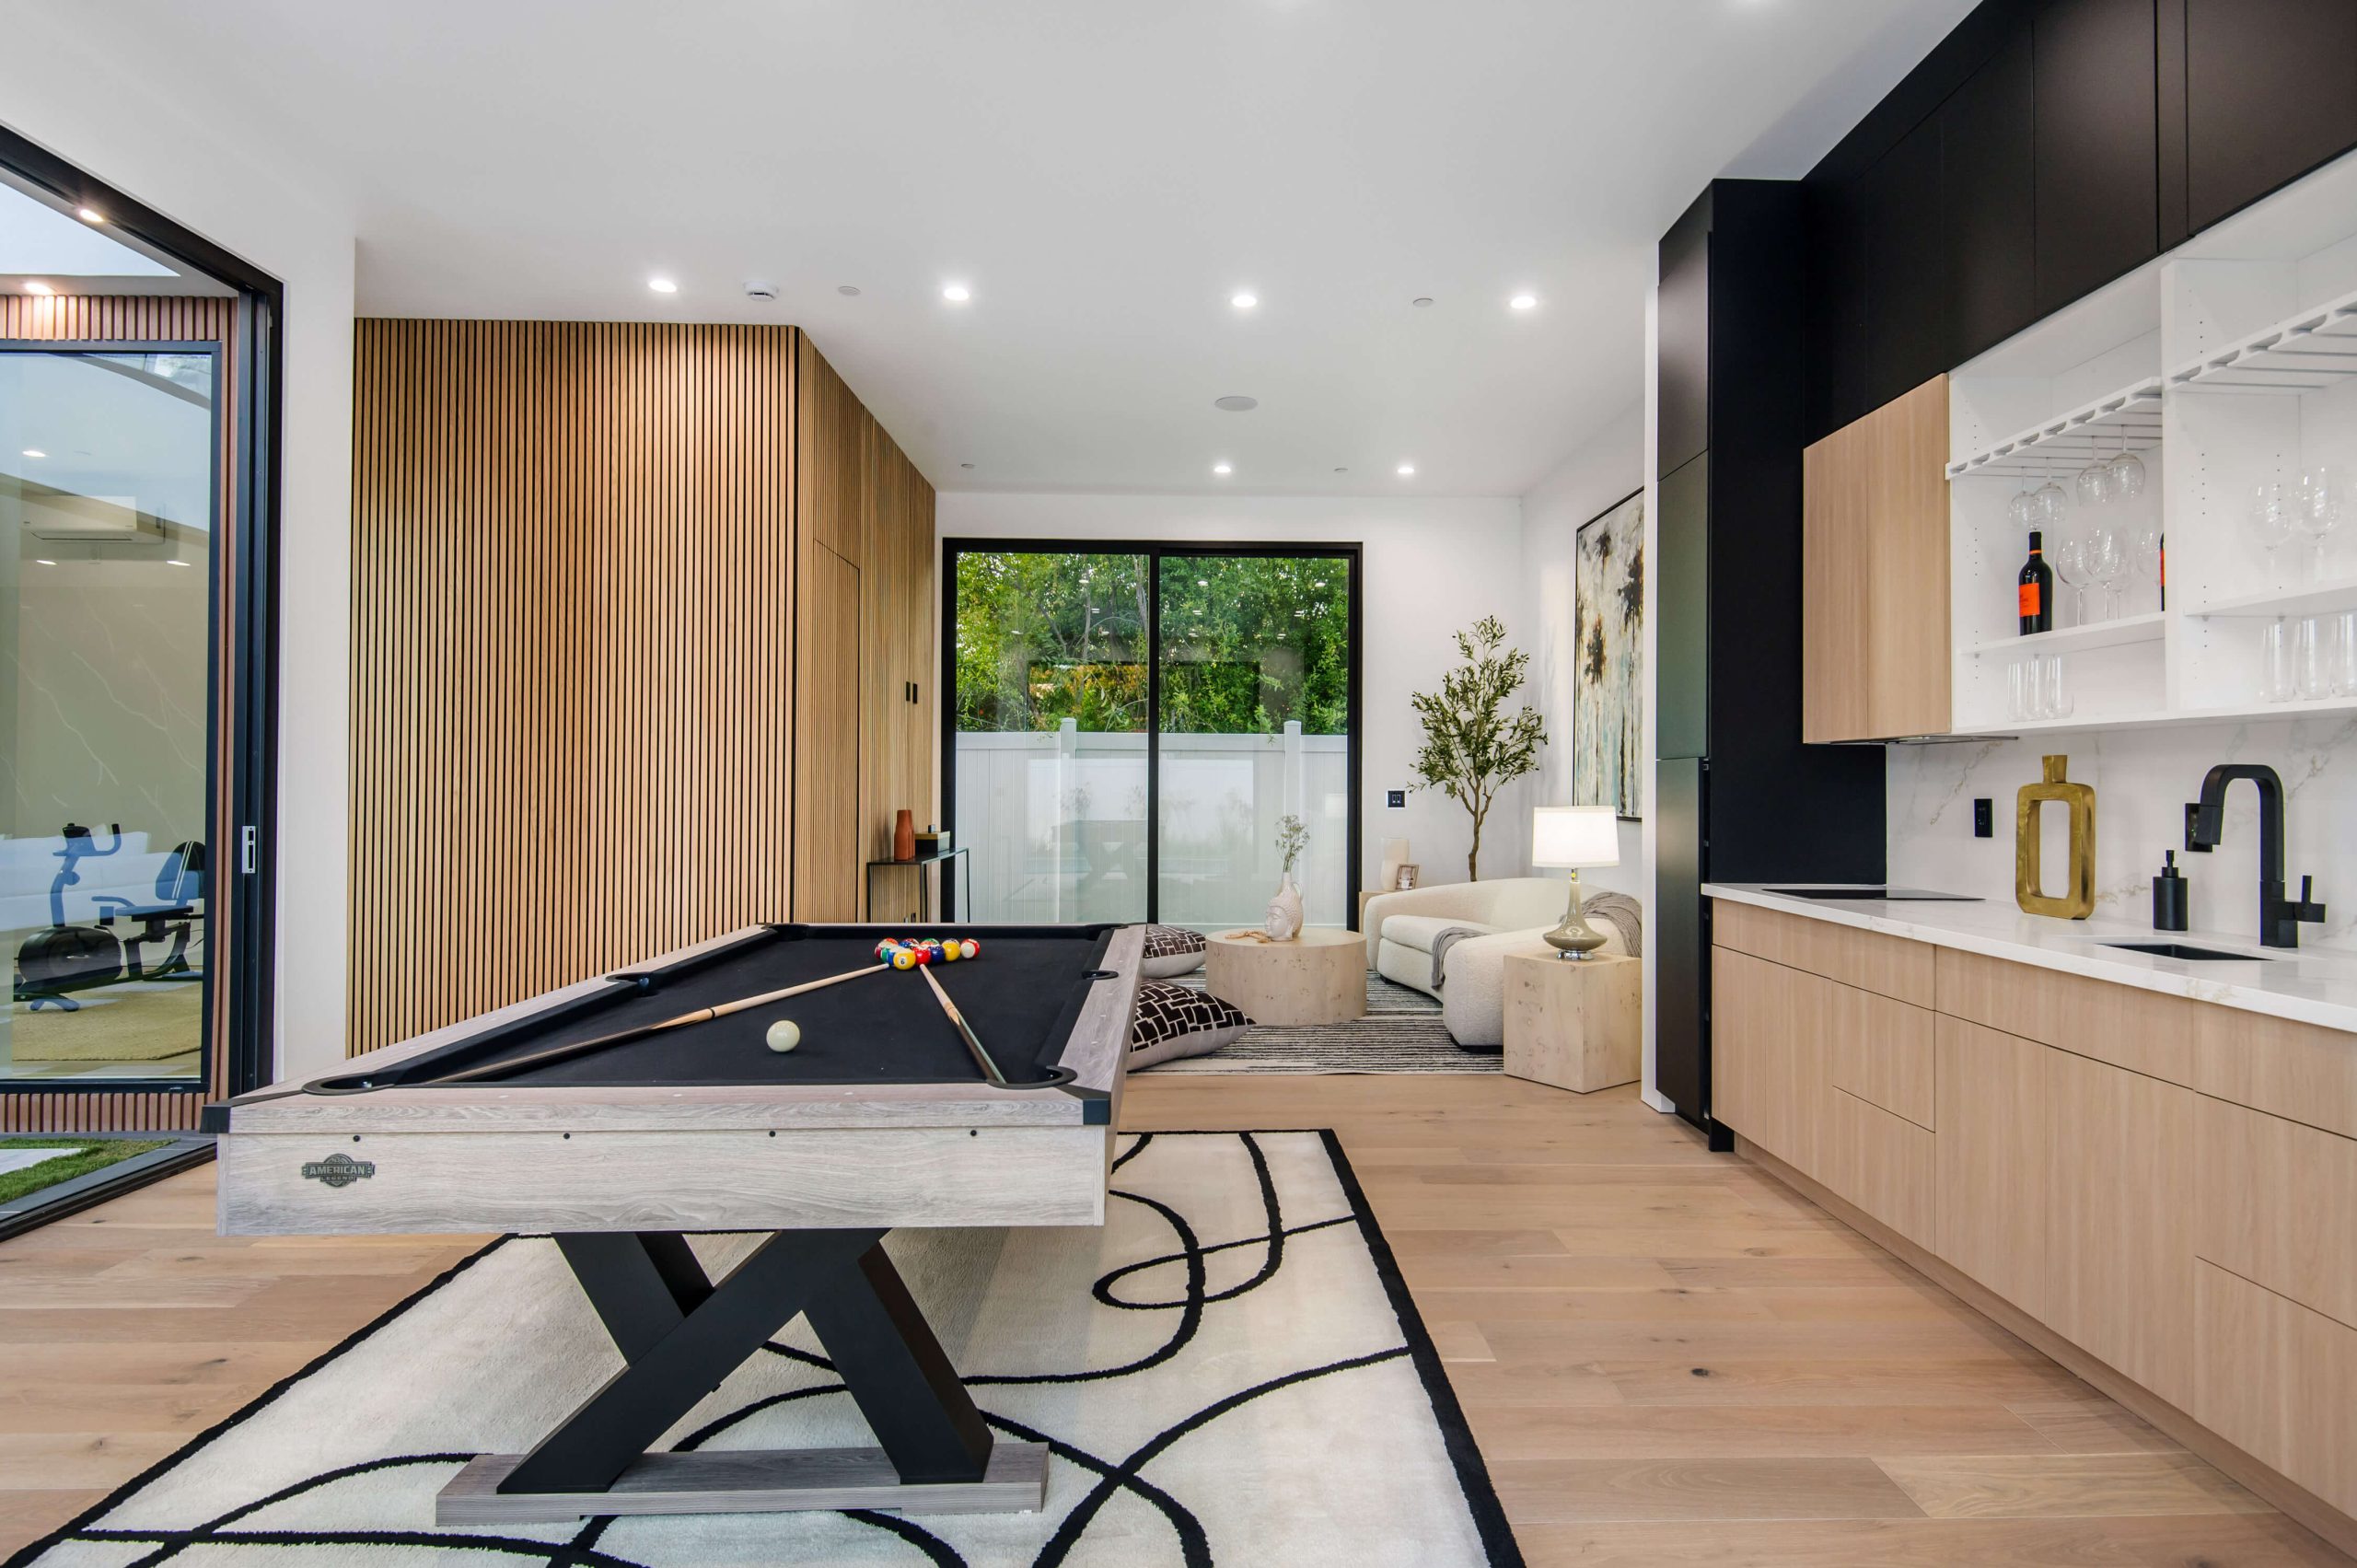
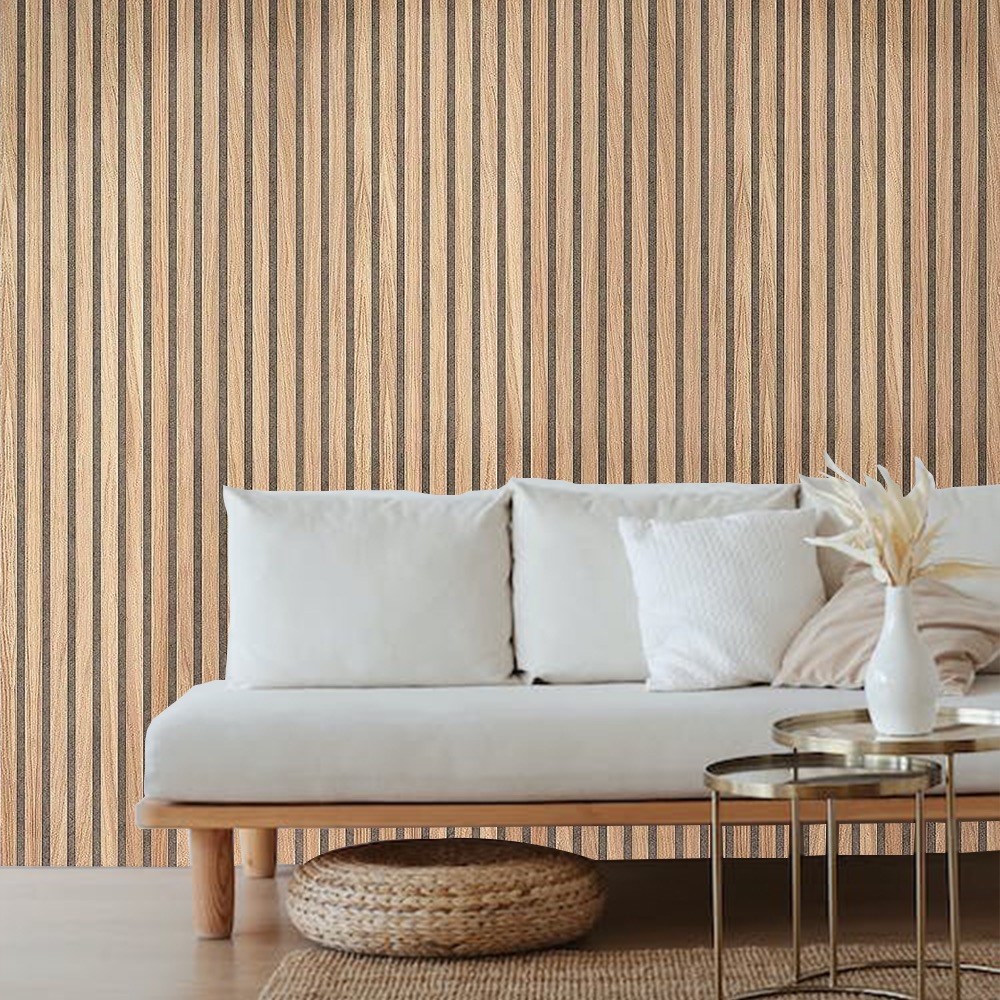
- Decorative Wall Treatments: Installing a plywood slat wall adds texture and a contemporary feel to any room.
- Ceiling Accents: Plywood slats can be used to create eye-catching ceiling designs, enhancing the architectural interest of a space.
- Furniture Construction: Plywood slats serve as sturdy components in furniture pieces like bed frames, shelves, and room dividers.
Creating Plywood Slats for Your Project
To craft plywood slats, follow these steps:
- Select Quality Plywood: Choose a plywood grade that suits your project’s aesthetic and structural needs.
- Measure and Mark: Determine the desired width and length of your slats, marking the plywood accordingly.
- Cut the Slats: Use a table saw or circular saw to cut along the marked lines, ensuring straight and even cuts.
- Sand the Edges: Smooth any rough edges with sandpaper to prepare the slats for finishing.
- Finish as Desired: Apply paint, stain, or sealant to achieve the preferred look and protect the wood.
Installation Tips
- Spacing: Consistent spacing between slats is crucial for a polished appearance. Using spacers can help maintain uniform gaps.
- Mounting: Secure slats to the wall or ceiling using appropriate adhesives or fasteners, ensuring they are level and properly aligned.
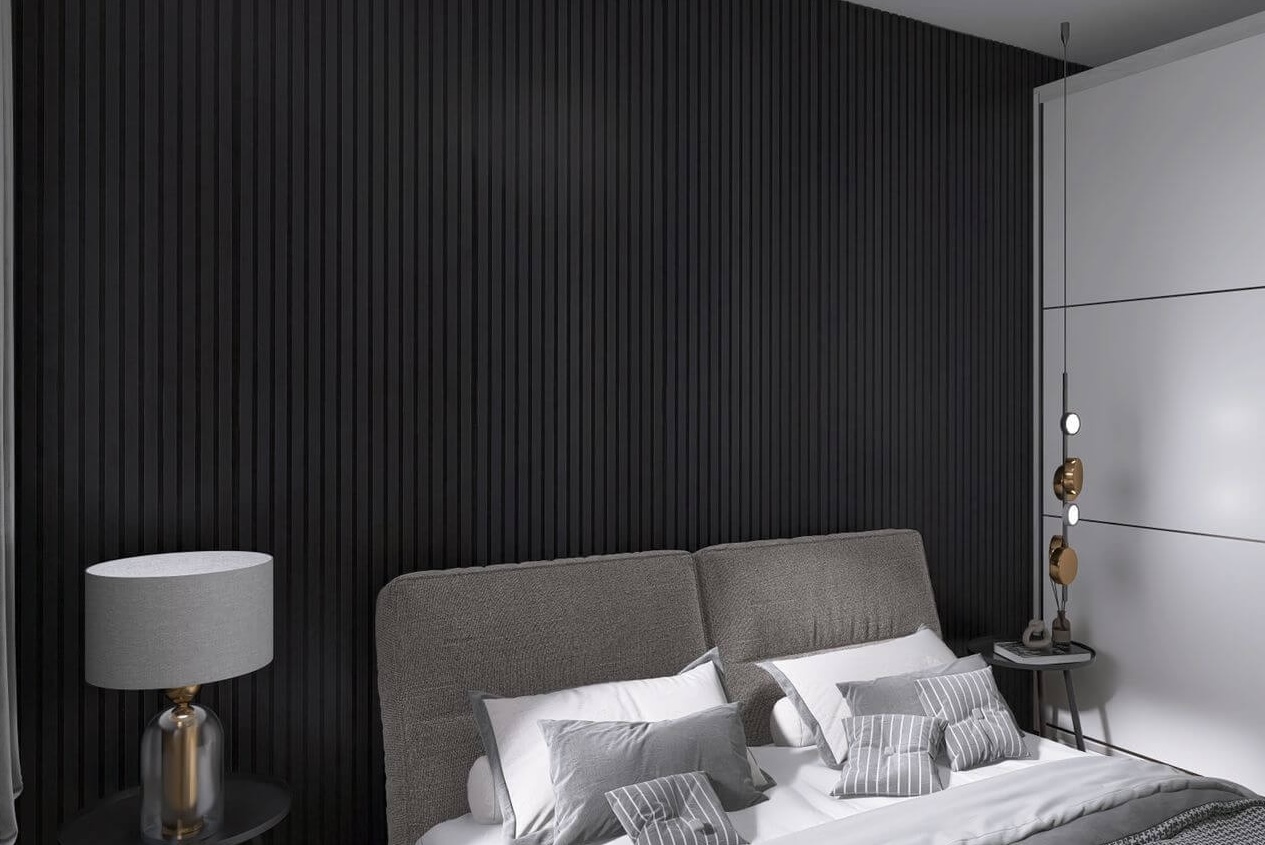
- Background Color: The color of the surface behind the slats affects the overall visual impact. Darker backgrounds can create depth, while lighter ones offer a subtle effect.
Maintenance and Care
To keep your plywood slats looking their best:
- Regular Cleaning: Dust the slats periodically to prevent buildup.
- Avoid Moisture: Keep slats dry to prevent warping or mold growth.
- Reapply Finish: Over time, reapply sealant or finish to maintain the slats’ appearance and durability.
Incorporating plywood slats into your projects is an effective way to achieve a modern and stylish look without exceeding your budget. With careful planning and execution, plywood slats can transform ordinary spaces into extraordinary ones.
Frequently Asked Questions
-
What thickness of plywood is best for slats?
For most decorative applications, 1/2-inch thick plywood is suitable. For structural uses, consider 3/4-inch thickness for added strength.
-
Can I use plywood slats for outdoor projects?
Yes, but ensure you use exterior-grade plywood and apply a weather-resistant finish to protect against the elements.
-
How do I prevent plywood slats from warping?
Use high-quality plywood, seal all sides with a protective finish, and avoid exposing the slats to excessive moisture.
-
Is it necessary to paint or stain plywood slats?
While not mandatory, applying paint or stain enhances the appearance and provides a layer of protection against wear and environmental factors.
-
Can plywood slats support heavy loads?
Plywood slats are strong but have limitations. For load-bearing applications, ensure proper support and consider the thickness and grade of the plywood used.
By understanding the benefits and applications of plywood for slats, you can confidently incorporate this material into your projects, achieving both functionality and aesthetic appeal.

