When building or renovating homes, one critical factor that impacts both the durability and comfort of your living spaces is ensuring proper vapor barrier installation in your exterior walls. Vapor barriers play a vital role in preventing moisture from seeping into wall cavities, where they can cause damage like mold growth, wood rot, and decreased insulation effectiveness. This article will dive deep into the requirements for exterior walls when it comes to vapor barriers, ensuring you understand the importance, types, and correct installation methods for optimal protection.
What Is a Vapor Barrier and Why Is It Important?
A vapor barrier is a material that prevents moisture from moving into the walls of your home, especially during colder months. Moisture enters the walls from various sources, including outside air, water leaks, and even humidity from inside the home. A proper vapor barrier ensures that moisture does not accumulate in the insulation, which can weaken the structure over time.
Key Functions of a Vapor Barrier:
- Prevents Moisture Accumulation: Protects wood and insulation from becoming damp.
- Improves Insulation Effectiveness: Keeps insulation dry, which maintains its ability to resist heat transfer.
- Increases Longevity of Structures: Reduces the risk of wood rot and mold growth inside the walls.
Types of Vapor Barriers
There are different types of vapor barriers, and understanding their unique features helps in choosing the right one for your home’s exterior walls.
- Polyethylene Sheets:
- This is the most common type used in construction.
- It is affordable, easy to install, and provides excellent moisture resistance.
- Aluminum Foil:
- Aluminum foil vapor barriers are reflective, helping with both moisture control and thermal insulation.
- These are ideal for homes in colder climates where insulation is crucial.
- Kraft-Faced Insulation:
- This insulation comes with a paper vapor barrier already attached, making it convenient for DIY installation.
- It is effective but may not be as durable as polyethylene sheets.
- Smart Vapor Retarders:
- These adapt to changing humidity levels, allowing walls to “breathe” when necessary.
- They are more expensive but offer advanced moisture control.
- Exterior Sheathing Wrap:
- Often used in modern construction, this is a breathable material that allows water vapor to escape while still preventing moisture penetration from outside.
Requirements for Exterior Walls: Codes and Standards
Building codes across the U.S. require the use of vapor barriers in certain climates to prevent moisture damage in exterior walls. The most common guidelines include:
- Climate Zones: Vapor barriers are more critical in colder climates where the temperature difference between inside and outside is high, which increases the likelihood of condensation forming inside walls.
- Perm Rating: This refers to the vapor barrier’s ability to resist moisture transfer. For most exterior walls, a perm rating of less than one is recommended.
- Placement: Vapor barriers should generally be installed on the warm side of the insulation, which means the side closest to the interior of the home.
How to Properly Install a Vapor Barrier
Proper installation of a vapor barrier is critical for ensuring its effectiveness. Follow these steps to avoid common mistakes:
- Prepare the Surface:
- Ensure the surface of the exterior walls is dry and free from debris.
- Any existing mold or dampness should be addressed before installation.
- Apply the Barrier on the Right Side:
- For colder climates, the vapor barrier should go on the interior side of the wall, while in warmer climates, it may be applied to the exterior side.
- Seal the Edges:
- Ensure all edges are tightly sealed using tape or adhesive to prevent air and moisture leaks.
- Overlap Sheets:
- If using polyethylene sheets, make sure to overlap them by at least six inches and tape the seams to create a continuous barrier.
- Inspect for Damage:
- Check for any tears or punctures after installation and repair them immediately.
Key Installation Tools:
- Utility knife
- Measuring tape
- Seam-sealing tape
- Adhesive
Common Mistakes to Avoid
- Improper Placement:
- Installing the vapor barrier on the wrong side of the insulation can trap moisture and lead to structural damage.
- Incomplete Coverage:
- Gaps in the vapor barrier, especially around electrical outlets and plumbing, can compromise the effectiveness of the entire system.
- Using the Wrong Material:
- Some materials, like plastic sheeting, may not meet the building code requirements for certain climate zones. Always check local codes before installation.
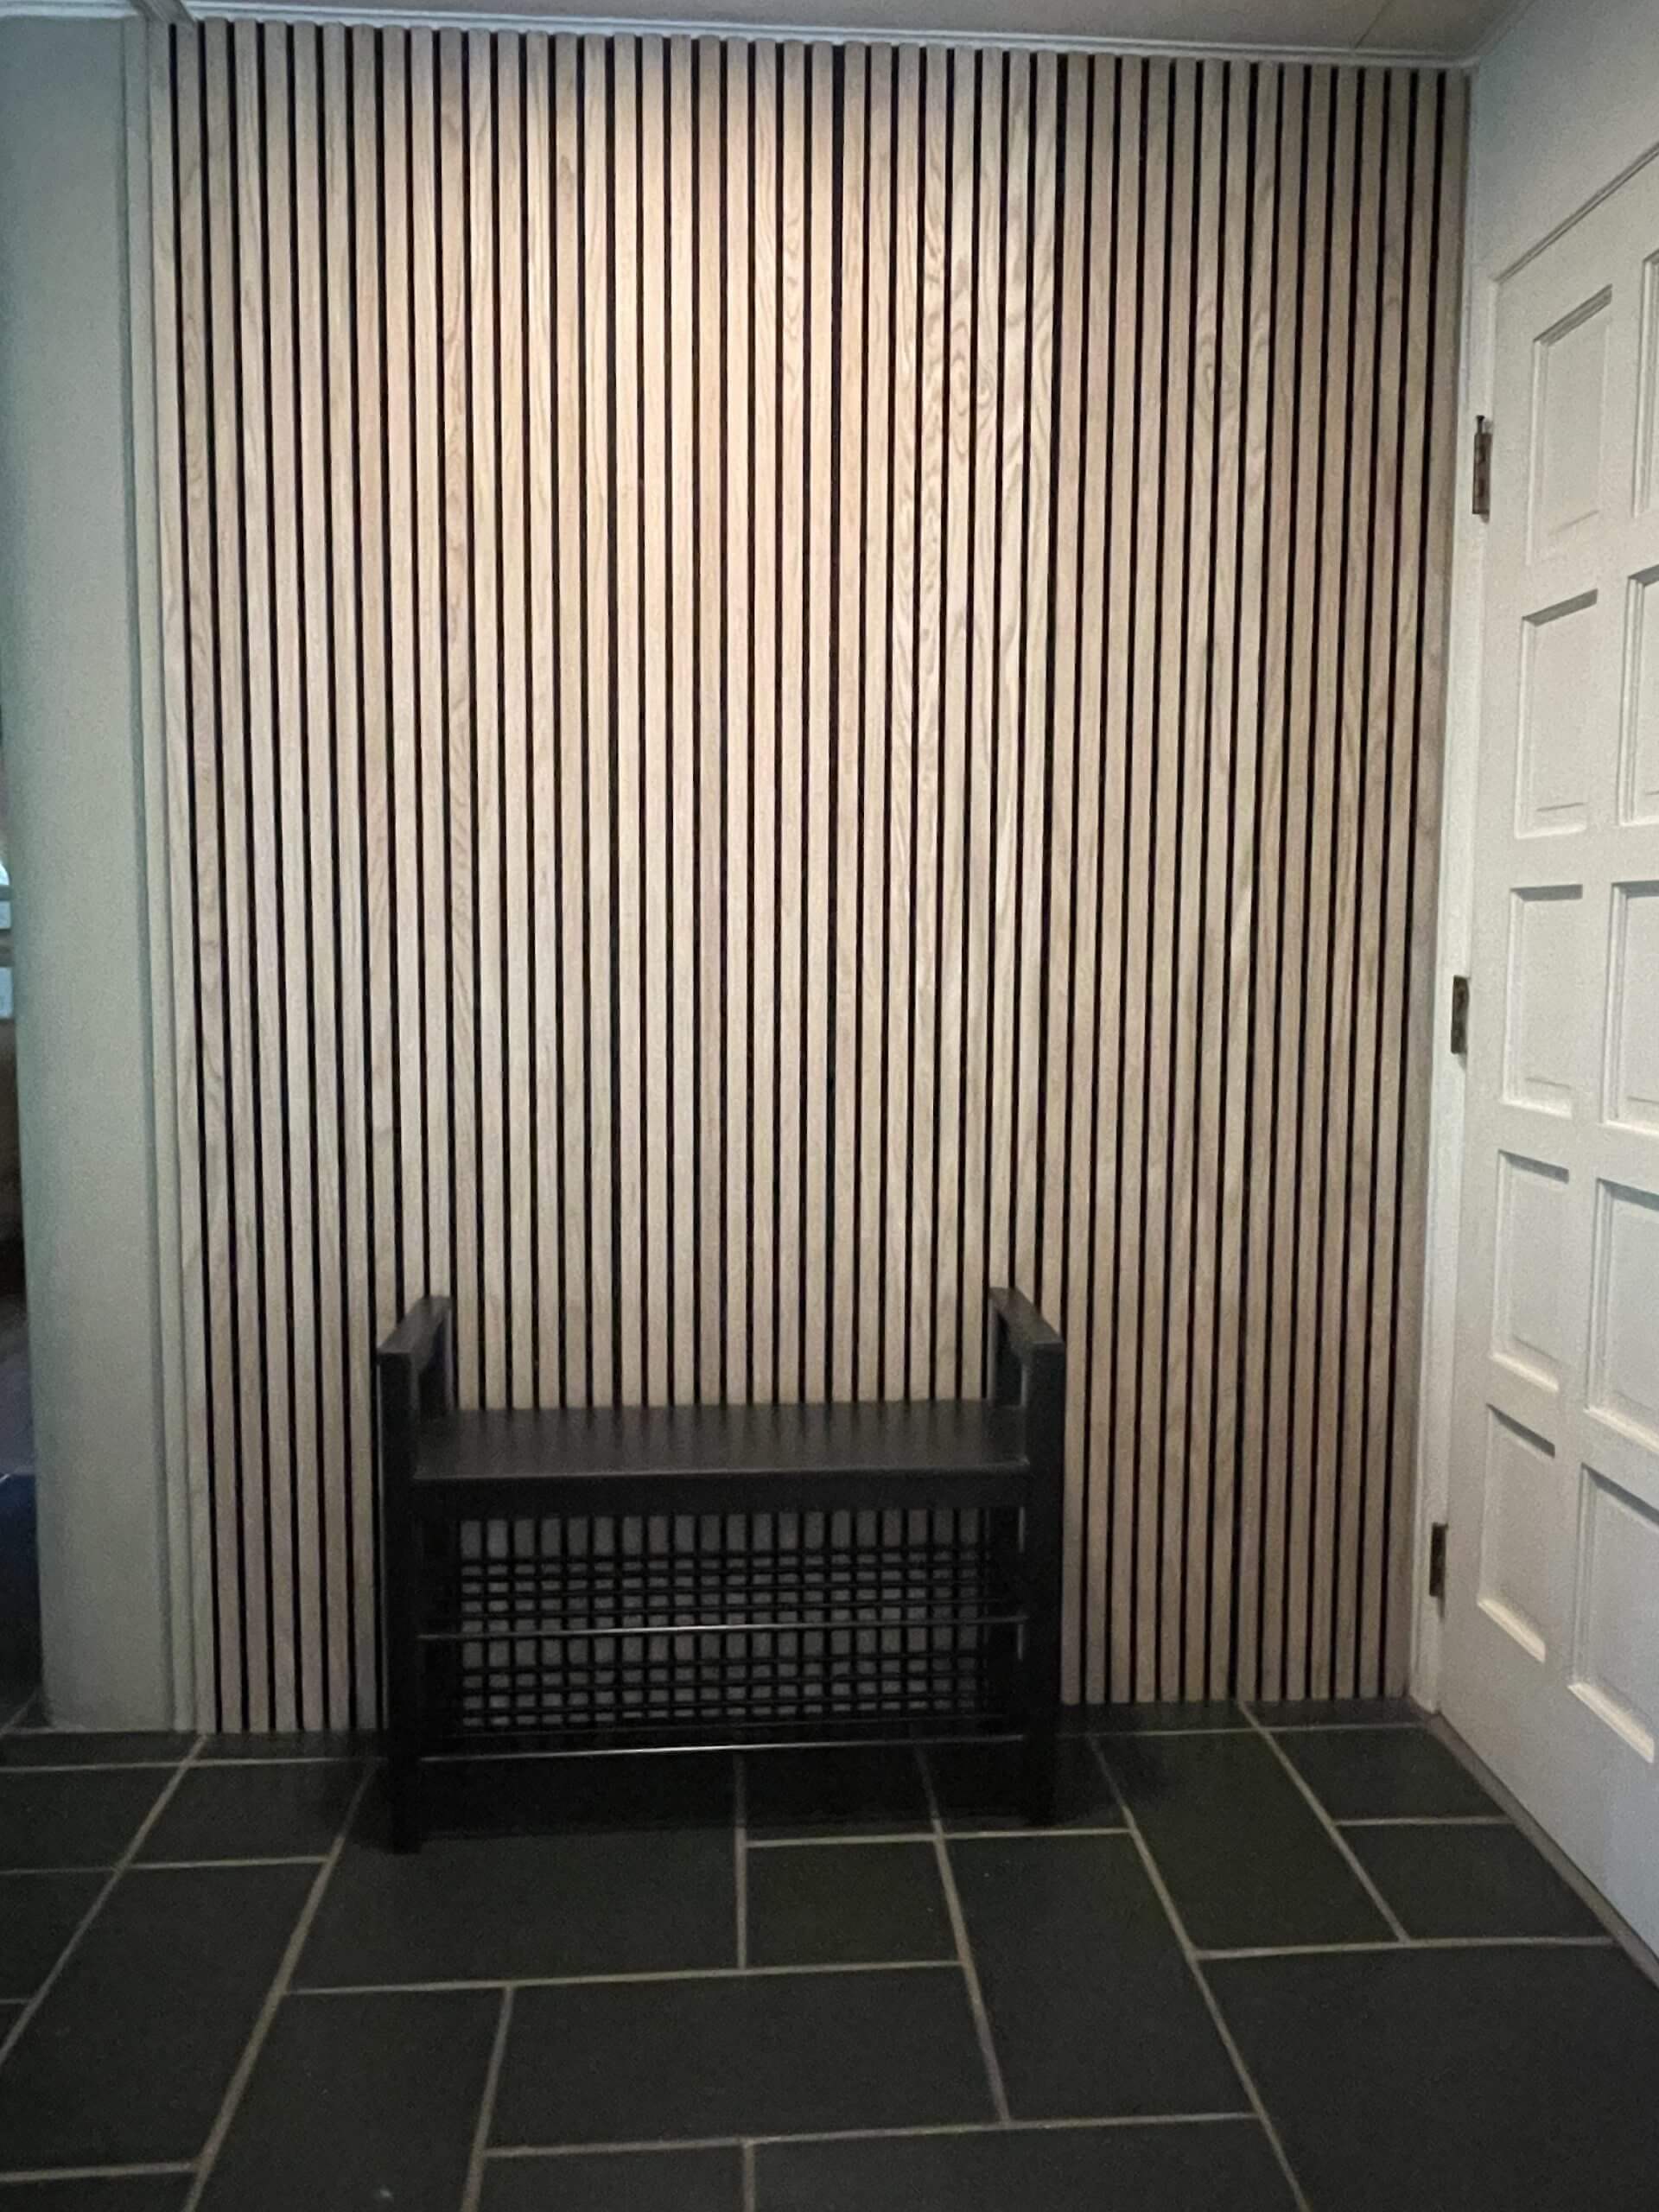
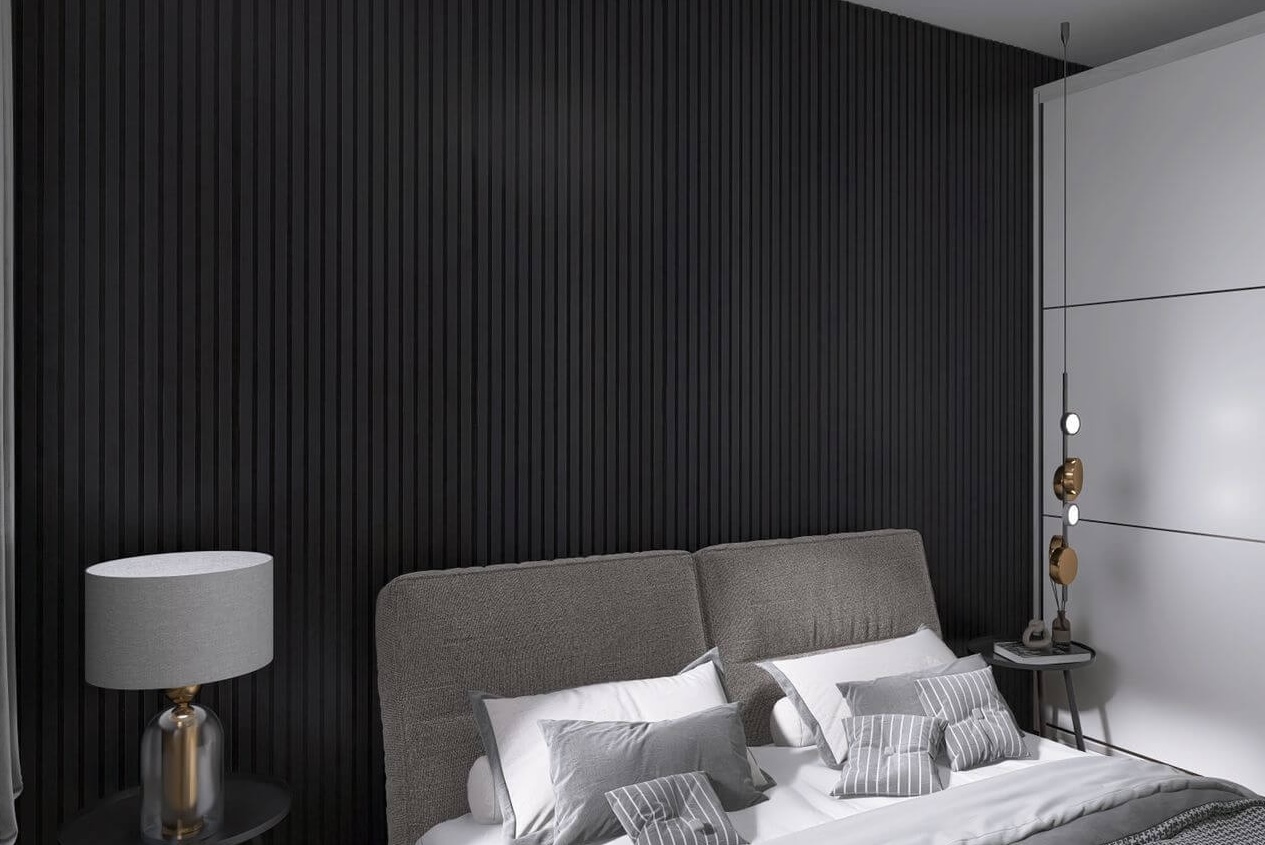
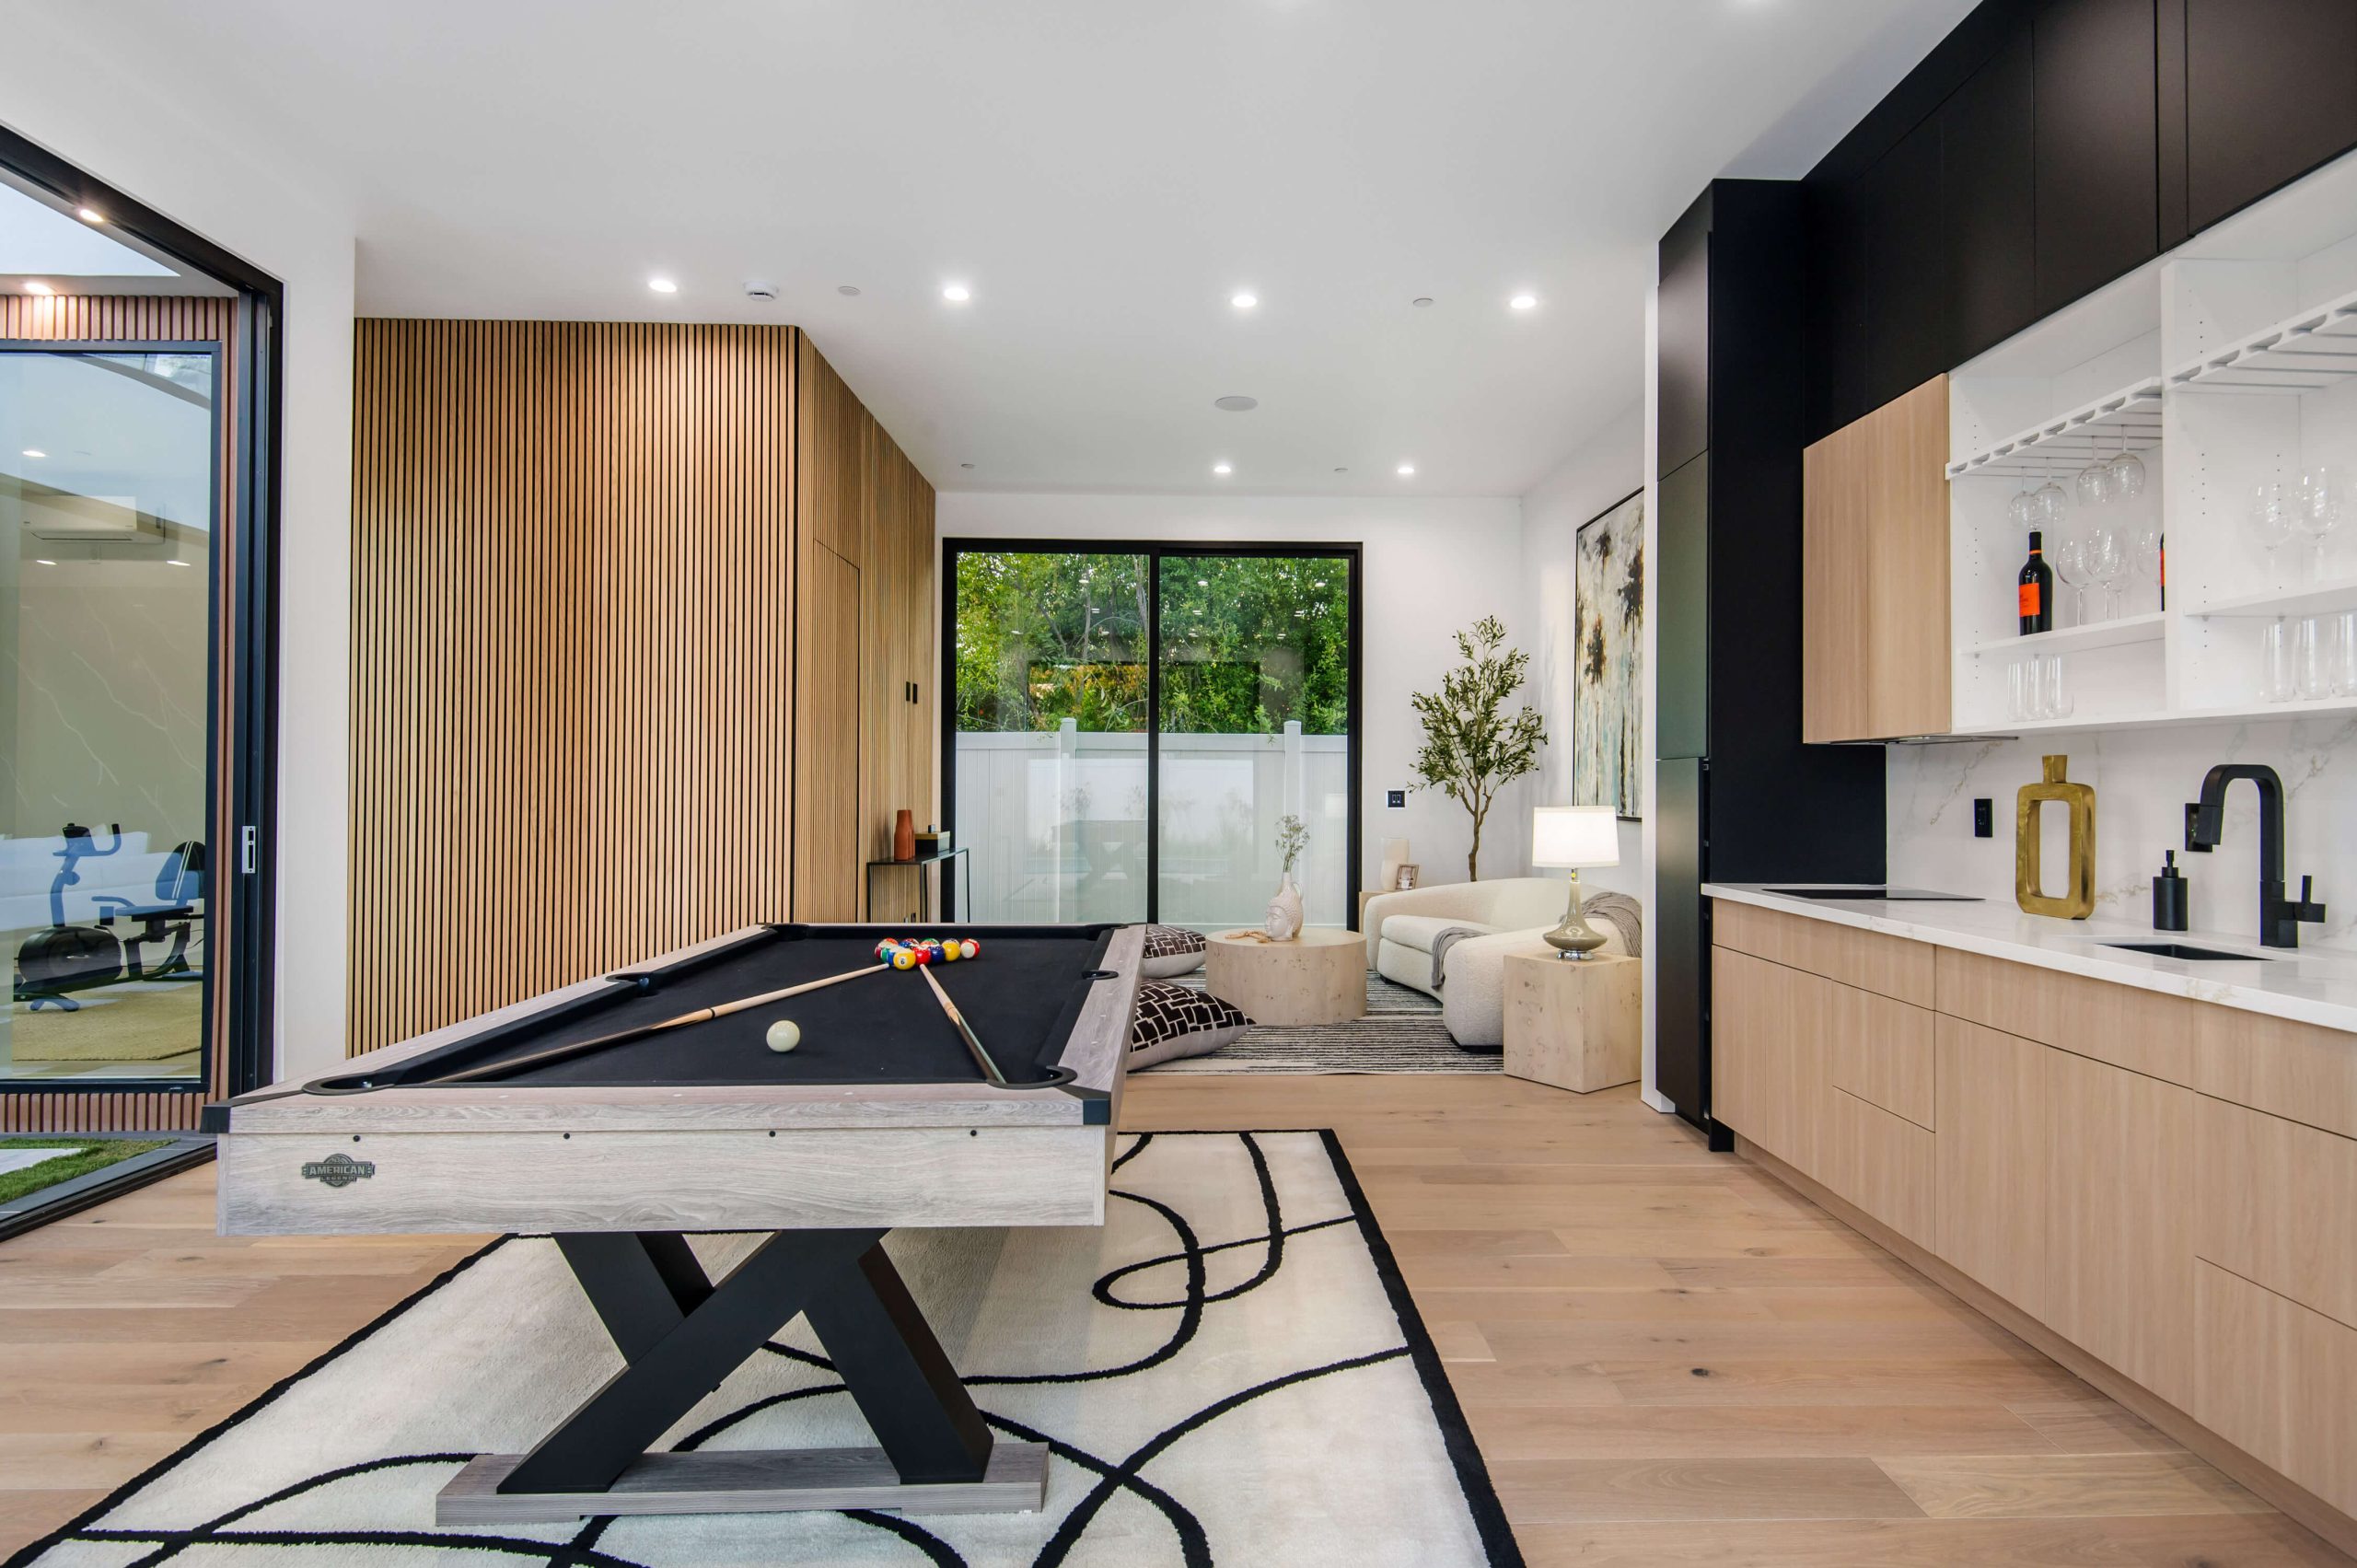
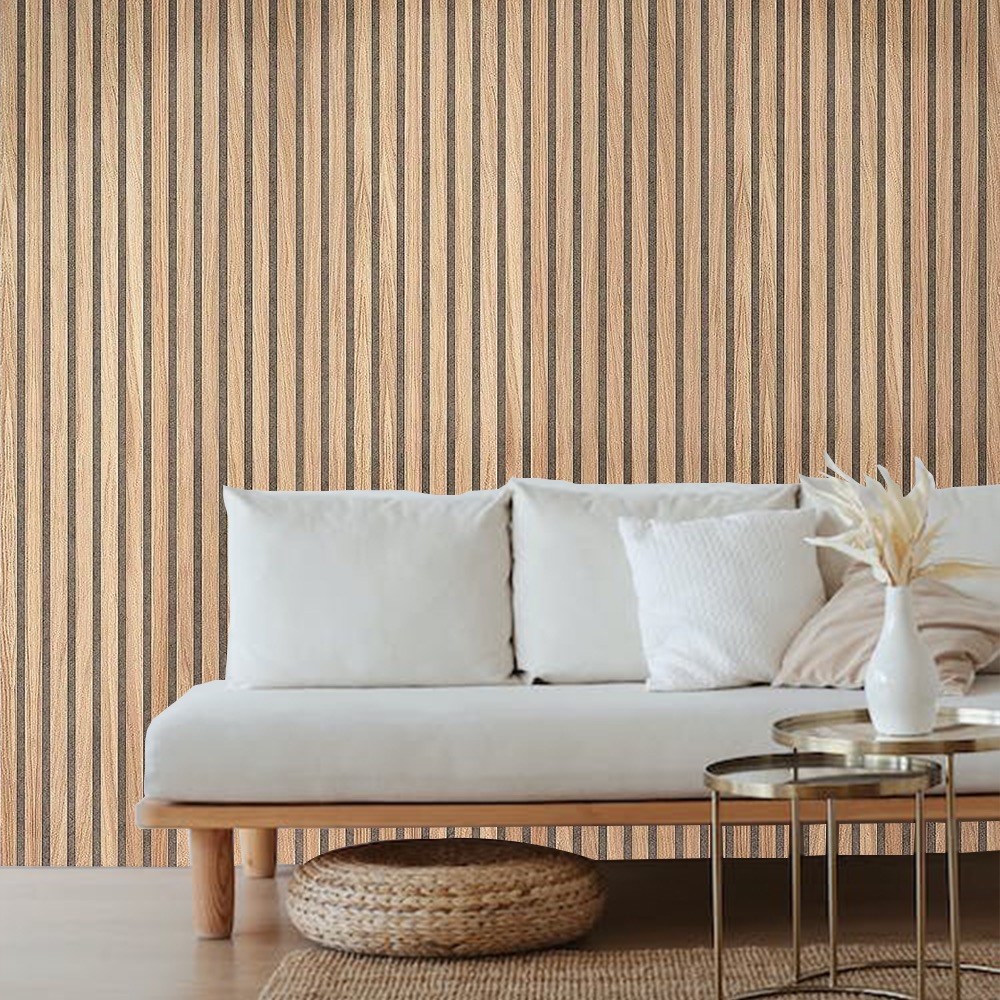
Best Wood Paneling Options for Exterior Walls
When it comes to exterior wall finishes, wood paneling offers both aesthetic appeal and functionality. The Wood Tech Siding Exterior Wall Panel in walnut brown is an excellent option for those looking to add a natural timber appearance to their home’s exterior while ensuring durability and insulation.
Wood panels can be integrated with vapor barriers, especially when insulation and moisture control are needed in harsher climates.
Benefits of Wood Paneling on Exterior Walls:
- Durability: Resistant to weather changes and physical damage.
- Insulation: Helps maintain indoor temperature and provides added insulation.
- Aesthetic Appeal: Adds a natural and timeless look to your home.
FAQ: Vapor Barriers and Exterior Walls
1. Do all homes need vapor barriers?
Not necessarily. Vapor barriers are typically required in climates where humidity is high or temperature differences between inside and outside are significant.
2. Where should the vapor barrier be installed?
In colder climates, it should be installed on the interior side of the wall, while in warmer areas, it may go on the exterior.
3. Can I install a vapor barrier myself?
Yes, if you are comfortable with DIY projects, installing a vapor barrier is relatively straightforward. However, it is essential to follow the instructions and ensure full coverage.
4. How do vapor barriers work with wood paneling?
Vapor barriers are installed behind the wood panels to prevent moisture from seeping into the insulation or the wood itself, protecting both the structure and the aesthetic value.
5. What happens if I don’t install a vapor barrier?
Without a vapor barrier, moisture can accumulate in your walls, leading to mold growth, wood rot, and decreased insulation effectiveness, ultimately compromising the structural integrity of your home.
Conclusion
Understanding the requirements for exterior walls when it comes to vapor barriers is essential for ensuring long-lasting, moisture-resistant construction. By choosing the right materials, following proper installation techniques, and avoiding common mistakes, you can protect your home from moisture damage and enjoy a comfortable living environment year-round. When considering wood paneling for your exterior walls, integrating high-quality vapor barriers will ensure that your home remains protected while also benefiting from the aesthetic appeal and functionality that wood offers.