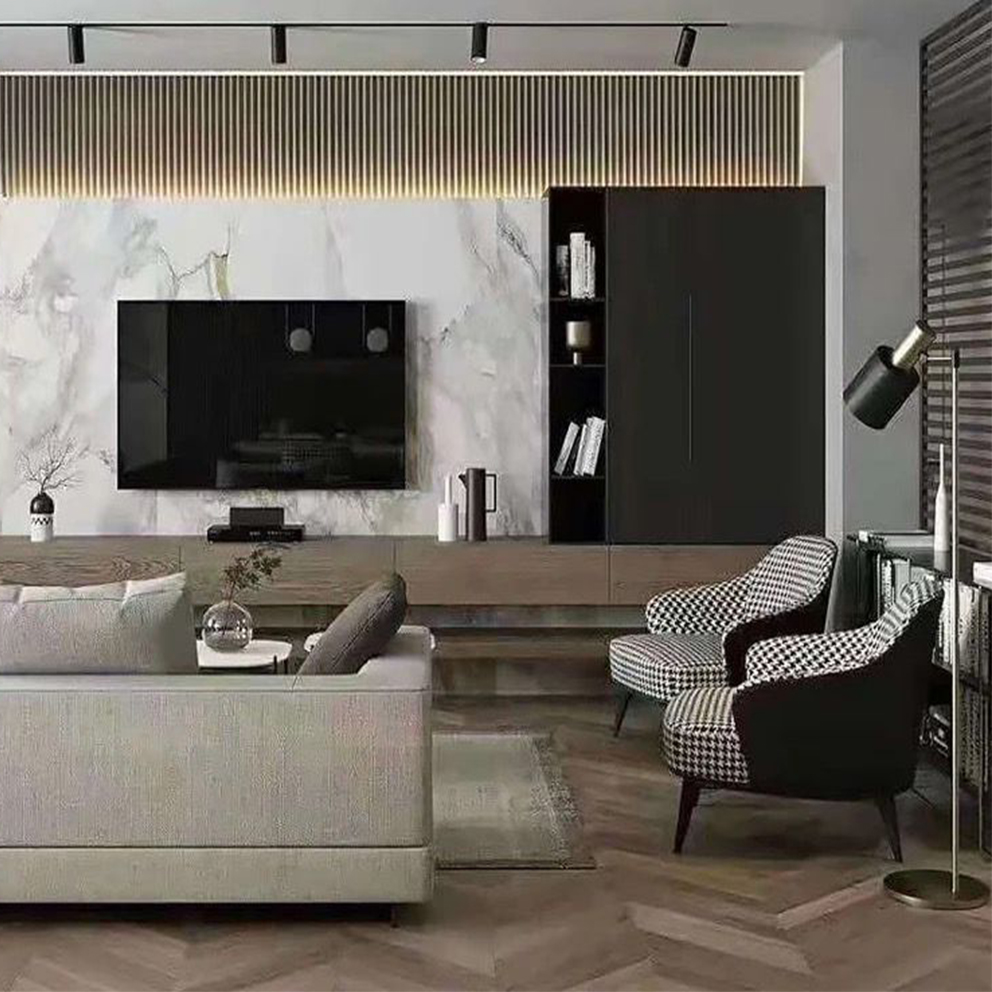
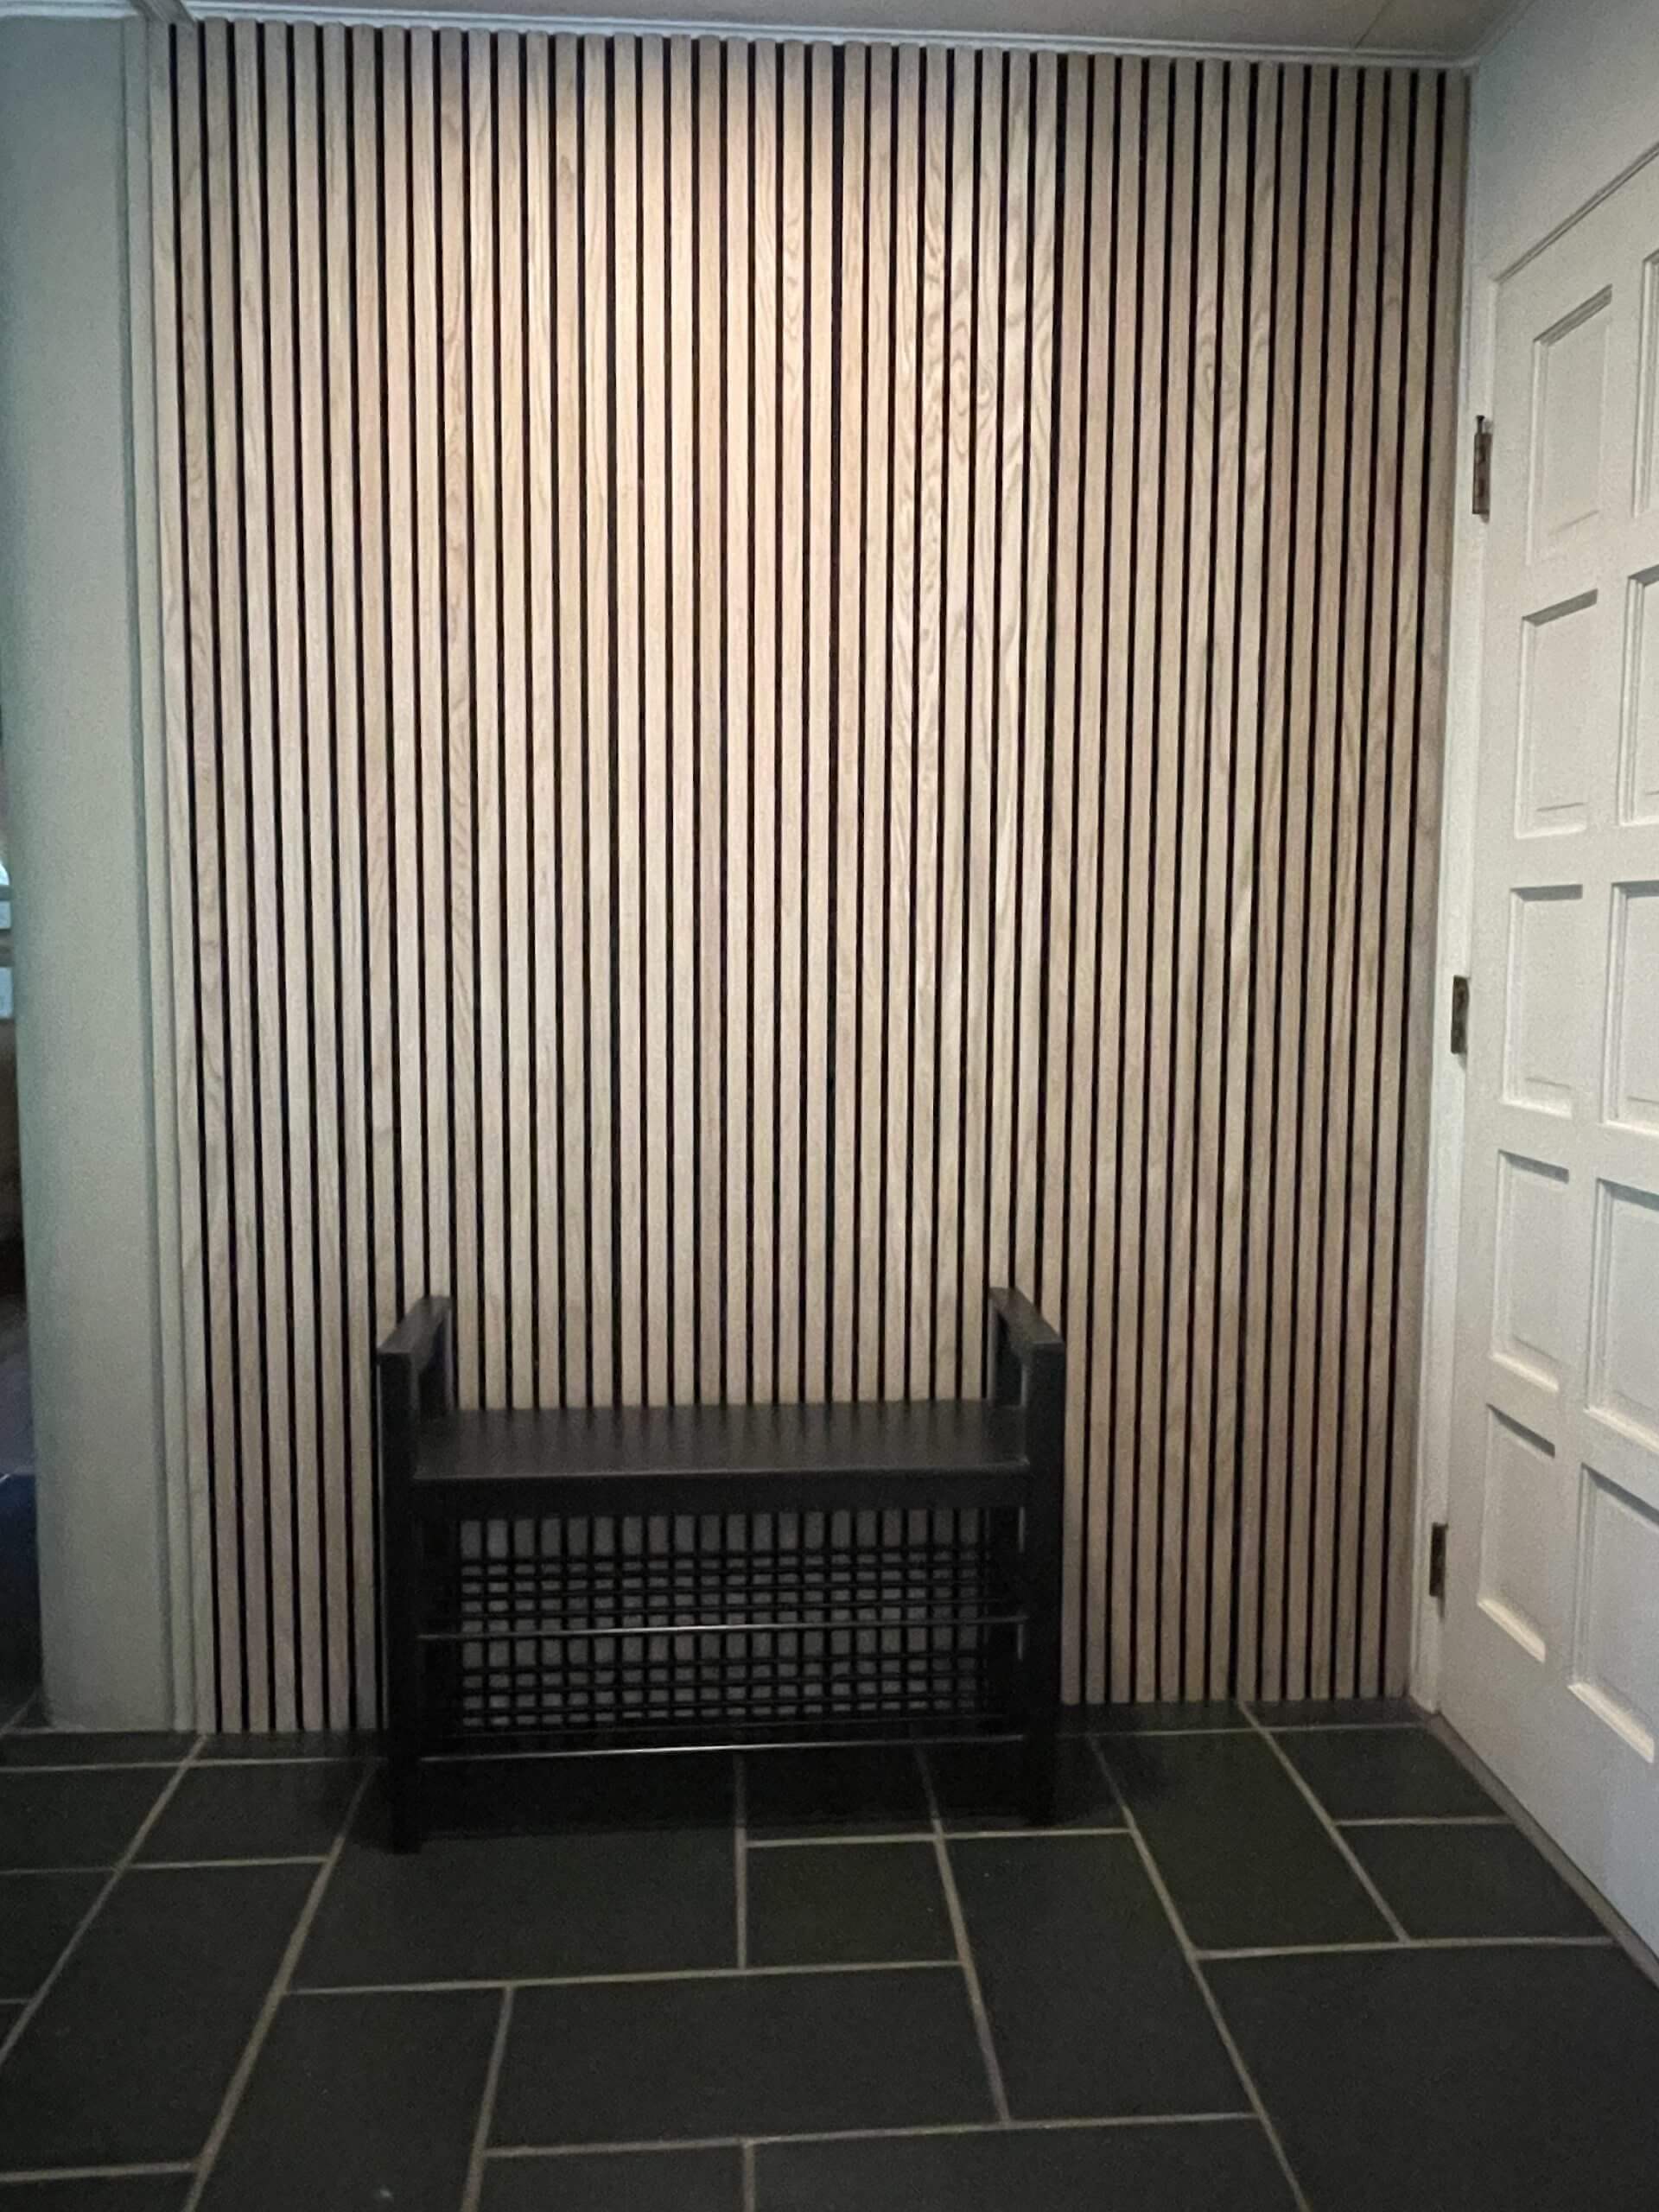
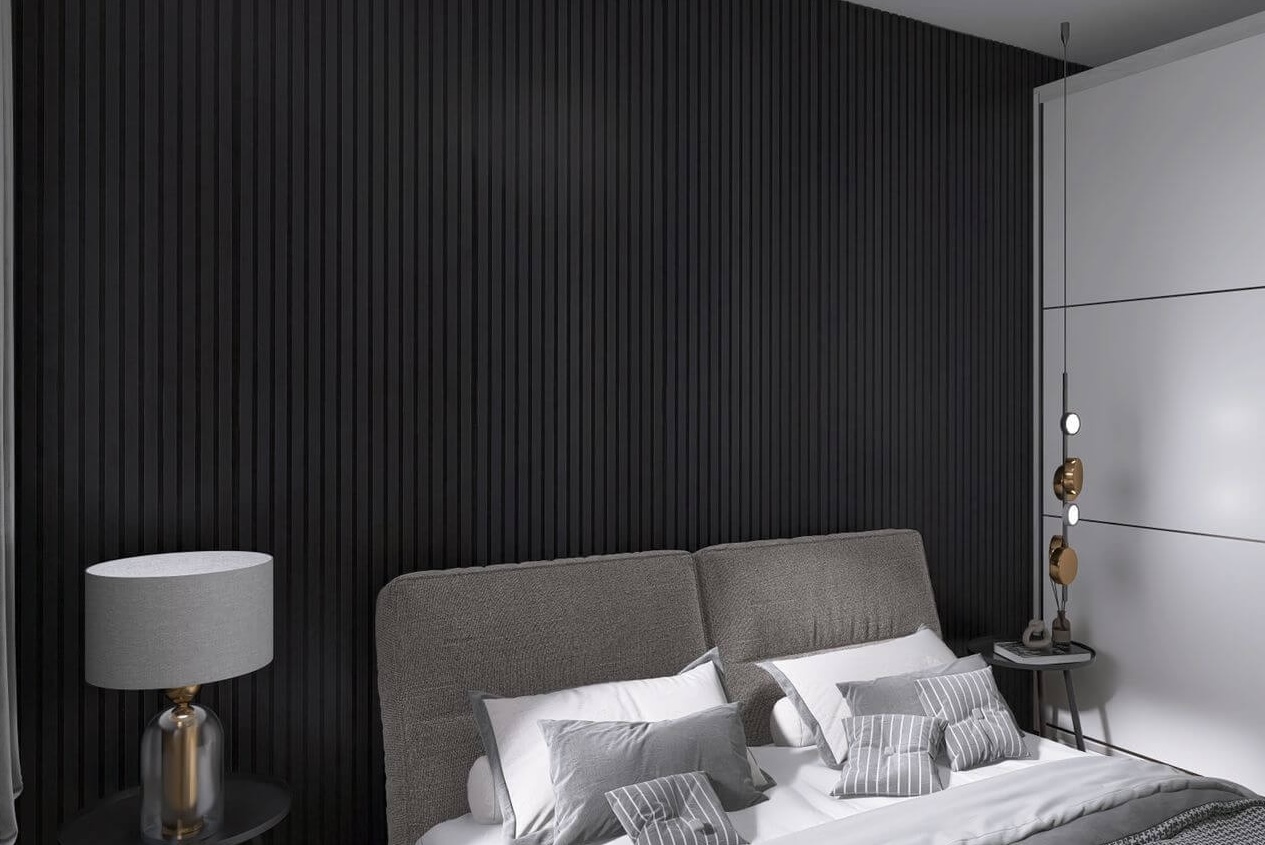
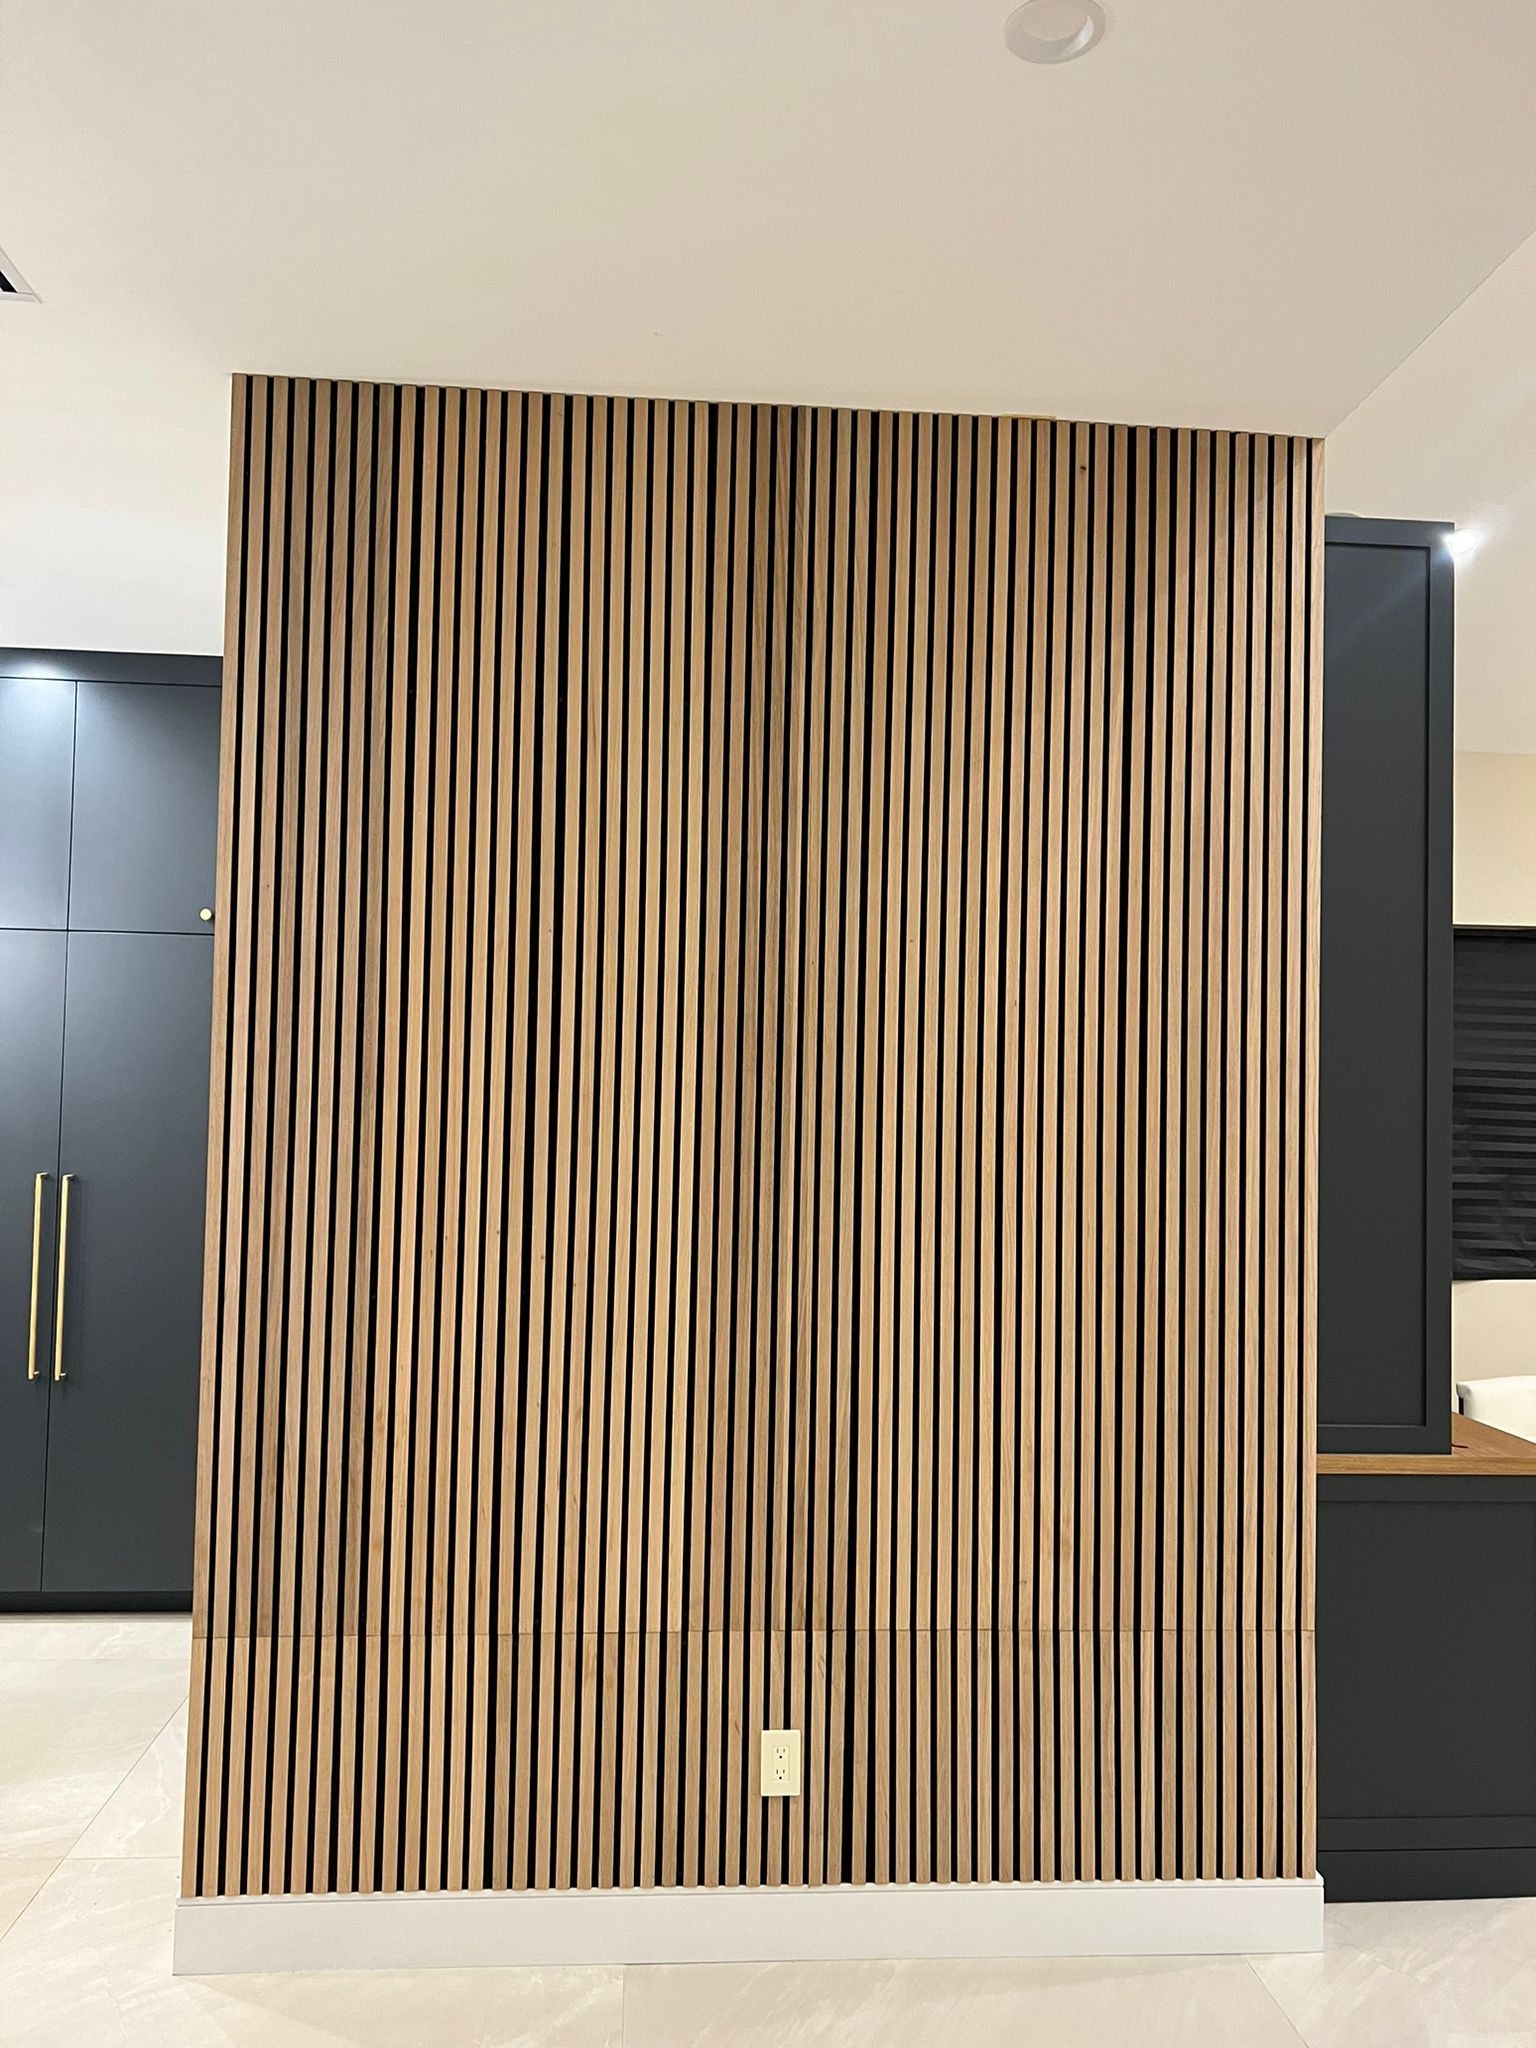
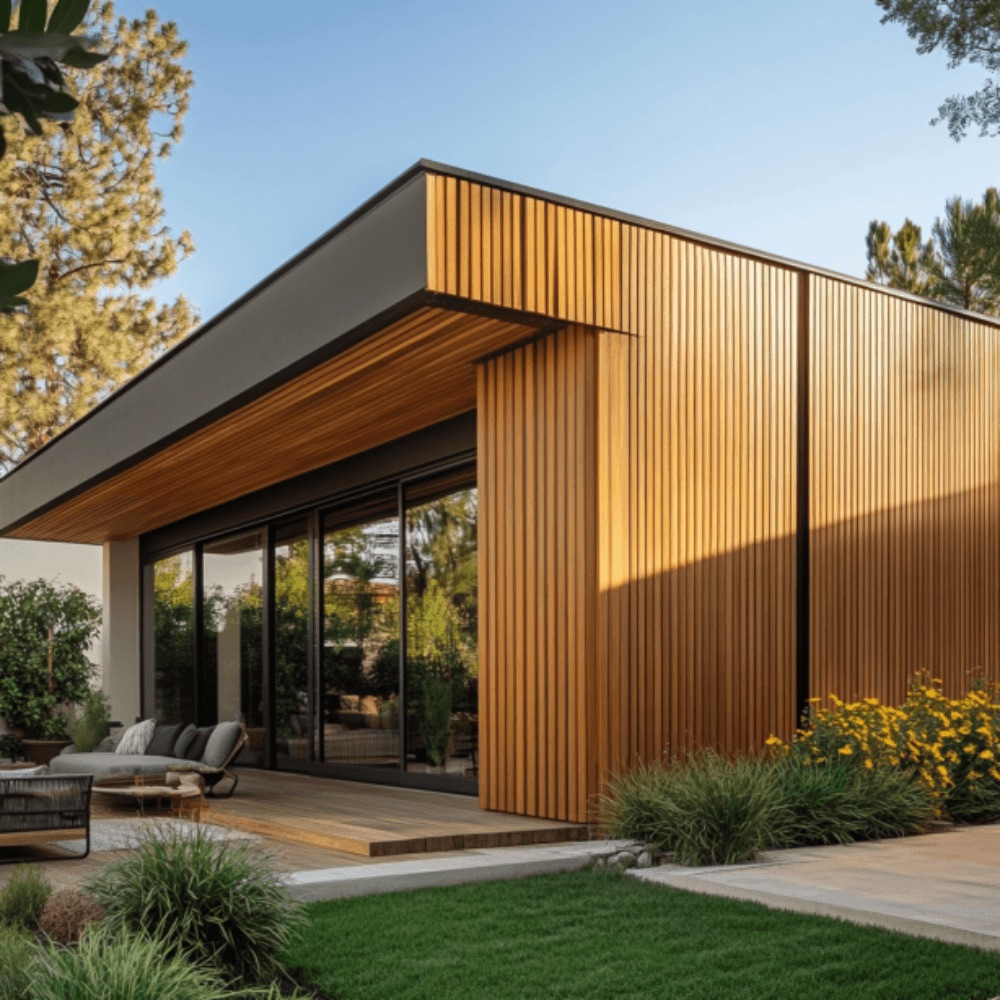
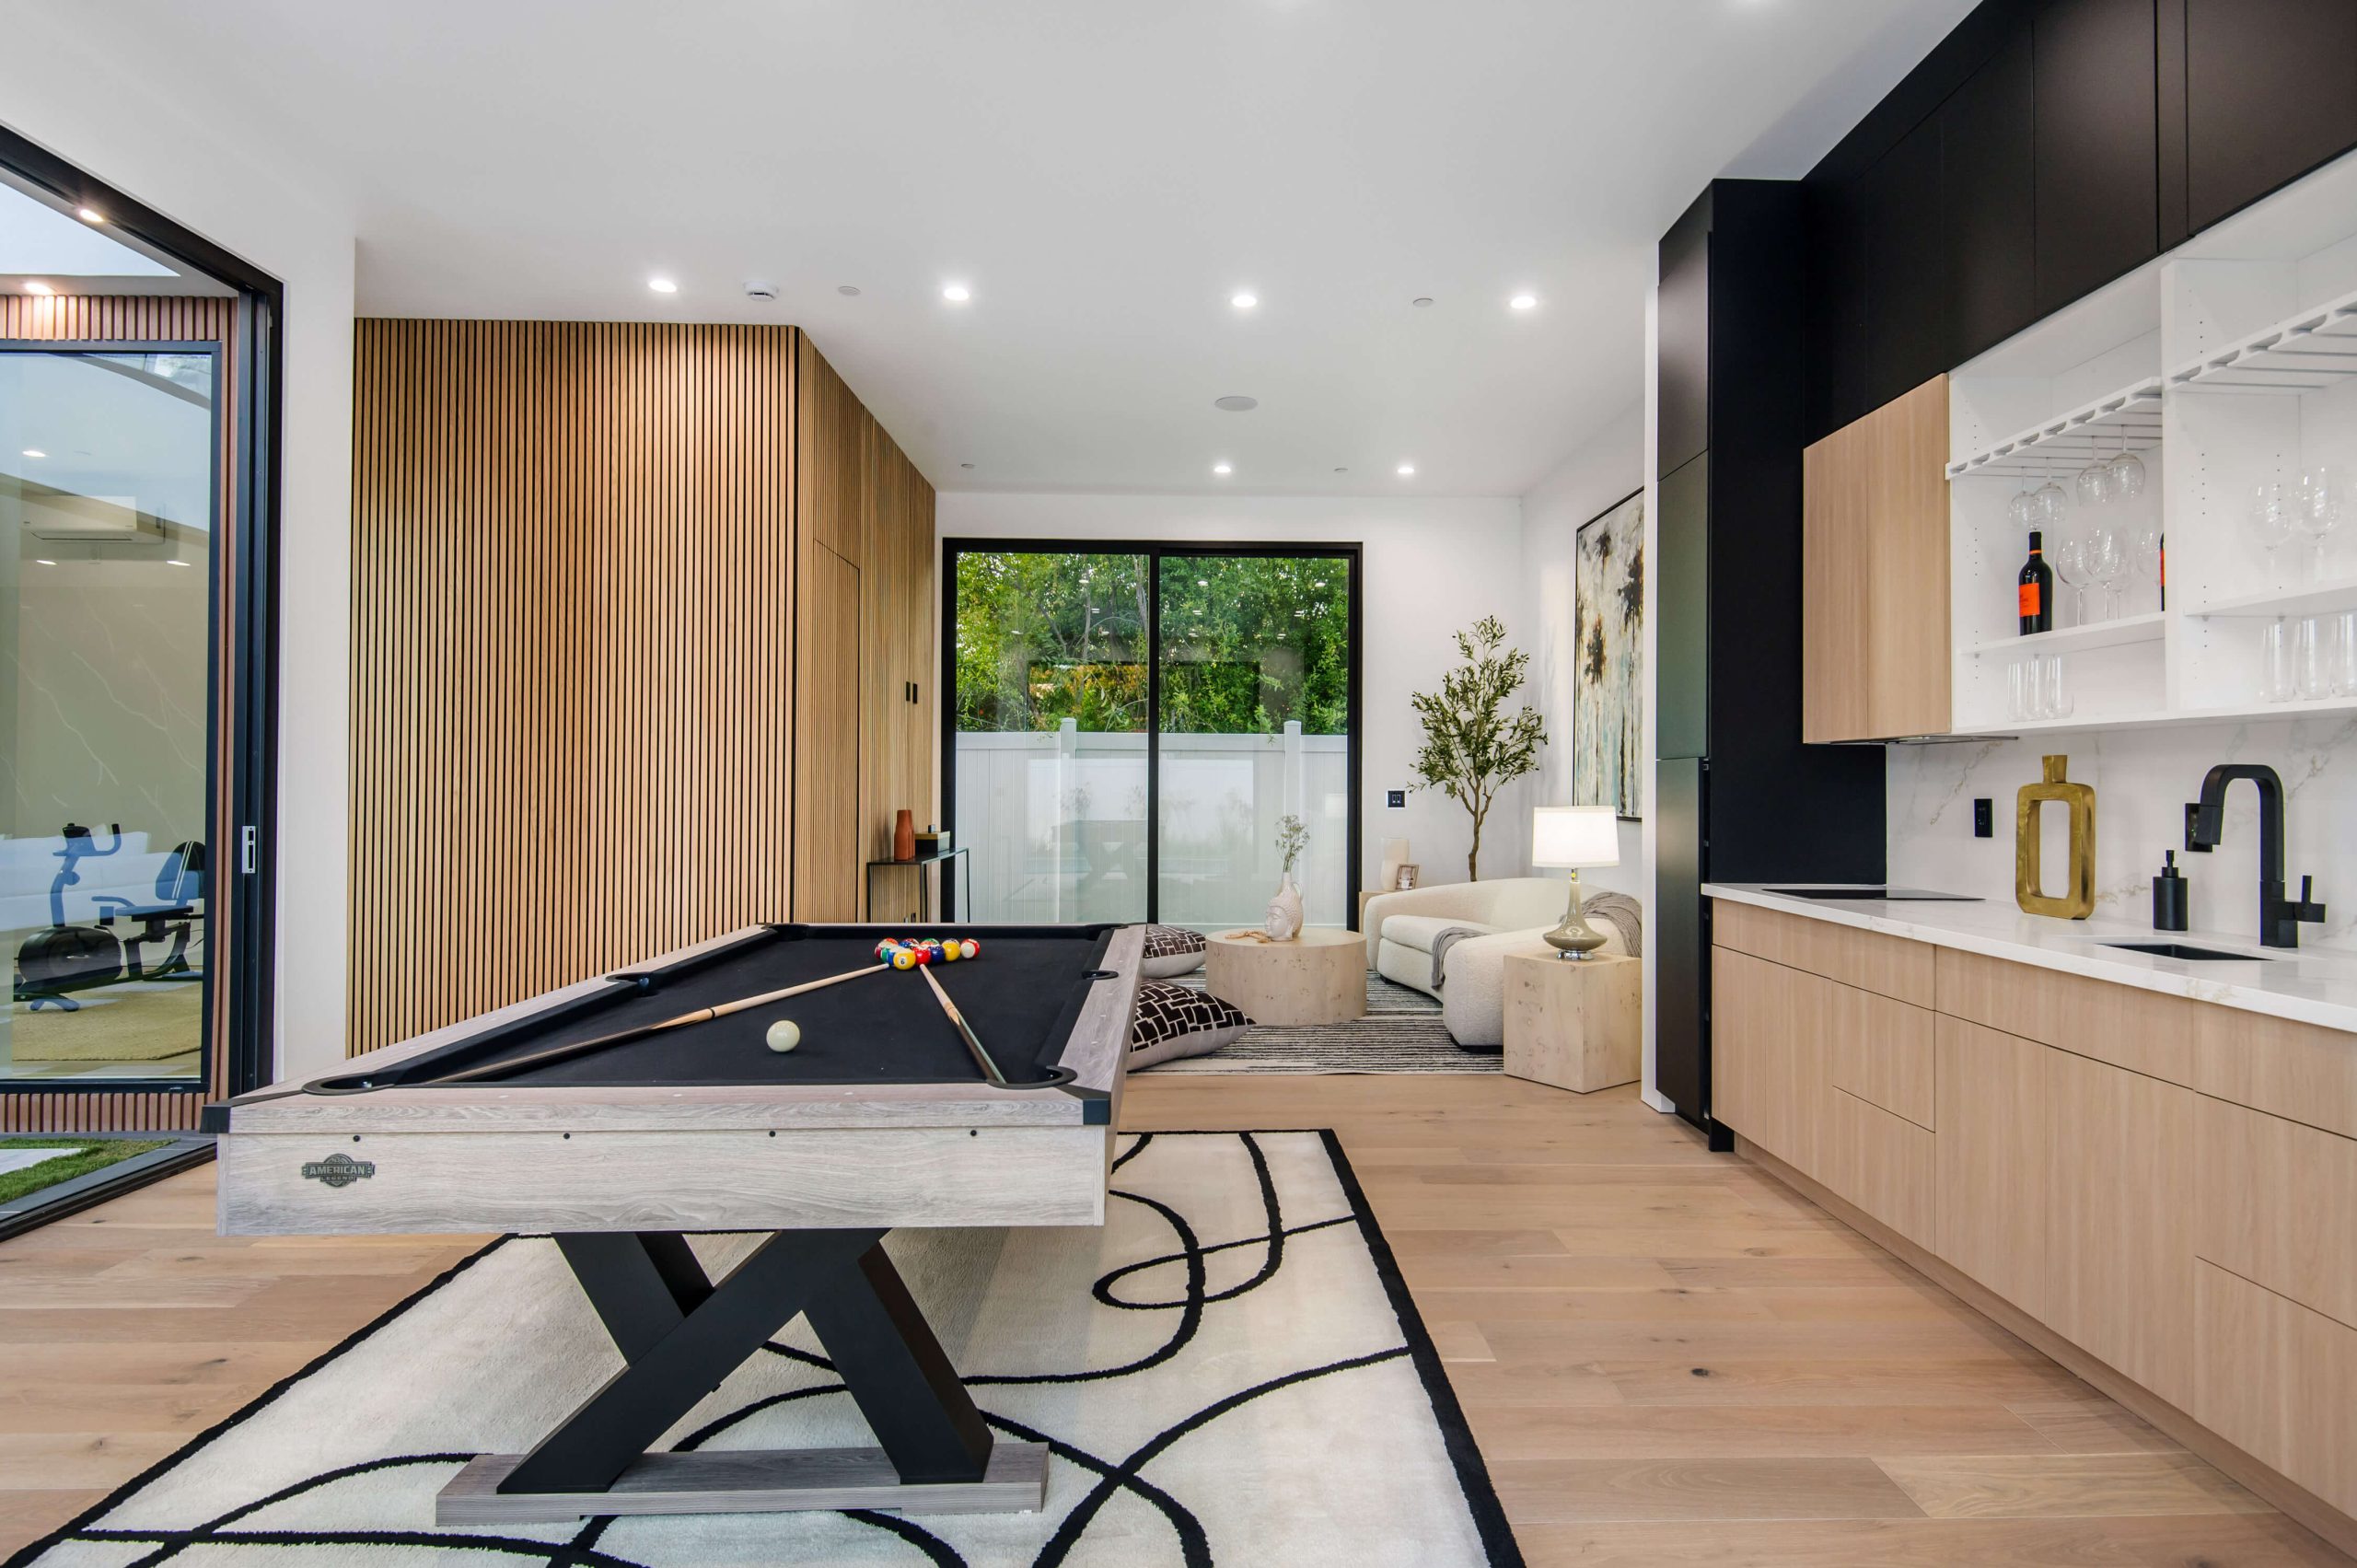
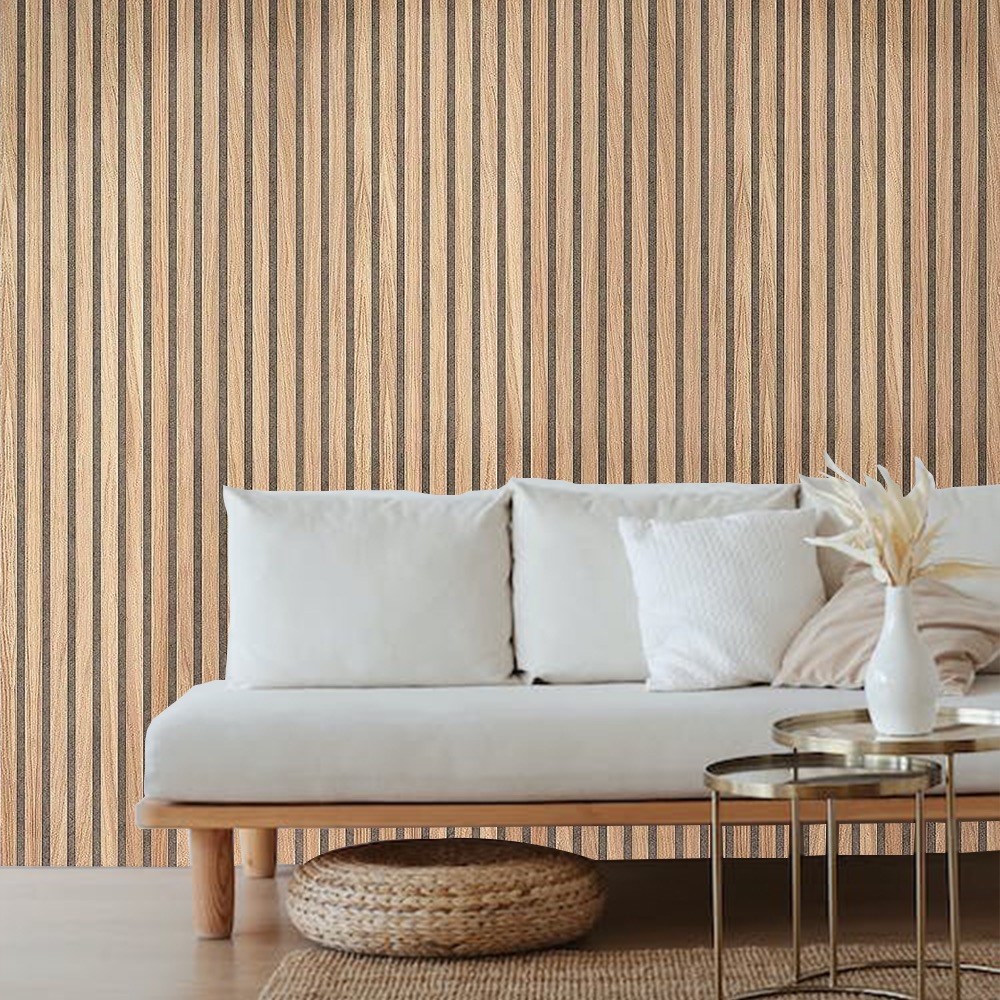
Installing wood wall panels can transform your space, adding elegance and warmth. Whether you’re a DIY enthusiast or a professional looking to improve a client’s home, this guide will walk you through the process of installing wood wall panels successfully. The steps are straightforward, and with careful attention, you’ll be able to complete the installation smoothly.
Step 1: Gather Your Materials and Tools
Before starting your installation, ensure you have the necessary materials and tools. Here’s what you’ll need:
Materials:
- Wood wall panels (choose your preferred style and finish)
- Adhesive or nails (depending on the panel type)
- Wood filler or caulk
- Primer and paint (if desired)
Tools:
- Measuring tape
- Level
- Saw (circular or hand saw)
- Sandpaper
- Hammer or nail gun
- Safety goggles and gloves
Having everything ready ensures a smooth process when installing wood wall panels and avoids unnecessary interruptions.
Step 2: Prepare the Wall Surface
Proper wall preparation is crucial for a professional-looking result.
- Clean the Wall: Make sure your wall is clean, dry, and free of any dust or debris. This will help the panels adhere better.
- Repair the Wall: If there are cracks or holes, fill them with a suitable filler. Sand the surface once dry to ensure it’s smooth and even.
- Locate Wall Studs: Use a stud finder to locate studs. Mark their positions as you’ll need these later for securing the panels.
Tip: If you plan to install panels in a high-moisture area like a bathroom, consider using a moisture barrier before installation to protect the wood.
Step 3: Measure and Cut the Panels
Accurate measurements are essential when installing wood wall panels to avoid mistakes.
- Measure the Wall: Use a measuring tape to determine the height and width of the wall. Record these dimensions carefully.
- Cut the Panels: Cut the wood panels according to the measurements. If you’re covering an entire wall, cut each panel individually for a precise fit. Always wear safety goggles and gloves when cutting wood to protect yourself from sawdust and sharp edges.
This process can be streamlined by creating a simple table that outlines your wall dimensions and the corresponding panel cuts needed. This helps avoid confusion during installation.
| Wall Section | Measurement (inches) | Panel Length (inches) |
|---|---|---|
| Left Wall | 120 | 120 |
| Right Wall | 100 | 100 |
| Top Section | 50 | 50 |
Step 4: Install the Panels
Now that the panels are cut, it’s time to start the installation.
- Dry Fit the Panels: Before applying adhesive or nails, dry-fit the panels on the wall to ensure everything fits correctly.
- Apply Adhesive (if using): Apply a strong construction adhesive to the back of each panel and press it firmly against the wall. Start from the bottom and work your way up.
- Nail Panels to Studs: If you prefer or require extra security, nail the panels to the studs. Use a nail gun for quicker installation or a hammer for a traditional approach.
Pro Tip: Ensure the panels are level as you work. Use a level tool to adjust each panel before securing it to the wall.
Step 5: Finishing Touches
Once your panels are up, finish the installation with these last steps:
- Fill Nail Holes: Use wood filler to cover nail holes for a seamless look. Once dry, sand the surface for a smooth finish.
- Caulk Seams: Apply caulk where the panels meet at the corners or edges to give the installation a polished, professional look.
- Prime and Paint: If you plan to paint your wood wall panels, apply a primer first. Once dry, follow up with your chosen paint color. Alternatively, you can leave the wood panels natural to show off their grain.
Types of Wood Panels for Your Installation
When installing wood wall panels, you’ll need to decide which type of panel works best for your space. Here are some popular options:
- Natural Oak Panels: These are ideal for creating a rustic, natural look in your home. Natural oak panels are durable and age beautifully over time.
- MDF Wood Veneer Panels: MDF panels offer a smooth finish, are easy to paint, and are an affordable option for those on a budget.
- Oxide Wood Panels: For a modern, industrial look, oxide wood panels offer a unique texture and finish.
- WPC Panels (Wood-Plastic Composite): These panels are great for outdoor applications due to their moisture resistance.
Why Choose Wood Wall Panels?
Wood wall panels offer numerous advantages, including:
- Aesthetic Appeal: Wood panels bring warmth, texture, and natural beauty to any room. They can elevate a space’s design effortlessly.
- Durability: Quality wood panels are long-lasting and can withstand wear and tear better than drywall.
- Sound Absorption: Many wood panels, especially those with acoustic backing, can improve sound quality within a room by reducing echo.
FAQs: Common Questions About Installing Wood Wall Panels
-
Can I install wood wall panels over drywall?
Yes, wood panels can be installed over drywall as long as the surface is clean and even. You may also need to secure the panels to the studs for additional support.
-
What type of wood is best for wall panels?
Natural oak, MDF, and WPC are common choices. Natural oak offers timeless beauty, while MDF is more affordable and versatile. WPC is ideal for outdoor applications due to its durability.
-
How do I maintain wood wall panels?
Dust the panels regularly and avoid excessive moisture. For stains, use a mild detergent and avoid harsh chemicals that can damage the wood finish.
-
Can wood panels be painted?
Yes, wood panels can be painted. Be sure to apply a primer before painting for the best results. Many homeowners paint MDF panels to match their interior design.
-
How long does it take to install wood wall panels?
Installation time depends on the size of the wall and the type of panels being installed. On average, a standard room can be completed in one to two days.
Conclusion
Installing wood wall panels is a rewarding project that enhances the look and feel of your space. With the right tools, materials, and techniques, you can achieve a professional result that will last for years. Follow this guide, choose the right type of wood panels, and enjoy the transformation of your home.

