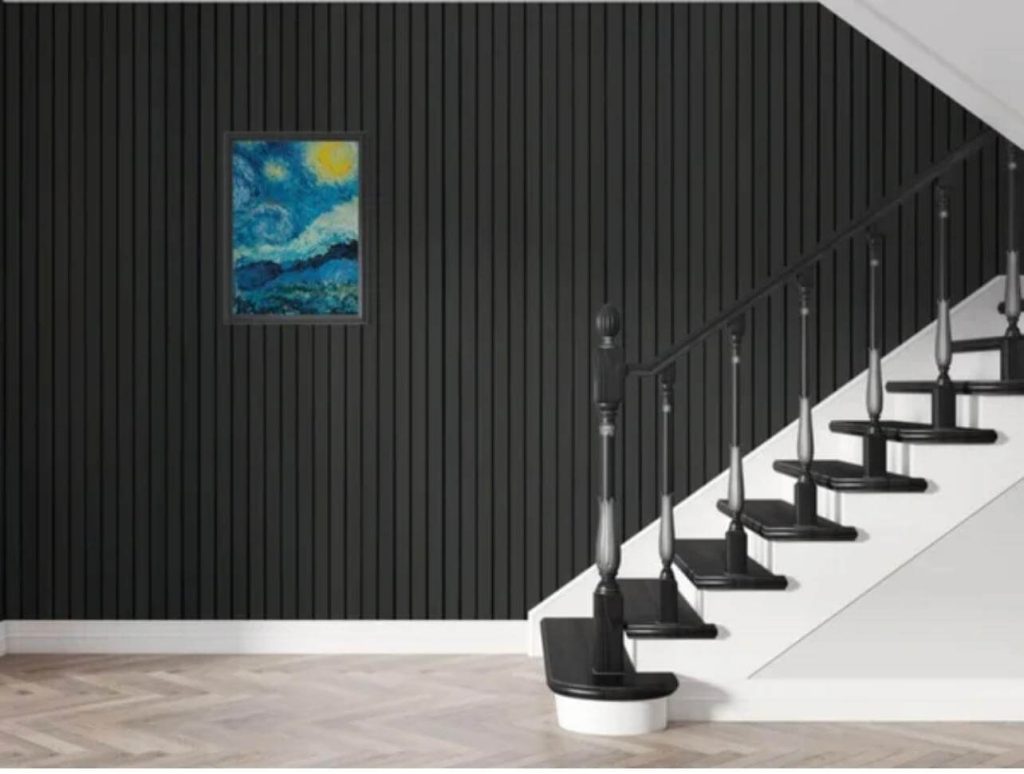
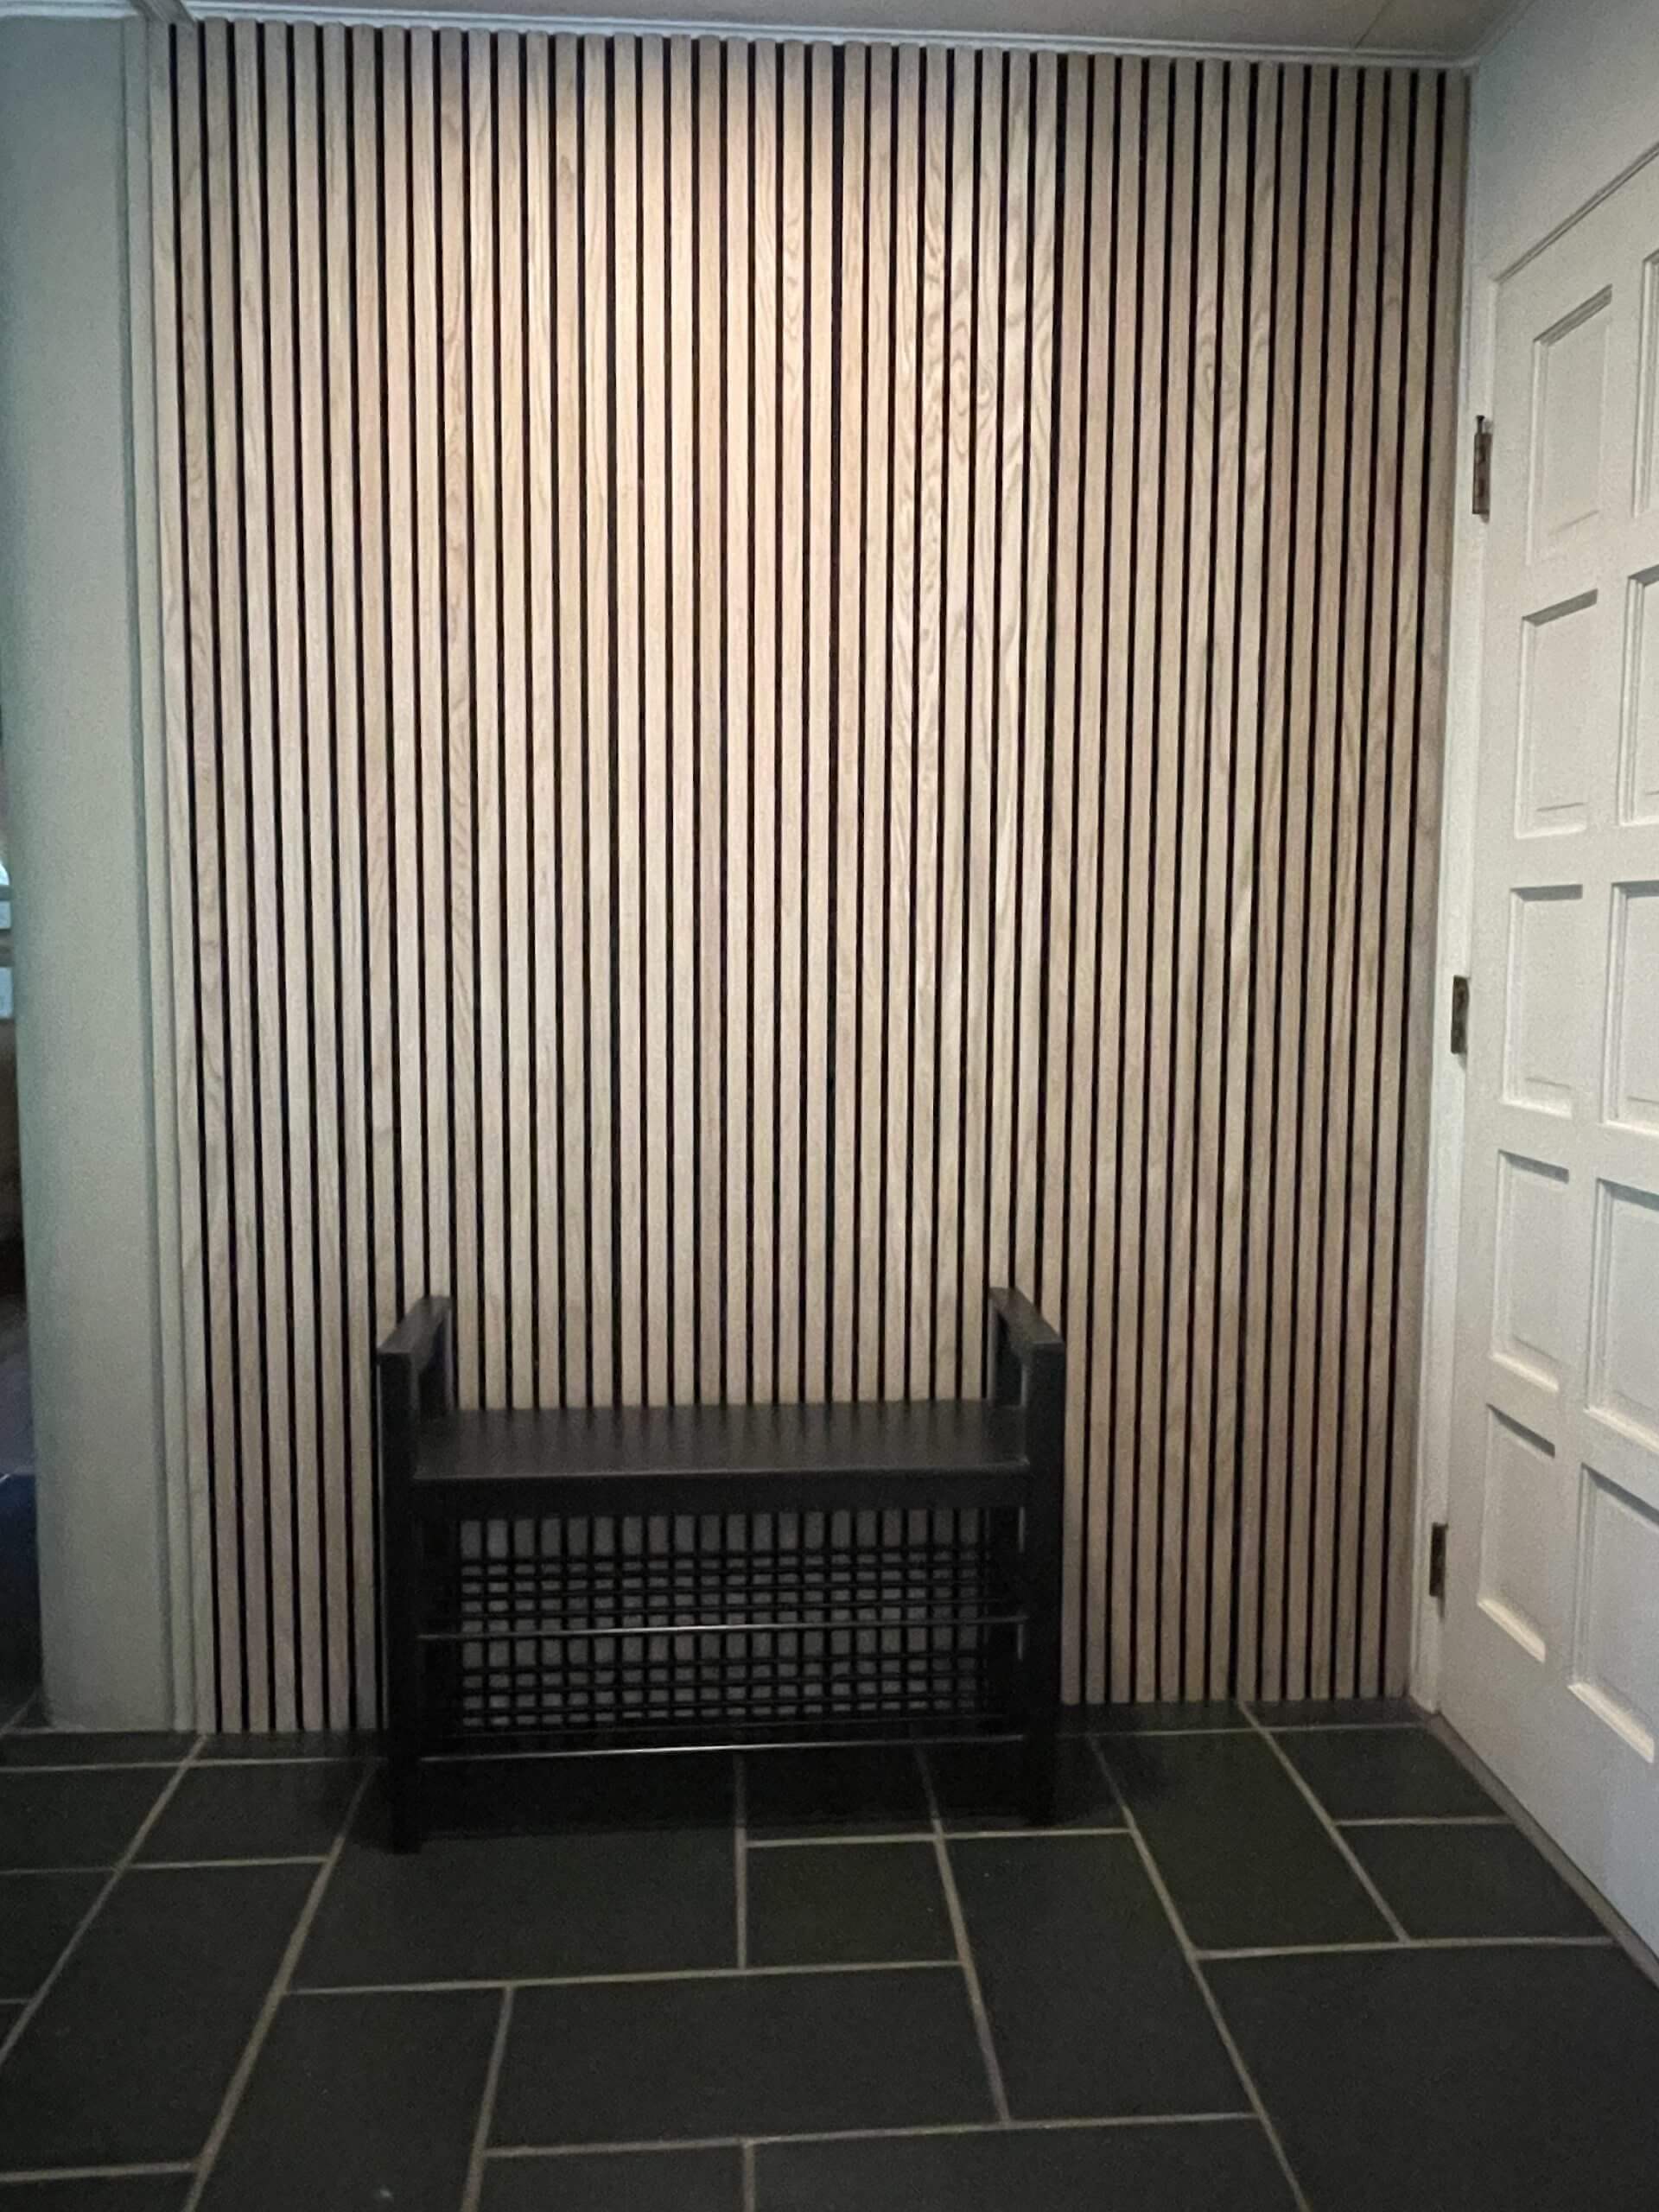
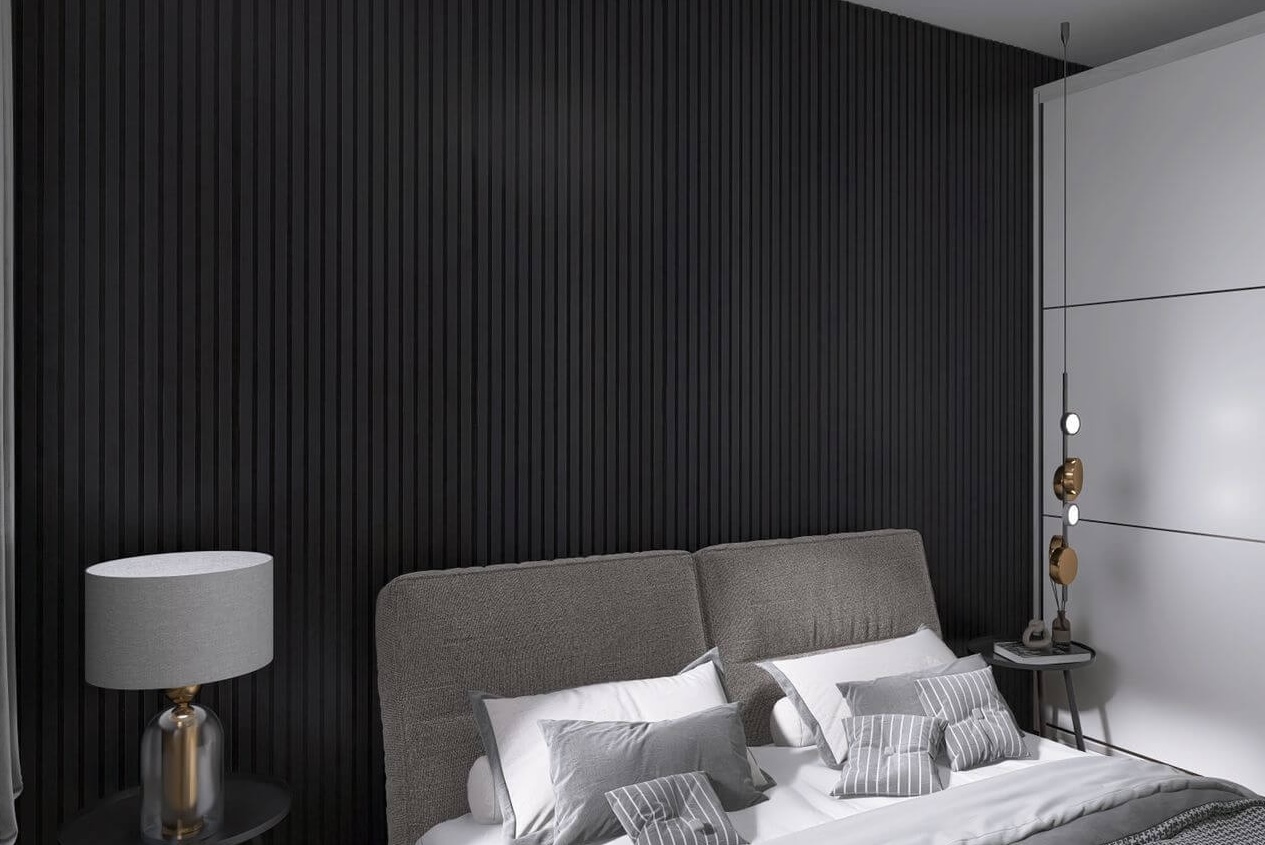
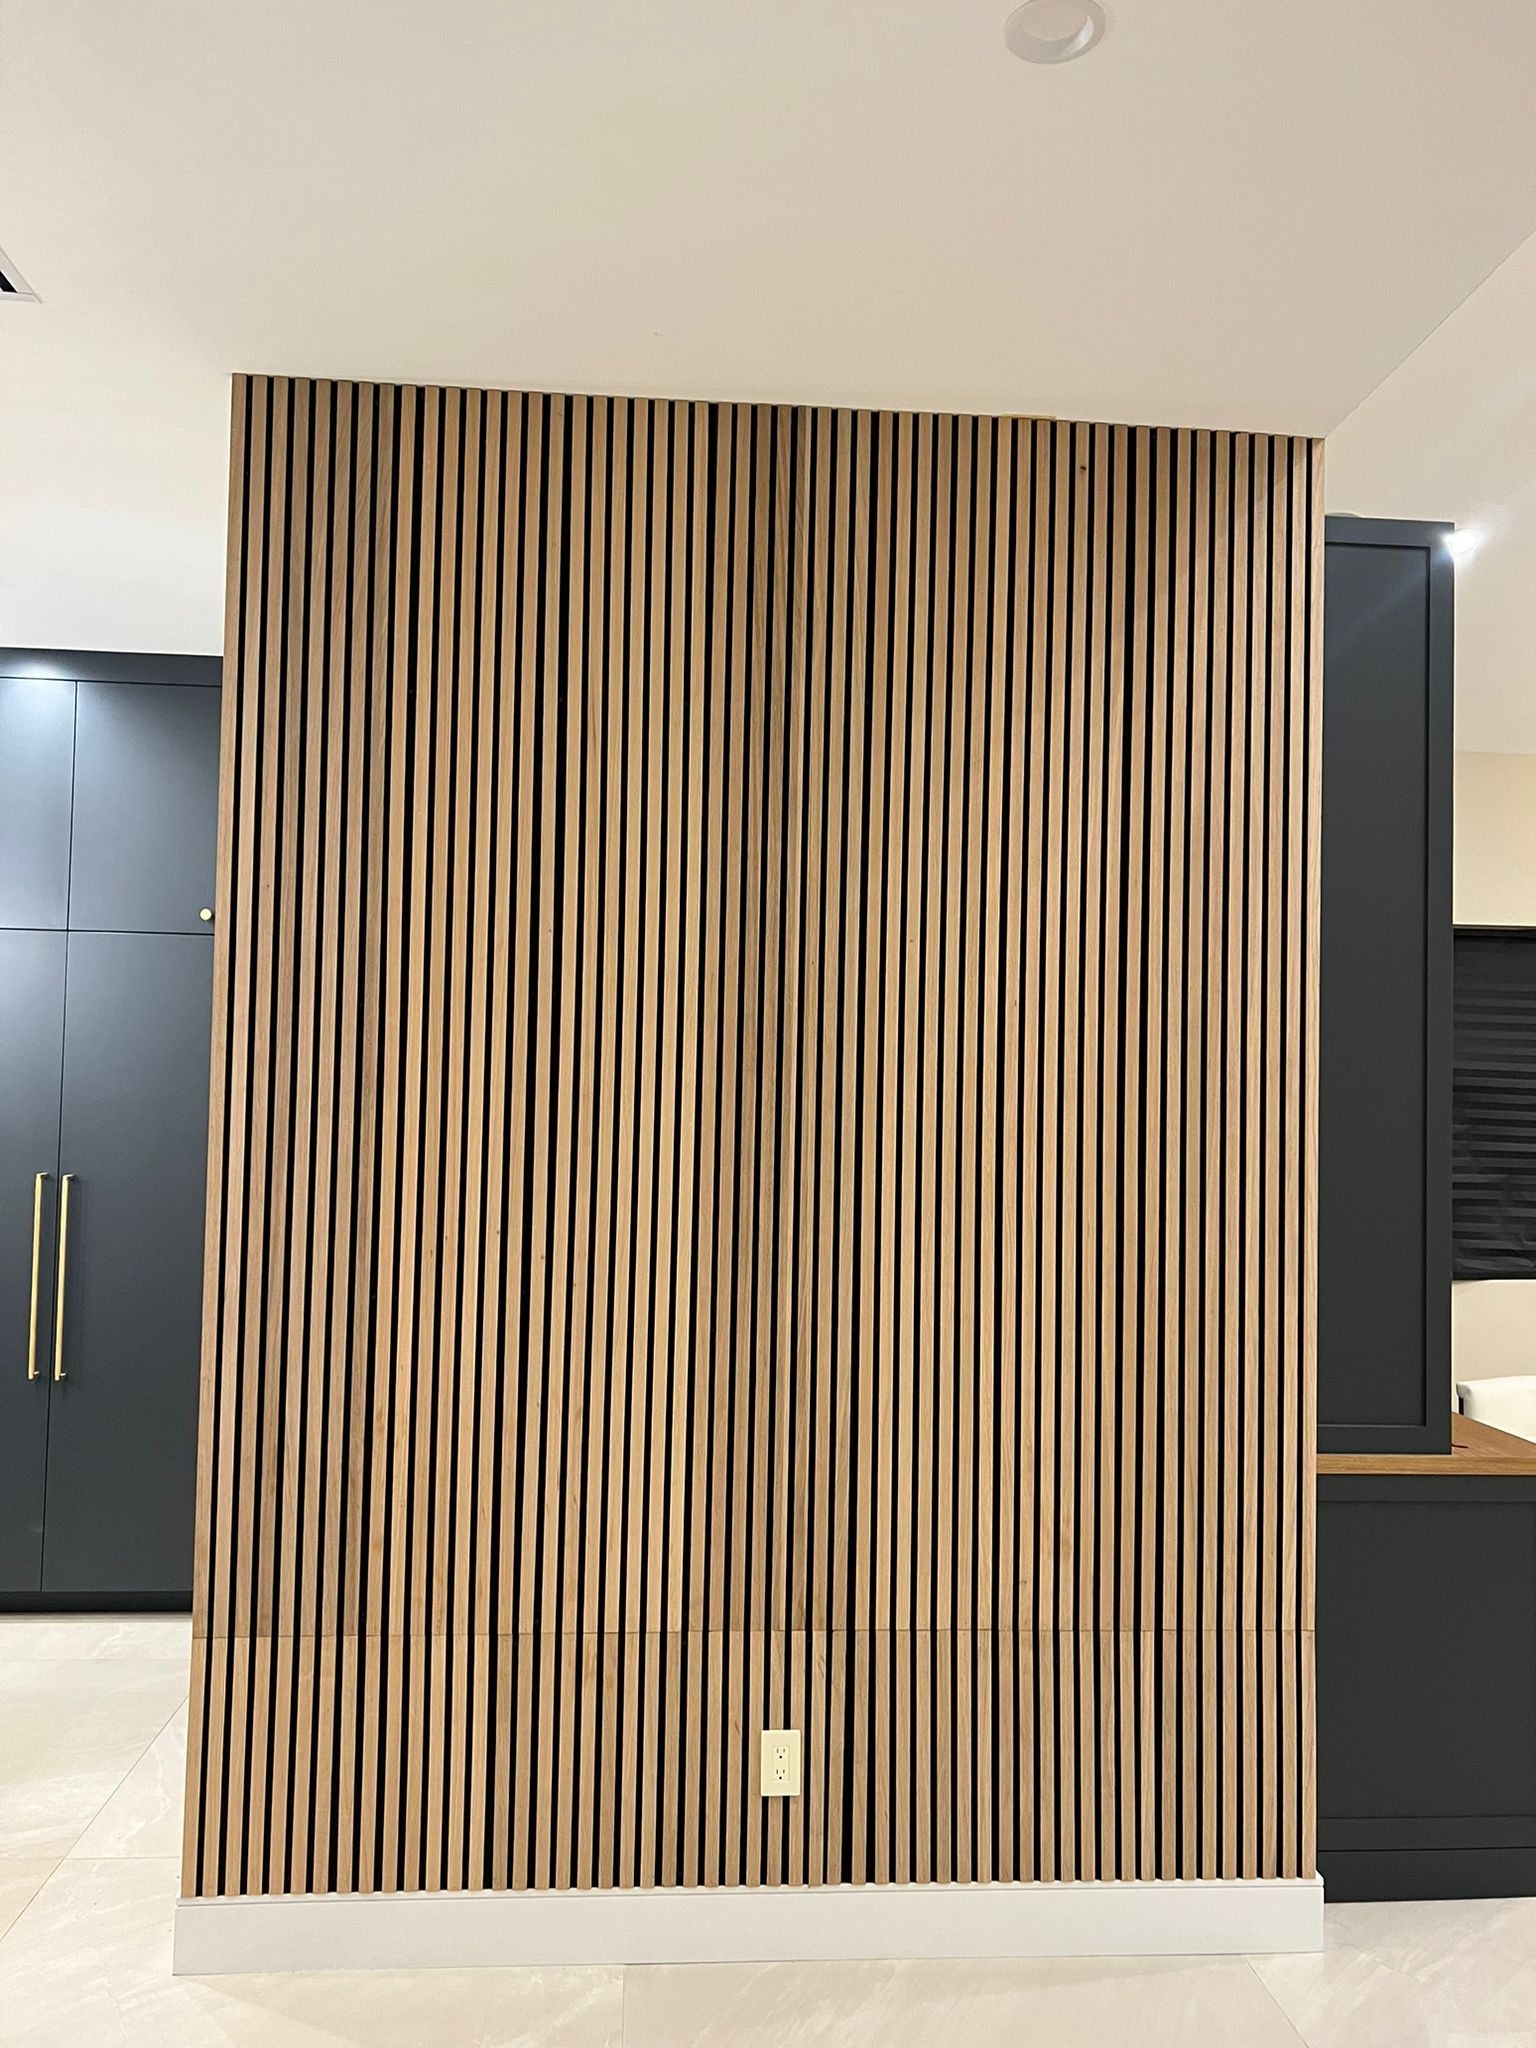
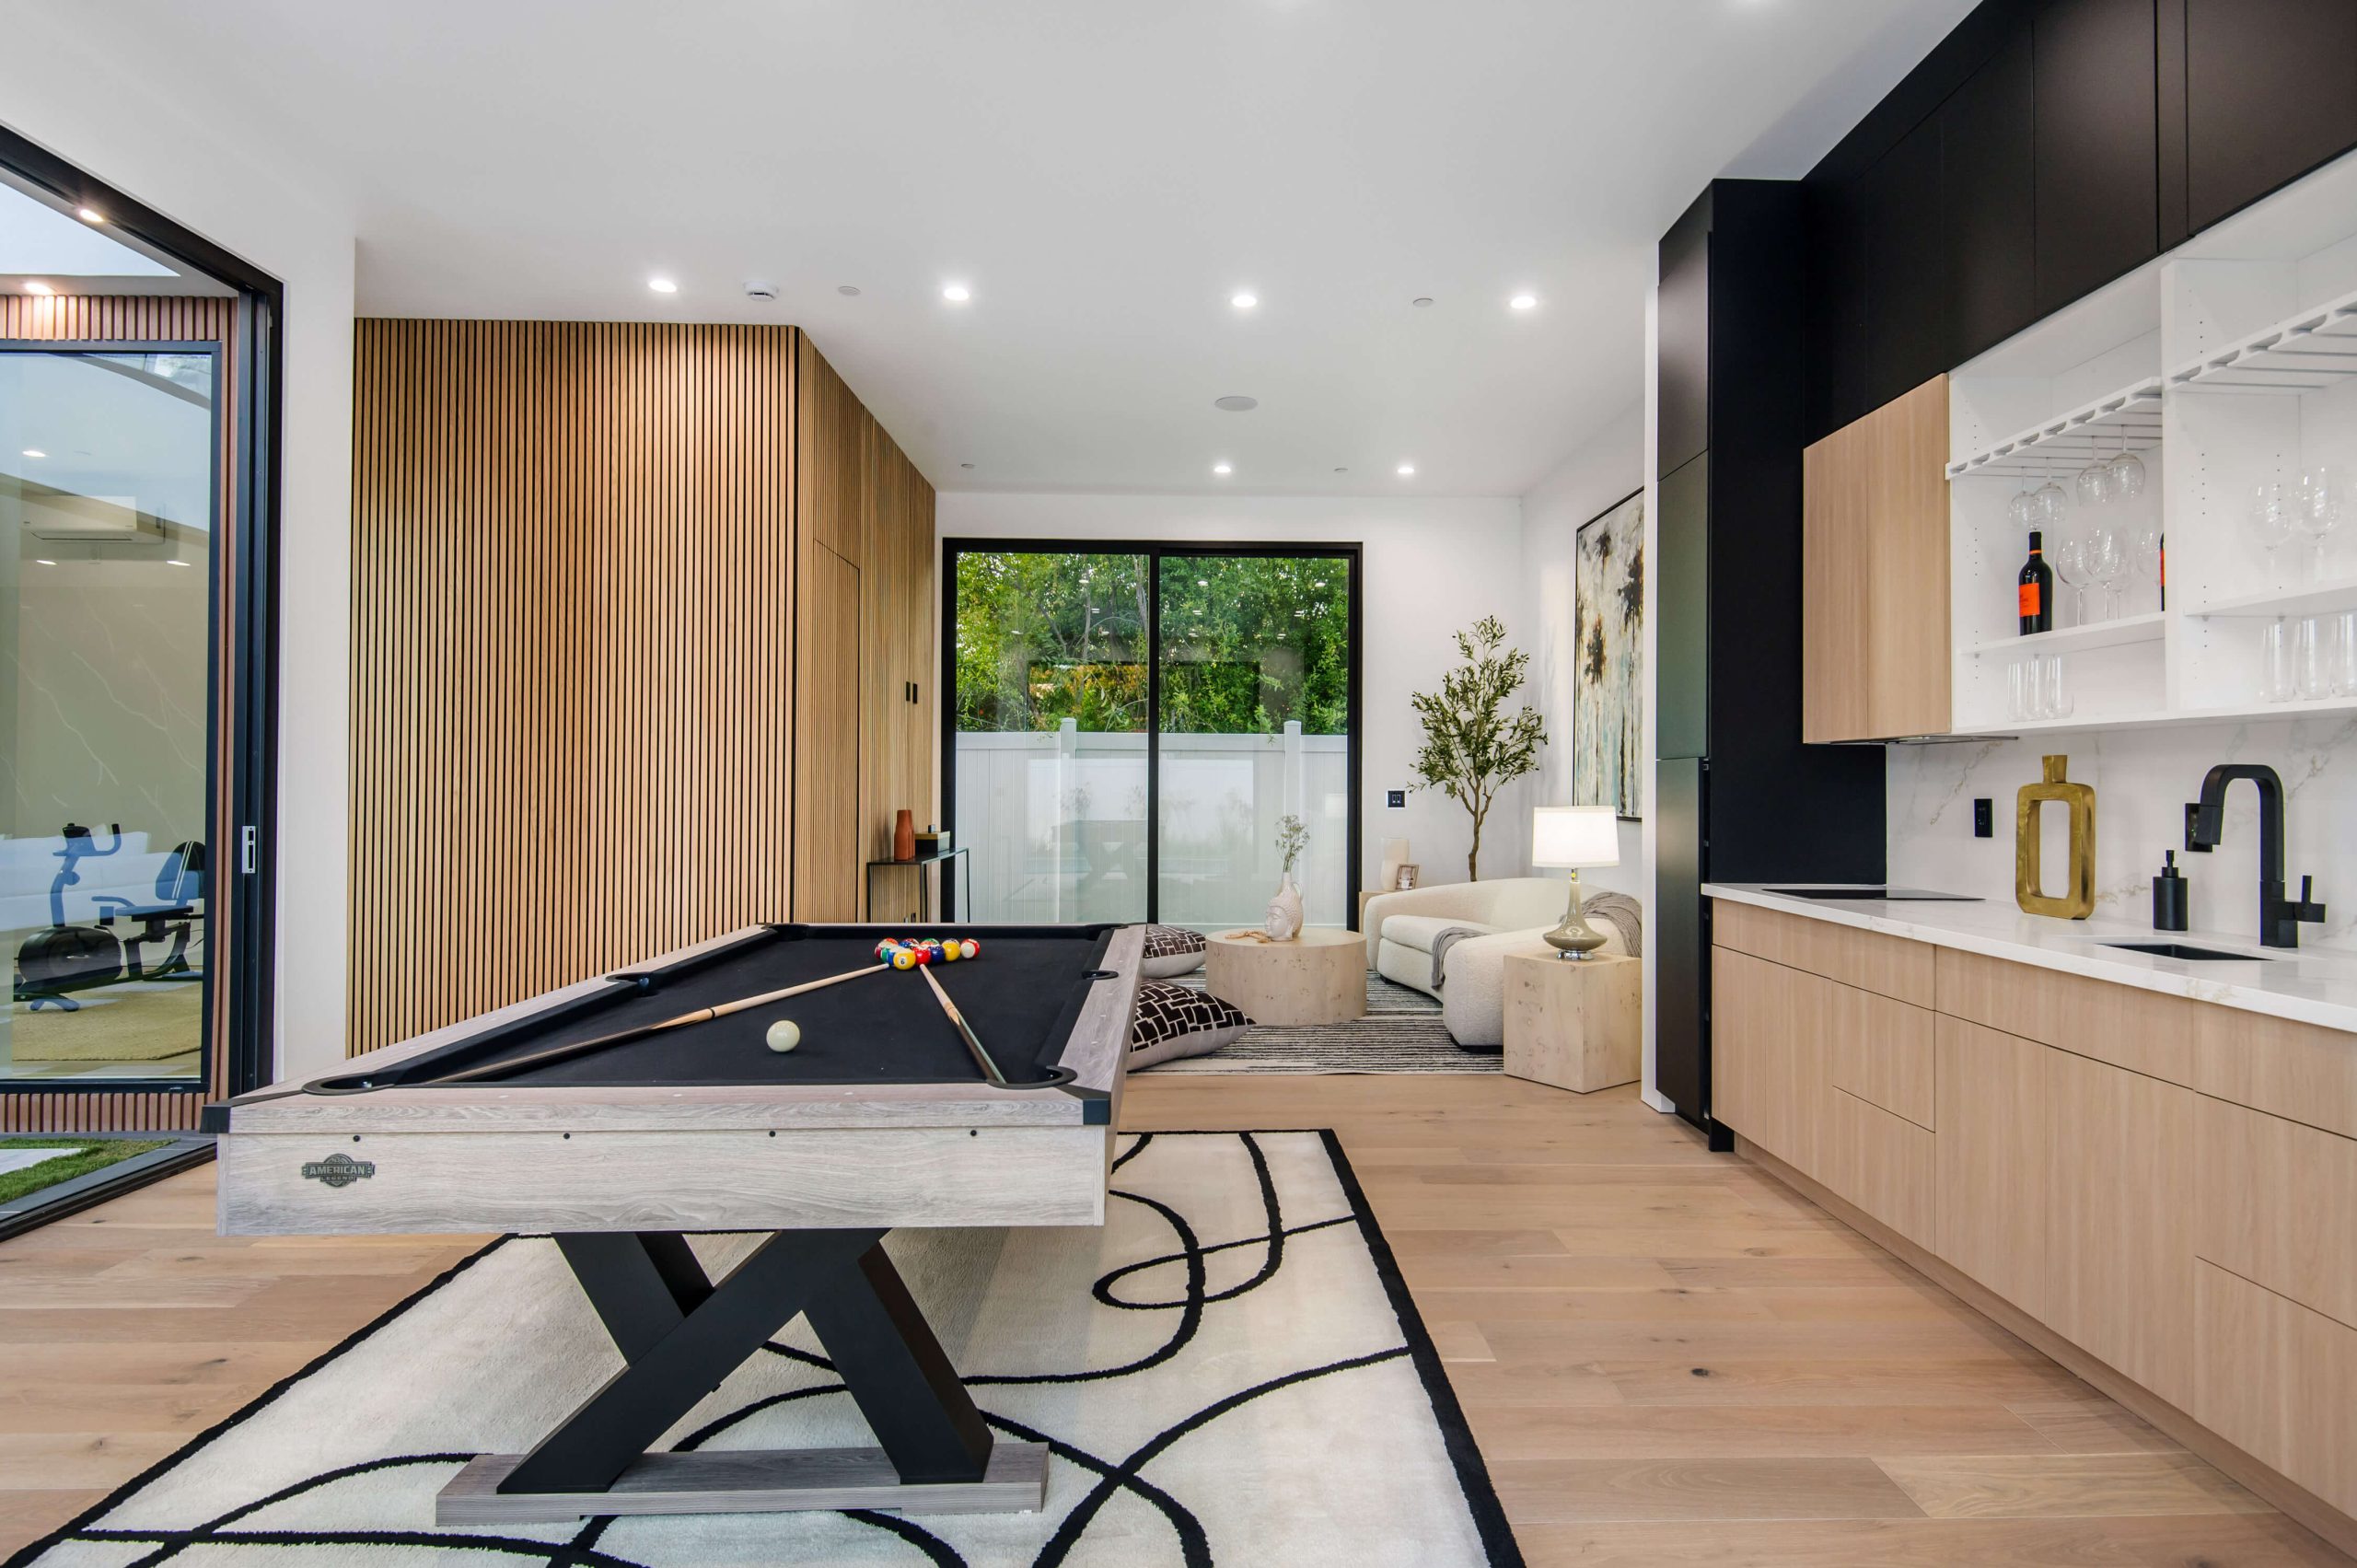
There’s something truly satisfying about building something with your own two hands. When it comes to giving your space a fresh look, few things beat the warmth and texture of a slat wood panel wall. If you’ve ever walked into a room and thought, “Wow, this wall looks amazing,” chances are, it had slat panels bringing it to life. And the good news? You can do it yourself—even if you’re just starting out.
This slat wood panel wall guide is designed to walk you through the basics with no stress and no fluff. We’ll show you how to plan, choose the right materials, and install your panels step by step. You don’t need to be a pro. You just need the right know-how, a few tools, and a little confidence.
First things first, let’s talk about what a slat wood panel wall actually is. It’s a decorative wall design made by placing narrow vertical (or sometimes horizontal) wooden strips side by side with even gaps between them. These strips can be stained, painted, or left natural depending on your style. You’ve probably seen them in bedrooms, hallways, living rooms, or even in cafes and offices. What makes this slat wood panel wall guide special is that it helps beginners choose the easiest path with the best results.
Here’s why so many Aussies are getting on board the slat wall trend:
- Adds warmth and depth to plain rooms
- Great for sound control and insulation
- Works with all styles—modern, rustic, coastal, or classic
- It’s an easy weekend project with a big visual payoff
Before diving into the tools and steps, let’s clear up a few common questions from beginners just like you.
What type of wood should I use?
You don’t have to break the bank. MDF slats wrapped in wood veneer are popular for a reason—they look real, cost less, and are easy to cut. But if you’re feeling fancy, solid timber like oak, pine, or walnut can take things to the next level. Make sure whatever you pick is straight, dry, and smooth.
Do I need to prepare my wall first?
Yes. A smooth and clean wall is key. Dust, bumps, or paint flakes can stop the slats from sticking properly. If you’re painting the wall behind your slats, do that first before installing anything.
How do I space the slats evenly?
This is where many beginners get stuck. The trick is to use a spacer block. Cut a small piece of wood (say 10mm thick) and use it between slats while installing to keep everything even.
Tools and materials checklist for this slat wood panel wall guide:
| Tool/Material | Purpose |
|---|---|
| Measuring tape | For accurate spacing and layout |
| Pencil or chalk line | To mark where each slat goes |
| Saw or timber cutter | To trim panels to the right size |
| Nail gun or adhesive | To fix slats to the wall |
| Spirit level | To keep slats perfectly straight |
| Wood filler (optional) | To cover any gaps or nail holes |
| Sandpaper | To smooth edges or touch-up rough spots |
| Paint or wood stain | To finish or seal the slats (if needed) |
Once you’ve gathered your gear, let’s break the job down into simple steps. This slat wood panel wall guide makes sure each part is easy to follow and beginner-friendly.
Step 1: Plan your layout
Stand back and look at your wall. How many slats will you need to fill the space? Use your measuring tape and do some basic maths. Decide if you want to run them floor-to-ceiling, halfway up, or just behind a TV unit. Mark out the area with a pencil.
Step 2: Prep your slats
Lay them out on the floor and check for any rough edges. Sand down the ends if needed. If you’re painting or staining, now’s the time to do it—before they go up.
Step 3: Attach the first slat
This is the most important one. Make sure it’s straight using a spirit level. Nail or glue it firmly in place. Every other slat will follow this one, so don’t rush it.
Step 4: Keep going with spacers
Use your spacer block to keep gaps between slats even. Work your way across the wall one slat at a time. Stand back now and then to check that everything’s lined up.
Step 5: Finishing touches
If you’ve used nails, you can fill the holes with wood filler for a cleaner look. Give the wall a quick dust, and that’s it—your DIY slat wall is ready to show off.
What’s great about this slat wood panel wall guide is that it fits with all sorts of spaces. Maybe you’re renting and can’t go wild with big changes. Use removable adhesive panels. Maybe you’re designing your forever home—go with solid timber and make it pop. Either way, it’s a great way to personalise your space.
Here’s a quick list of creative ideas for using slat wood panels:
- Bedroom Headboard Feature
A panel wall behind the bed adds a cosy, calming feel. - Hallway Focal Point
Greet your guests with texture the second they walk in. - Media Wall Upgrade
Mount your TV on a slat wall for a luxury, built-in look. - Office Nook
Break up the boring wall behind your desk with warm timber vibes. - Kitchen Splash Wall
Add vertical slats around your breakfast bar or dining booth.
Every beginner who follows this slat wood panel wall guide can make something special. You don’t need to be a builder or designer. You just need the motivation to start—and we’re here to help every step of the way. If you’re ever in doubt, head over to our website WoodPanelWalls.com and check out the ready-to-install panels we offer. They’re pre-cut, easy to mount, and come in a bunch of styles to match any taste.
Let’s recap a few key tips to keep your project stress-free:
- Always plan your layout before cutting anything.
- Use a spacer to keep your slats consistent.
- Take your time with the first few panels—they set the pace.
- Paint or stain before installing if you want clean edges.
- Don’t be afraid to ask for help or watch tutorial videos if you’re stuck.
With this slat wood panel wall guide, anyone can turn a blank wall into a standout feature. The beauty of it? You’ll be proud every time someone walks in and says, “Did you do this yourself?” Yep. You sure did.
FAQs
1. Do I need any experience to install a slat wood panel wall on my own?
No experience needed! Our slat wood panel wall guide is made just for beginners. If you can measure, mark, and follow simple steps, you’ll be fine. It’s a fun weekend project that doesn’t require special skills—just a bit of patience and the right tools.
2. What tools do I need to get started?
You’ll need a few basic tools like a measuring tape, spirit level, saw (or timber cutter), adhesive or nail gun, and a spacer for even gaps. All these are easy to find at any hardware shop, and they’ll make the job smoother. The full list is included in our slat wood panel wall guide above.
3. Can I use these panels in a rental home without damaging the walls?
Yes! There are renter-friendly options available. Instead of nails or permanent adhesive, try using removable mounting strips or double-sided tape made for walls. Our pre-finished panels are light and can be installed without leaving marks when removed carefully.
4. What’s the best type of wood panel for beginners?
We recommend using MDF panels with wood veneer. They’re lightweight, easy to cut, and affordable. Solid timber is beautiful too, but it’s a bit heavier and can be trickier to work with if you’re just starting. Our slat wood panel wall guide covers both options to help you choose.
5. How do I keep the gaps between each slat even?
Use a spacer block—it’s the easiest trick. Just cut a small strip of wood (around 10mm thick) and place it between each slat while you install. This keeps everything looking neat and evenly spaced, just like the pros do.

