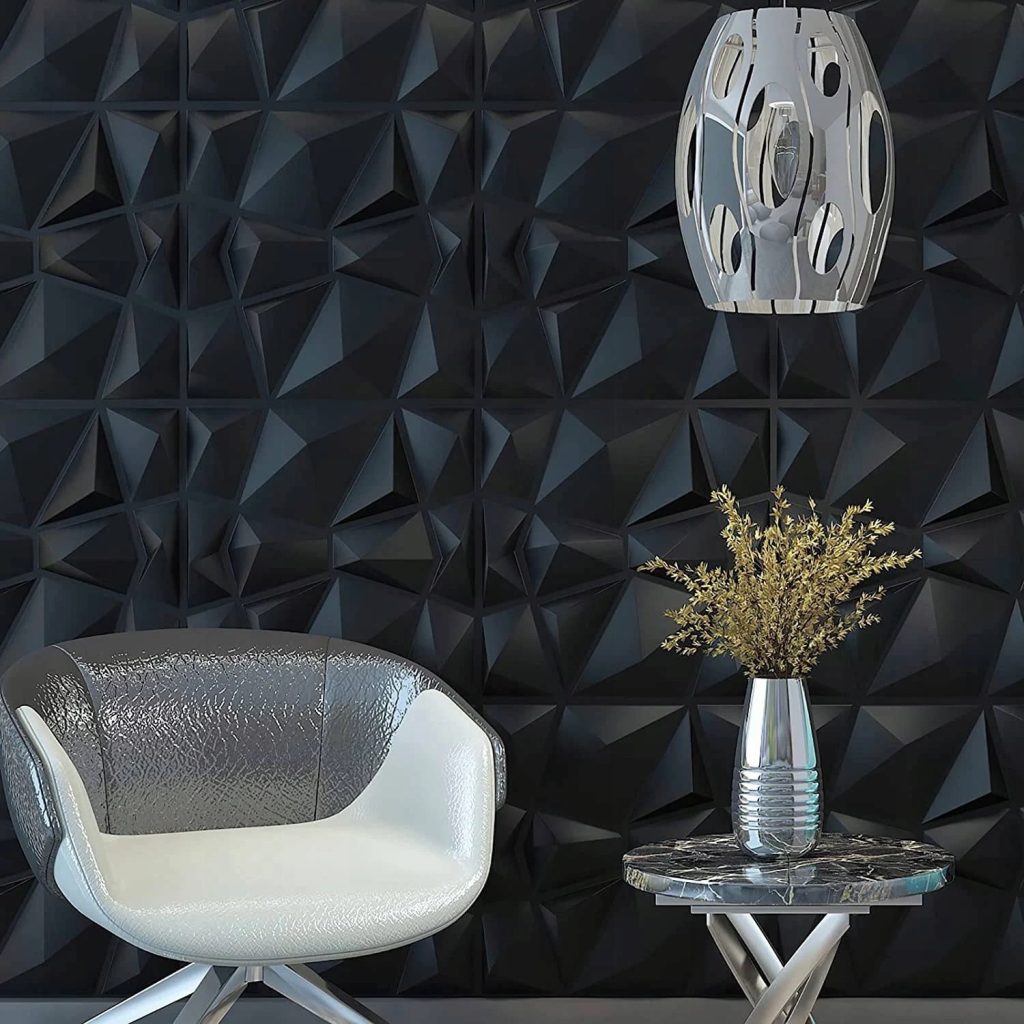
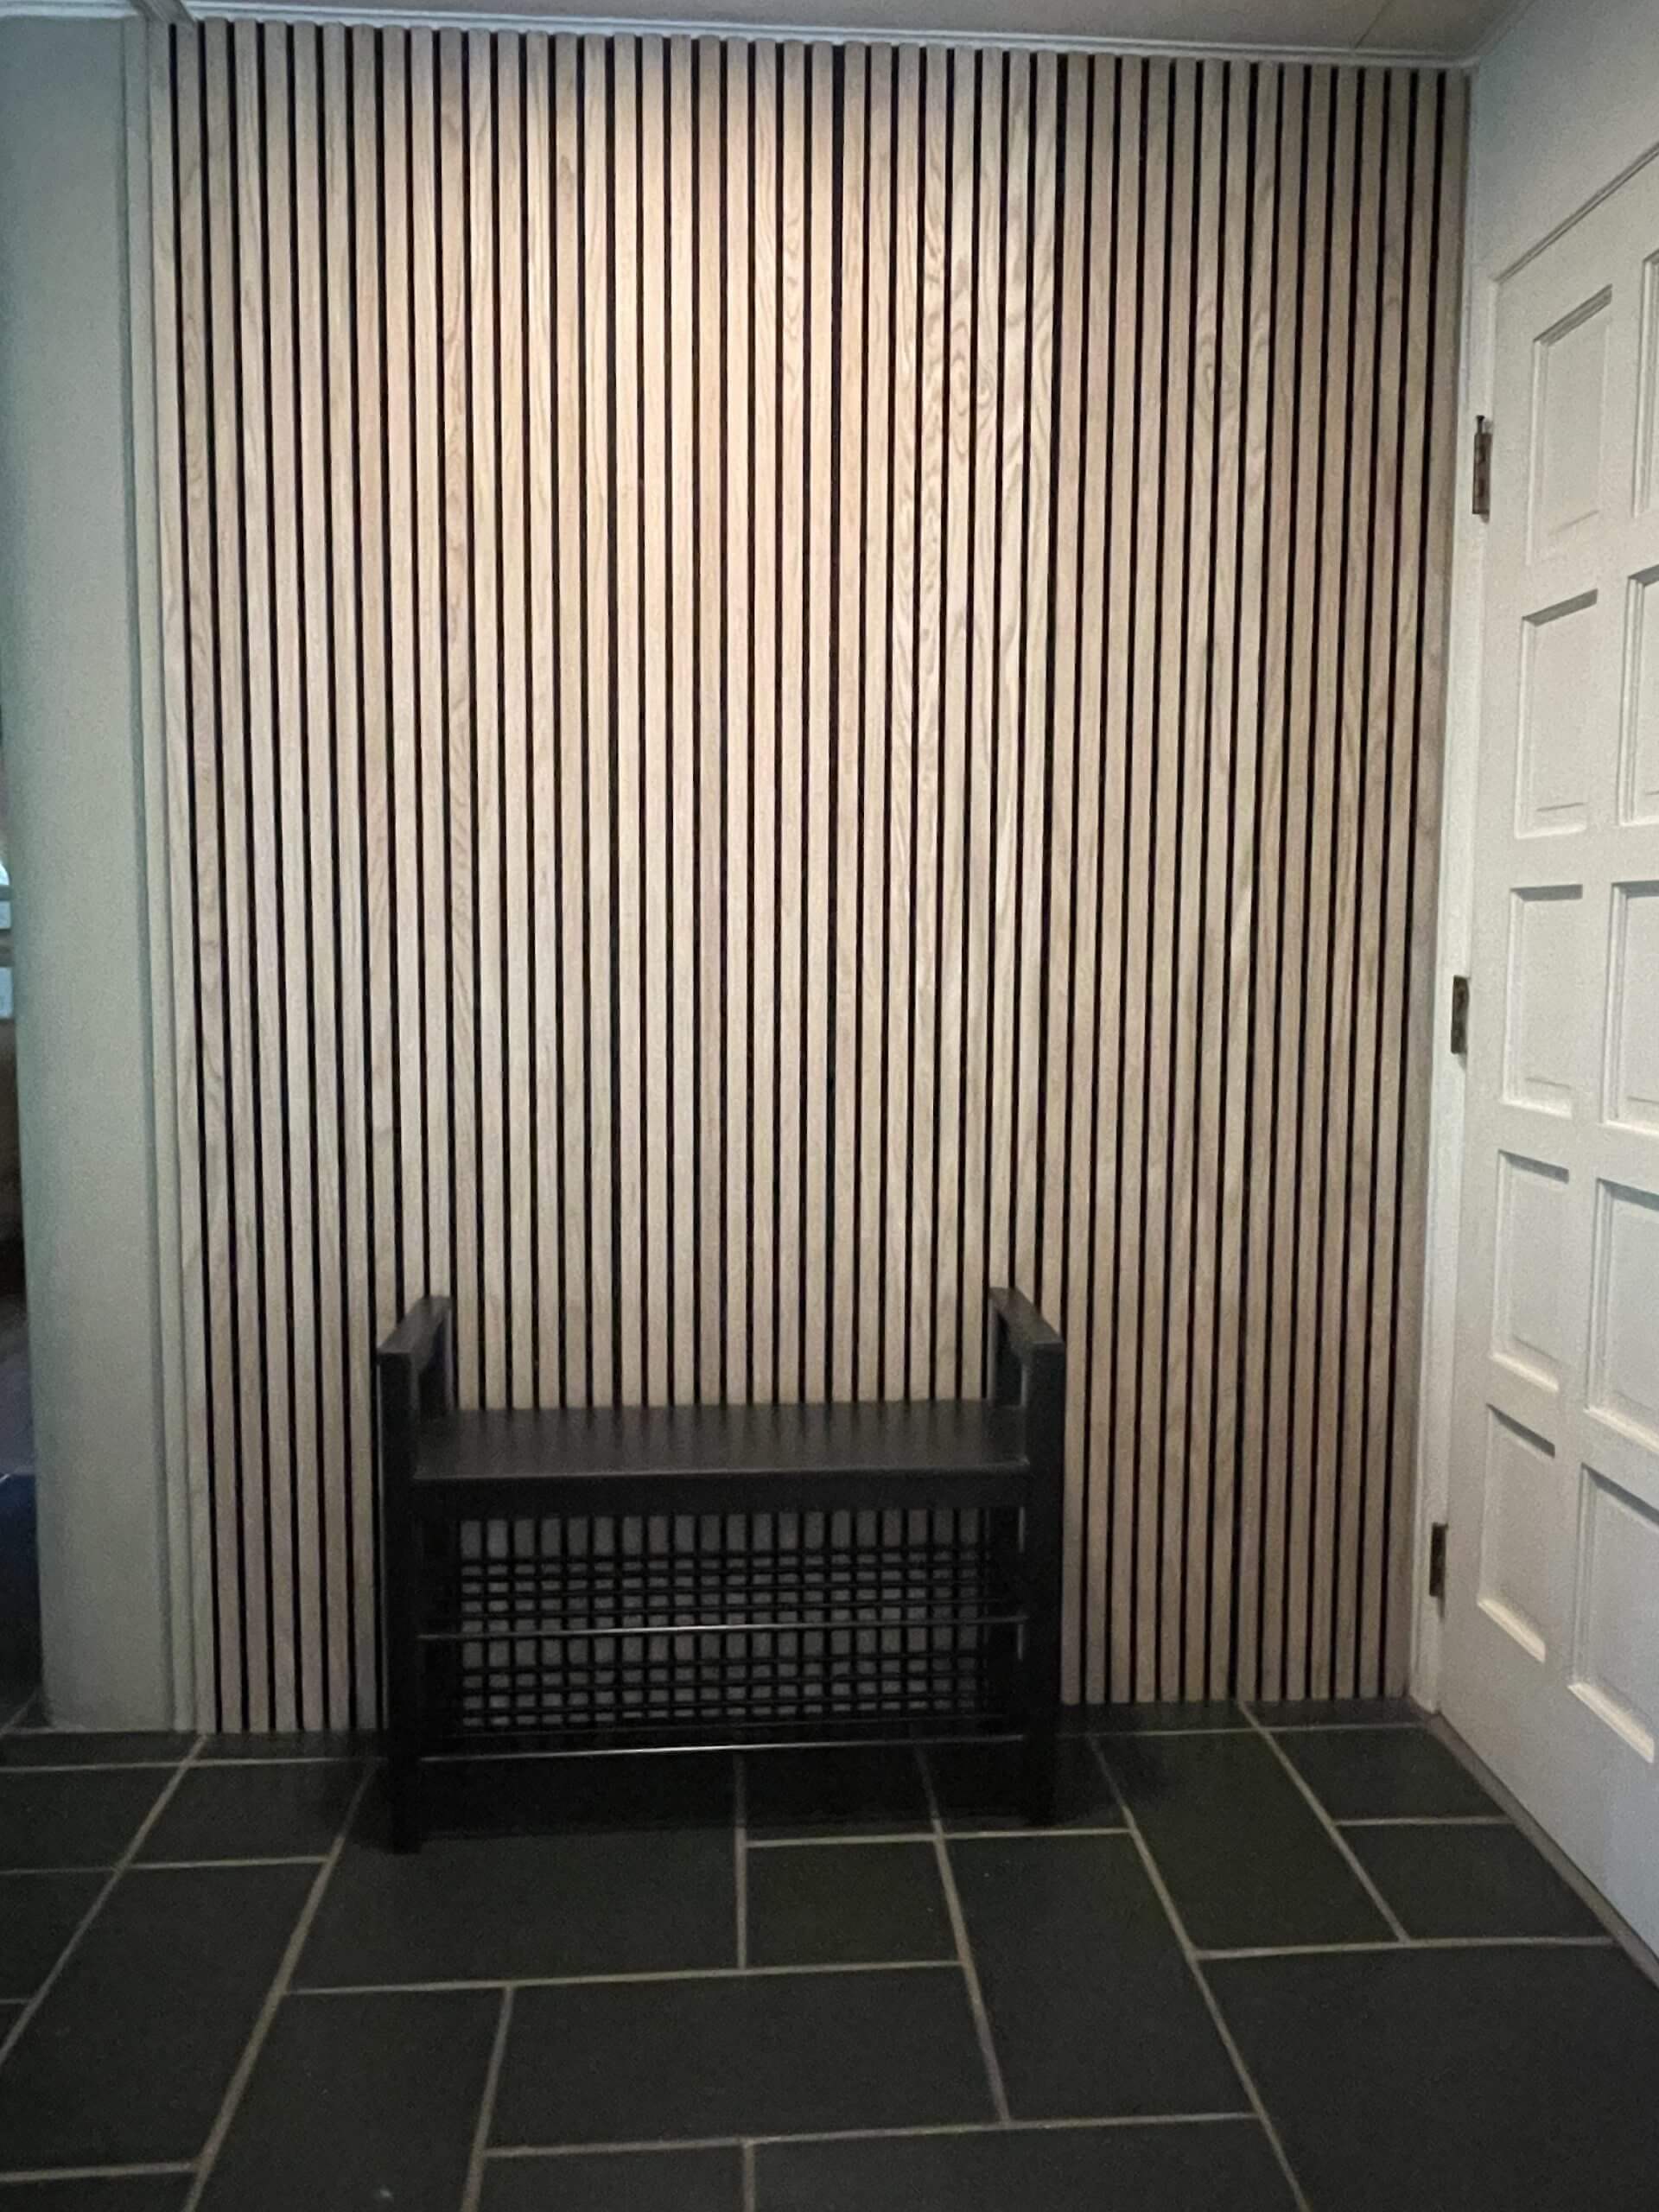
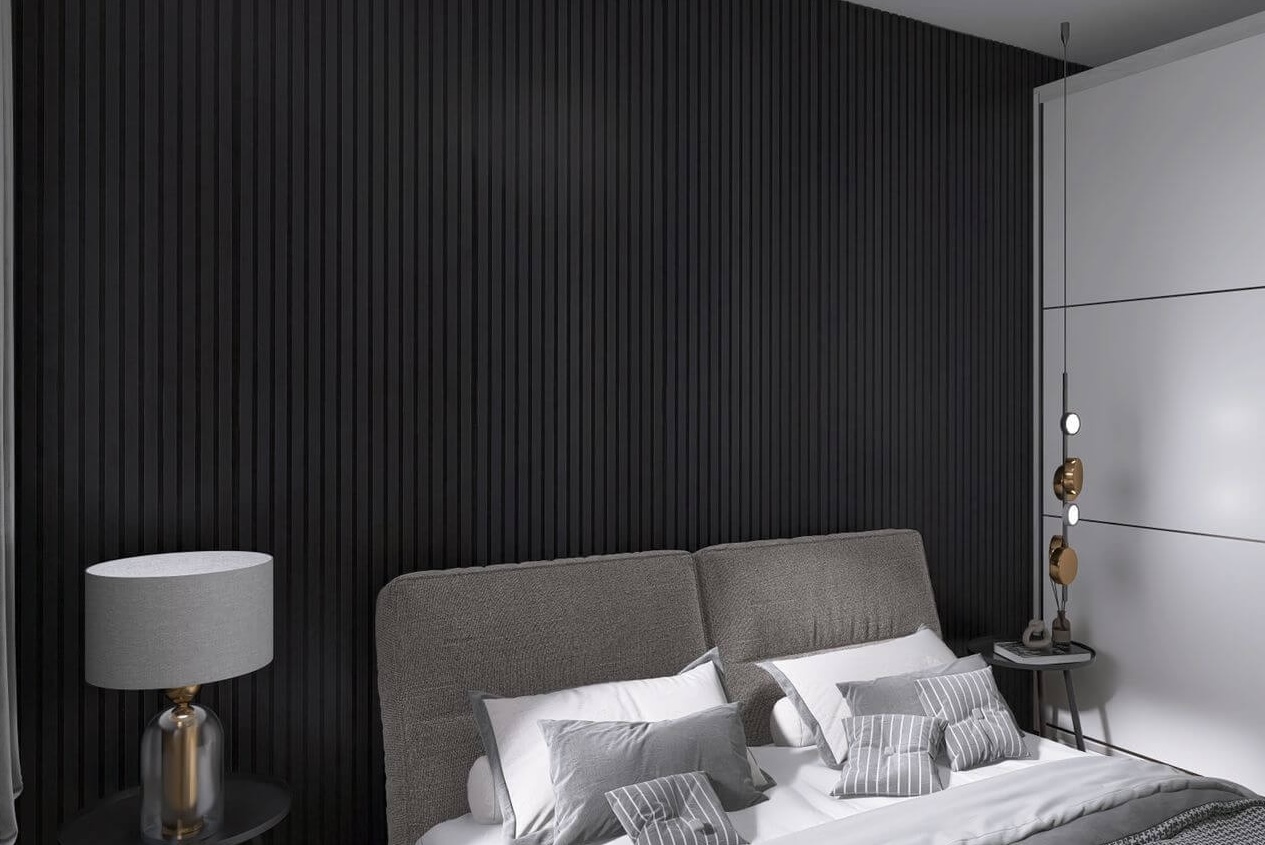
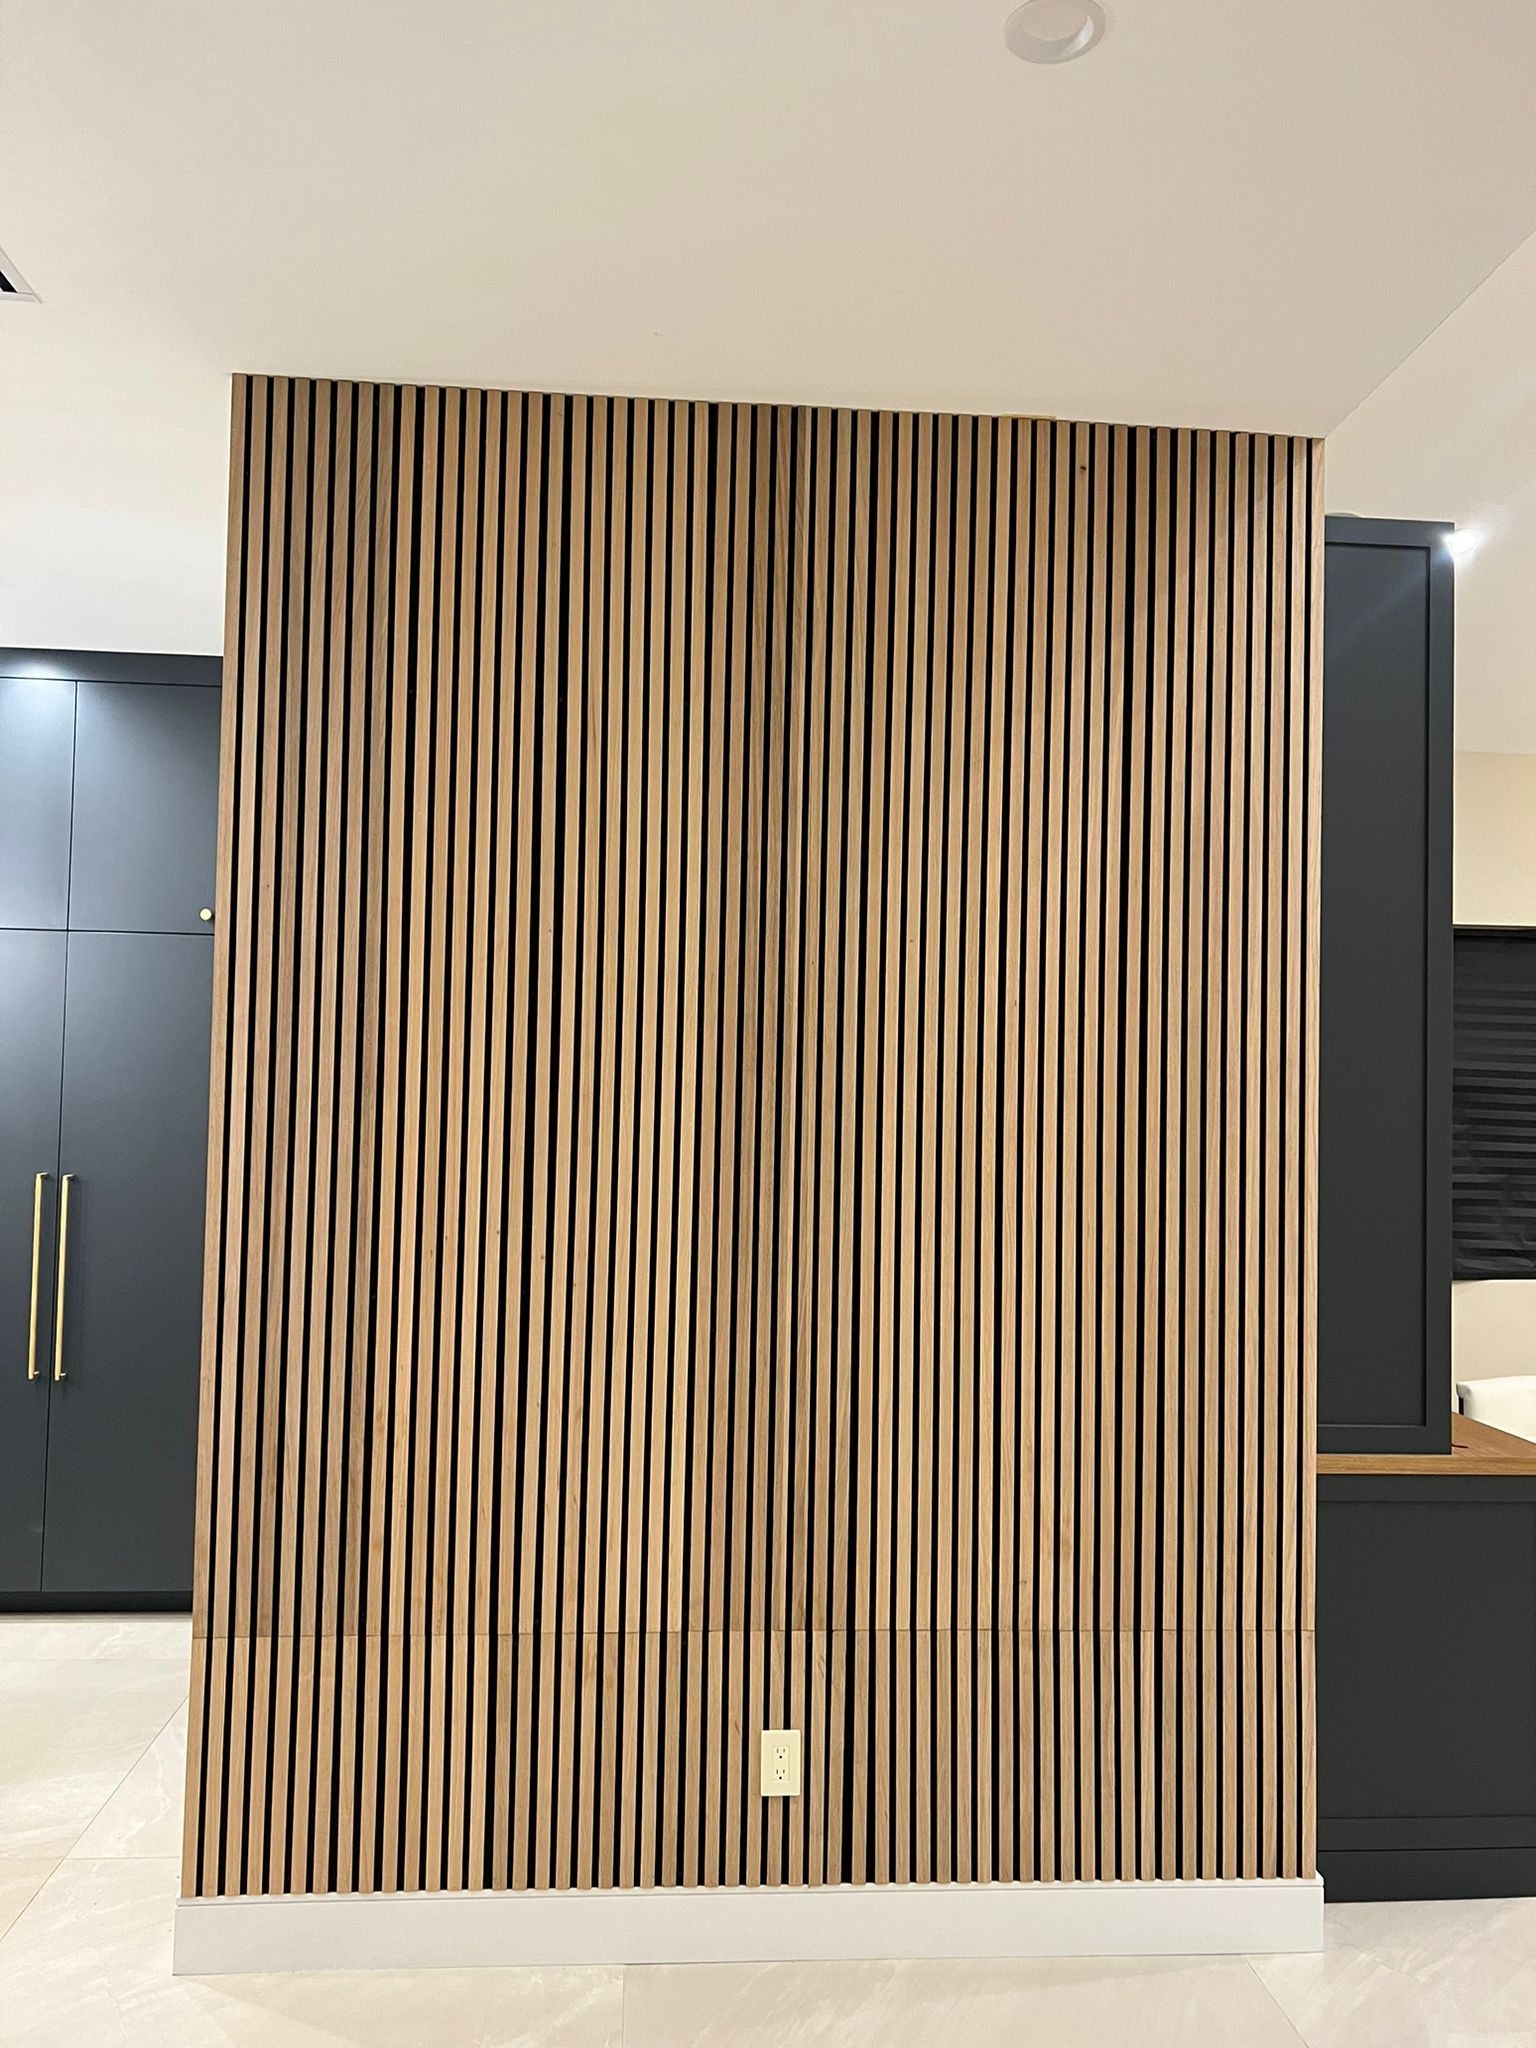
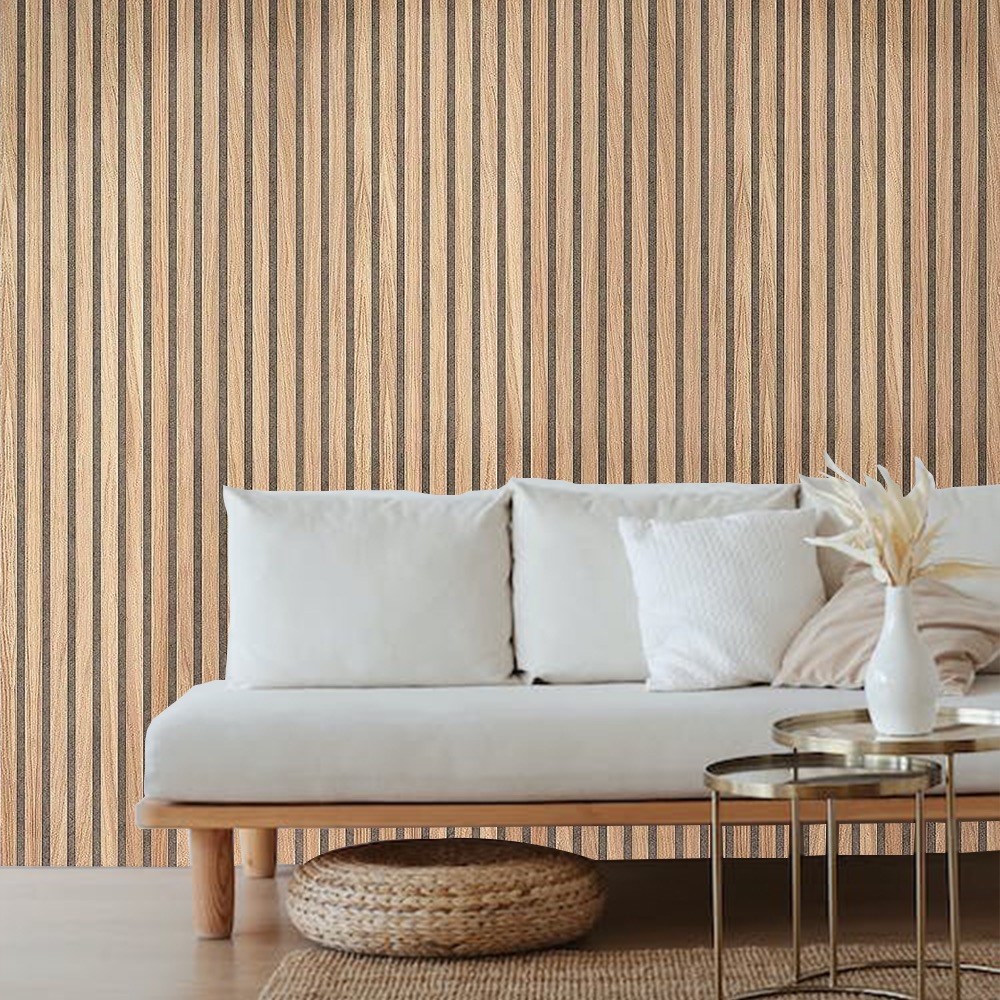
3D wall panels are a stunning way to transform any room, offering texture, depth, and a modern aesthetic. However, the process of properly sticking 3D wall panels to walls can be a challenge if you don’t follow the right steps. Whether you’re a seasoned DIY enthusiast or a homeowner exploring this trendy decor option, knowing the best practices ensures a secure and flawless finish. Here’s everything you need to know about sticking 3D wall panels effectively.
Preparing Your Wall for 3D Wall Panels
The first and most crucial step in sticking 3D wall panels is proper wall preparation. Without this, even the best-quality panels may not adhere securely. Follow these steps to get started:
- Clean the Wall Thoroughly:
- Dust, grease, or grime on the wall can hinder adhesion. Use a damp cloth and mild detergent to clean the surface.
- Allow the wall to dry completely before proceeding.
- Inspect for Imperfections:
- Check the wall for cracks, uneven surfaces, or holes. Fill any gaps with spackling paste or filler.
- Sand the wall lightly to create a smooth surface, which is ideal for sticking 3D wall panels.
- Prime the Surface:
- Applying a primer helps enhance the adhesive strength and prevents the wall from absorbing too much glue.
- Choose a primer compatible with your wall material, whether it’s drywall, concrete, or wood.
Choosing the Right Adhesive for 3D Wall Panels
Not all adhesives are created equal, especially when it comes to sticking 3D wall panels. The right choice depends on the panel material and the wall type. Here are some commonly used adhesives and their benefits:
- Construction Adhesive: Perfect for heavier panels, this glue offers a strong bond and works well on most surfaces.
- Double-Sided Adhesive Tape: Ideal for lightweight panels, particularly in temporary setups.
- Silicone Adhesive: Provides flexibility and is great for areas prone to slight wall movements or vibrations.
Make sure to follow the manufacturer’s recommendations for the adhesive type to ensure compatibility with your panels.
Measuring and Planning Your Layout
Before jumping into sticking 3D wall panels, take the time to plan the layout. A precise layout minimizes errors and ensures an even, professional appearance.
- Measure Your Wall:
- Use a measuring tape to determine the dimensions of the wall and calculate how many panels you’ll need.
- Leave a small gap for expansion if the panels are made from wood or materials that react to temperature changes.
- Dry Fit the Panels:
- Lay the panels on the floor or hold them against the wall to visualize the final look.
- Mark the wall with a pencil to outline where each panel will go.
Step-by-Step Guide for Sticking 3D Wall Panels
Once your wall is prepped and your layout is planned, it’s time to install the panels. Follow this step-by-step process:
- Apply the Adhesive:
- For heavier panels, apply construction adhesive in a zigzag pattern on the back of the panel.
- For lighter panels, use strips of double-sided tape or silicone adhesive as instructed by the manufacturer.
- Position the Panel:
- Align the panel with your pre-marked lines on the wall.
- Press the panel firmly against the wall, starting from the center and moving outward to avoid air bubbles.
- Secure the Panel:
- Hold the panel in place for a few seconds to ensure it sticks well.
- For added security, use masking tape to temporarily hold the edges until the adhesive fully sets.
- Repeat the Process:
- Continue sticking 3D wall panels one by one, ensuring that each panel aligns perfectly with the previous one.
- Use a level to check for straightness periodically.
Common Mistakes to Avoid
Sticking 3D wall panels may seem straightforward, but avoiding common pitfalls is key to achieving a flawless look:
- Skipping Wall Preparation: Neglecting to clean and smooth the wall can lead to poor adhesion.
- Using the Wrong Adhesive: Choosing an incompatible adhesive can result in panels falling off or damage to your wall.
- Ignoring Expansion Gaps: Failing to leave space for expansion can cause panels to warp or crack over time.
- Rushing the Process: Allow each panel to set properly before moving to the next.
Maintaining Your 3D Wall Panels
After successfully sticking 3D wall panels, maintaining them ensures they stay in pristine condition for years to come:
- Regular Cleaning:
- Dust the panels with a soft cloth or vacuum using a brush attachment.
- Avoid abrasive cleaners that can damage the surface.
- Inspect for Damage:
- Periodically check for loose edges or peeling panels, especially in high-humidity areas.
- Reapply adhesive if needed to secure the panels.
- Protect from Excessive Moisture:
- If the panels are in a bathroom or kitchen, ensure proper ventilation to reduce humidity.
FAQ: Sticking 3D Wall Panels
1. Can I stick 3D wall panels on textured walls?
Yes, but textured walls may require additional sanding or a thicker adhesive to ensure a secure bond.
2. How long does it take for the adhesive to dry?
Drying times vary by adhesive type, but most require 24 to 48 hours to fully cure.
3. Can I remove and reposition a panel if I make a mistake?
It depends on the adhesive used. Some allow repositioning within a few minutes of application, while others may not.
4. Are 3D wall panels suitable for outdoor use?
Certain panels designed for exterior use can withstand weather conditions, but always check the manufacturer’s specifications.
5. Do I need professional help to install 3D wall panels?
Not necessarily! With the right tools and guidance, most DIY enthusiasts can achieve professional results.
By following these best practices, you’ll master the art of sticking 3D wall panels, transforming your space into a modern and visually striking environment. Happy decorating!

