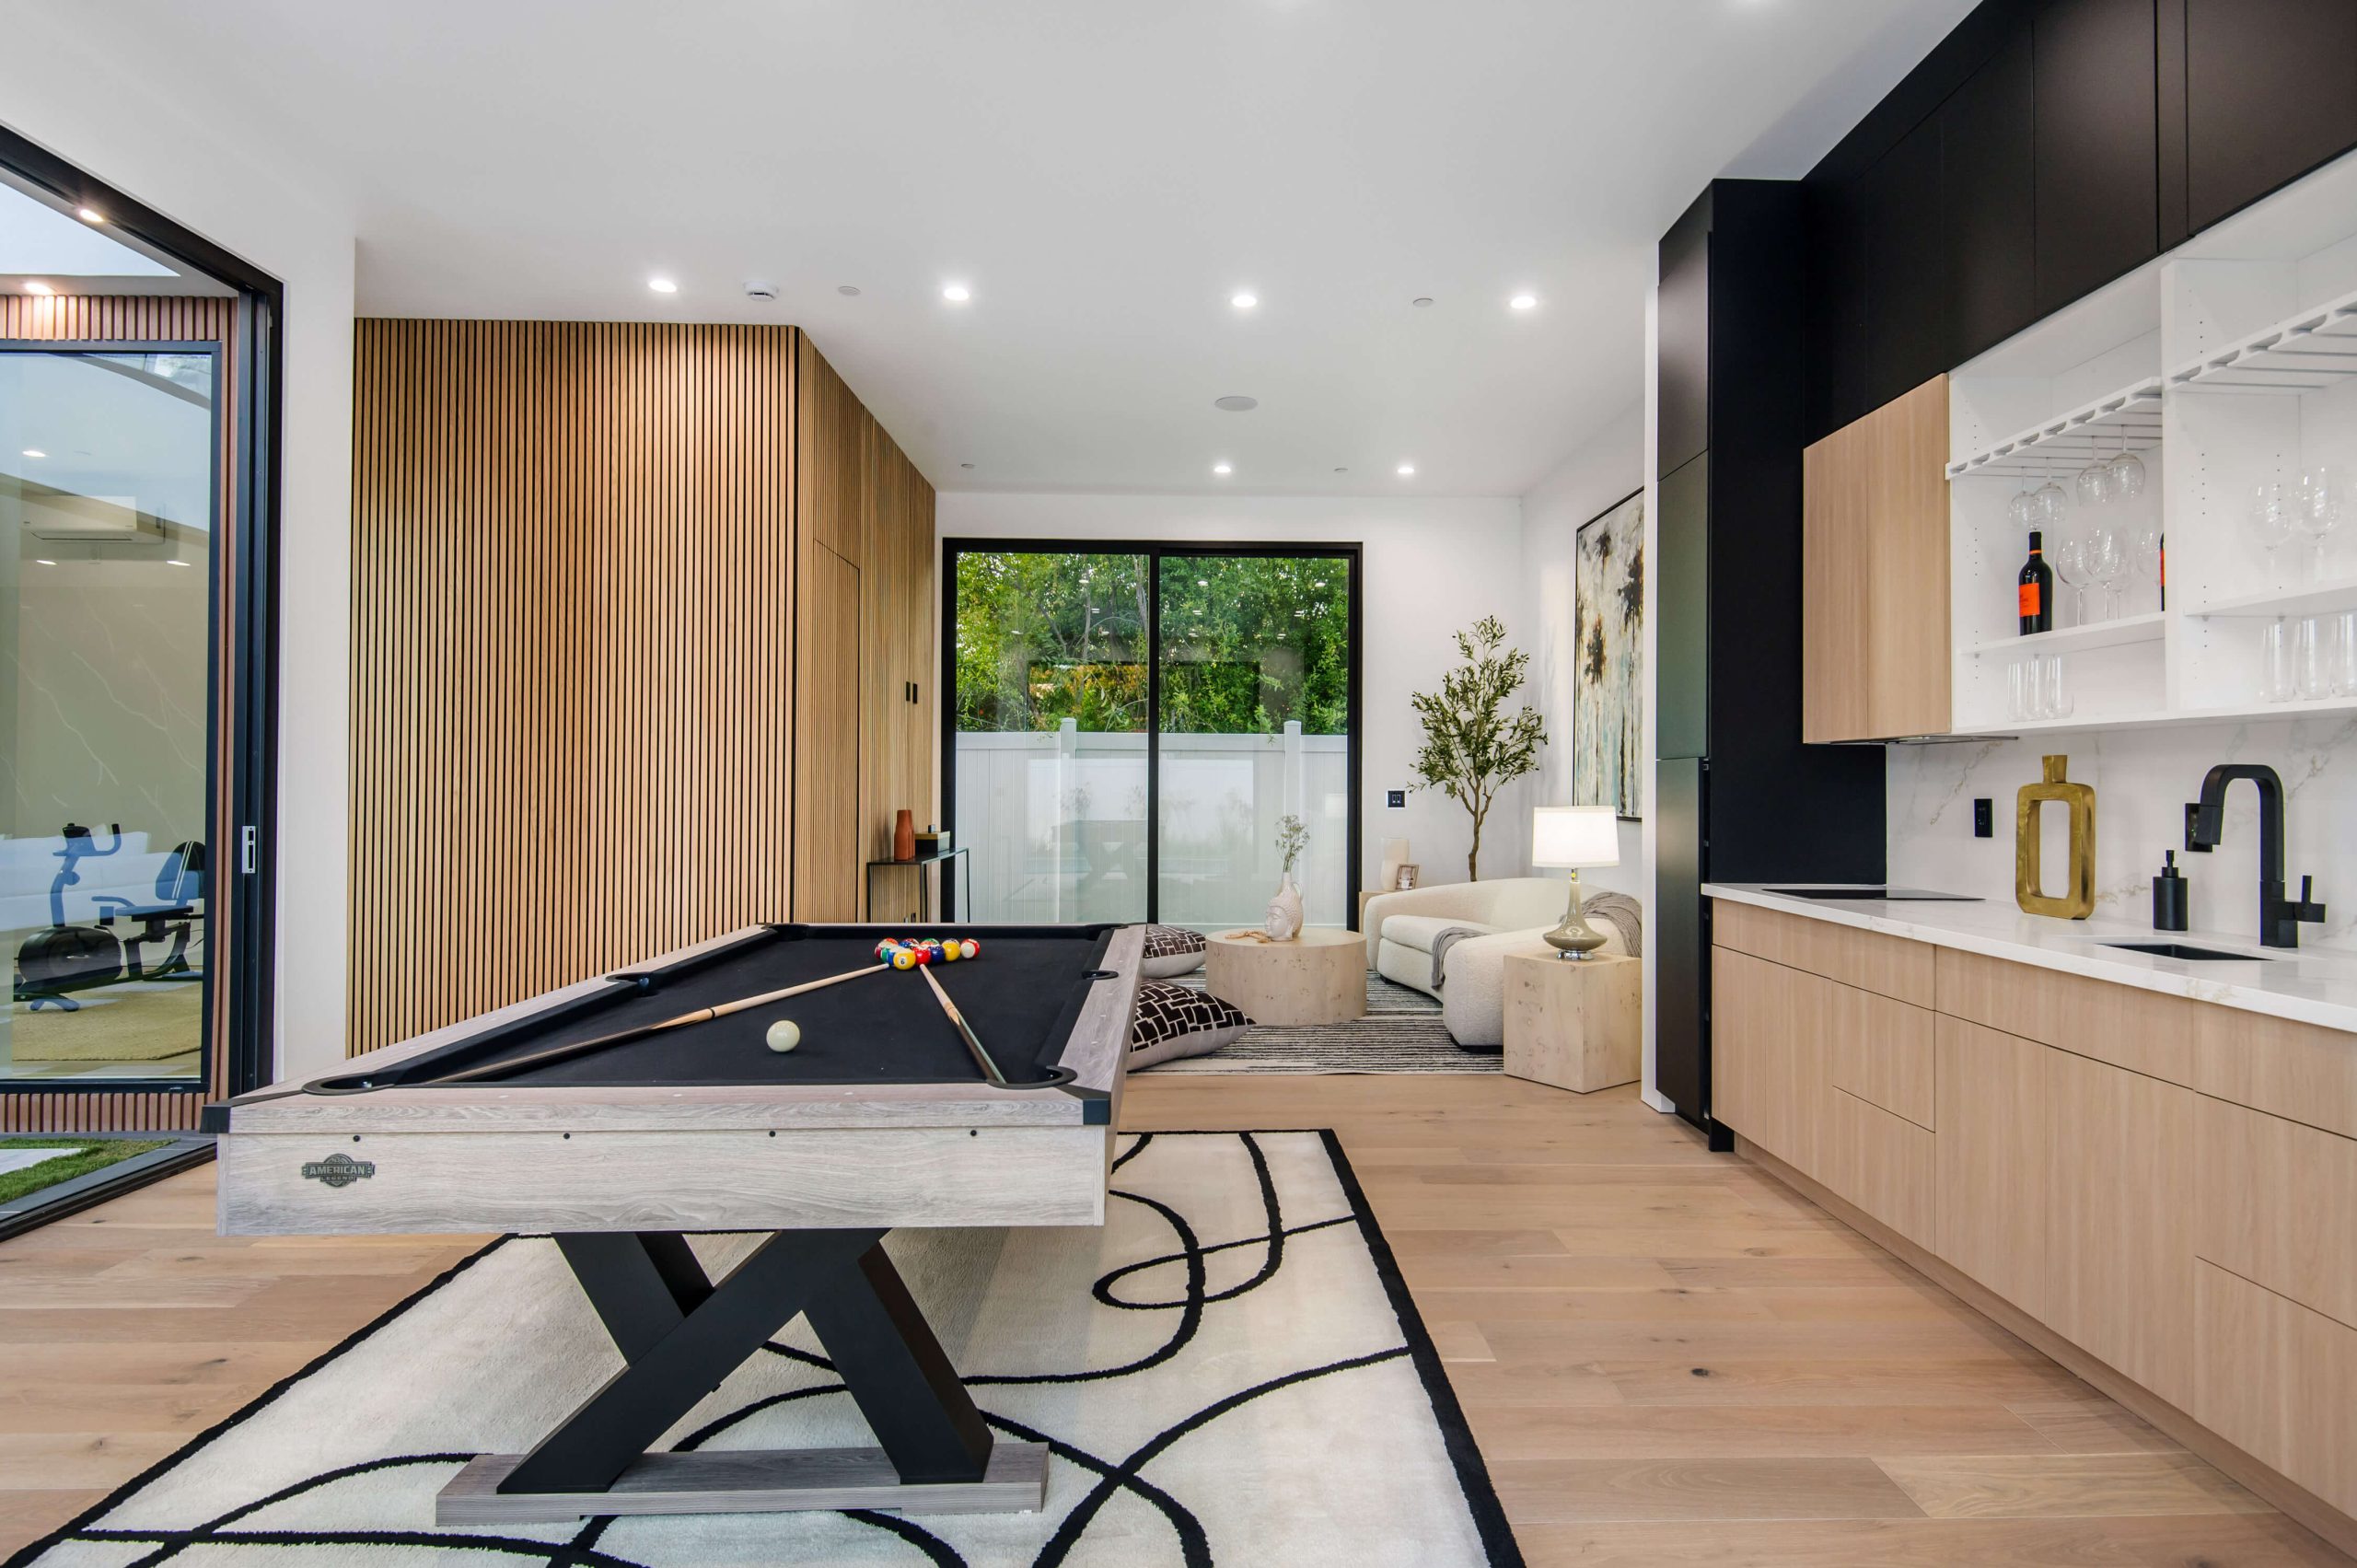
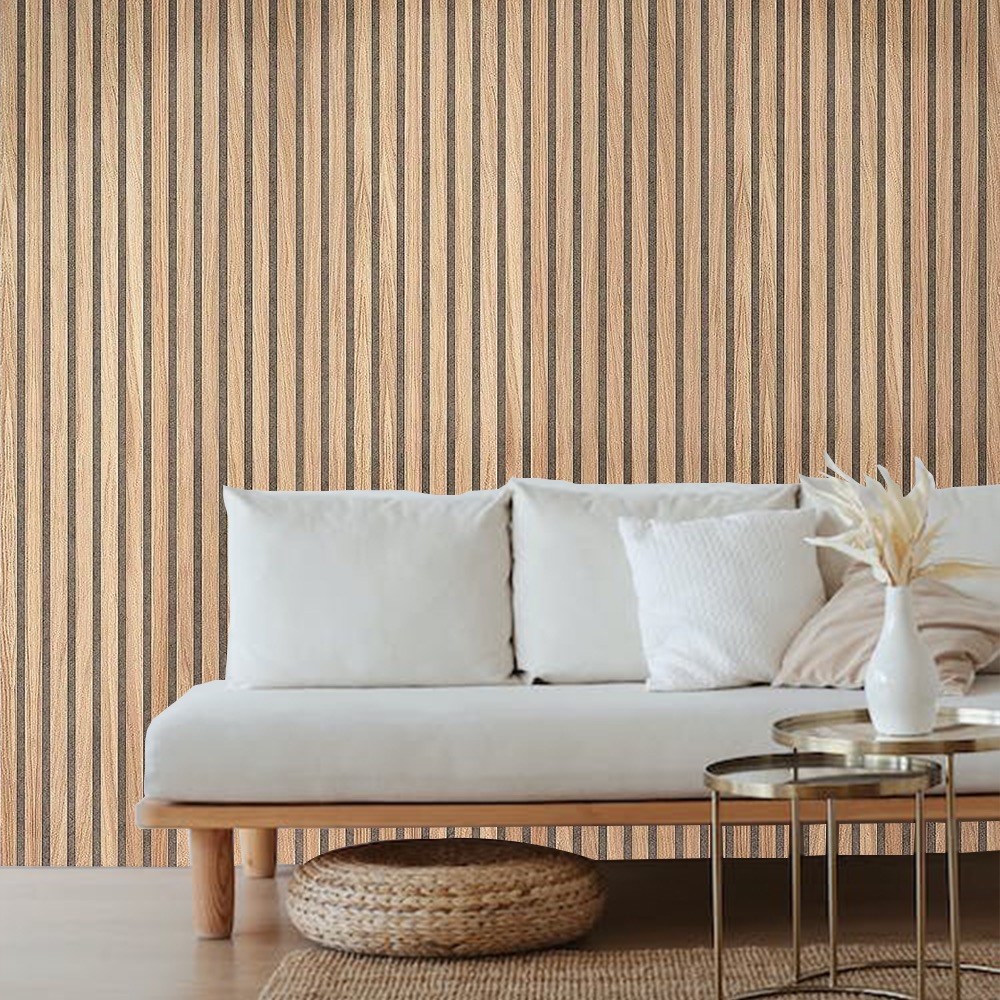
Tambour panels have long been valued for their versatility and aesthetic appeal in modern design, both for residential and commercial spaces. Known for their slatted, flexible structure, tambour panels are increasingly being used to add texture and depth to walls, cabinetry, and furniture. However, if you’re looking to customize tambour panels for your unique interior, staining them offers a perfect way to elevate their look. In this guide, we’ll walk you through the steps to stain tambour panels for a custom finish that enhances their natural beauty while fitting your desired style.
Why Choose Tambour Panels for a Custom Finish?
Tambour panels provide a flexible, lightweight option for adding dimension to any space. Their slatted design, usually made from wood, can be stained to match any décor or style preference. The advantage of staining tambour panels lies in its ability to offer a seamless, custom finish that showcases the wood’s natural grain and color while also giving you the freedom to choose the exact tone or finish.
Benefits of Staining Tambour Panels:
- Customization: Choose from various stain colors to complement your interior design.
- Highlighting Natural Wood Grain: Enhance the wood’s inherent beauty.
- Durability: Stain offers protection, extending the life of your tambour panels.
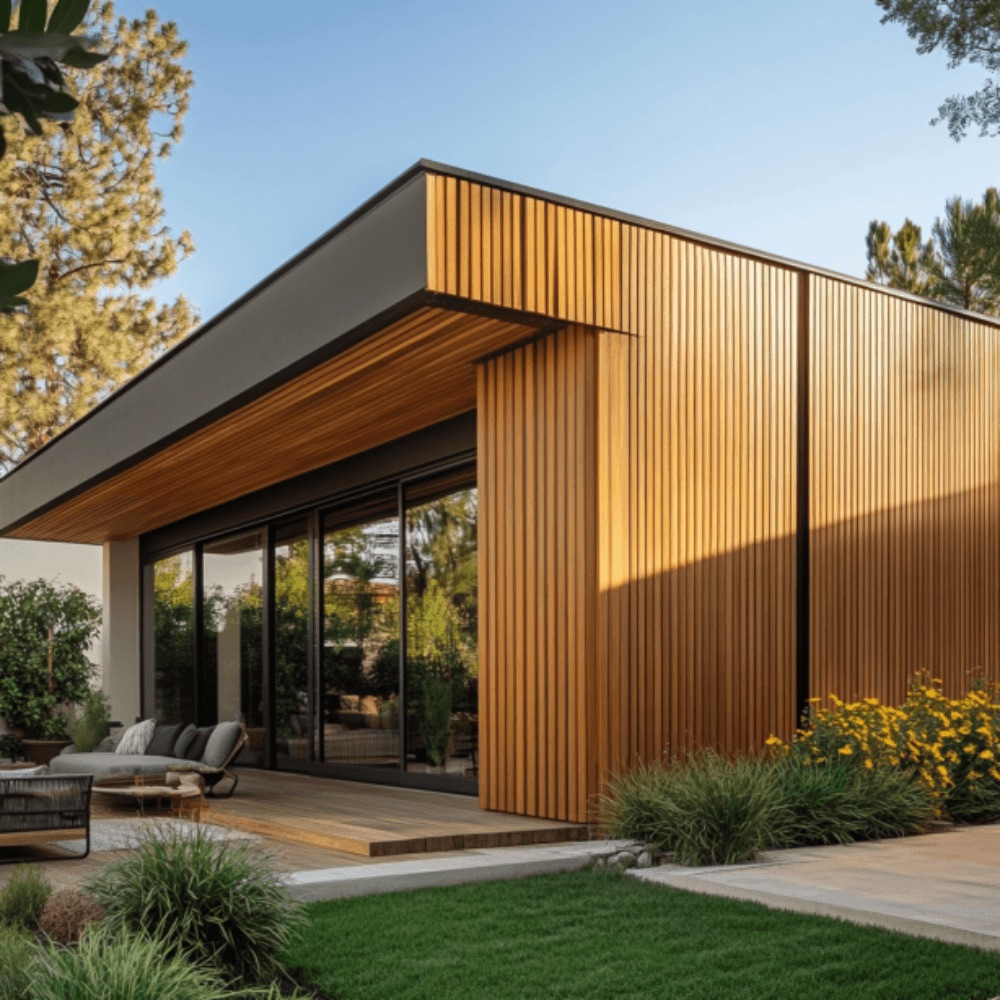
- Versatility: Tambour panels can be installed on walls, ceilings, or furniture, with stain options suitable for each.
How to Stain Tambour Panels for a Custom Finish
Before diving into the staining process, it’s essential to have all the necessary materials and follow the correct steps to achieve a flawless custom finish on your tambour panels.
Materials Needed:
- Tambour panels
- Sandpaper (120 and 220 grit)
- Wood stain (color of choice)
- Pre-stain wood conditioner (optional)
- Clean cloths or brushes
- Clear topcoat (polyurethane or varnish)
- Painter’s tape and drop cloths
Step 1: Prepare the Panels
Surface preparation is crucial to ensure the stain adheres evenly to the tambour panels. Begin by lightly sanding the surface with 120-grit sandpaper to remove any imperfections or rough areas. Follow this by sanding with 220-grit sandpaper for a smoother finish.
Pro Tip: If your tambour panels have a glossy finish, use a deglosser or sand it down thoroughly for better stain absorption.
- Clean the panels to remove all sanding dust with a damp cloth.
- Optionally, apply a pre-stain wood conditioner to ensure the stain penetrates evenly, especially for softwoods like pine.
Step 2: Choose and Apply the Stain
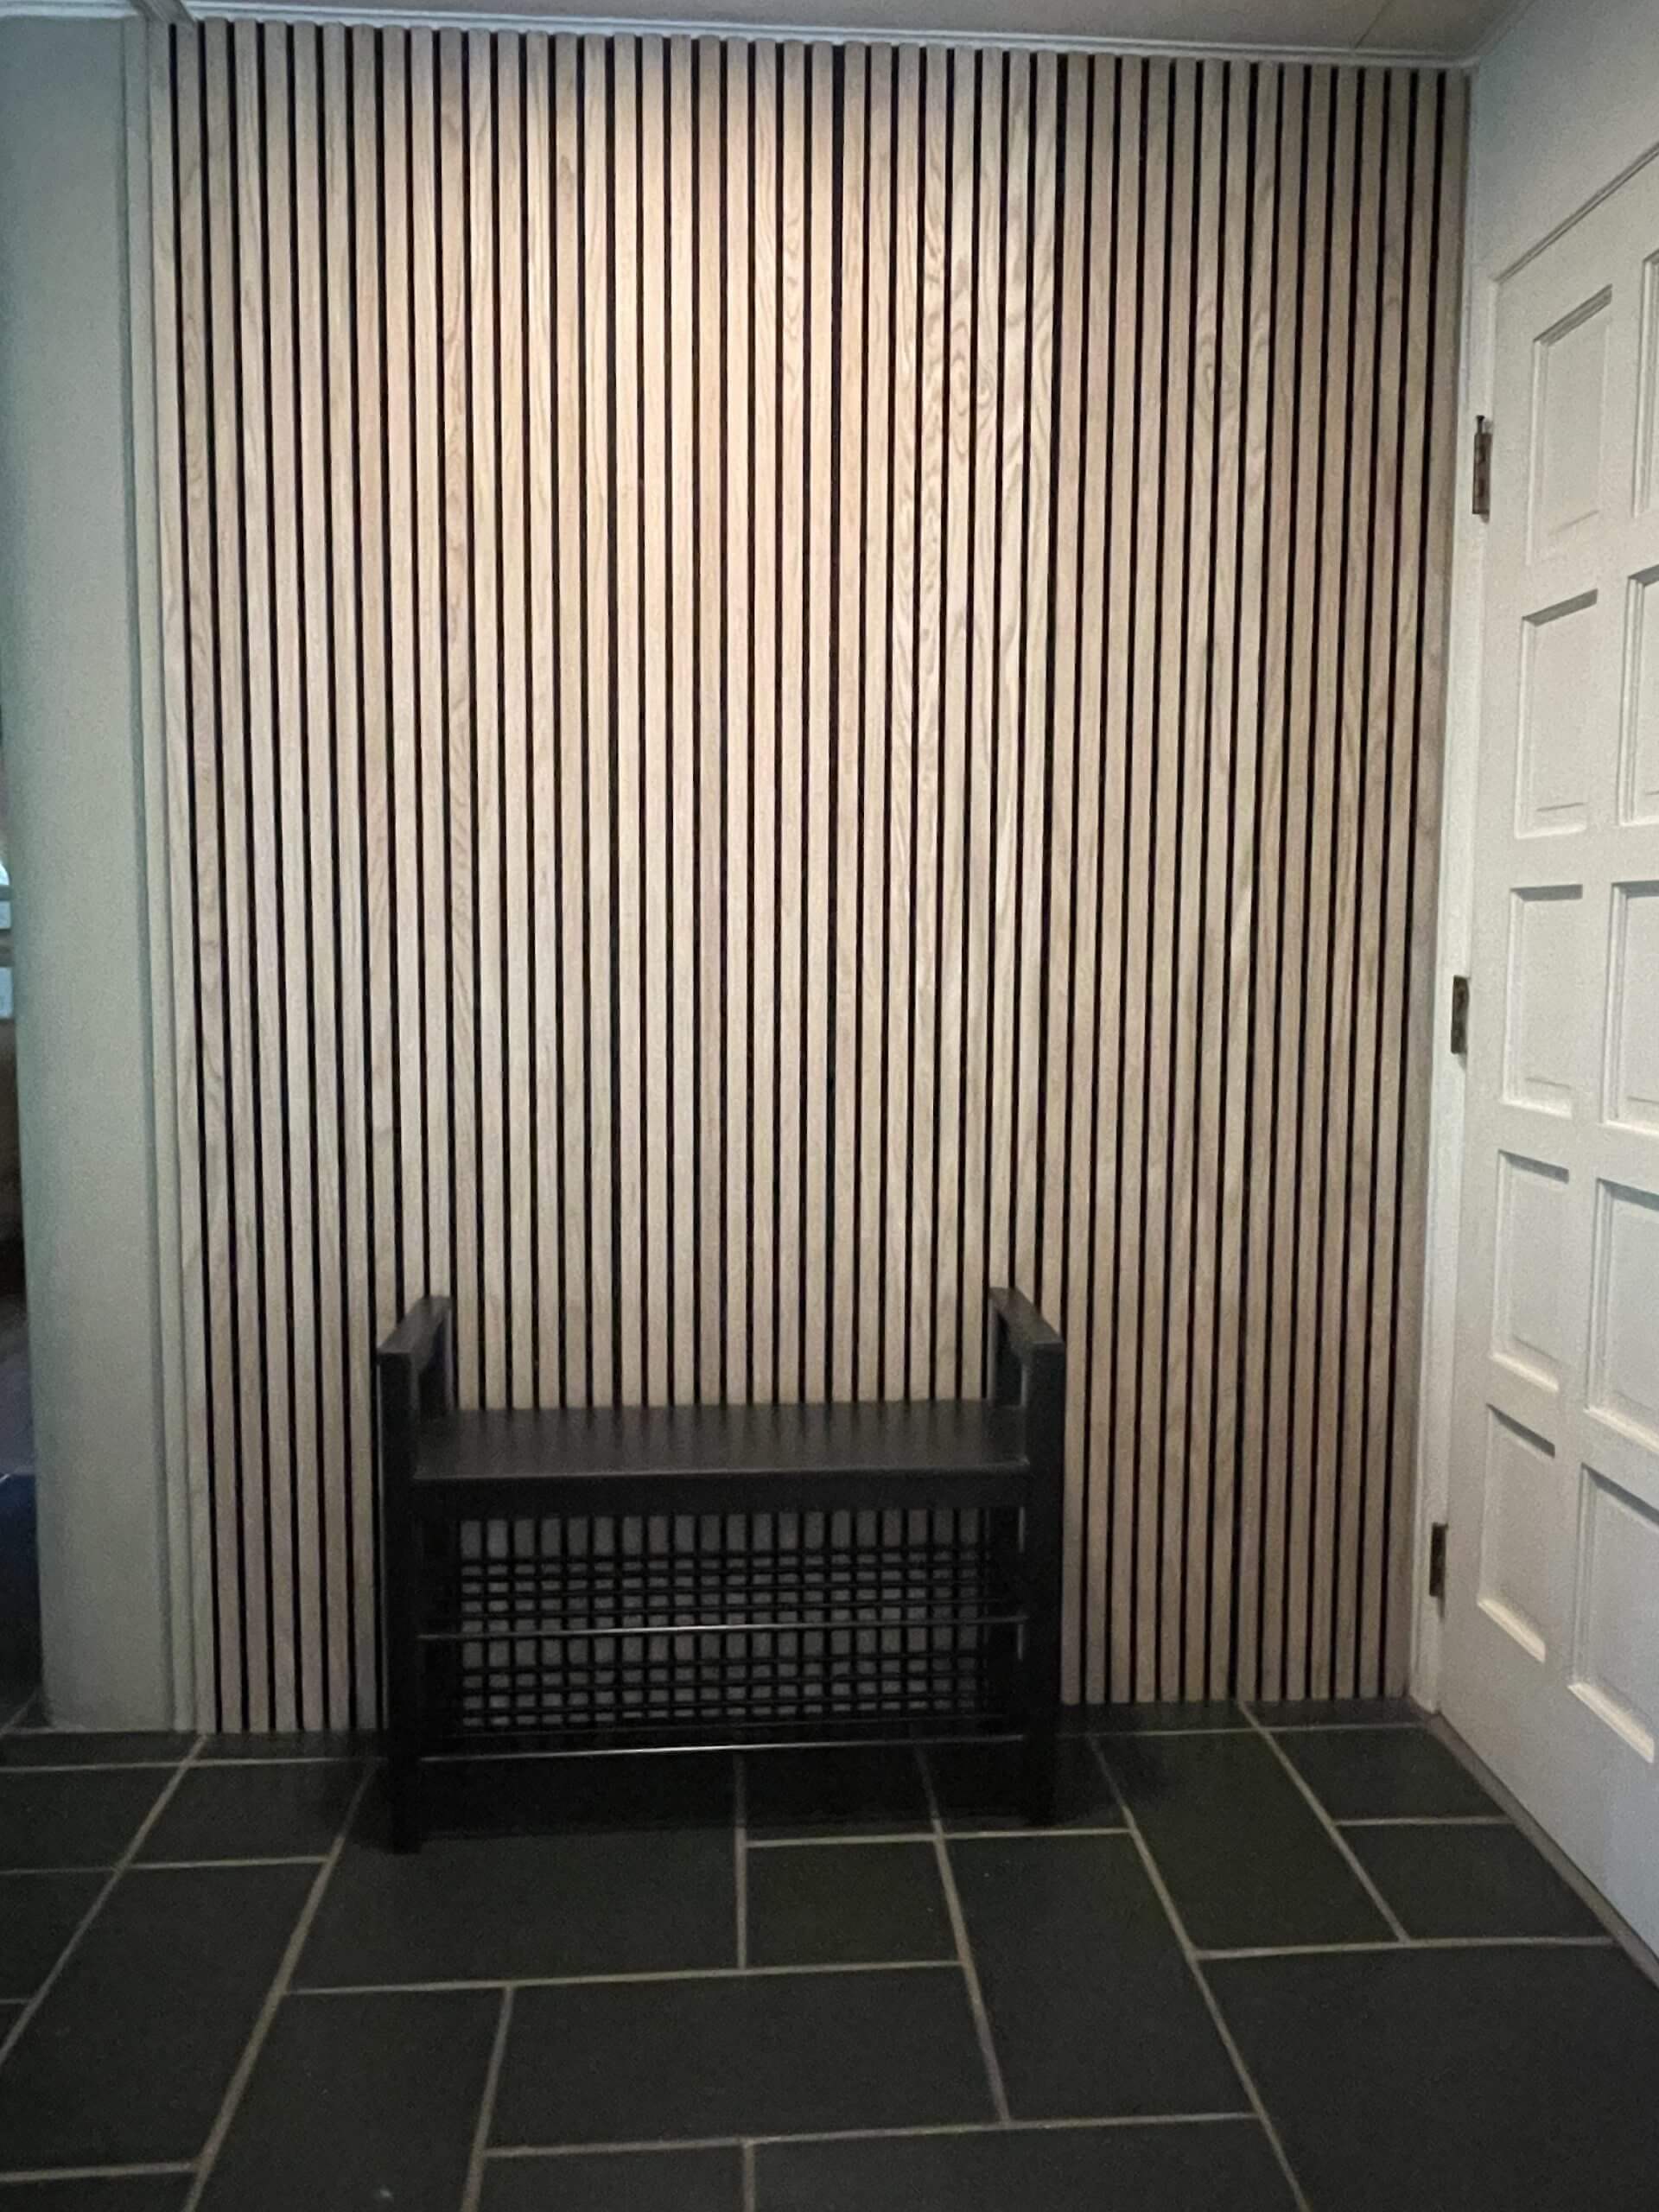
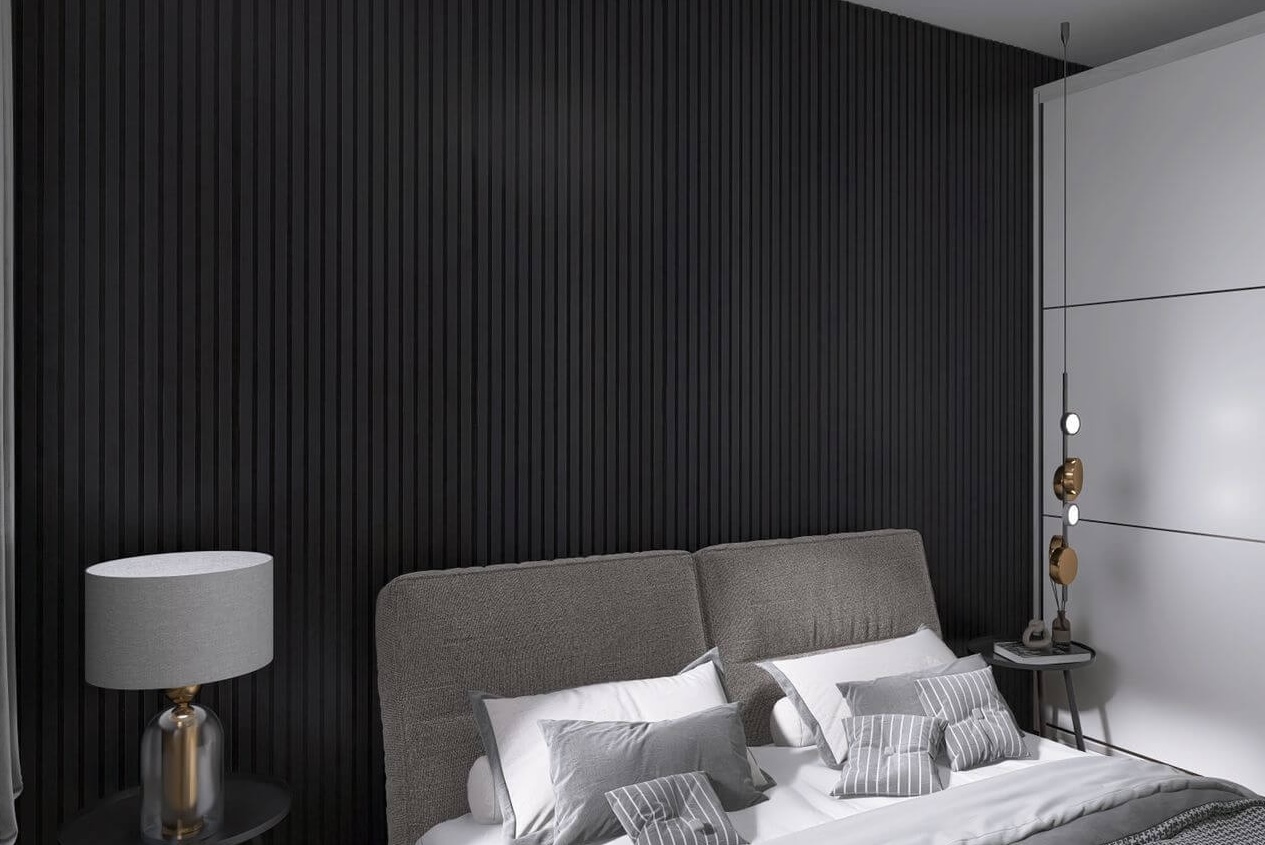
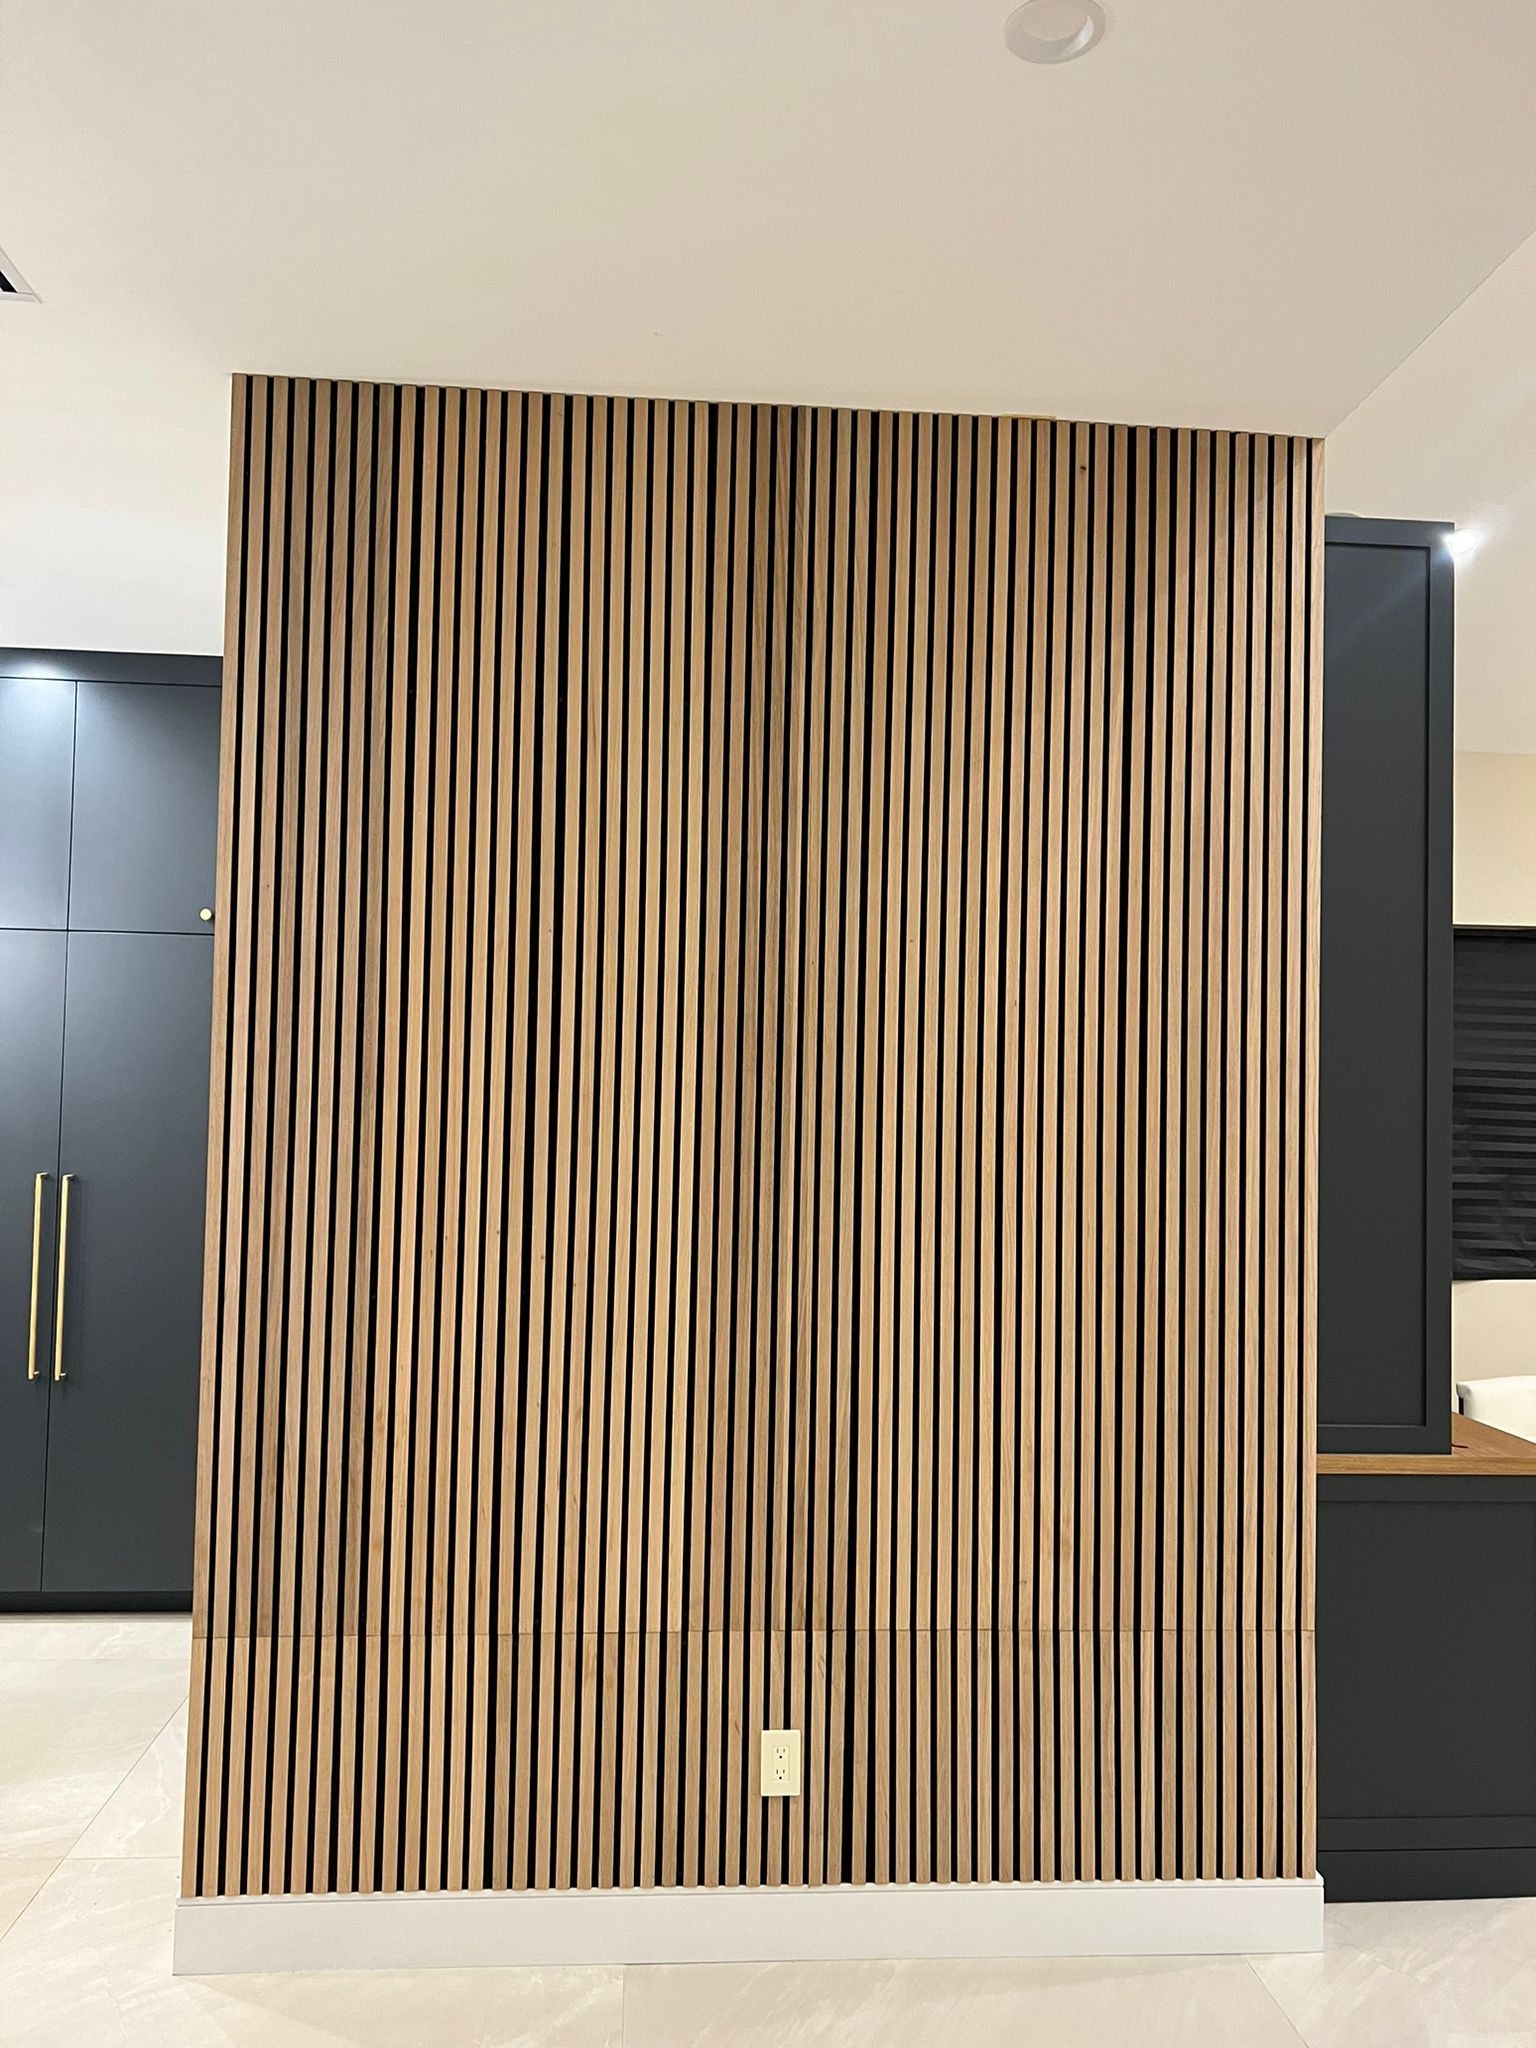
Select the stain color that best complements your interior design. Popular choices for tambour panels include rich walnut tones for a classic look, or lighter shades like oak for a modern, minimalistic vibe.
Applying the Stain:
- Stir the stain well to ensure it is fully mixed.
- Use a clean cloth or brush to apply the stain in the direction of the wood grain. Ensure even coverage over the entire panel.
- Let the stain sit for about 5-15 minutes depending on the depth of color you want, then wipe off the excess with a clean cloth.
- Allow the stain to dry as per the manufacturer’s instructions, typically 24 hours.
Pro Tip: Always test your stain on a small section of the panel or scrap wood to check the color before applying it to the whole panel.
Step 3: Apply a Protective Finish
Once your stain is dry, it’s time to protect your custom finish with a clear topcoat. A topcoat not only seals the stain but also enhances the durability of your tambour panels.
Applying the Topcoat:
- Lightly sand the surface with 220-grit sandpaper to remove any raised grain after staining.
- Apply a clear topcoat like polyurethane or varnish using a clean brush or cloth.
- Allow the topcoat to dry according to the product’s instructions, then apply a second coat if needed for extra protection.
Common Mistakes to Avoid When Staining Tambour Panels
Achieving the perfect custom finish on tambour panels requires attention to detail. Here are some common mistakes to avoid:
- Skipping the Sanding Process: Failing to sand the panels properly can result in uneven stain absorption.
- Not Wiping Off Excess Stain: Allowing the stain to pool on the surface can lead to blotchiness.
- Rushing the Drying Time: Always give the stain and topcoat ample time to dry before handling or installing the panels.
Simple Flow Diagram of the Staining Process
Here’s a simple flow to visualize the staining process:
- Prepare the Panels →
- Apply Pre-Stain Conditioner (Optional) →
- Apply the Stain →
- Wipe Off Excess Stain →
- Apply Clear Topcoat →
- Allow to Dry Fully
Bullet List of Staining Tips
- Always sand the surface before applying the stain.
- Use a pre-stain conditioner for even absorption.
- Test stain on scrap wood first.
- Wipe off excess stain within 15 minutes.
- Apply a protective clear topcoat after staining.
Customization Ideas for Tambour Panels
If you’re looking to go beyond basic staining, there are several ways you can further customize tambour panels for a unique finish:
- Two-Tone Stain: Use different stain colors on alternating slats for a dynamic visual effect.
- Distressed Finish: Create a rustic look by lightly sanding the edges after staining.
- Paint and Stain Combination: Paint sections of the panel and stain others for a bold contrast.
FAQs About Staining Tambour Panels for a Custom Finish
-
Can I stain tambour panels if they are already installed?
Yes, you can stain tambour panels after they’ve been installed. However, be sure to protect surrounding areas with painter’s tape and drop cloths.
-
How long does the staining process take?
From preparation to applying the topcoat, staining tambour panels can take up to 48 hours, depending on drying times.
-
What kind of wood is best for staining tambour panels?
Hardwoods like oak or walnut are ideal for staining, as they take stain more evenly and showcase the grain beautifully.
-
Can I use water-based stain on tambour panels?
Yes, water-based stains work well on tambour panels and dry faster than oil-based stains. They are also more environmentally friendly.
-
Do I need to apply a topcoat after staining?
Yes, applying a clear topcoat helps protect the stained wood and extends the life of your tambour panels, especially in high-traffic areas.
Final Thoughts
Staining tambour panels for a custom finish is a fantastic way to personalize your home or commercial space. By carefully following the steps and using the right materials, you can create a professional, high-quality finish that brings out the natural beauty of your wood tambour panels while also matching your unique design preferences.


