Veneer panels offer a sleek and professional finish to any interior design project. However, to achieve that flawless look, proper gluing techniques are essential. In this blog, we will walk you through the steps of gluing veneer panels like a pro, from preparation to execution. This guide is perfect for DIY enthusiasts, interior decorators, and even seasoned professionals looking to refine their skills.
What Are Veneer Panels?
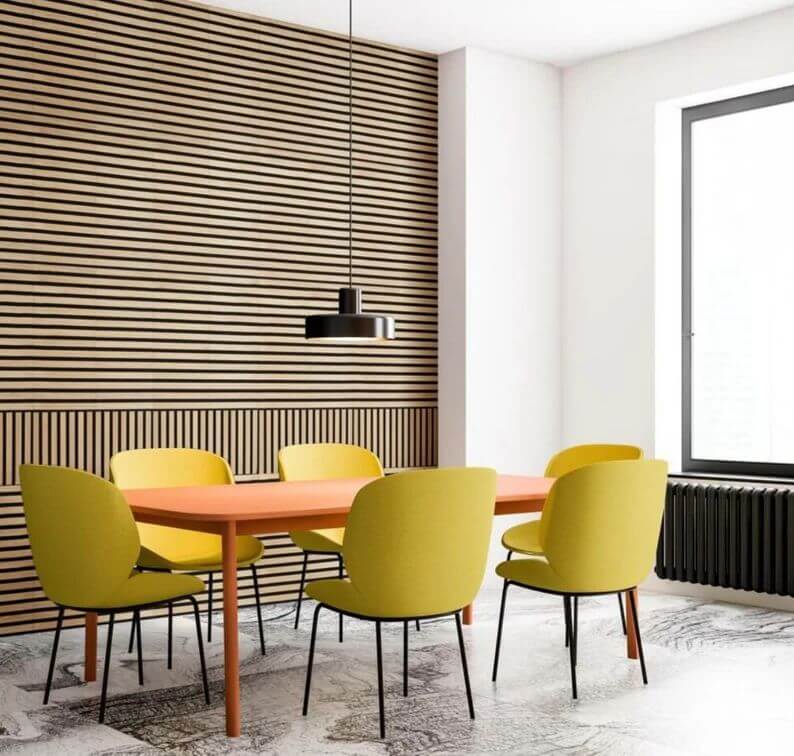
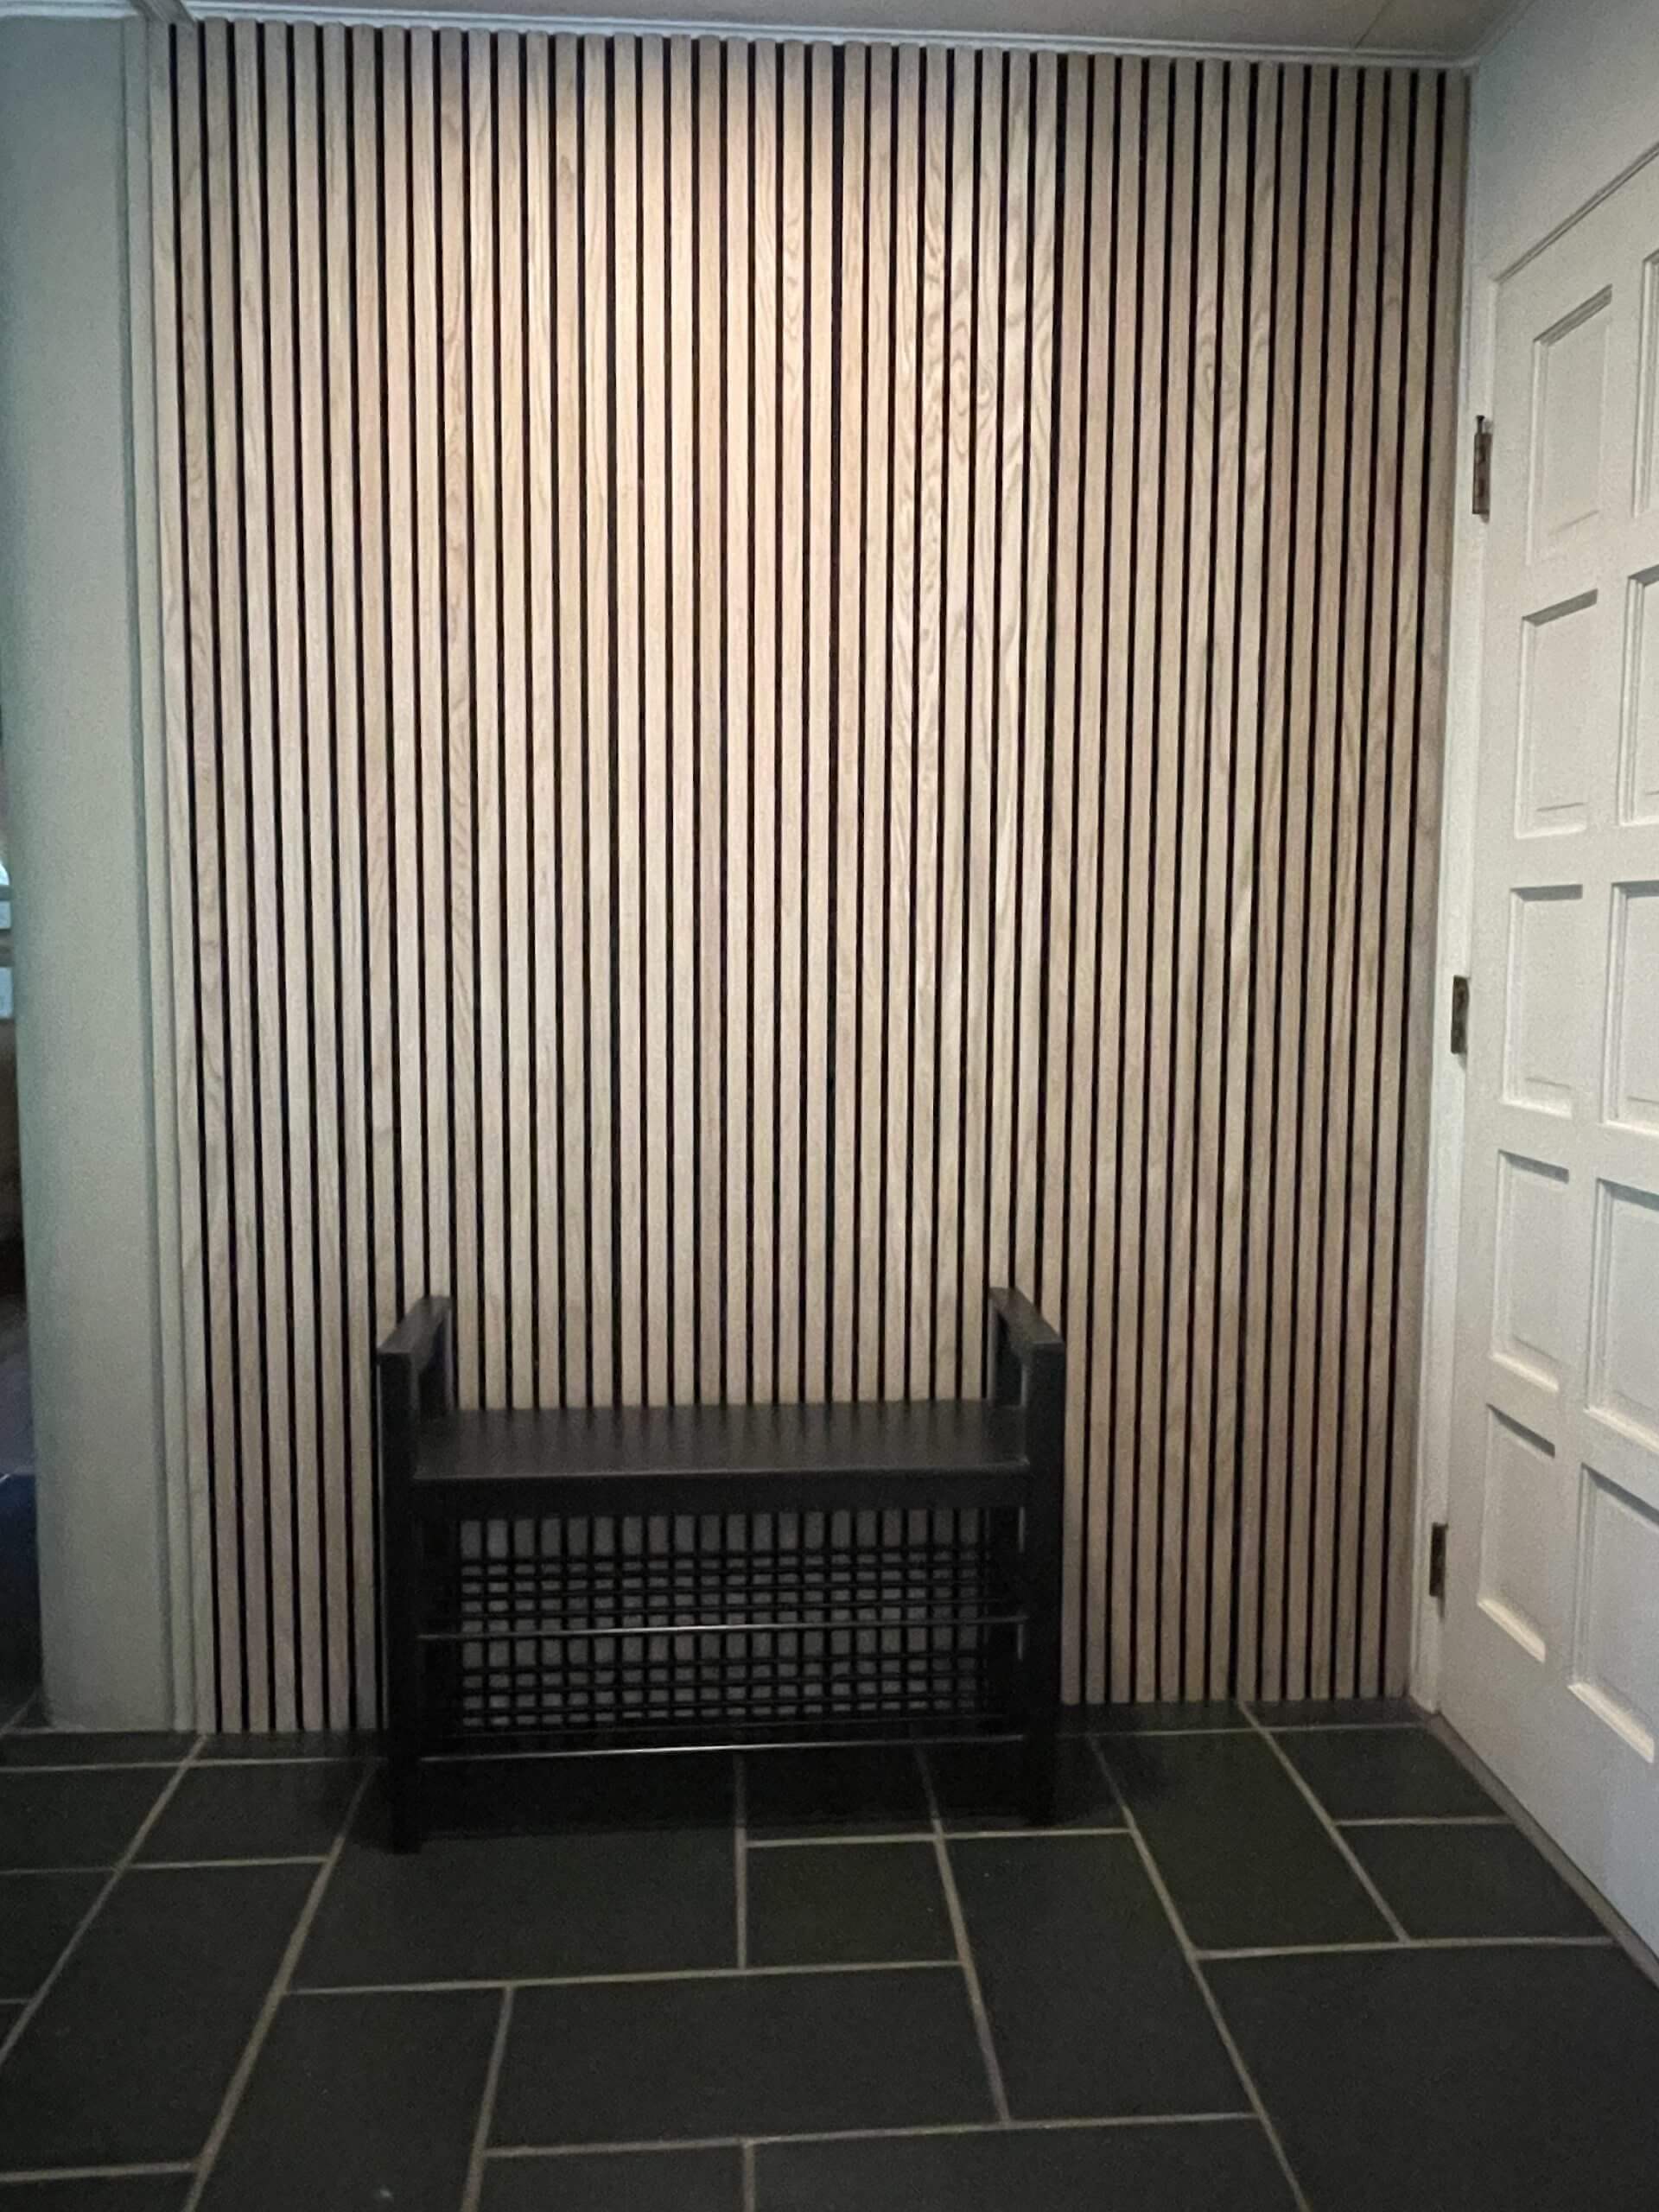
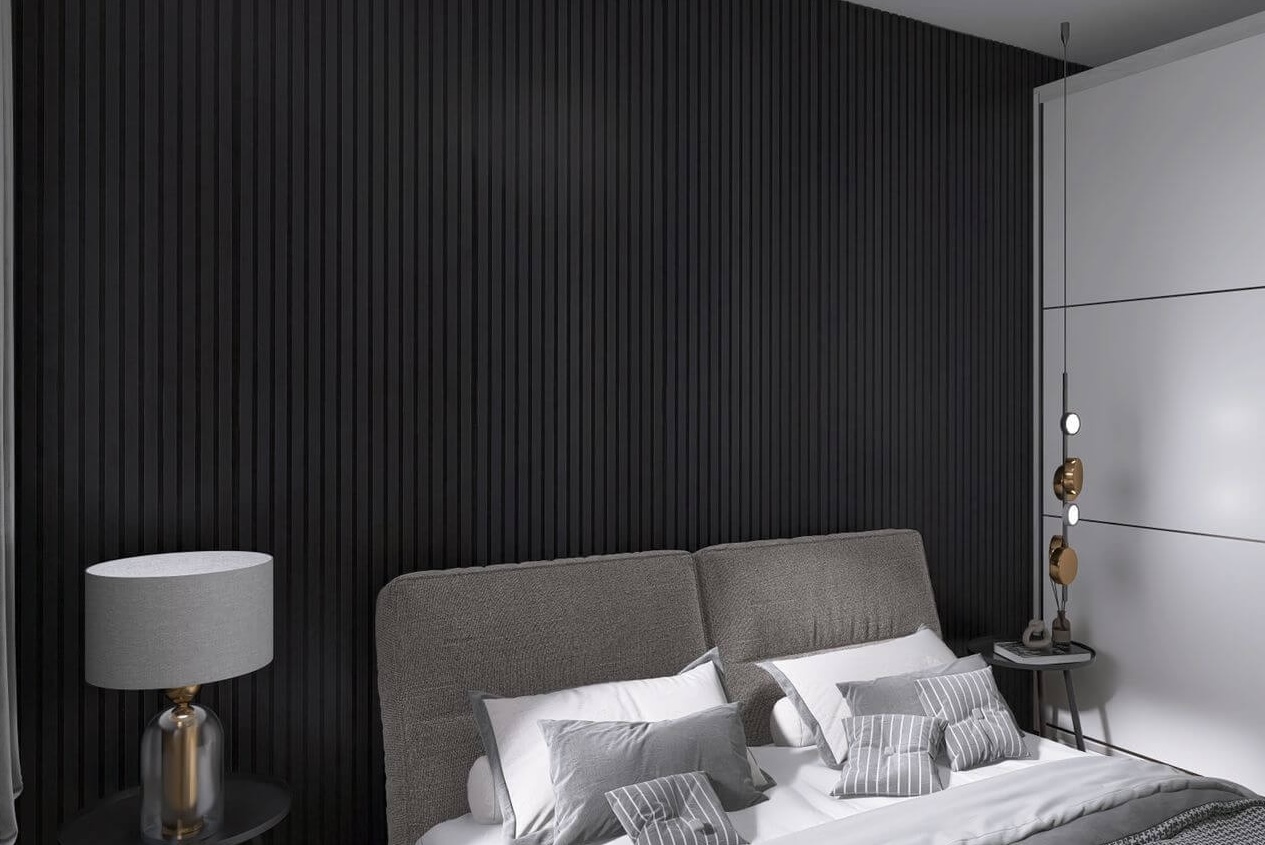
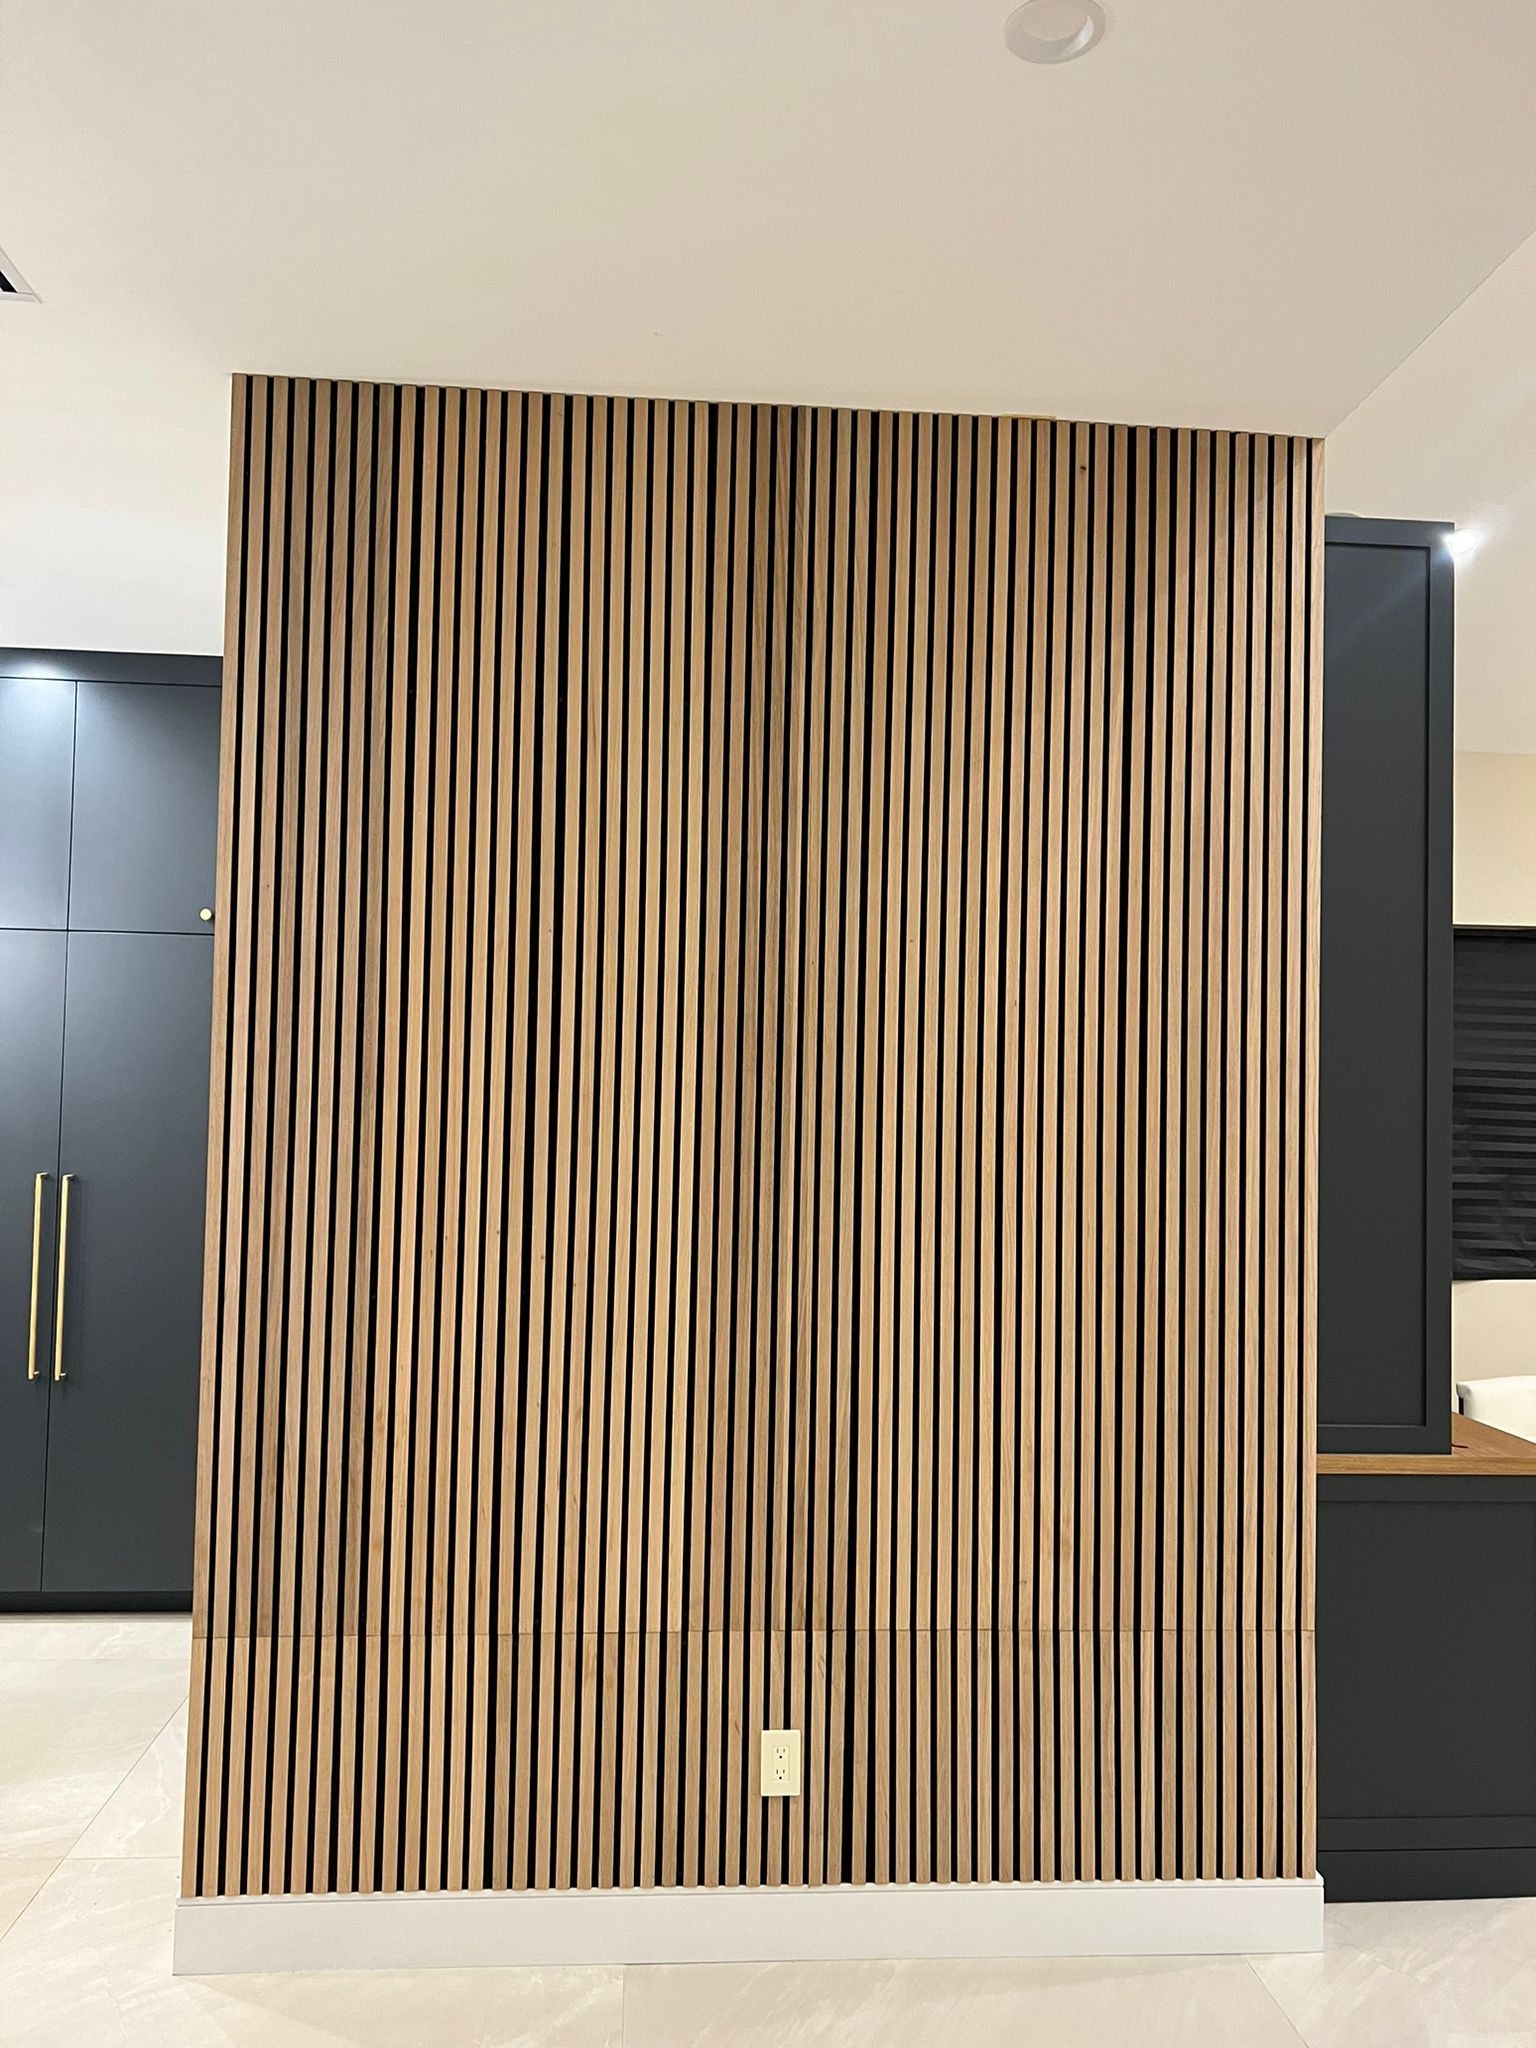
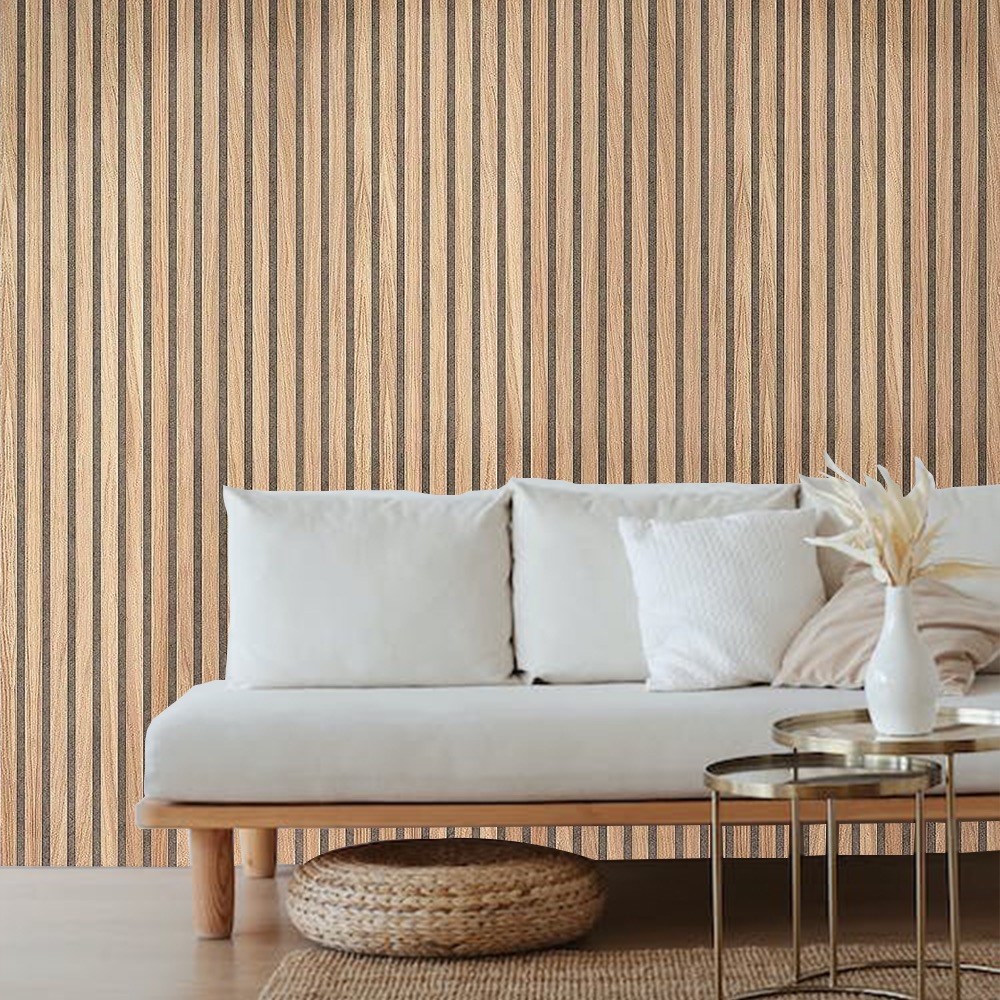
Veneer panels are thin layers of wood that are typically adhered to a substrate material like plywood, MDF (Medium-Density Fiberboard), or particle board. These panels give your space the beauty of real wood without the high cost, making them an ideal option for both residential and commercial applications. Veneer panels are widely used in wall paneling to add a touch of elegance and sophistication to any room.
Materials You Will Need:
Before we dive into the process, make sure you have the following materials ready:
- Veneer panels
- Wood glue or veneer adhesive
- A substrate (MDF, plywood, or particleboard)
- A brush or roller for adhesive application
- A veneer roller or scraper
- Clamps or weights (if necessary)
- Sandpaper (for surface preparation)
- A clean cloth for wiping excess glue
Step-by-Step Guide on How to Glue Veneer Panels
1. Prepare the Surface
Primary keyword: Veneer Panels
Proper surface preparation is crucial for a lasting bond. Start by sanding the surface of the substrate to ensure it’s smooth and free of any dust or debris. Wipe the surface with a clean cloth to remove any remaining particles. Ensuring the substrate is smooth will allow the veneer panels to adhere better and prevent air pockets from forming.
- Pro Tip: Use fine-grit sandpaper for the best results. This will create a slightly rough surface, which helps the adhesive to bond more effectively.
2. Apply the Adhesive
Primary keyword: Veneer Panels
Next, apply a thin, even layer of wood glue or veneer adhesive to the substrate using a brush or roller. It’s important to ensure that the adhesive is applied evenly to avoid any lumps or bumps on the veneer surface. Pay attention to the edges, as these are the areas most likely to peel over time if not properly glued.
- Unordered List (Quick Facts):
- Use water-based glue for MDF and plywood.
- Contact cement works best for larger surfaces.
- Apply adhesive in small sections to avoid drying out before application.
3. Position the Veneer Panel
Primary keyword: Veneer Panels
Once the adhesive is applied, carefully place the veneer panel onto the substrate. Make sure to align it perfectly before pressing down, as the adhesive will begin to bond almost immediately. Use a veneer roller or scraper to press the veneer firmly against the surface, starting from the center and working out toward the edges to remove any air bubbles.
- Pro Tip: Work in a well-ventilated area, especially if using strong adhesives like contact cement.
4. Press and Hold
Primary keyword: Veneer Panels
To ensure the veneer adheres properly, apply consistent pressure across the panel. You can do this by using clamps or placing weights on top of the panel for a few hours. This step is particularly important for large surfaces, as it helps to secure the veneer and prevent any shifting during the drying process.
- Ordered List (Steps for Applying Pressure):
- Place the panel on a flat surface.
- Apply clamps along the edges.
- For larger areas, use heavy, flat objects like books or bricks as weights.
- Leave the panel under pressure for at least 4-6 hours for optimal bonding.
Key Tips for Perfecting Your Veneer Panel Installation
Choose the Right Adhesive
Using the right adhesive for your veneer panels is critical. Wood glue is excellent for smaller projects, while contact cement is perfect for larger applications. Water-based adhesives work well for MDF and plywood, ensuring a strong, durable bond.
Avoid Over-Application of Glue
One common mistake when gluing veneer panels is using too much adhesive. Applying excessive glue can cause the veneer to bubble or wrinkle as it dries. Make sure to use a thin, even layer to avoid these issues.
FAQs
-
How long should I wait before trimming the edges of the veneer panels?
It’s best to wait 24 hours for the glue to fully cure before trimming any excess veneer. This ensures that the bond is strong and won’t peel during the trimming process.
-
Can I paint or stain veneer panels after gluing?
Yes, veneer panels can be painted or stained after the adhesive has fully dried. Just be sure to sand the surface lightly before applying paint or stain for a smooth, even finish.
-
What’s the best way to avoid air bubbles when gluing veneer panels?
Use a veneer roller to smooth out the panel from the center to the edges. Apply steady, even pressure to remove air bubbles during the application process.
-
Can I glue veneer panels to any type of substrate?
Veneer panels can be glued to most smooth, clean substrates like MDF, plywood, and particleboard. Ensure the surface is prepped and free of dust for the best results.
-
Do I need to seal veneer panels after gluing them?
While not always necessary, sealing veneer panels can protect them from moisture and wear. A clear coat of varnish or polyurethane can help extend the life of the veneer.
Conclusion
By following these steps, you can glue veneer panels like a pro, ensuring a smooth, professional finish for your projects. Whether you’re revamping your home or working on a commercial space, properly glued veneer panels can elevate the aesthetic appeal of any room. Always remember to prepare your surface, apply adhesive evenly, and take your time to ensure perfect alignment. With these tips, your veneer panel installation will look polished and high-quality, just like the work of a seasoned professional.

