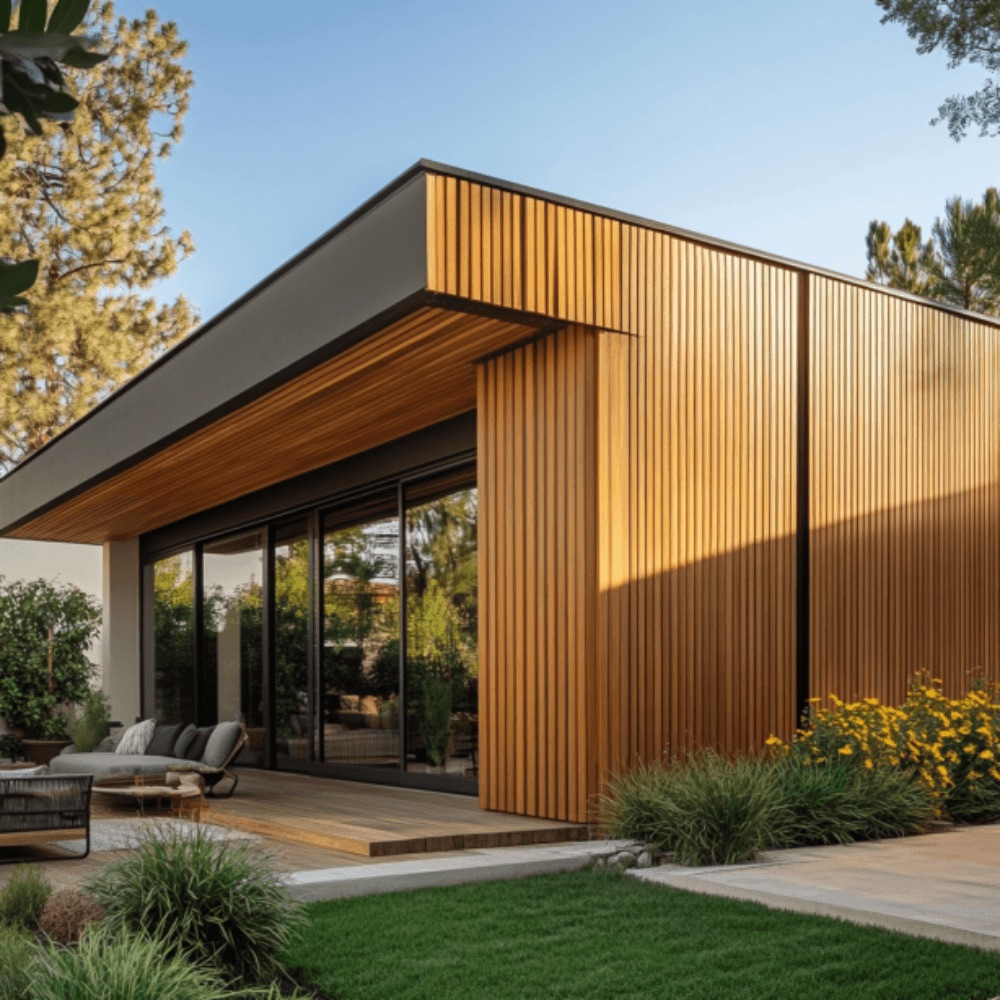
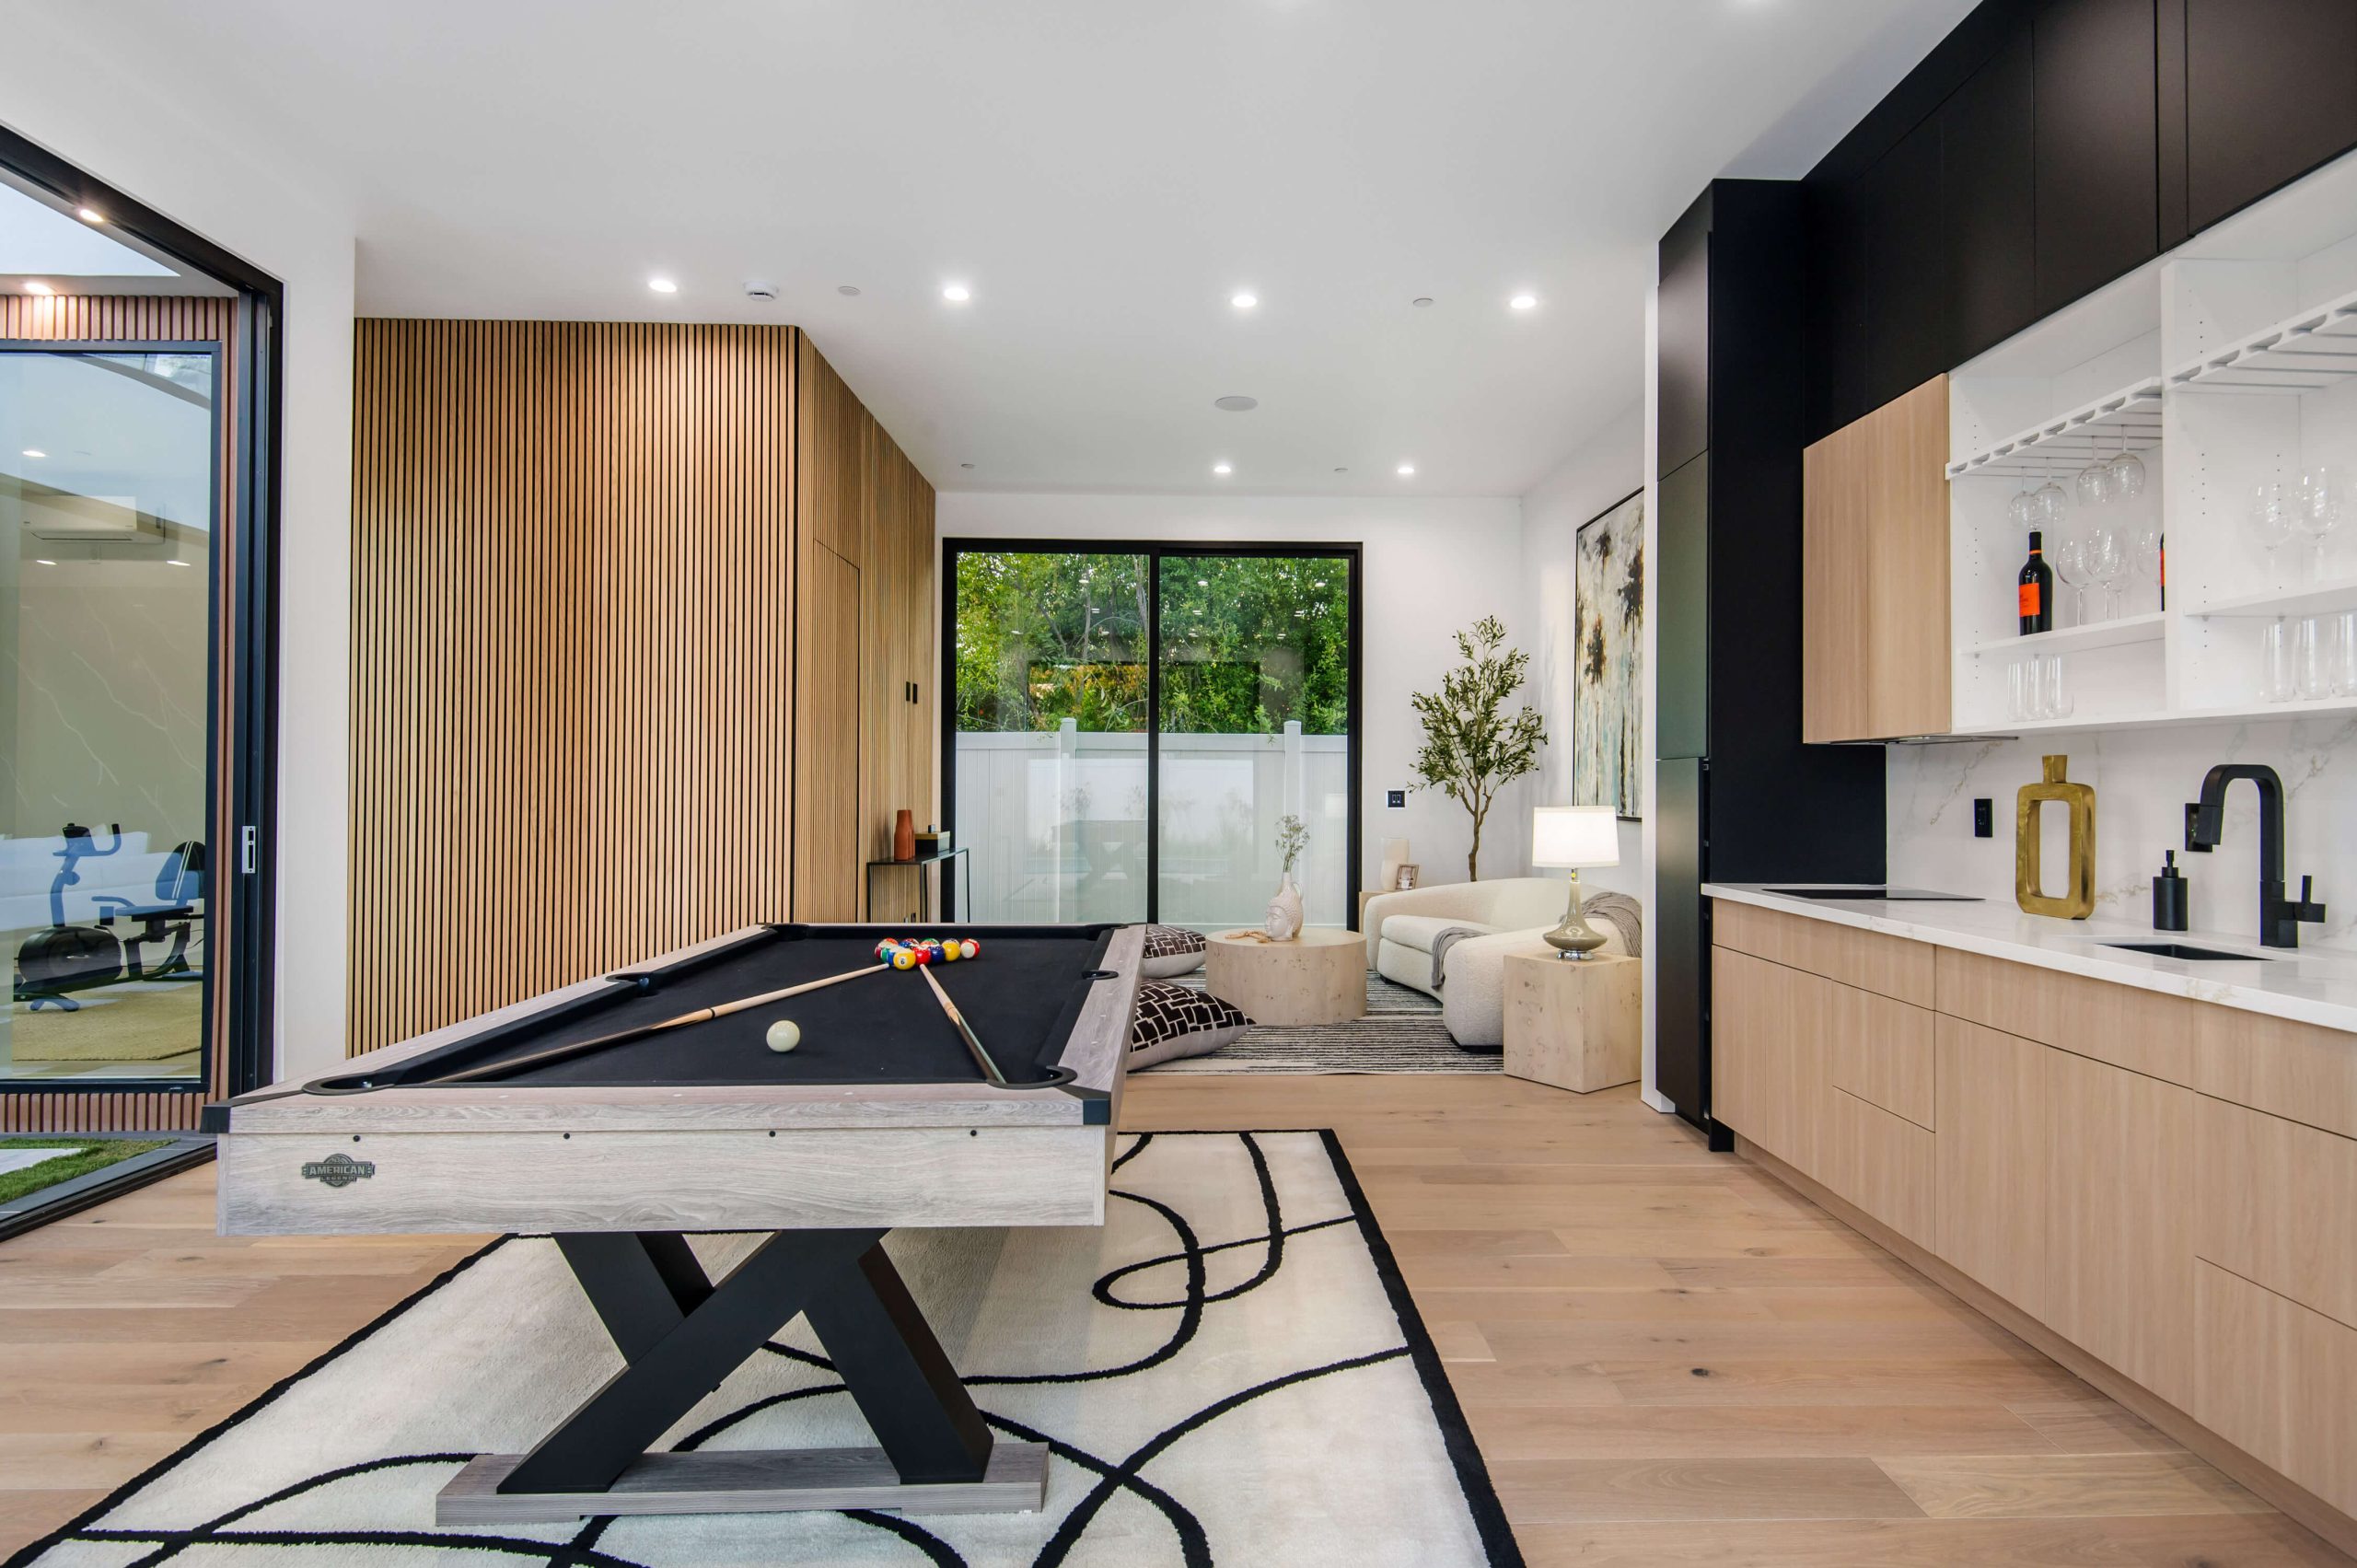
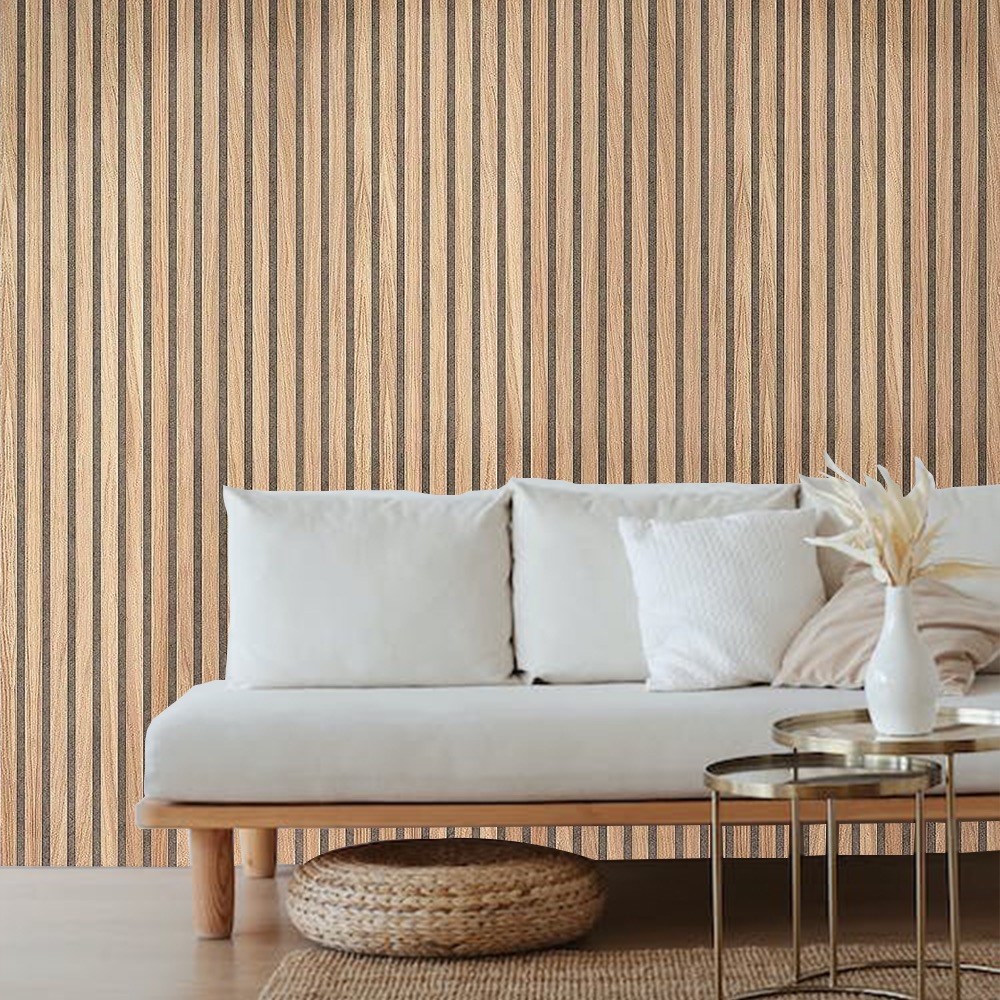
Ever walked into a room and felt instantly warm and welcomed? That’s the magic of a well-done timber wall. At our place, we’ve seen how a simple touch of wood can completely change a space—from dull and plain to cosy and full of charm. And the best part? You don’t need to be a tradie to pull off a wood panel wall. That’s why we’ve put together this easy-to-follow Wood Panel Wall Installation Guide to help you get it done right, with confidence and style.
We’ve rolled up our sleeves many times over the years, guiding mates, families, and even first-time DIYers through timber projects. So whether you’re going for that modern Scandi feel, rustic farmhouse, or a sleek dark feature wall, this Wood Panel Wall Installation Guide is built to walk you through every step—without the stress.
Before you jump into the job, it’s important to get the prep work sorted. Trust us, this bit makes a huge difference later on.
What You’ll Need:
- Timber wall panels (MDF, plywood, hardwood, or pre-primed options)
- Tape measure
- Spirit level
- Pencil
- Stud finder
- Construction adhesive (heavy-duty)
- Nails or brad nails
- Nail gun or hammer
- Mitre saw or hand saw
- Sandpaper
- Filler and paint (if painting or staining)
We always recommend laying out your panels for a dry-fit before sticking anything down. It’s like a trial run—and it’ll save you headaches down the line.
Step 1: Measure Twice, Cut Once
Get your measurements spot-on. Start by measuring the height and width of your wall. You’ll need this to figure out how many panels you’ll need, plus where your cuts go.
We use this little trick:
- Measure top to bottom and side to side in a few spots
- Use the smallest number as your final measurement to make sure everything fits snug
This part is key to any solid Wood Panel Wall Installation Guide—starting with precision means a cleaner finish.
Step 2: Find the Studs
Using a stud finder, locate the wooden studs behind your wall. Mark them lightly with a pencil. You’ll want to anchor some of your nails into these for added support.
Tip: Most studs are spaced around 450mm to 600mm apart. Tap gently on the wall—studs sound solid compared to hollow gaps.
Step 3: Prep the Panels
Now, lay out your timber panels flat. Let them rest for 24 to 48 hours in the room where they’ll be installed. Wood expands and contracts with moisture, and this little waiting period helps prevent warping after install.
If you’re planning to paint or stain them, it’s easier to do it now while they’re on the floor.
Here’s a quick look at popular wood panel styles you might be using:
| Panel Type | Description |
|---|---|
| Shiplap | Overlapping boards, gives a coastal feel |
| VJ (Vertical Joint) | Slim panels with small grooves, classic and tidy |
| Beaded Board | Vintage charm with narrow raised edges |
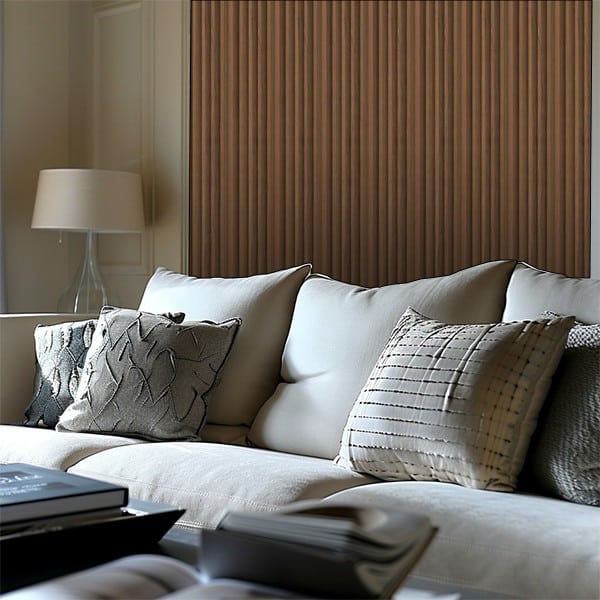
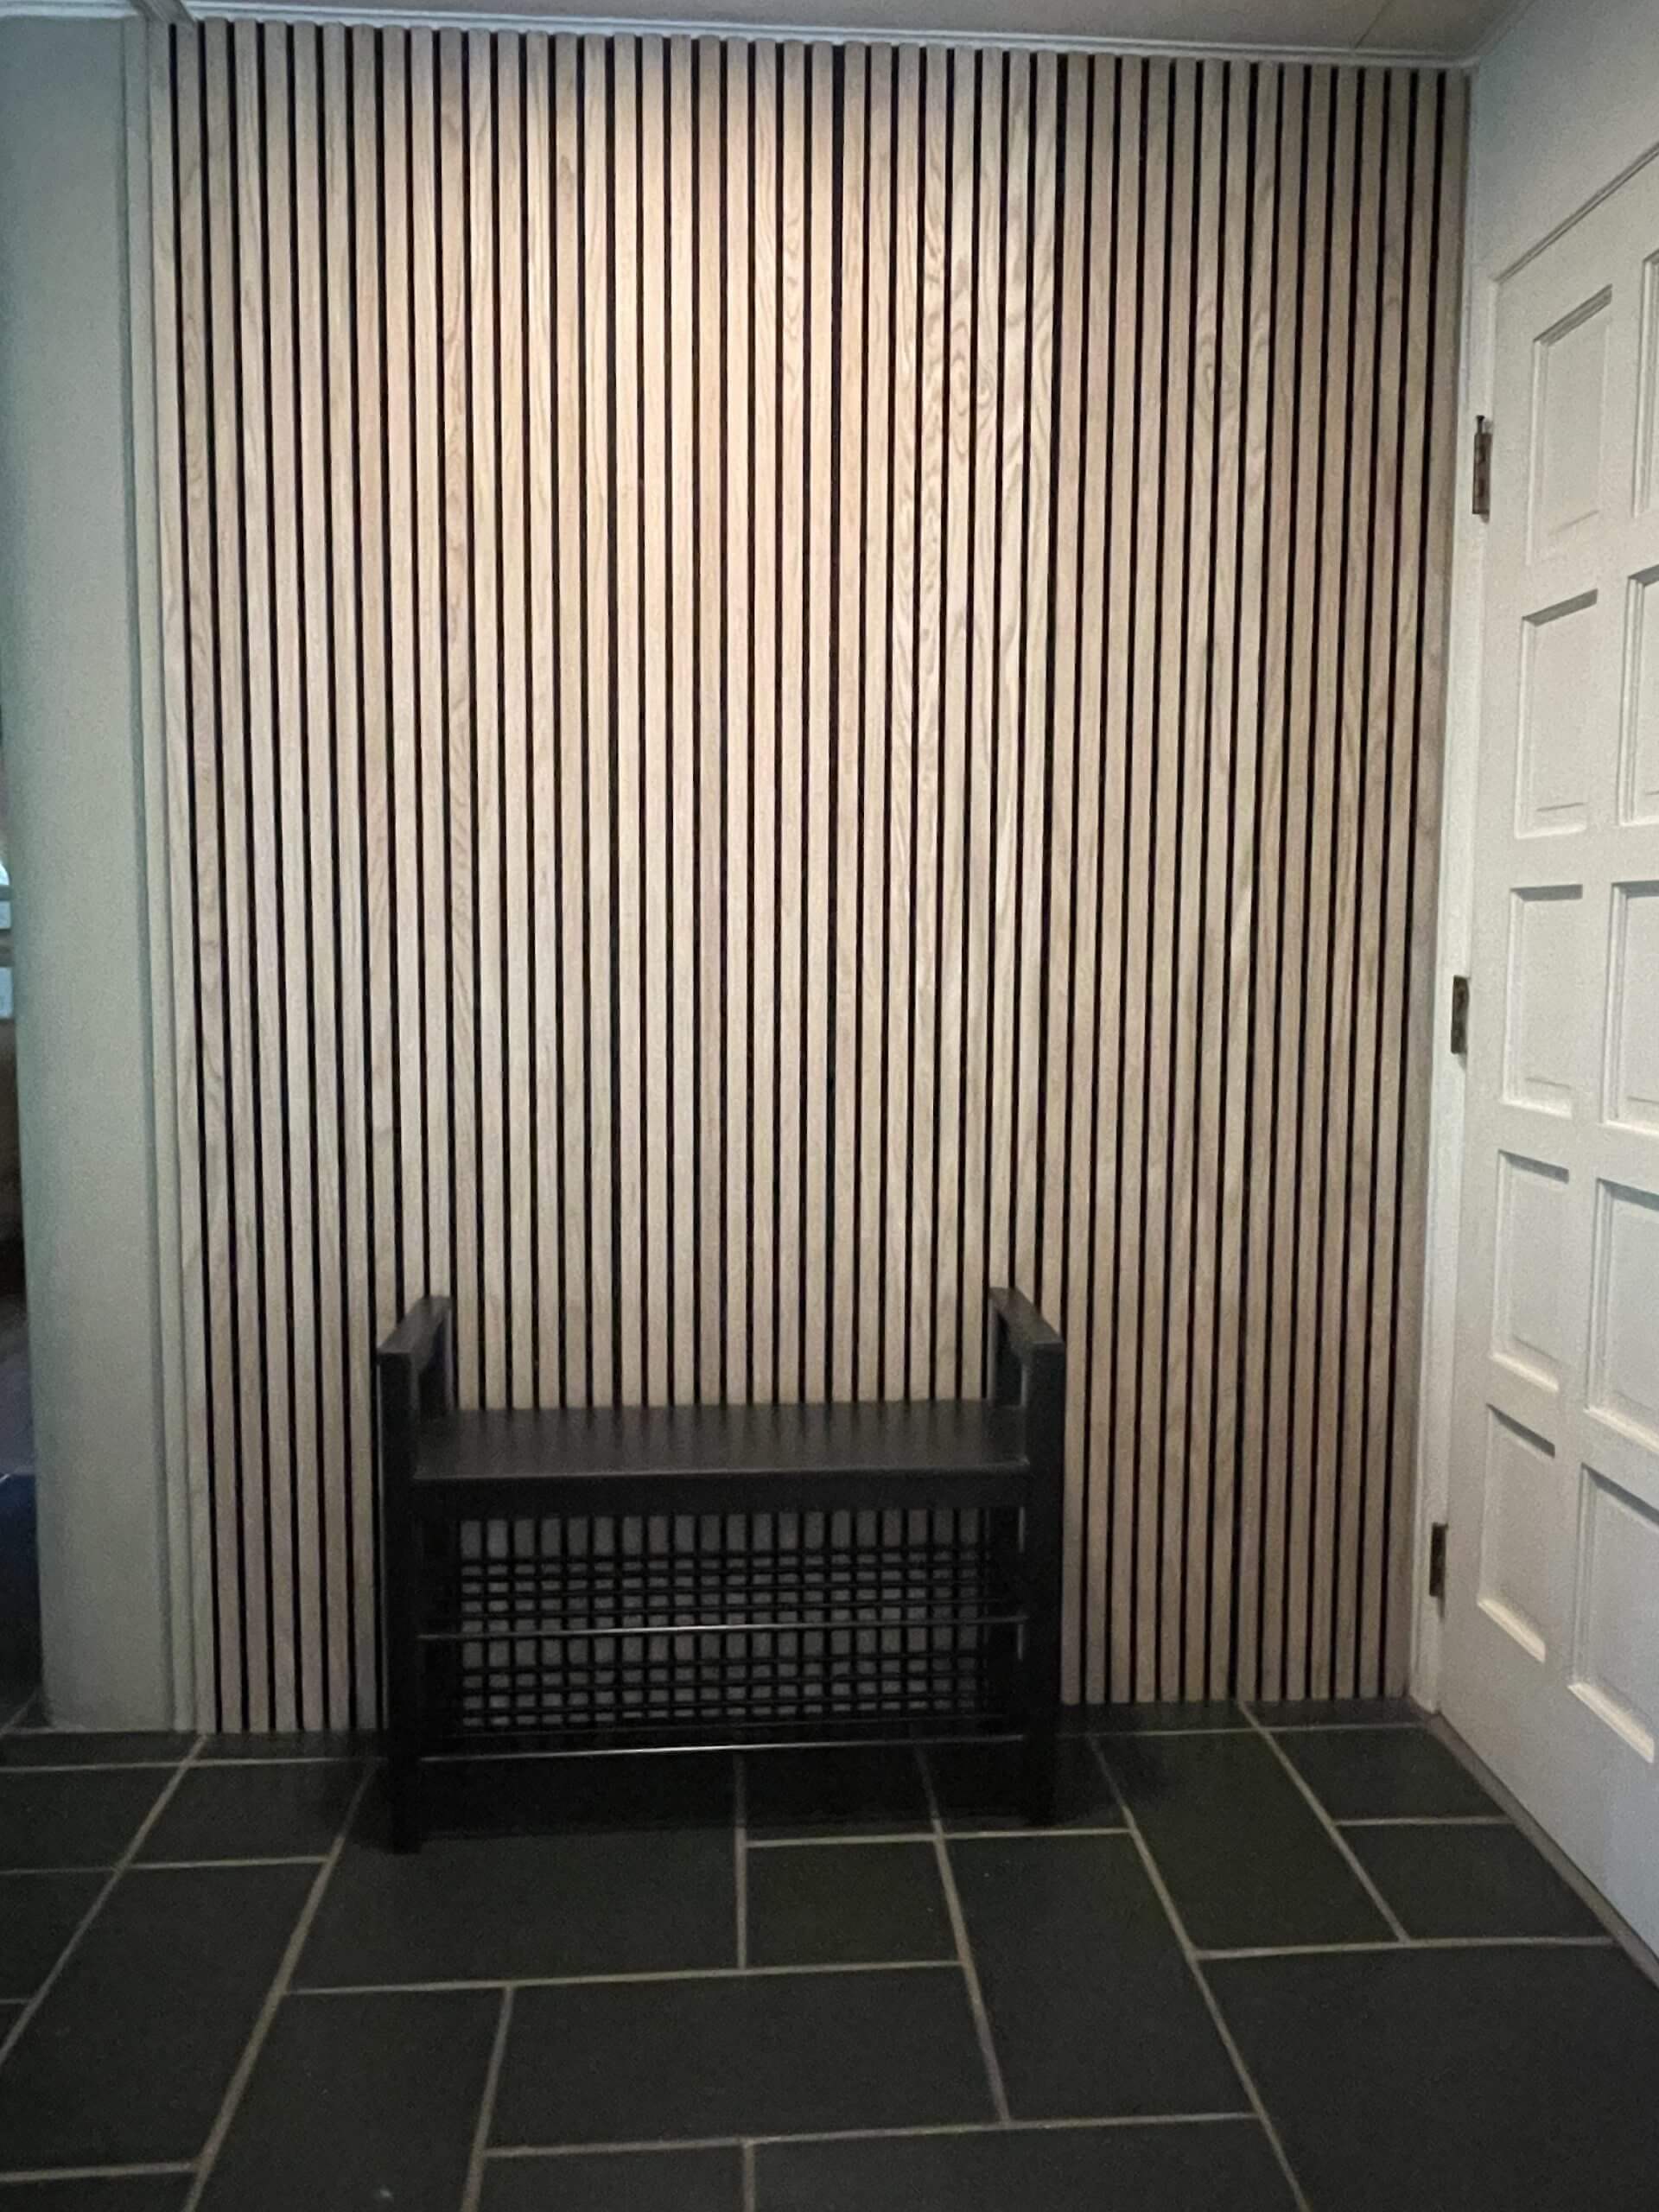
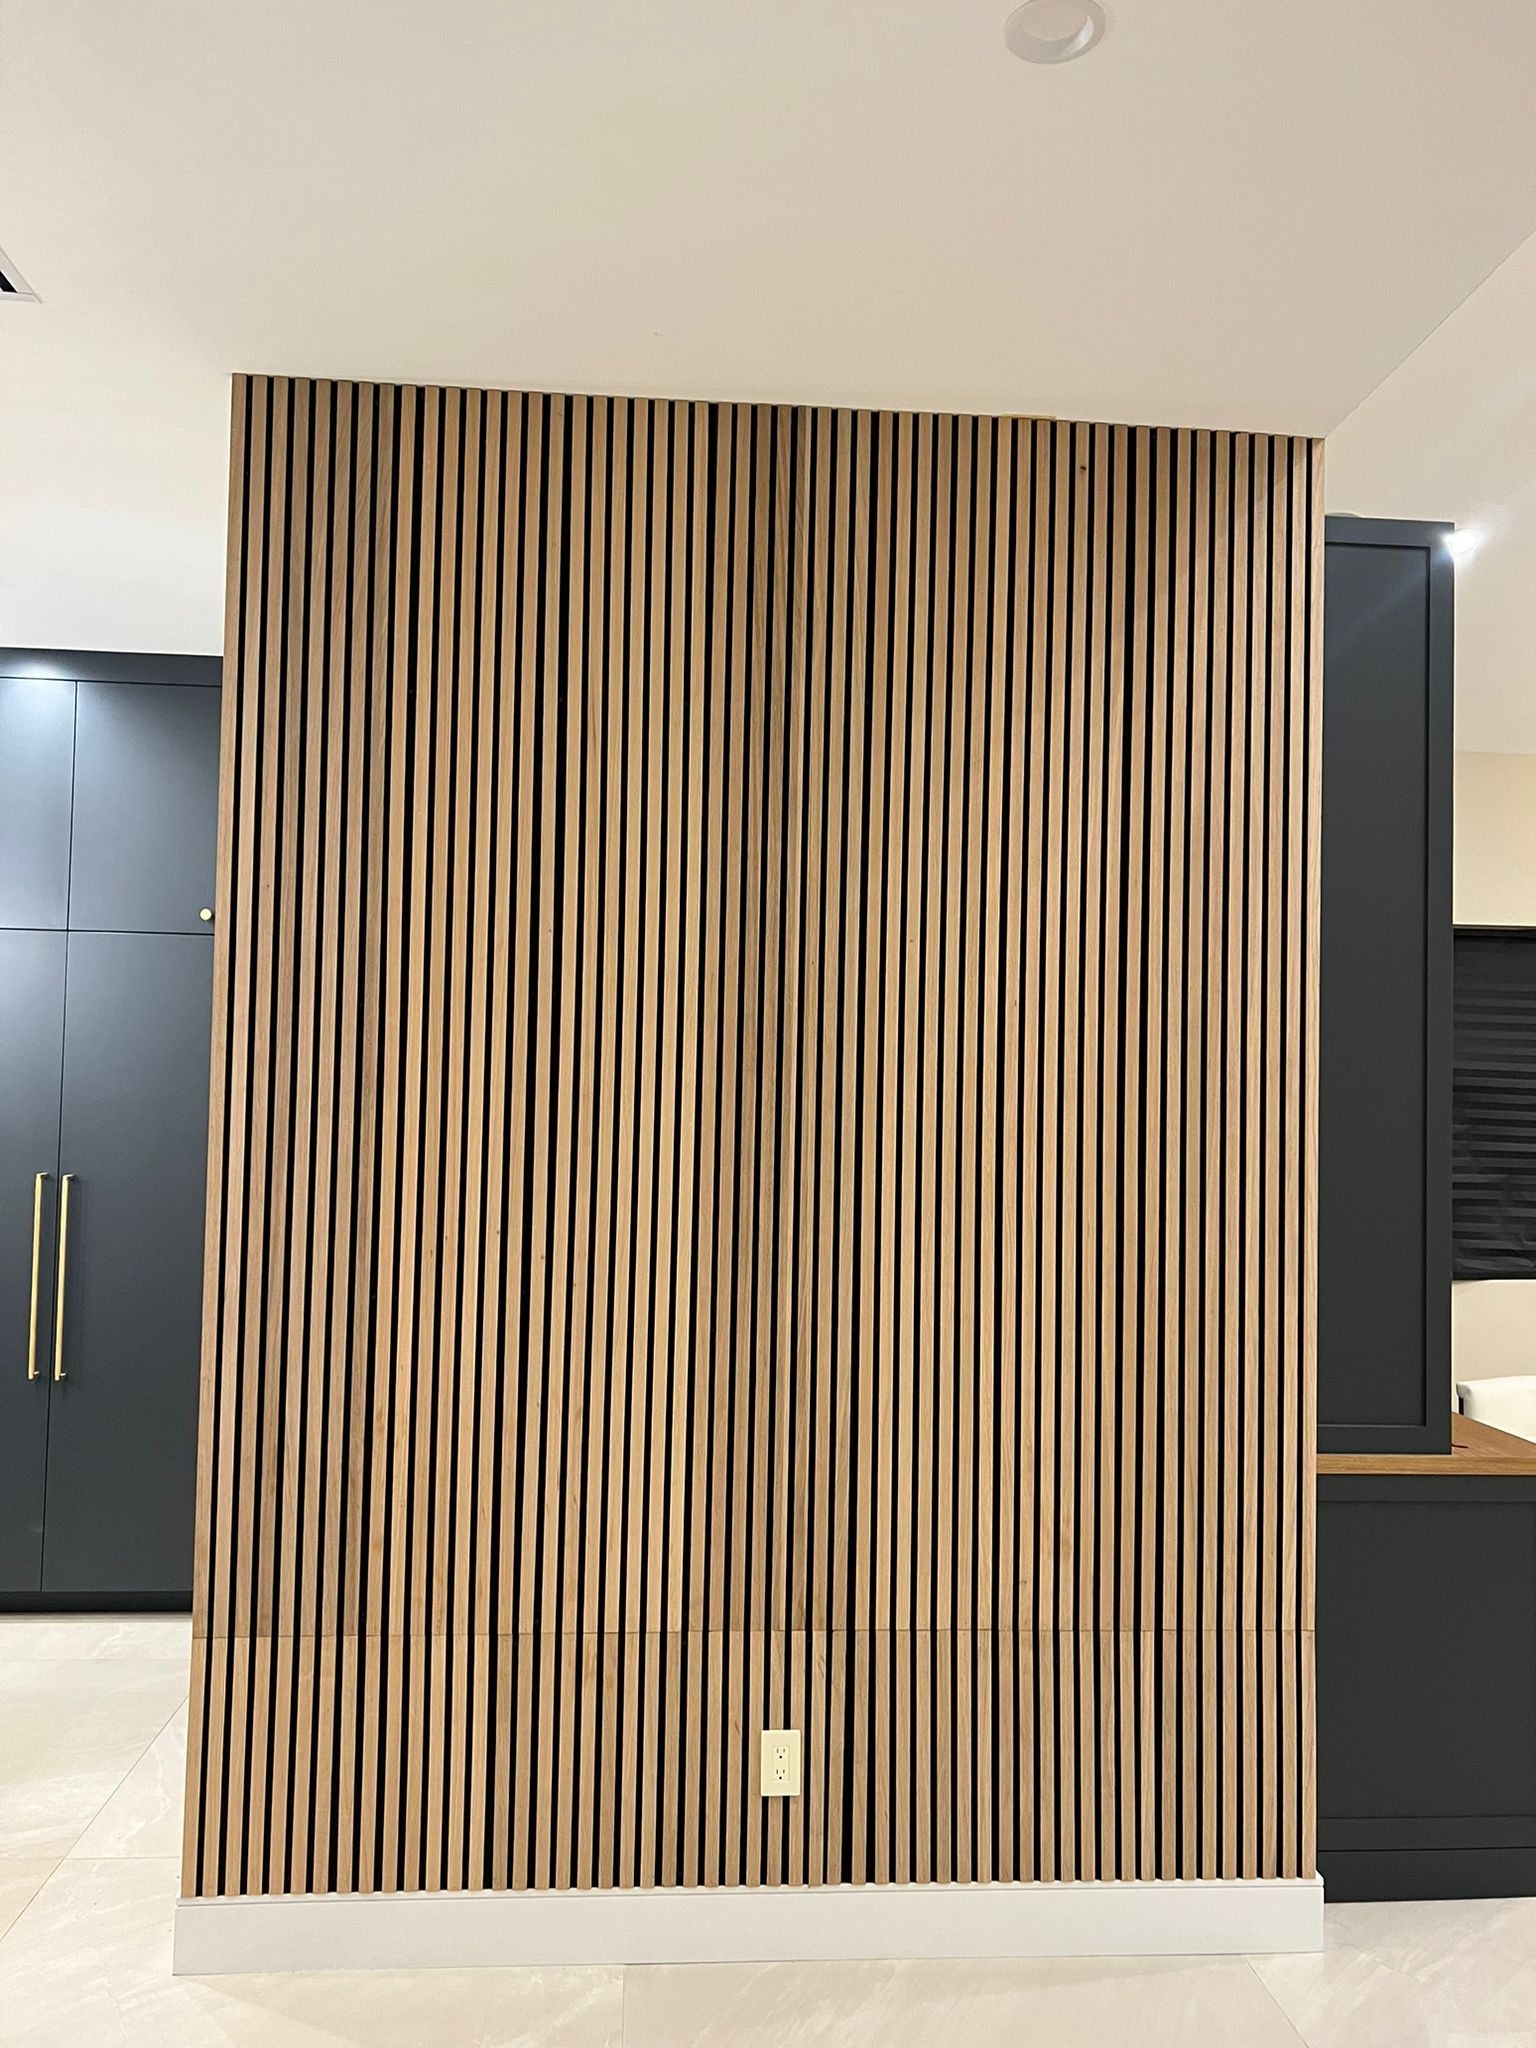
| Slat Panels | Modern timber slats, often used for feature walls |
Each one adds its own flavour to a room, and our Wood Panel Wall Installation Guide works for them all.
Step 4: Apply Adhesive and Stick
Starting at one side of the wall, apply construction adhesive to the back of each panel in a zigzag pattern. Press it firmly onto the wall.
Hold it in place for a minute, then secure it with nails. Make sure your first panel is level—this one sets the line for the rest.
Use a spirit level every few panels to double-check your line. It’s easy to drift if you don’t keep an eye on it.
Step 5: Nail It Down
Using a brad nailer or hammer, add nails along the edges of the panel where they’ll hit studs. For extra hold, put a few in the centre too.
Nail spacing should look like this:
- Every 300mm along the edge
- Every 450mm across the middle
If you’re using tongue-and-groove panels, slot the next panel in and repeat. This is where the job gets rhythmic—stick, check, nail, repeat. The flow makes it satisfying.
Following the same rhythm in our Wood Panel Wall Installation Guide keeps things smooth and consistent.
Step 6: Handle Corners and Ends
When you reach the edges or around power points, you’ll likely need to cut your panels. A mitre saw makes this quicker, but a hand saw will do just fine.
Always double-check measurements before cutting. And keep your offcuts—you might need them later.
Don’t worry if some cuts aren’t perfect. Gaps can be filled with wood filler or trim pieces. No wall is ever completely square!
Step 7: Sand, Fill, and Finish
Once all panels are up, run your hand along the wall to feel for any bumps. Lightly sand those spots until everything’s flush.
Use filler for nail holes and tiny gaps. Let it dry, then sand again for a smooth look.
Now, it’s time for your final touch:
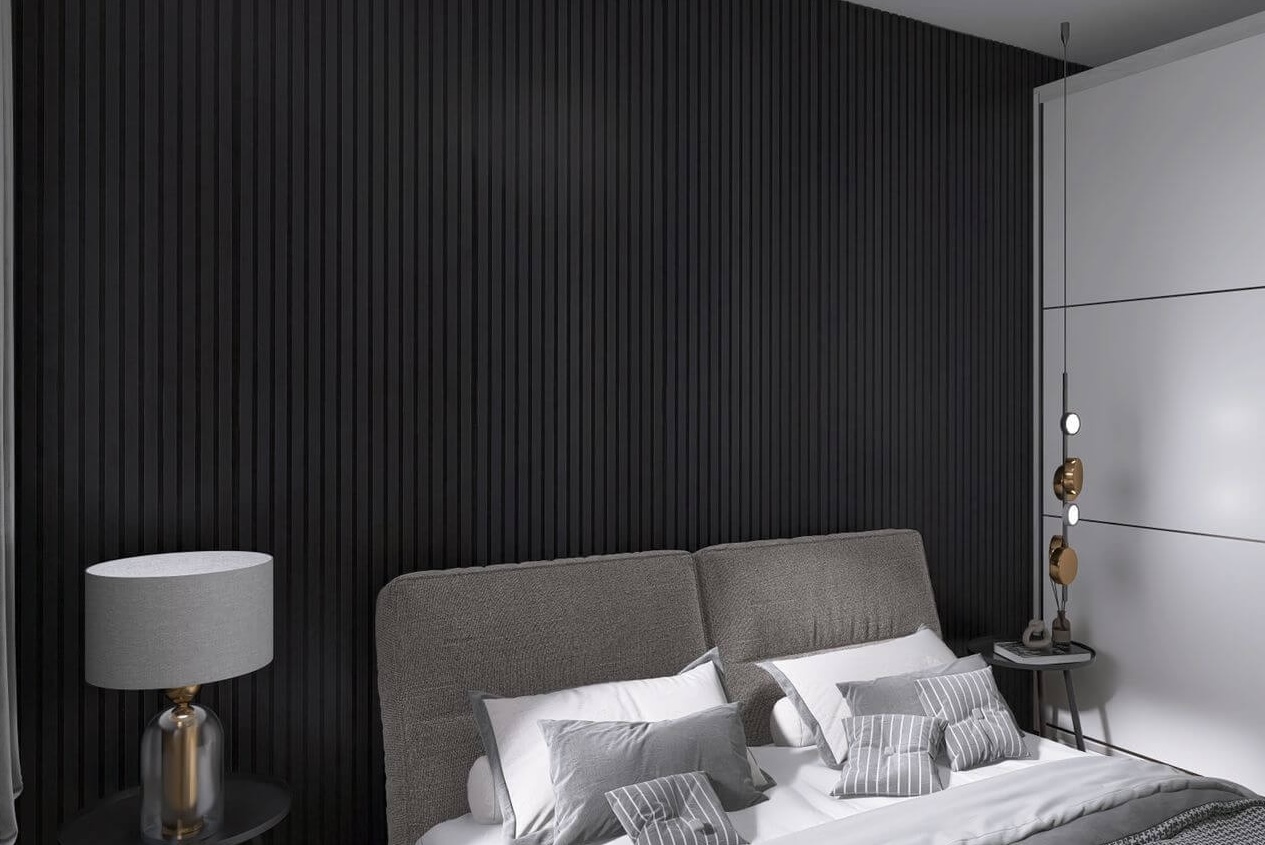
- Paint – crisp whites, bold blacks, or playful colours
- Stain – natural woodgrain with rich tones
- Seal – clear coat for protection and shine
These finishing touches bring your project to life and make your feature wall pop. It’s where your hard work truly shows.
Our Wood Panel Wall Installation Guide wouldn’t be complete without this vital stage—it’s what turns timber into a talking point.
A Few Pro Tips From Our Team:
- Always start in the most visible corner of the room.
- Check that each row is level before moving on.
- Take your time—rushing leads to gaps and uneven lines.
- Use masking tape on cuts for cleaner edges.
And if you’re working with someone, it’s even easier. One can hold while the other nails. Makes for a great weekend project.
Wood Panels Add More Than Just Looks
We love timber for more than its charm. It also:
- Adds insulation
- Reduces sound
- Hides imperfections
- Increases home value
A simple wall upgrade with the help of a Wood Panel Wall Installation Guide can turn any room into something special—whether it’s a hallway, bedroom, or even a small nook in the study.
Common Mistakes to Avoid:
Let’s keep you out of trouble. Watch out for these traps:
- Not checking for studs—panels can peel off
- Skipping the spirit level—leads to crooked lines
- Forgetting expansion gaps—wood needs room to breathe
- Rushing the adhesive cure time—wait before painting
When in doubt, slow it down and double-check your steps. This guide is all about getting it right the first time.
Final Thoughts
You don’t need fancy tools or a tradie’s toolkit to pull off a stunning timber wall. Just a bit of patience, some solid prep, and this trusted Wood Panel Wall Installation Guide to lead the way. We’re all about making DIY feel doable—so if your space is calling for something warm, textured, and timeless, now’s the time to answer back with wood panels.
From our experience, nothing beats the feeling of stepping back and saying, “Yep, we built that.”
So go on—grab your panels and get cracking. Your perfect wall’s just a few nails away.
FAQs
1. Do I need special tools for wood panel wall installation if I’ve never done this before?
Nope, you don’t need anything fancy! If you’ve got a measuring tape, saw, hammer or nail gun, level, and some construction adhesive, you’re already sorted. A stud finder is handy too, but not essential—you can tap the wall to find solid spots. Just take your time, follow each step, and you’ll be fine.
2. Can I install wood wall panels over tiles or painted walls?
Yes, you can. Just make sure the surface is clean, dry, and smooth. If you’re going over tiles, lightly sand them so the adhesive sticks better. Painted walls may need a quick wipe-down and a scuff with sandpaper. Panels won’t hold properly on dusty or greasy surfaces.
3. What type of wood panel is best for a feature wall?
It depends on the look you’re going for. Shiplap and VJ panels are perfect for a coastal or classic style. Slat panels work beautifully for modern, minimalist spaces. MDF is affordable and easy to paint, while hardwood adds a natural, warm feel. Choose something that fits your space and budget.
4. Will the panels damage the wall if I remove them later?
Possibly. If you use both adhesive and nails, some damage to paint or plaster is likely during removal. To reduce this, use more nails and less glue, or mount the panels onto removable backing boards if you’re renting. But generally, timber panels are a semi-permanent upgrade.
5. How do I keep the panels looking good over time?
Just dust them regularly and avoid heavy moisture or steam—wood doesn’t love wet areas. If painted or sealed, they’ll stay looking fresh for years. A quick wipe with a damp cloth now and then is enough. And if a panel gets scratched, you can always sand and recoat it.

