Tiles on the wall can look clean and shiny—but sometimes, they feel too cold or outdated for our homes. That’s where a wood panel wall system comes in. It’s a clever, stylish way to bring warmth and texture back into a space without knocking off the old tiles. With the right steps, anyone can do it, whether you’re fixing up a bathroom, kitchen, or living room.
Covering tile might sound tricky, but it doesn’t have to be. Let’s walk through how to do it the smart and easy way, while giving you handy tips on choosing the best wood panels and making sure they last.
Why Choose a Wood Panel Wall System Over Removing Tiles?
Pulling off tile is messy. It’s loud, dusty, and can damage your walls. That means more repairs—and more money. But with a wood panel wall system, you skip all that drama. You simply cover the tile and upgrade your room without touching a hammer.
Here’s why more Aussies are turning to wood panels:
- Quick makeover – No demolition needed
- Saves money – Less labour and fewer materials
- Stylish finish – Natural texture makes any room feel warmer
- Insulation boost – Wood adds a soft, cosy touch
It’s also perfect for renters who want to make a space feel like their own without making permanent changes.
For a closer look at what makes this option so popular, check out these high-quality wood panel wall solutions that are making waves across Australia.
Prepping Your Tile Surface for a Wood Panel Wall System
Before you attach anything to your walls, the surface needs to be clean and even. A wood panel wall system sticks best to a flat area, and while tile is solid, the gaps between them can create problems if not handled right.
Follow these steps to prepare your tiled wall:
- Clean the surface: Use a mix of warm water and sugar soap to remove grease and dirt.
- Sand the tiles: Lightly sanding helps the adhesive grip better.
- Fill the grout lines: Use a tile filler or joint compound to level out the surface.
- Dry it well: Moisture can ruin the adhesive, so make sure everything’s fully dry.
Tip: If your tiles are glossy, use a primer made for glossy surfaces to help the panels stick firmly.
Picking the Right Wood Panel Wall System for Your Space
Not all panels are created equal. Depending on your room and style, some options will work better than others. A good wood panel wall system comes in various finishes, shapes, and installation types.
Here’s a quick guide to help you choose the perfect one:
| Panel Type | Best For | Look & Feel | Easy to Install? |
|---|---|---|---|
| Tongue & Groove | Bedrooms, Hallways | Clean lines, seamless fit | Yes |
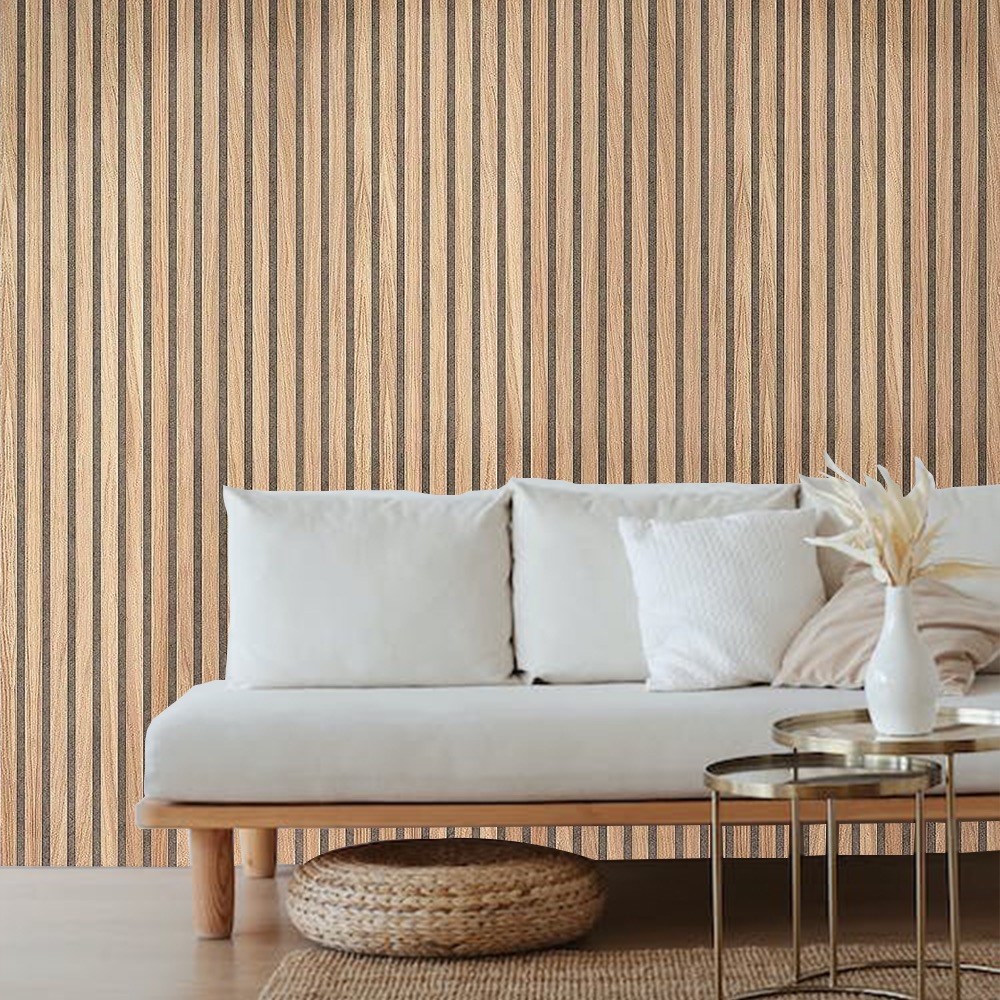
| Slatted Panels | Living Rooms, Offices | Modern and textured | Moderate |
| Peel & Stick | Rentals, Quick Fixes | Fast, light, minimal mess | Very easy |
| Acoustic Panels | Media Rooms, Studies | Sound-absorbing and sleek | Needs tools |
Always think about moisture too. For bathrooms and kitchens, go for water-resistant panels or sealed wood types.
Need help with durable panel walls that last? Read this step-by-step install guide to learn what works best for different room conditions.
Installing a Wood Panel Wall System Over Tile Without Damage
Now that your surface is ready and your panels are chosen, it’s time to stick them up. A well-installed wood panel wall system should feel solid, last for years, and look like it belongs there.
Here’s a simple install method that works over tile:
Materials You’ll Need:
- Measuring tape
- Level
- Construction adhesive
- Panel spacers
- Saw (for cutting panels)
- Sealant (optional for bathrooms)
Steps to Follow:
- Measure twice: Plan where each panel goes. Mark the wall lightly with a pencil.
- Dry lay the panels: Place them against the wall first without adhesive to check fit.
- Apply adhesive: Use a zig-zag pattern on the back of the panel.
- Stick and press: Start from the bottom and press each panel firmly into place.
- Add spacers: Keep even gaps if your style needs it.
- Seal edges: In wet areas, use a sealant along the edges to keep water out.
Pro tip: Don’t rush. Give the adhesive enough time to set properly so the wood panel wall system stays secure.
Style Ideas Using a Wood Panel Wall System Over Tiles
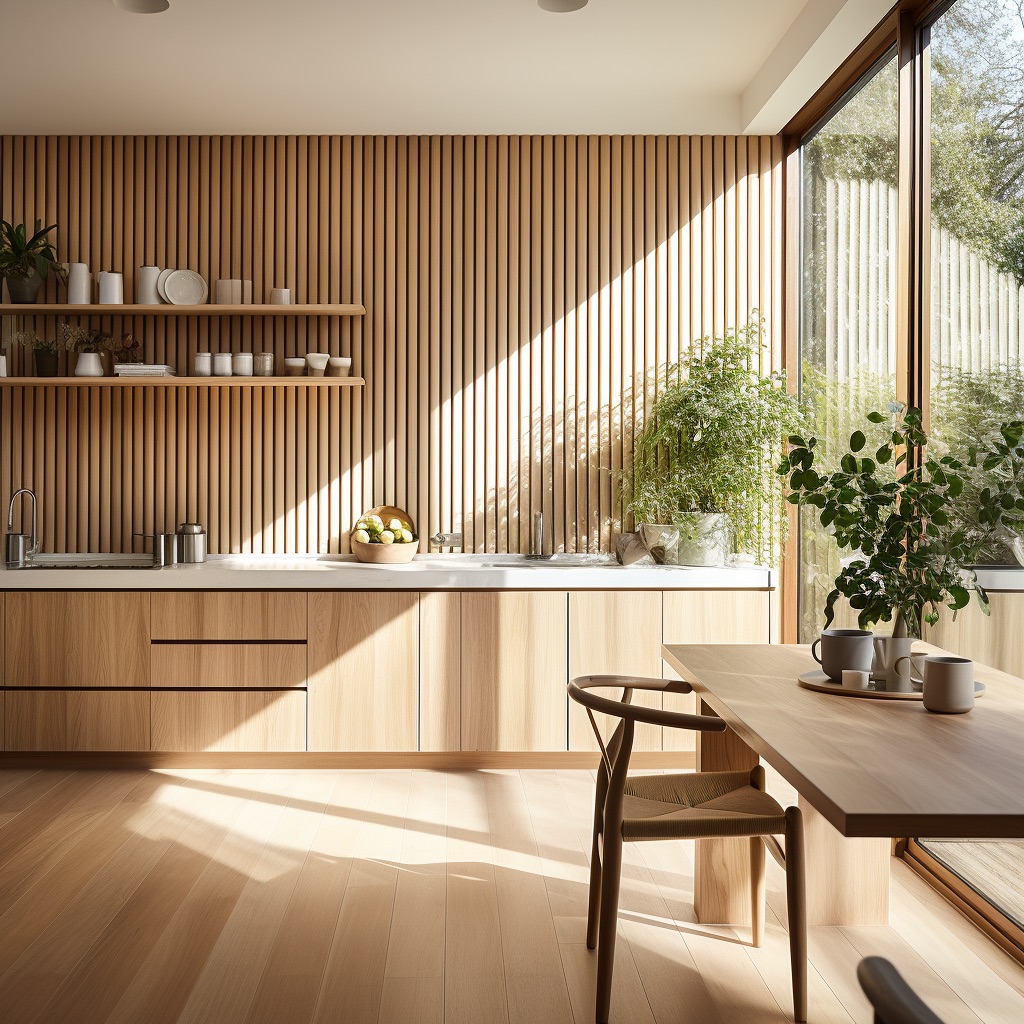
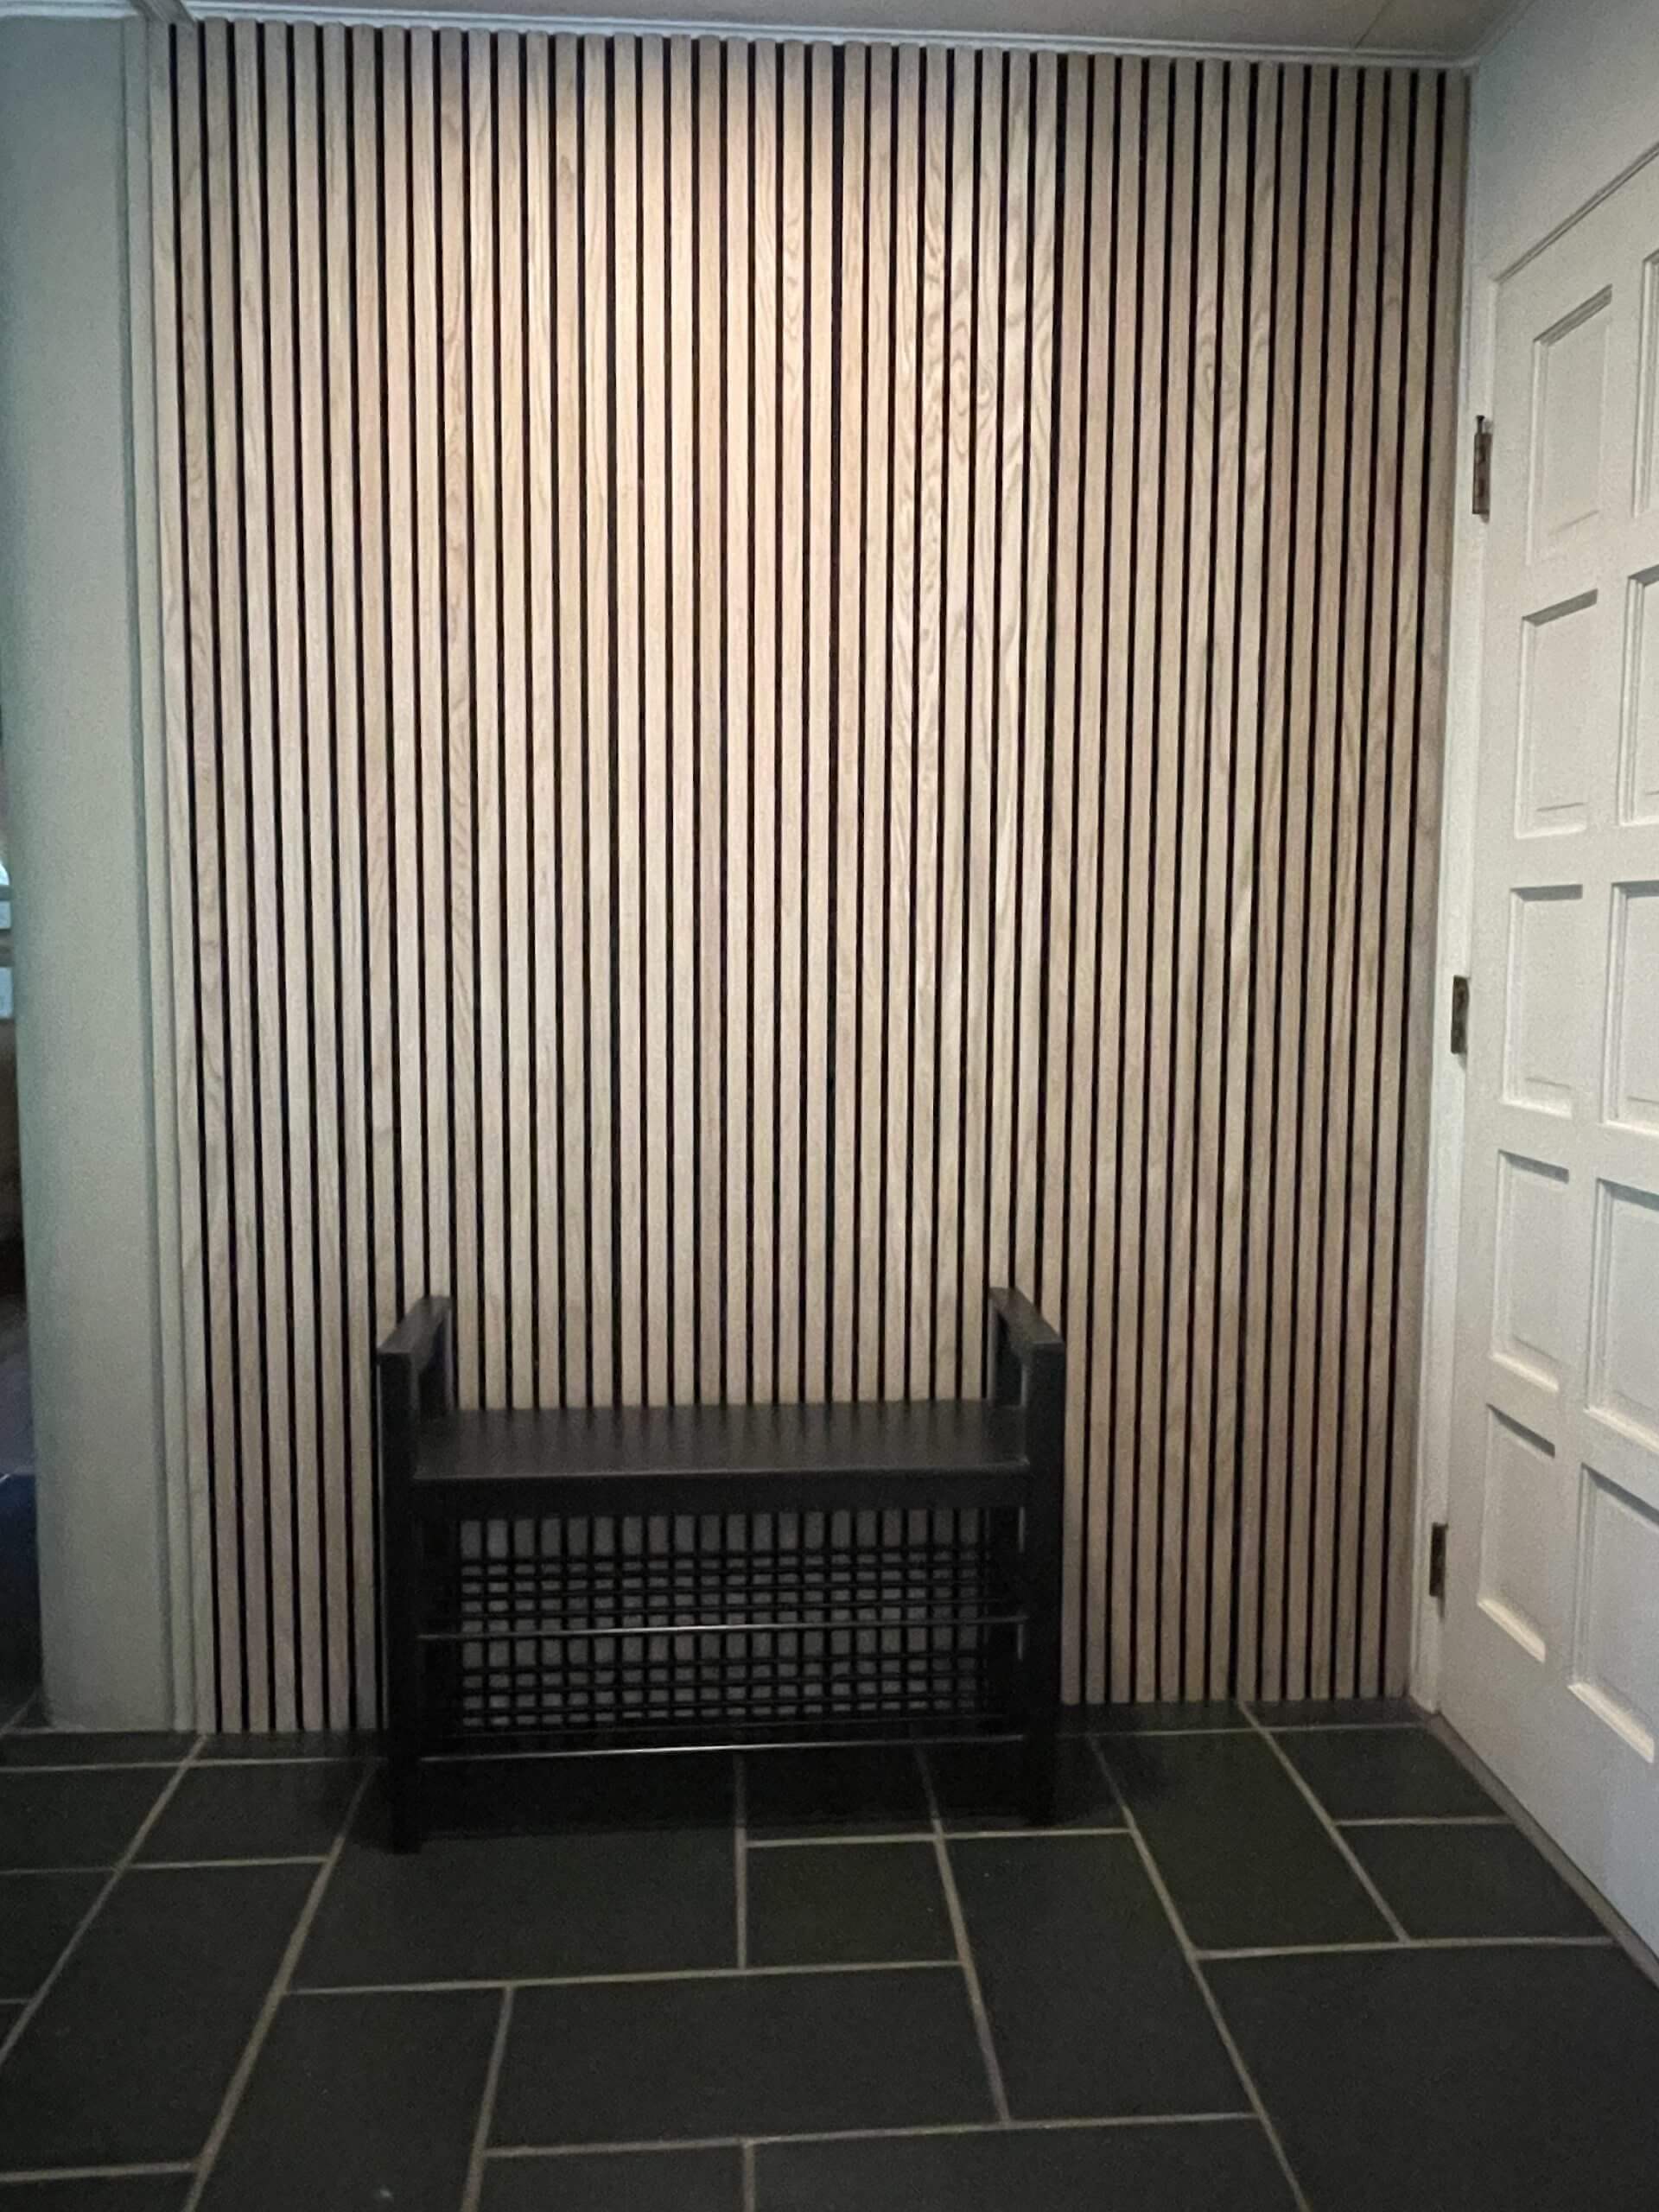
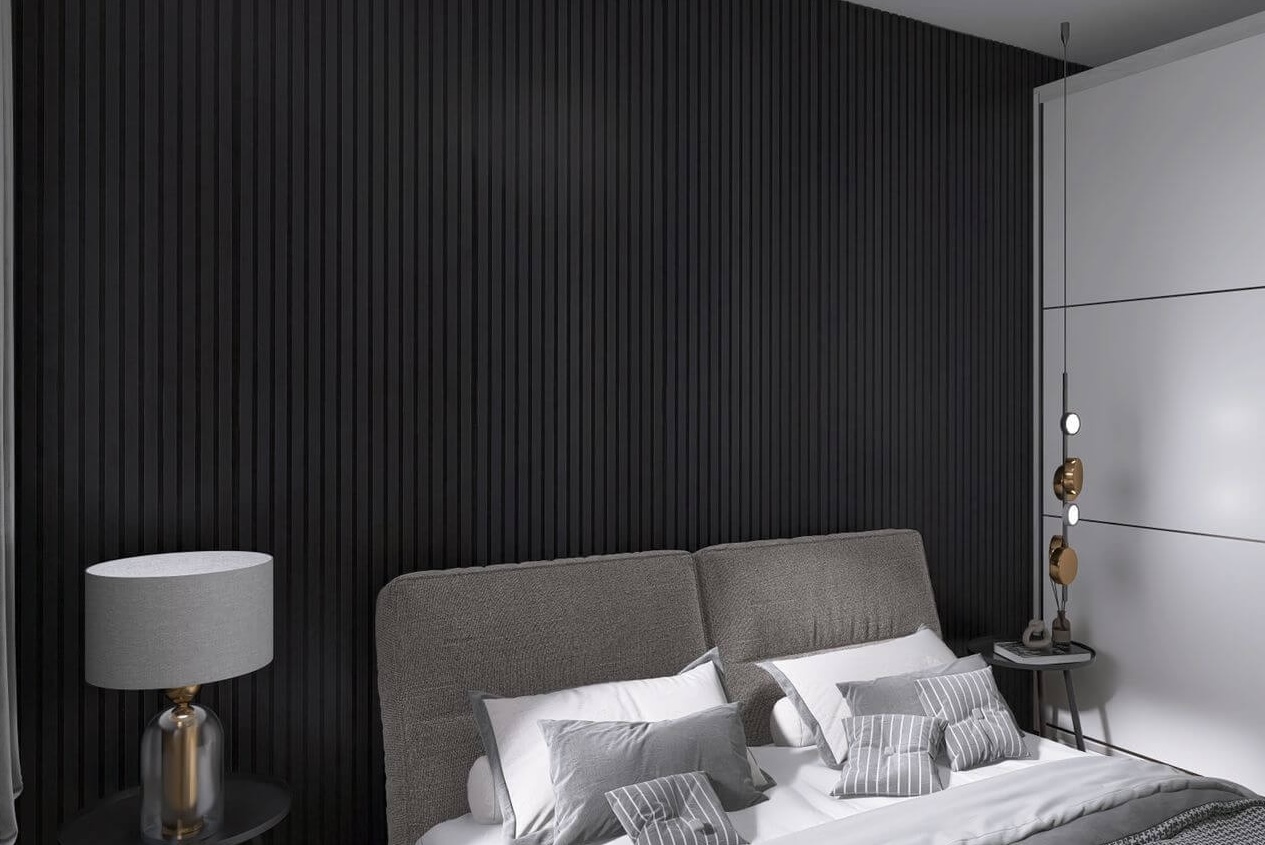
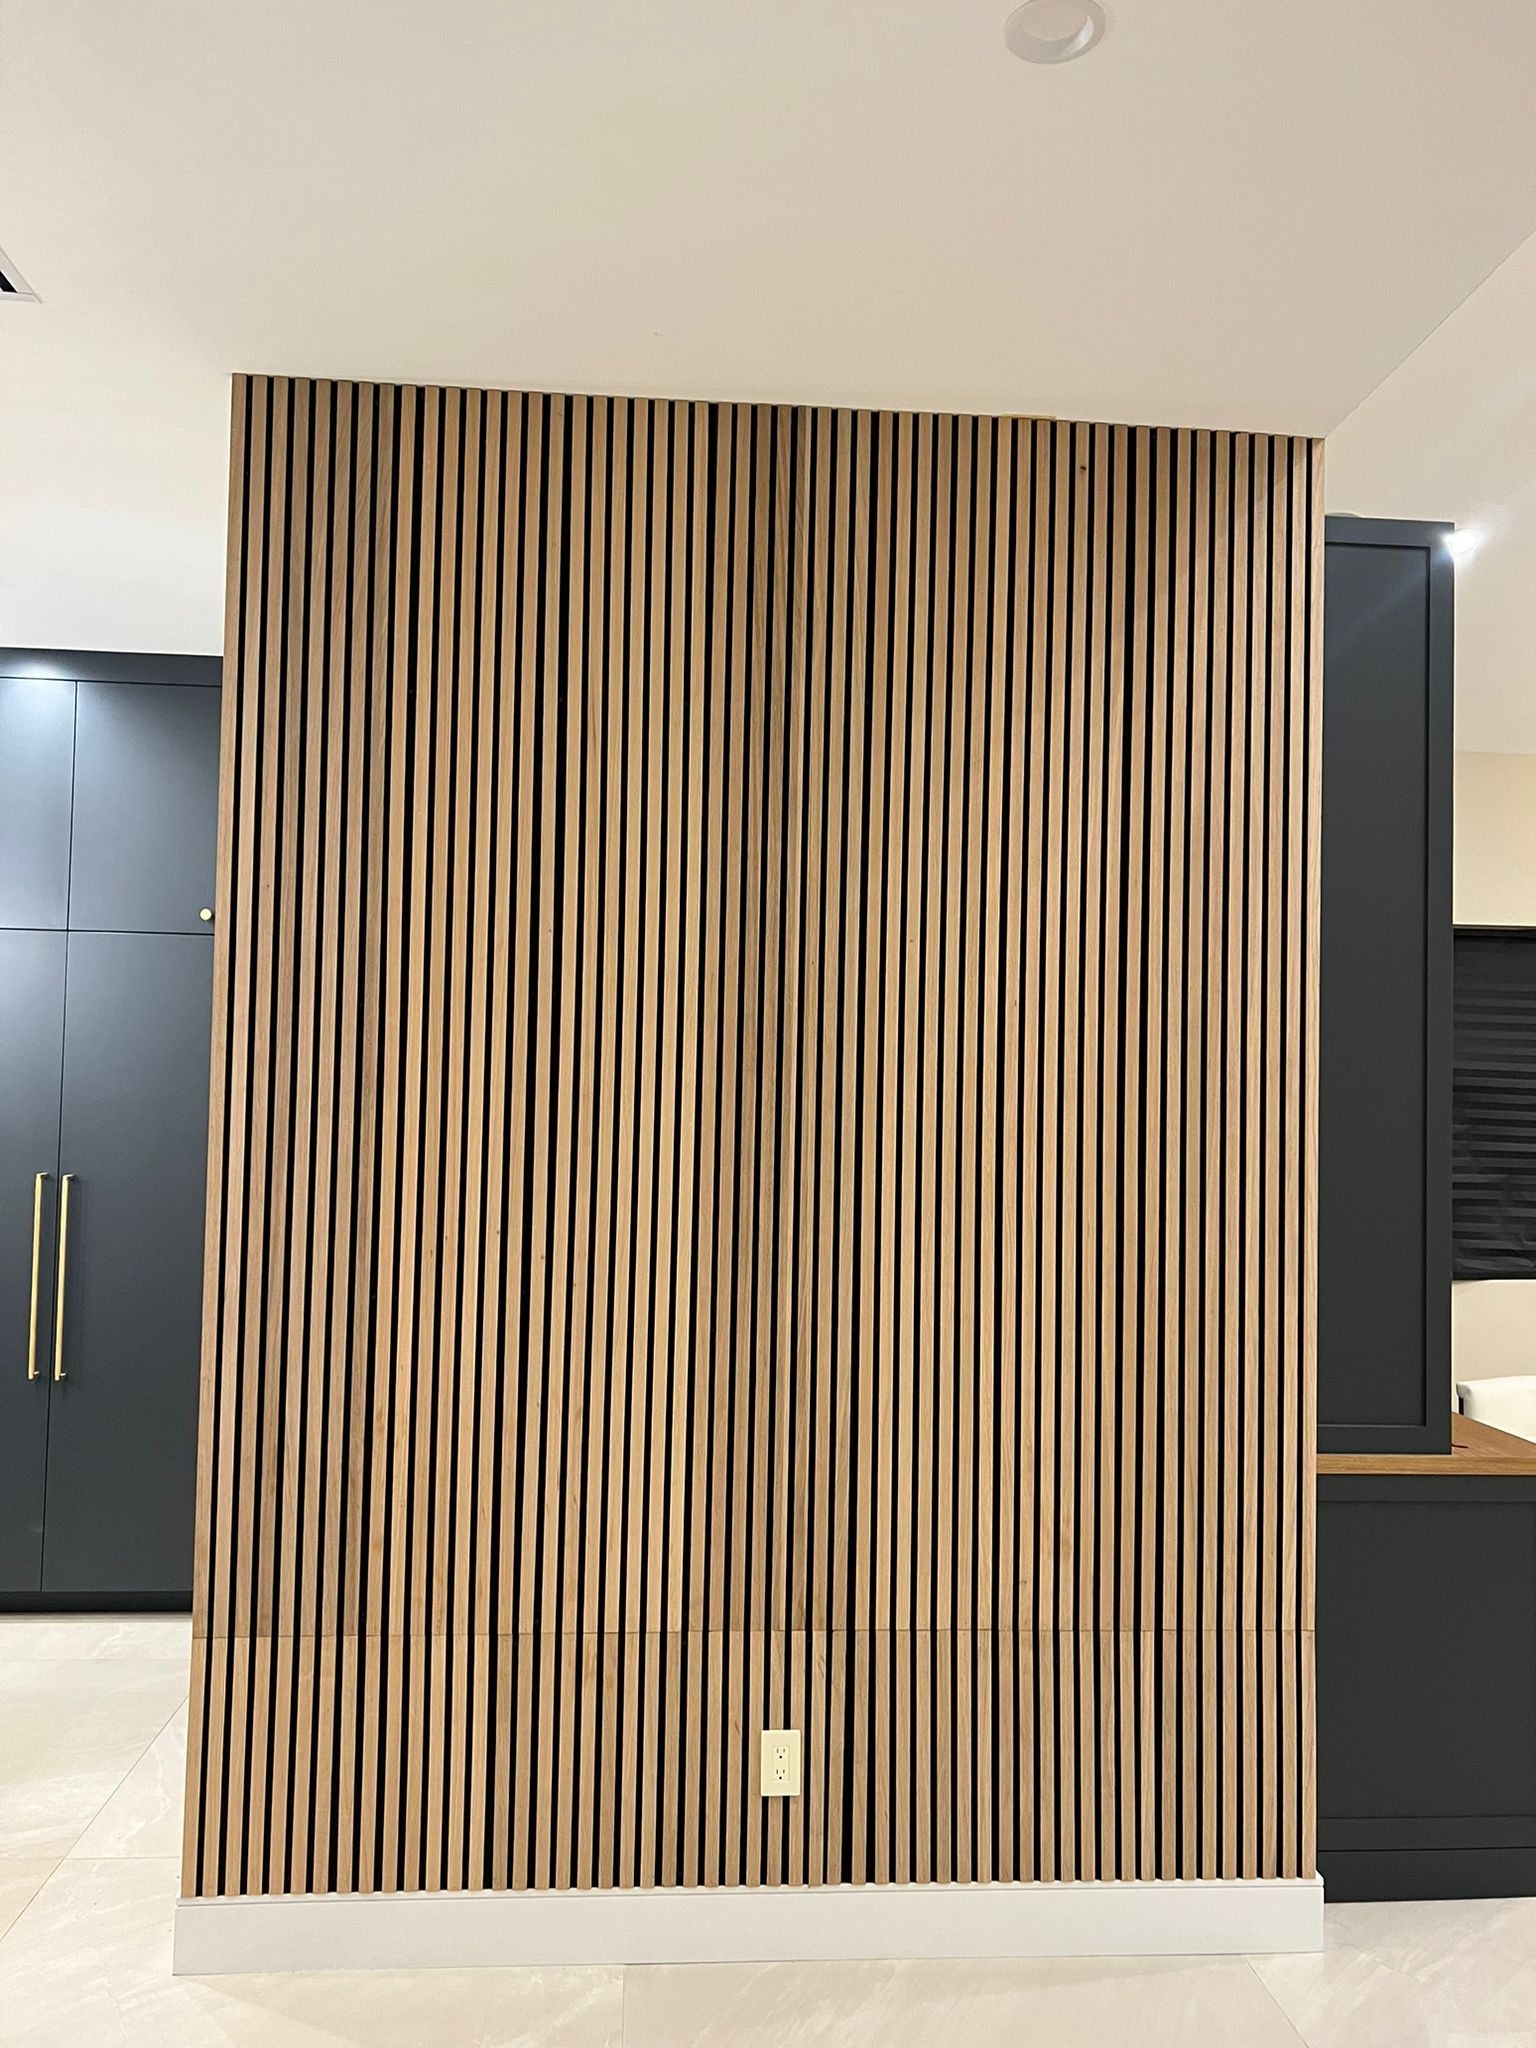
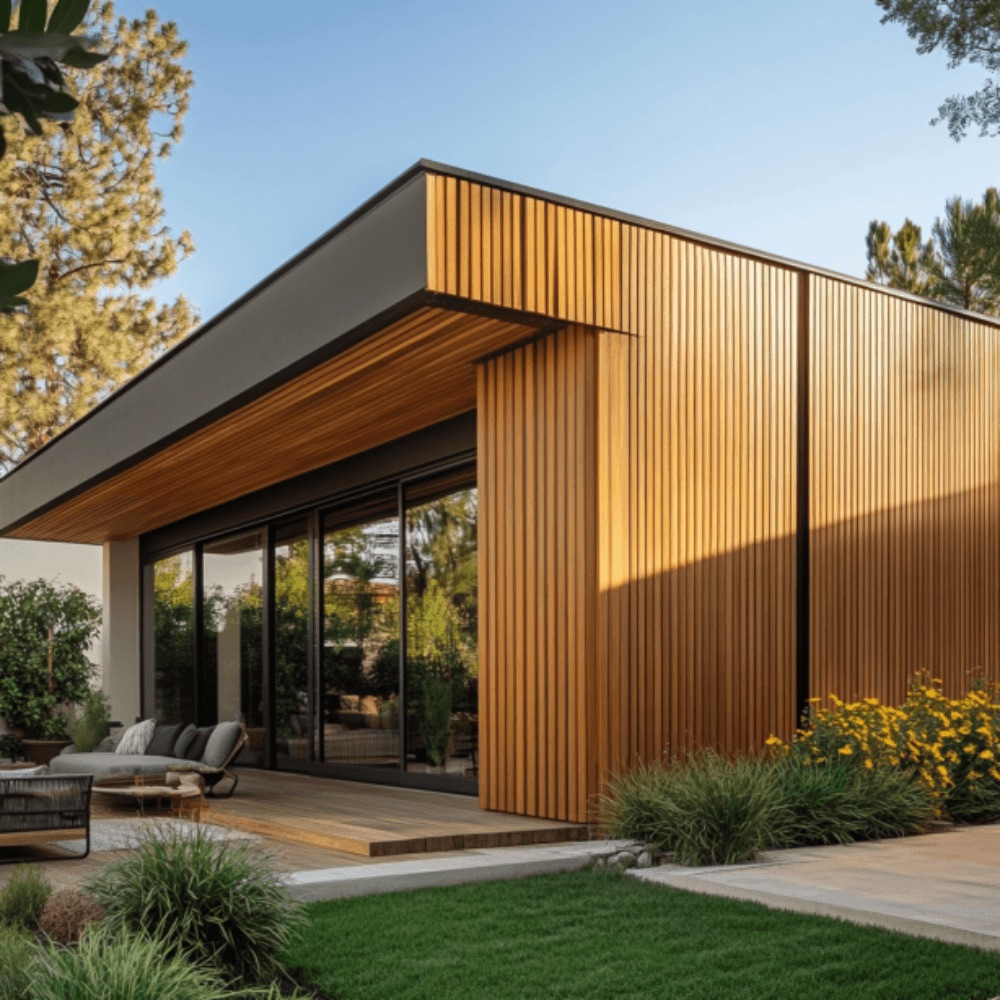
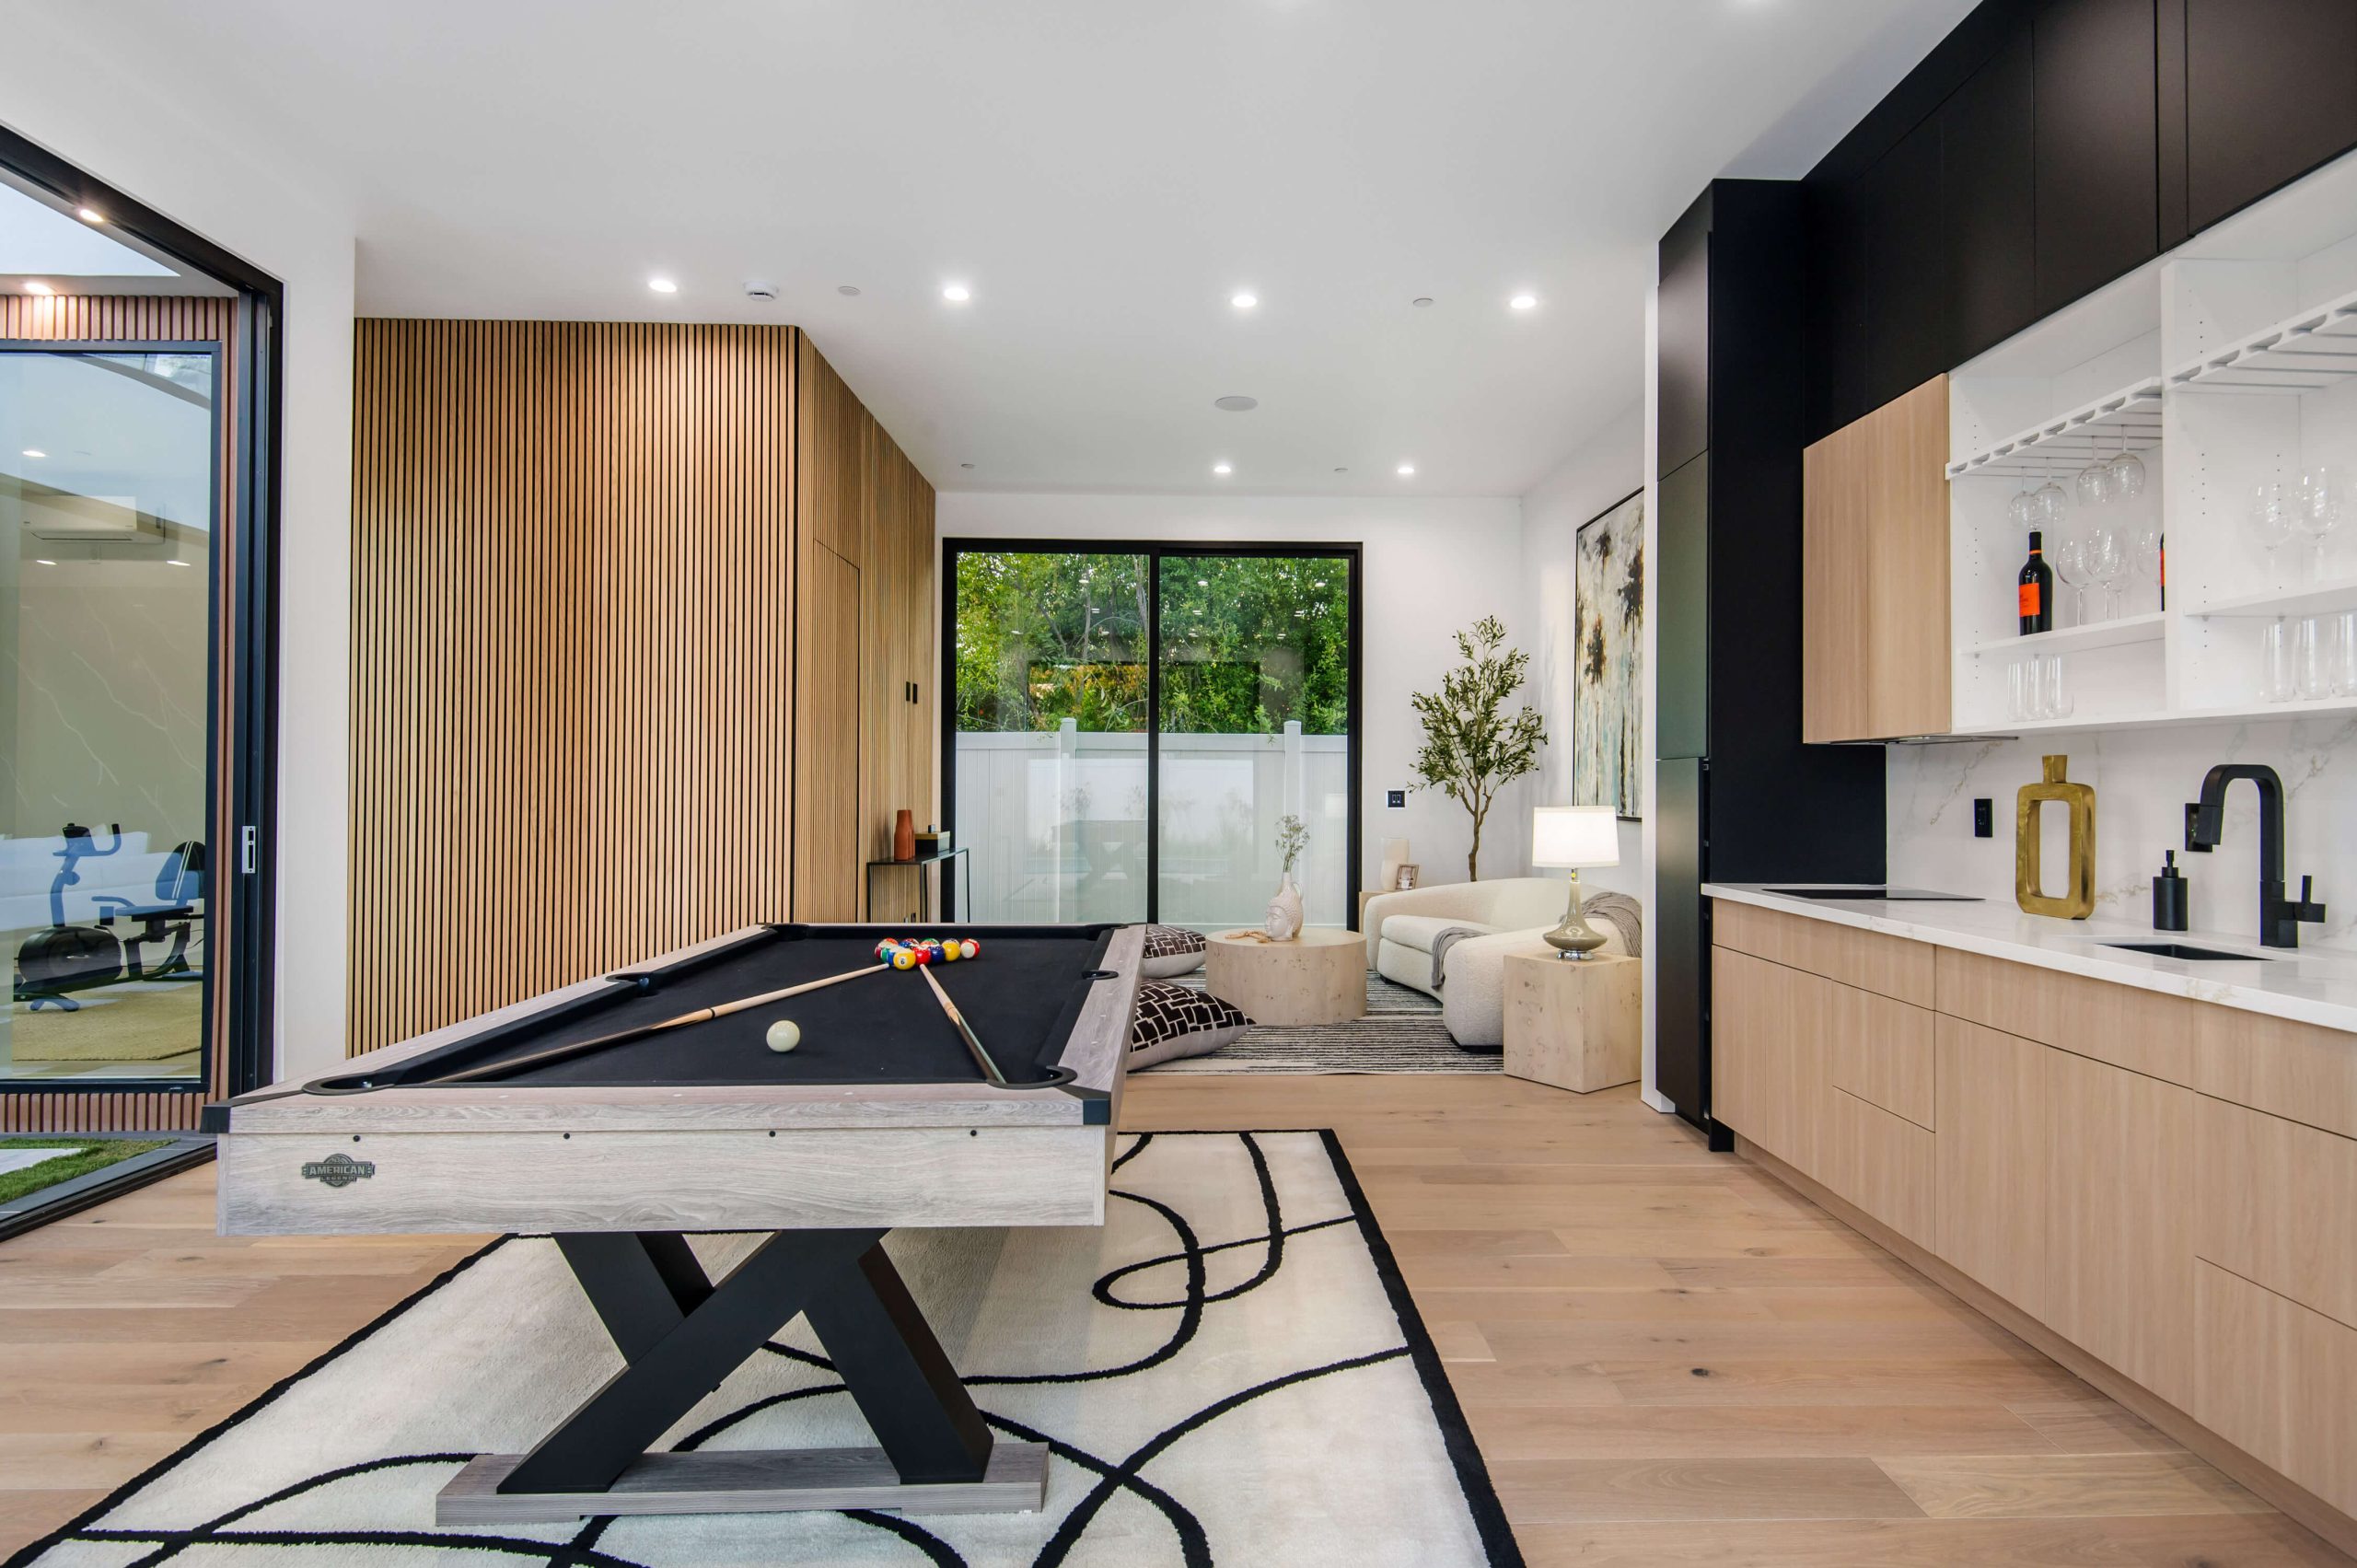
The best part of wood panels? The design options are nearly endless. Even over tile, you can turn a plain wall into something that stands out and tells a story. Whether you like a clean, natural timber look or a bold dark wall, there’s something for every taste.
Here are some fun ideas:
- Bathroom feature wall behind the vanity
- Kitchen splashback upgrade with waterproof panels
- Warm reading nook with slatted panels
- Modern hallway statement with vertical strips
Different wood tones can also change the mood. Lighter oak makes a room feel airy, while deep walnut adds richness and drama.
You can explore even more timber panel styles here and discover what fits your vision best.
Caring for Your New Wood Panel Wall System
Once your panels are up, they don’t need much fuss. But like anything in your home, a little care goes a long way. A proper wood panel wall system should be treated with love if you want it to stay looking fresh and new.
Here’s how to take care of it:
- Dust regularly: Use a dry cloth or soft duster.
- Wipe with care: For spills, use a damp cloth and avoid strong cleaners.
- Keep it dry: In wet areas, use a fan or open window to avoid excess moisture.
- Watch for warping: If you notice any bulging, check for leaks or water damage.
These steps help your panels last longer and stay as beautiful as the day you installed them.
FAQs
Will it ruin my tiles?
No. If done correctly, the wood panel wall system goes over the tile without causing damage. You can even remove it later if needed.
Can I install it by myself?
Yes, especially if you choose peel-and-stick or easy-install panels. Just follow the right steps and take your time.
Is it safe in wet areas like bathrooms?
Definitely. Just make sure to choose water-resistant panels and seal the edges well.
How long does it last?
A high-quality wood panel wall system can last for many years with the right care.
We love how a simple upgrade can completely transform a room. If you’re ready to give your walls a fresh new face, covering tile with a wood panel setup is a fantastic choice. It saves time, looks amazing, and adds serious character to your space.
For more inspiration, styles, and expert help, visit the home of timber wall panels trusted by thousands across Australia.

