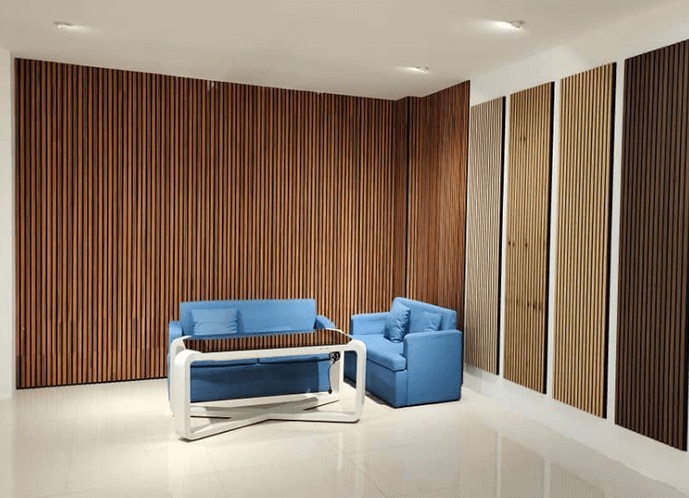
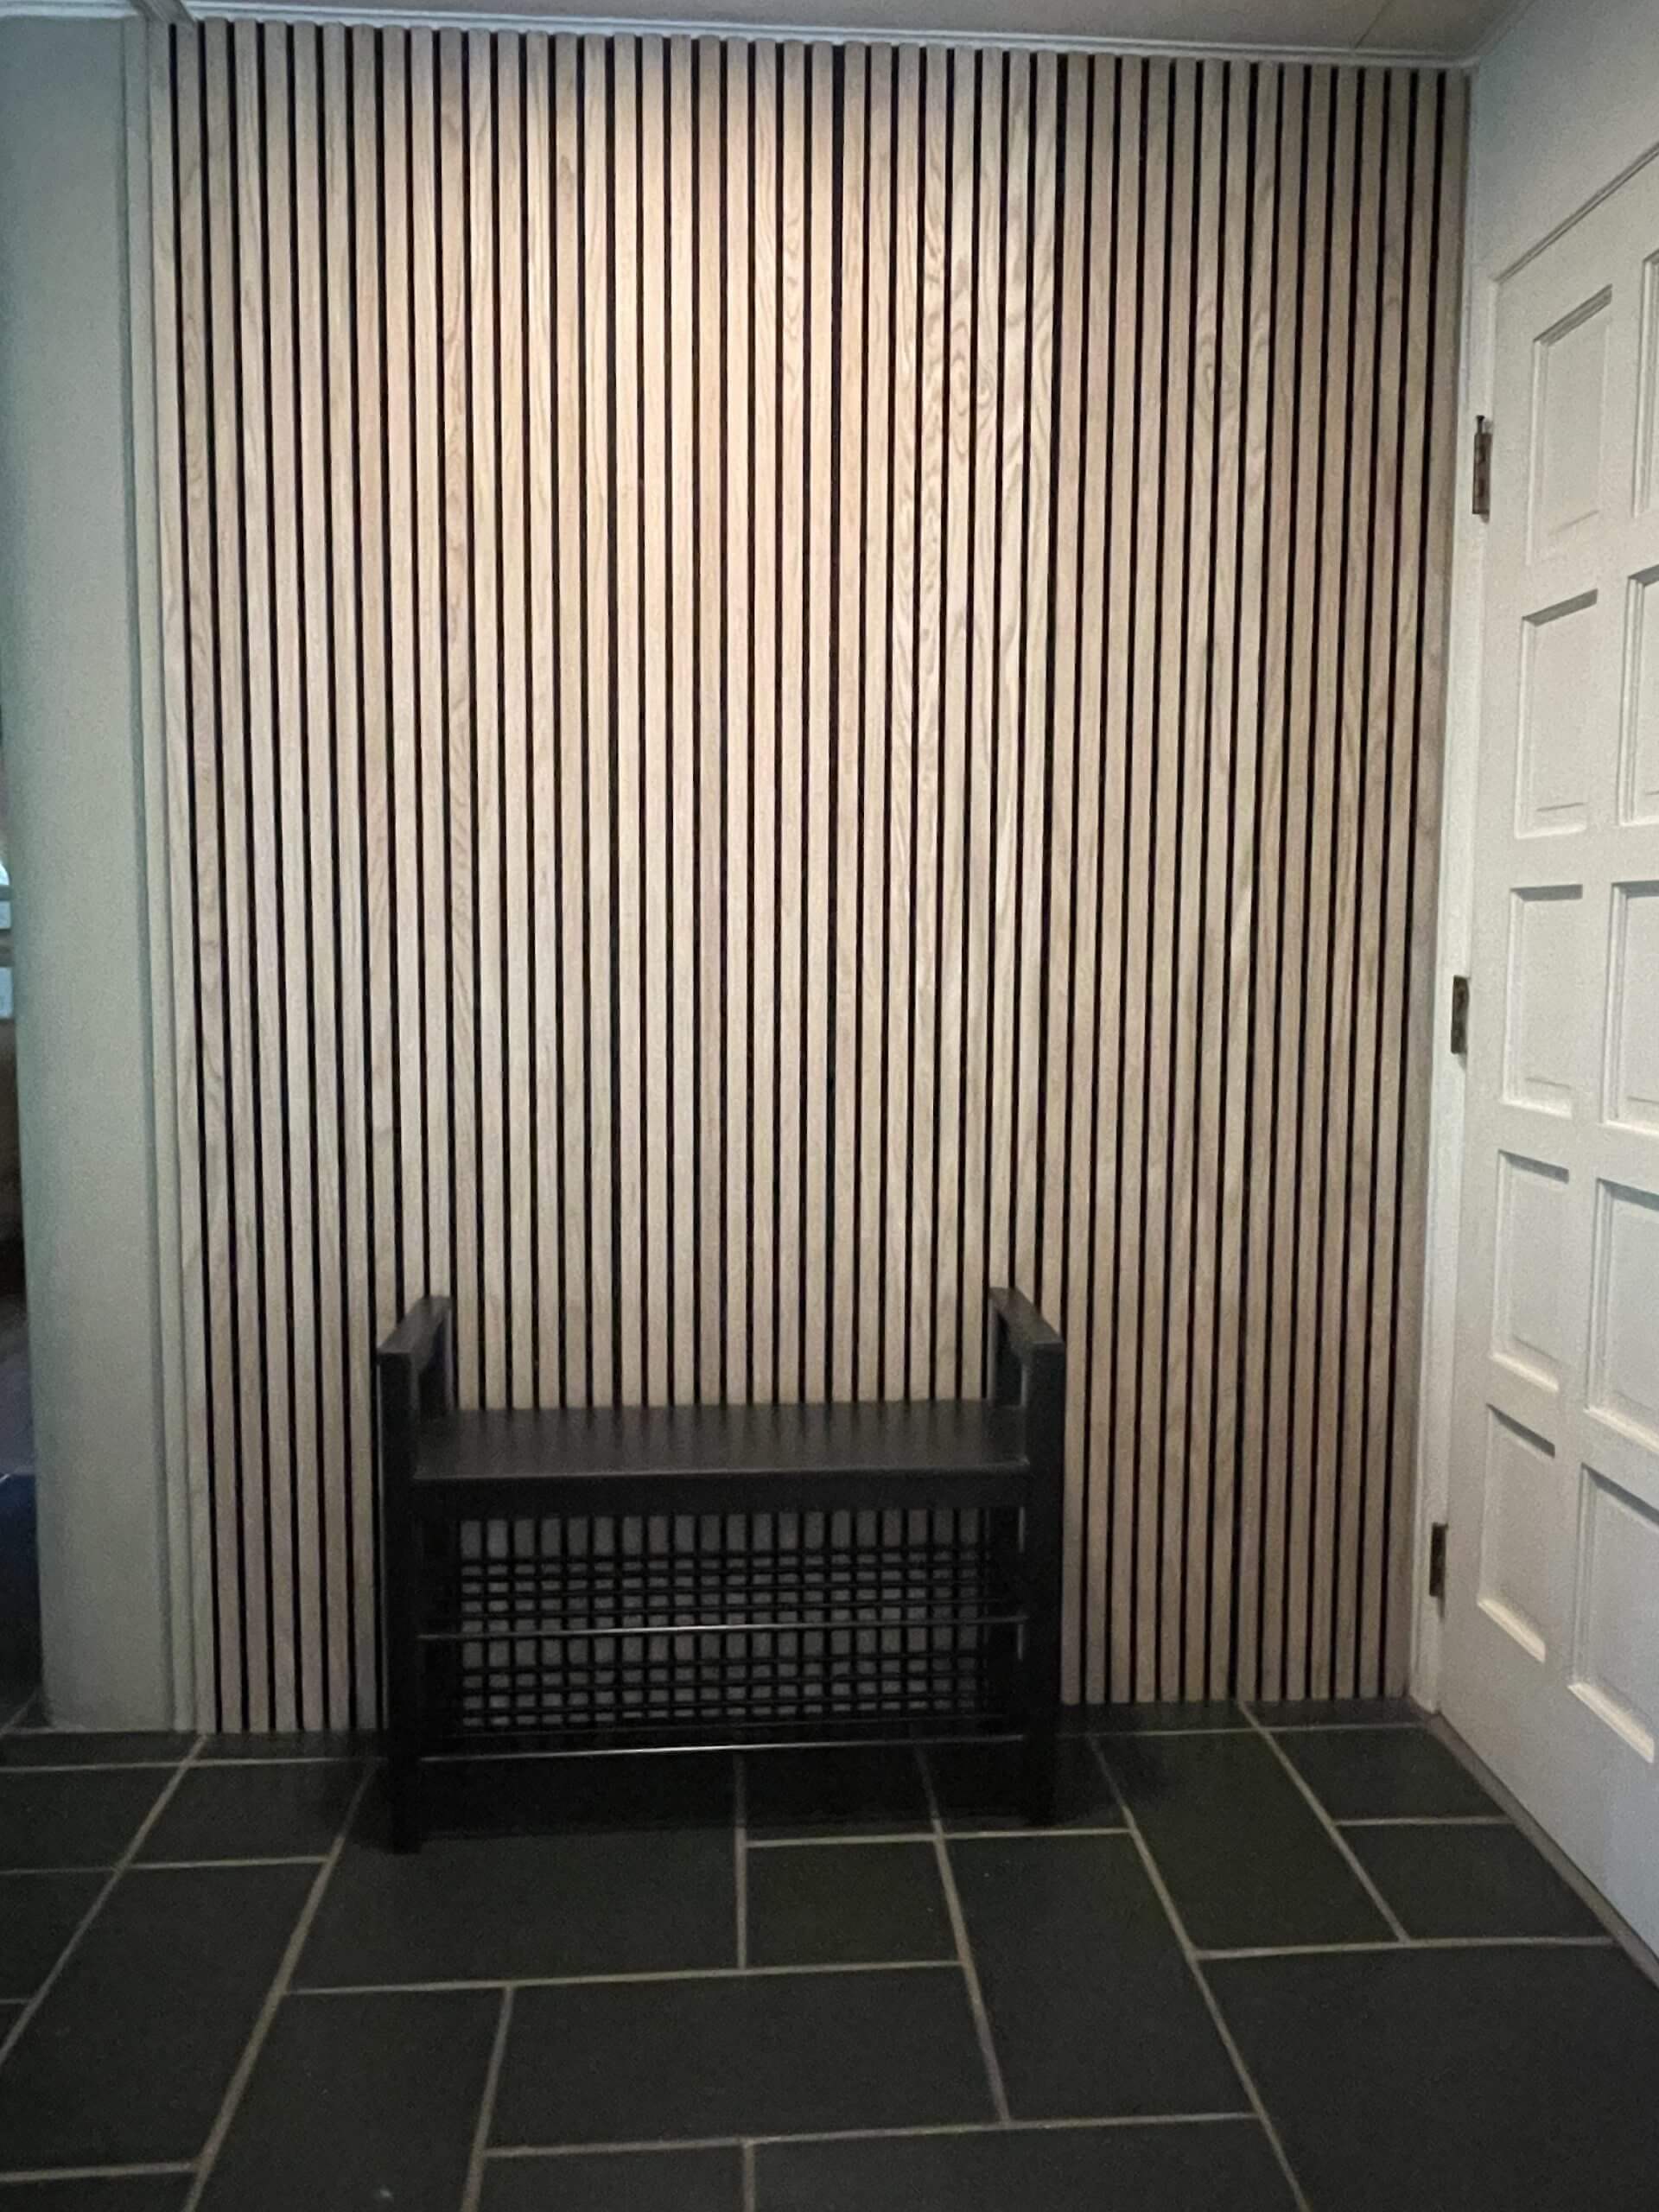
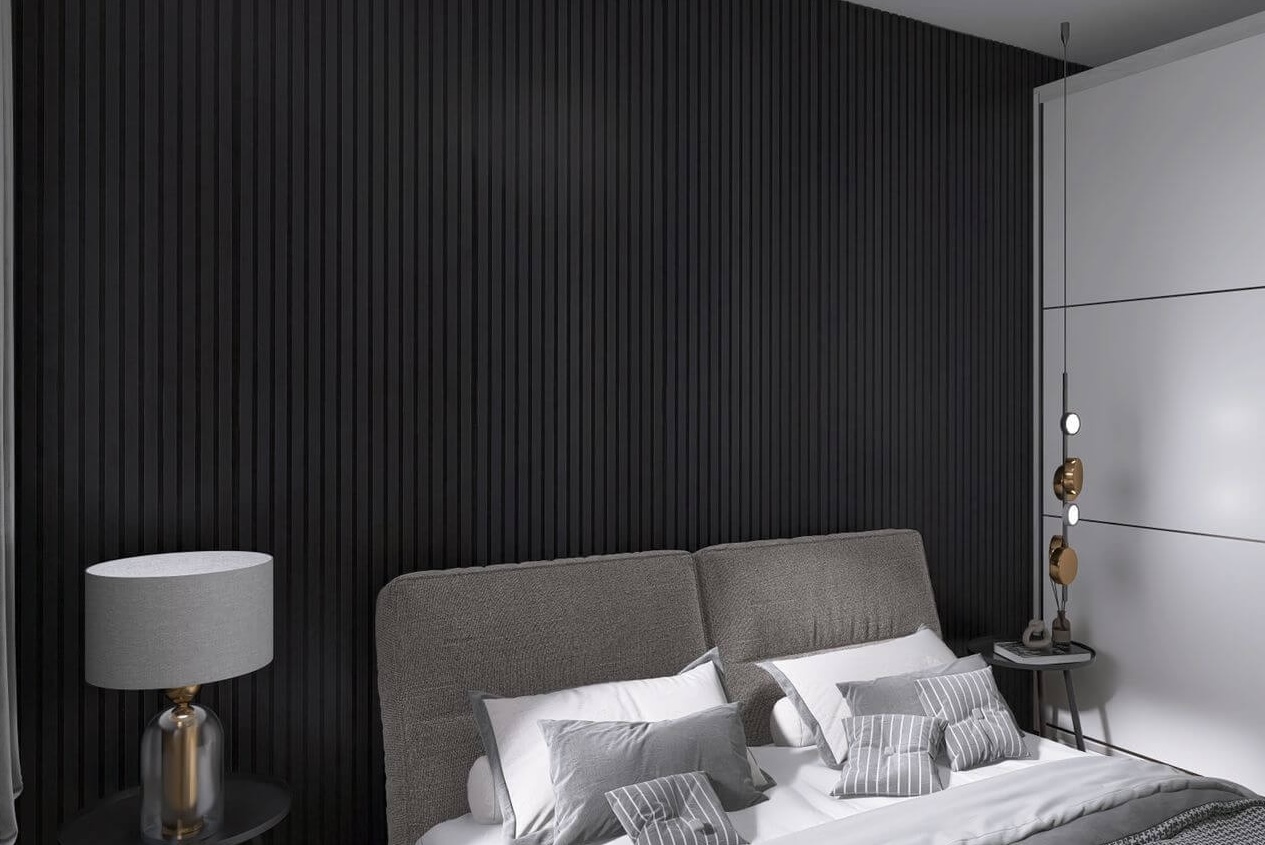
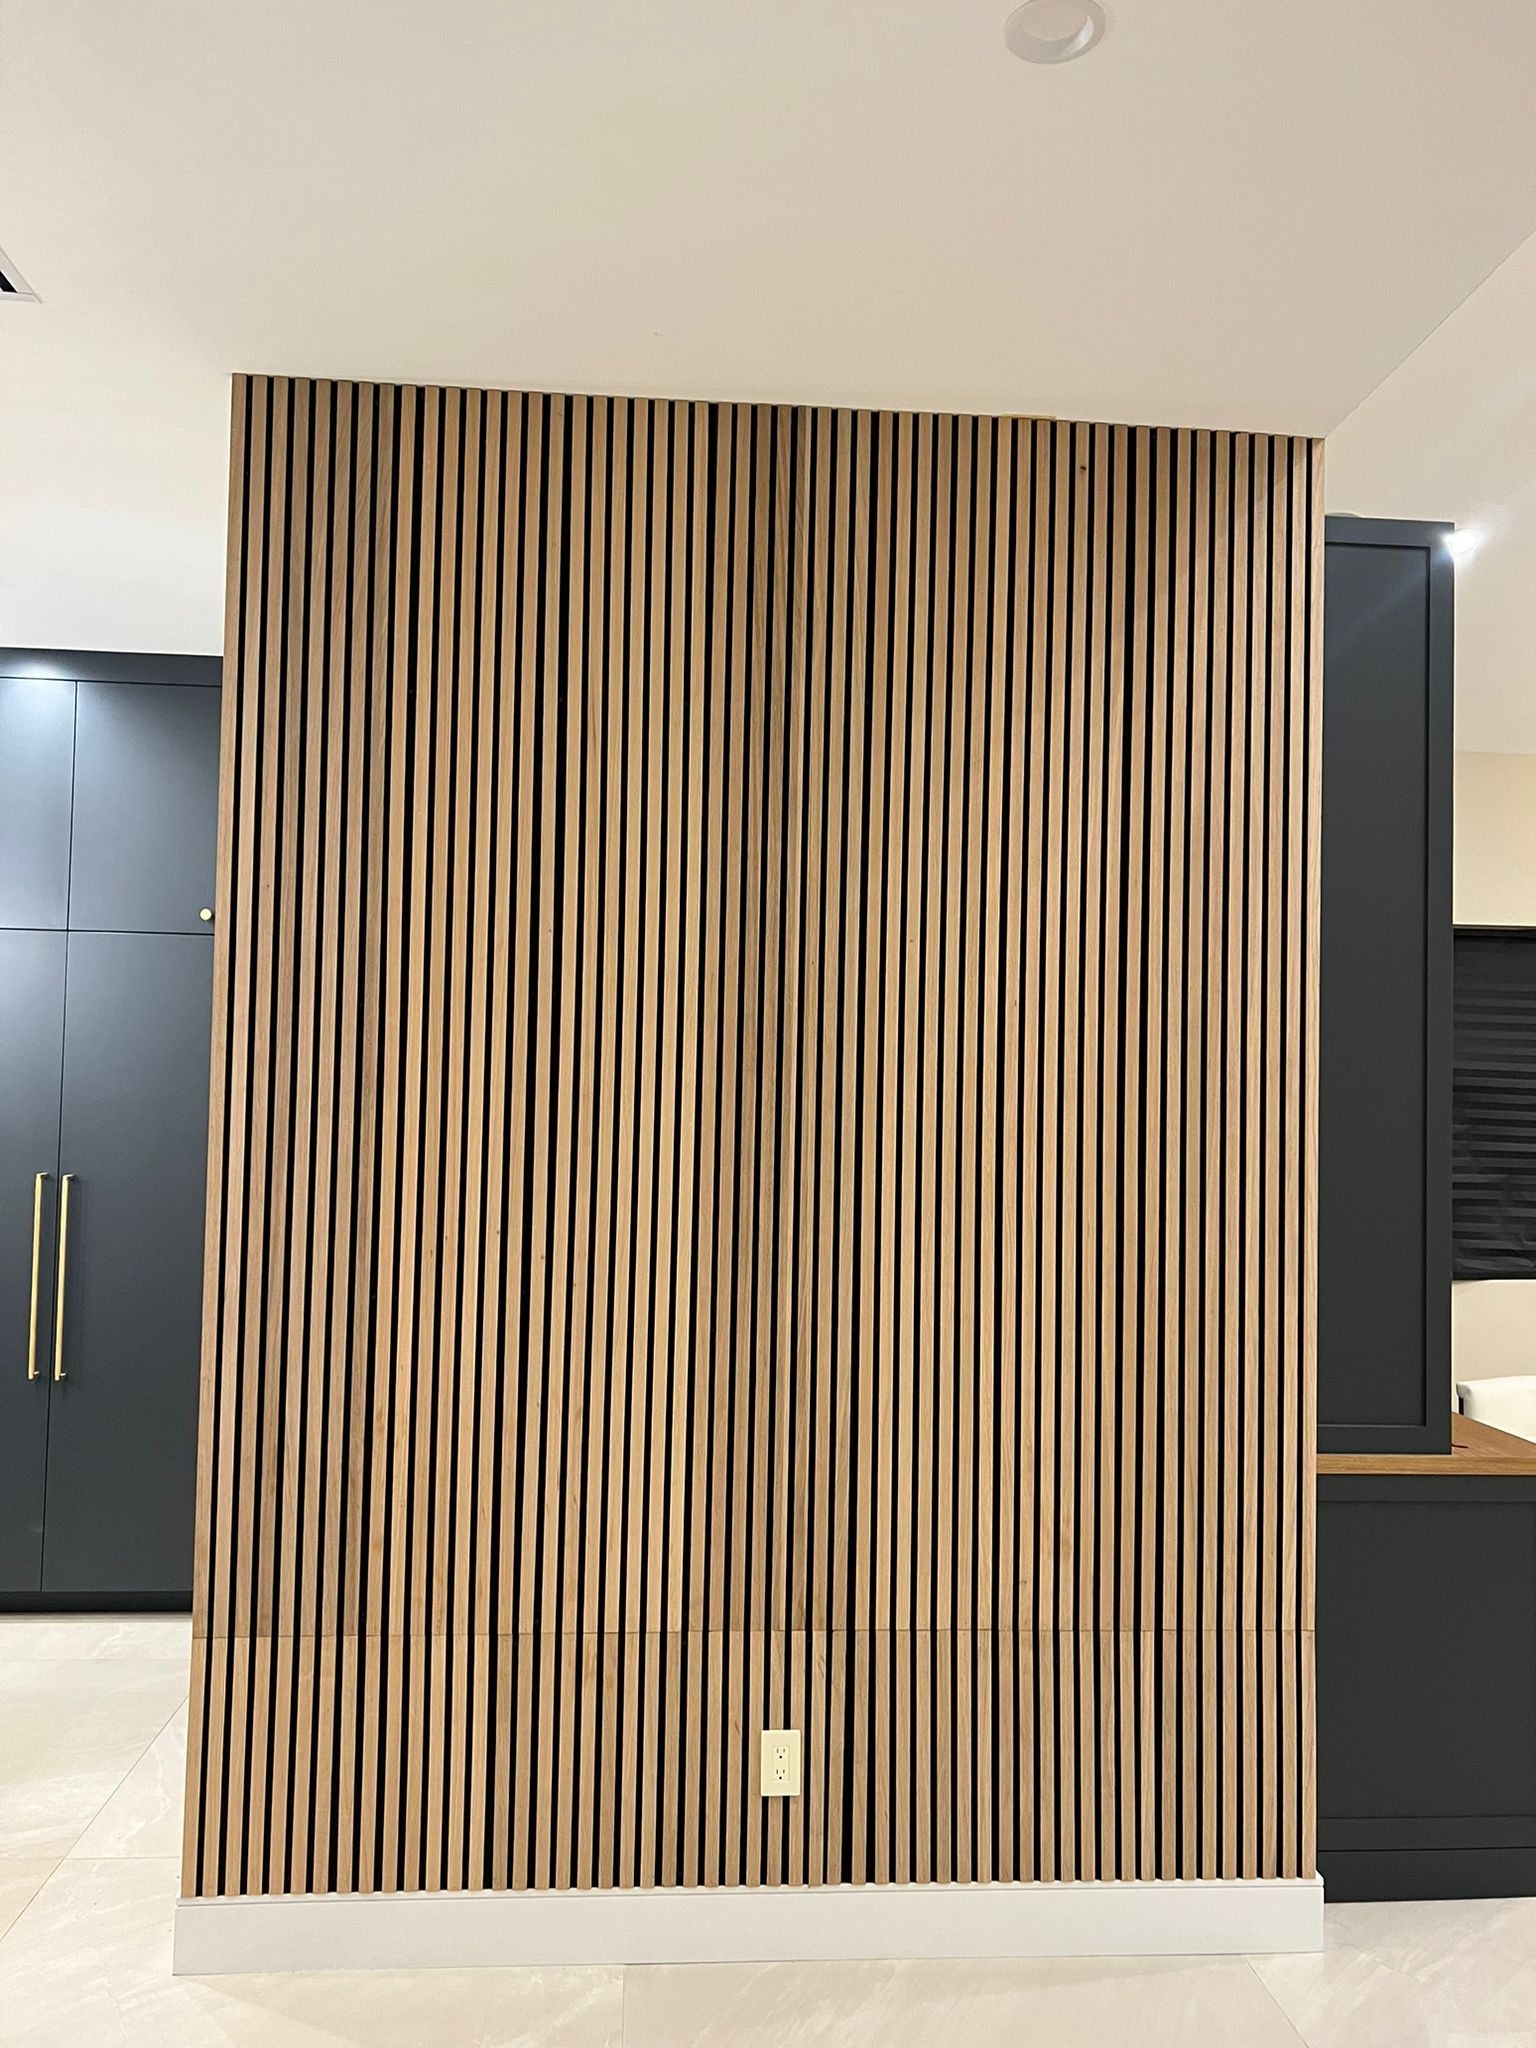
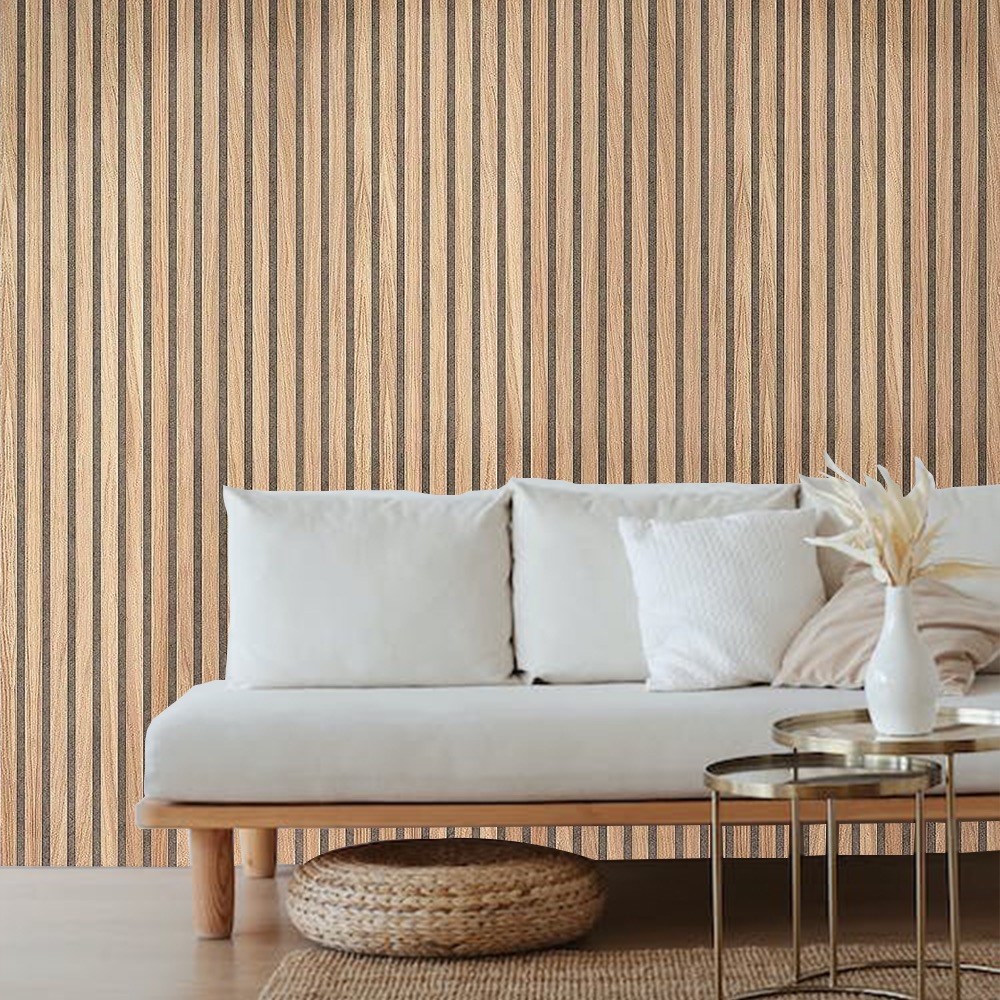
Wood paneling can transform any room, adding warmth and a touch of sophistication. Whether you’re a DIY enthusiast or a homeowner looking for a stylish upgrade, learning how to apply wood paneling to walls is a valuable skill. This guide walks you through simple techniques to ensure a smooth installation process.
Why Choose Wood Paneling for Your Walls?
Before diving into the techniques, it’s important to understand why wood paneling to walls has become so popular. Here are a few reasons:
- Aesthetic Appeal: Wood panels bring a natural look that complements various interior styles.
- Durability: High-quality wood panels can last for decades with proper care.
- Insulation: Wood paneling provides added insulation, helping to maintain a comfortable temperature.
- Eco-Friendly: Many wood panels come from sustainable sources, making them an eco-conscious choice.
Understanding these benefits can help you choose the right type of wood paneling for your walls.
Tools and Materials Needed for Sticking Wood Paneling to Walls
Before you begin, gather the necessary tools and materials. Here’s a list to get you started:
- Measuring Tape: Essential for accurate measurements.
- Level: Ensures your panels are aligned correctly.
- Adhesive: Choose a high-strength adhesive designed for wood.
- Caulking Gun: To apply adhesive evenly.
- Nails and Nail Gun: For additional support.
- Wood Panels: Pick panels that match your style and the dimensions of your walls.
These tools will ensure that the installation of wood paneling to walls is smooth and effective.
Step-by-Step Guide to Sticking Wood Paneling to Walls
Follow these steps to properly apply wood paneling to walls:
Step 1: Prepare the Wall Surface
Before applying the wood panels, make sure your wall is clean and smooth:
- Remove Old Wallpaper or Paint: A clean surface allows the adhesive to stick better.
- Fill Holes and Cracks: Use a wall filler to ensure a flat surface.
- Sand the Wall: Lightly sand the wall to help the adhesive grip better.
Step 2: Measure and Cut the Panels
Proper measurement is key to a professional-looking finish:
- Measure the height and width of your wall.
- Cut your panels to the desired size using a saw.
- Leave a small gap between the panels and the floor for expansion.
Step 3: Apply Adhesive to the Panels
Now, it’s time to stick the wood paneling to walls:
- Use a caulking gun to apply adhesive evenly across the back of the panel.
- Focus on the edges and center for a strong bond.
- Press the panel firmly against the wall and hold for a few seconds.
Step 4: Secure with Nails (Optional)
For added support, you can secure the panels with nails:
- Place nails around the edges of the panel.
- Ensure that the nails are evenly spaced.
- Use a nail gun for faster installation.
Step 5: Finish and Seal
To complete the process, add finishing touches:
- Fill Nail Holes: Use wood filler to conceal any visible nail holes.
- Apply Sealant: A sealant can protect the wood from moisture and enhance its durability.
- Wipe Clean: Remove any excess adhesive for a neat finish.
Visual Comparison of Adhesive Types
Choosing the right adhesive for wood paneling to walls is crucial. Here’s a comparison of popular adhesive types:
| Adhesive Type | Strength | Drying Time | Recommended For |
|---|---|---|---|
| Construction Adhesive | High | 24 Hours | Heavy wood panels |
| Wood Glue | Medium | 1-2 Hours | Lightweight panels |
| Silicone Adhesive | Low | 30 Minutes | Temporary installations |
Tip: Construction adhesive is the best option for permanent installations, as it offers strong bonding for heavier wood panels.
Common Mistakes to Avoid
Even with the right tools and technique, mistakes can happen. Here’s what to watch out for:
- Skipping Surface Prep: Adhesive won’t bond well to dusty or uneven surfaces.
- Using Too Little Adhesive: Insufficient adhesive can cause the panels to detach.
- Misaligning Panels: Use a level to ensure panels are straight.
By avoiding these mistakes, your wood paneling to walls project will look more professional and last longer.
Comparison of Wood Panel Types for Walls
Selecting the right type of wood panel can make a big difference in your project’s outcome. Here’s a chart to help you decide:
| Wood Panel Type | Appearance | Best Uses | Price Range |
|---|---|---|---|
| Shiplap | Horizontal grooves | Modern, coastal look | $$ |
| Beadboard | Vertical lines | Traditional, cottage style | $ |
| Reclaimed Wood | Rustic, weathered | Farmhouse, vintage look | $$$ |
| Plywood Panels | Smooth, customizable | Budget-friendly | $ |
Tip: Shiplap is great for a modern style, while reclaimed wood adds a rustic touch to any room.
FAQs
1. Can I apply wood paneling directly over drywall?
Yes, wood paneling can be applied directly over drywall, but make sure to use a strong adhesive for better hold and stability.
2. What is the best adhesive for wood paneling?
Construction adhesive is the most recommended for wood paneling to walls due to its strong bond, especially for heavy panels.
3. How do I remove wood panels from a wall?
To remove wood panels, use a pry bar to gently lift them off the wall. Make sure to use a heat gun to soften any adhesive before removal.
4. Should I paint the wall before installing wood panels?
It’s a good idea to paint the wall a similar color to the wood panels, especially if small gaps are expected. This ensures a seamless appearance.
5. How do I maintain wood paneling after installation?
Dust the panels regularly and clean them with a wood-safe cleaner to maintain their appearance. Apply a new coat of sealant every few years for added protection.
Conclusion: Transform Your Space with Wood Paneling
Installing wood paneling to walls is a straightforward way to elevate your space. With the right tools, materials, and these simple techniques, you can achieve a beautiful, professional-looking result. Whether you’re enhancing a living room or adding warmth to a bedroom, wood paneling is a timeless choice that adds both style and function.
By following this guide, you’ll be well on your way to creating a stunning new look for your home. Happy paneling!

